

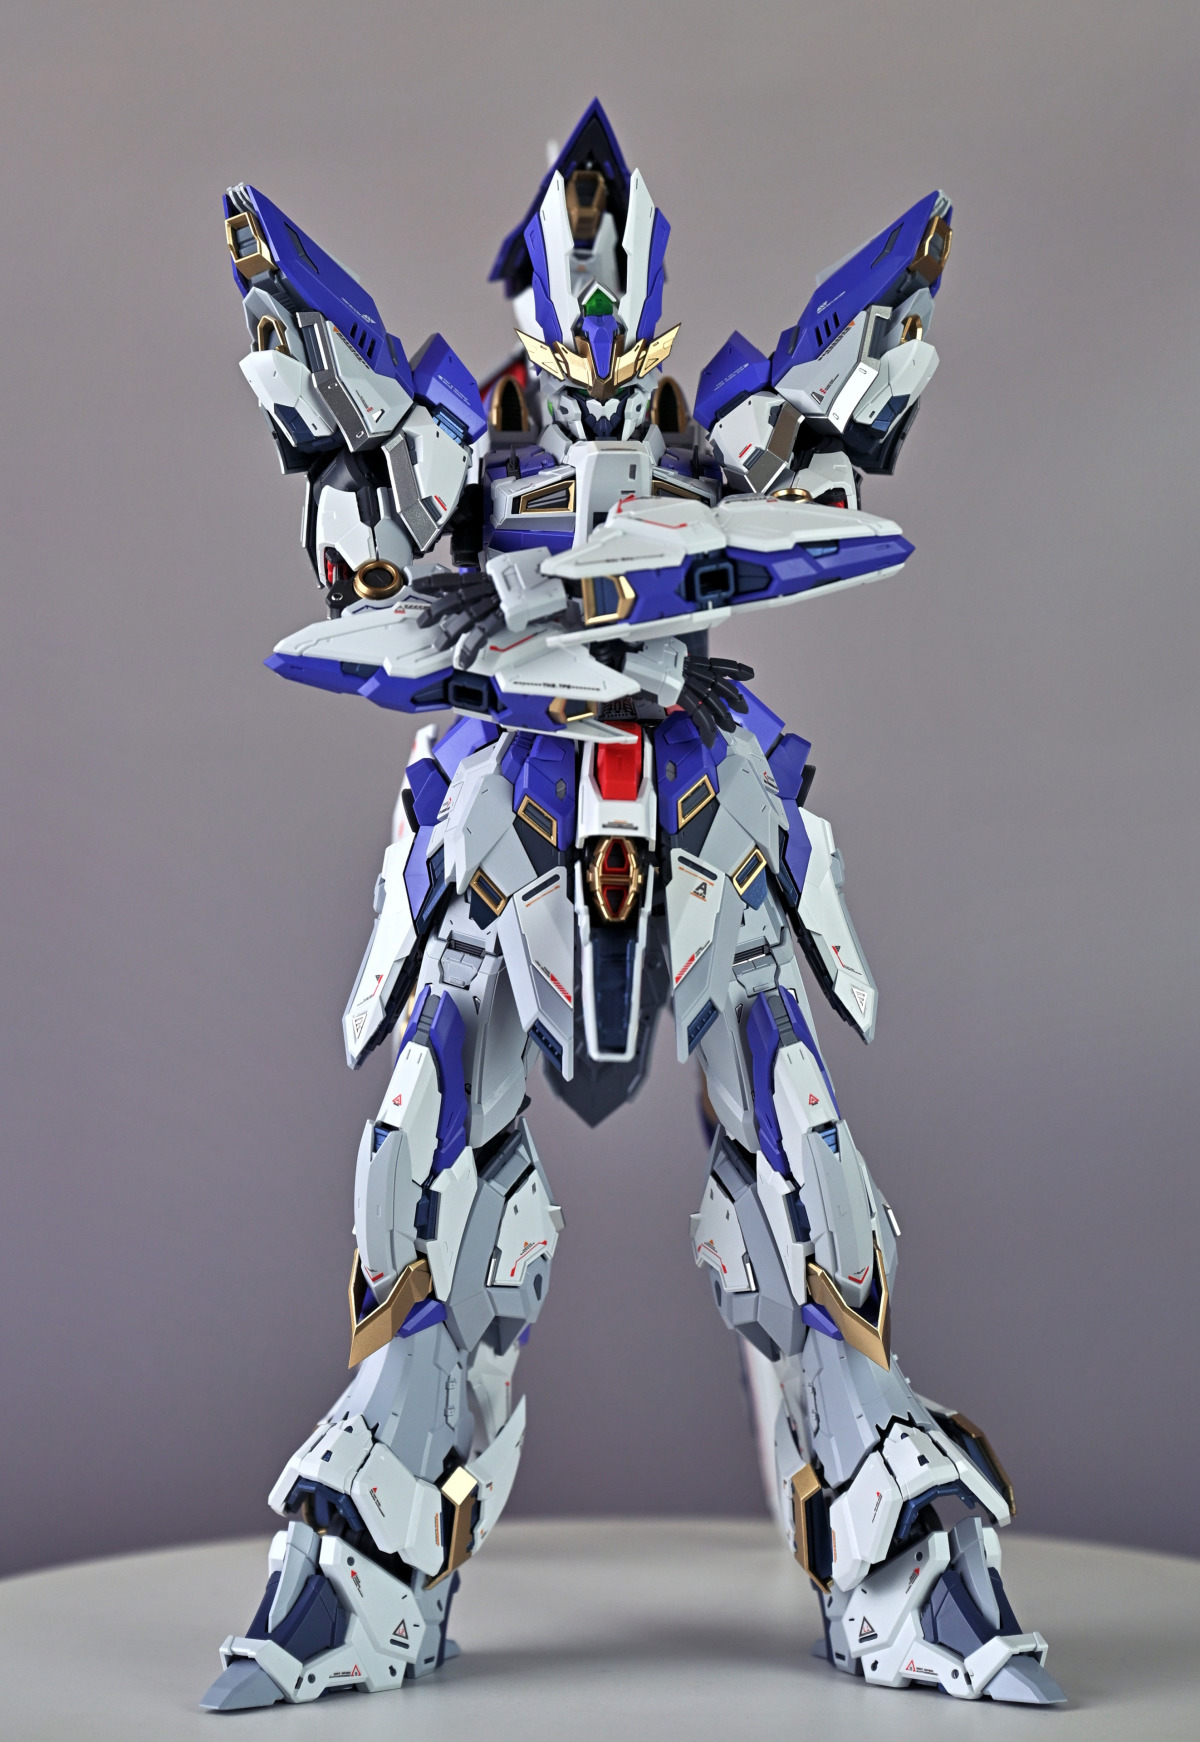
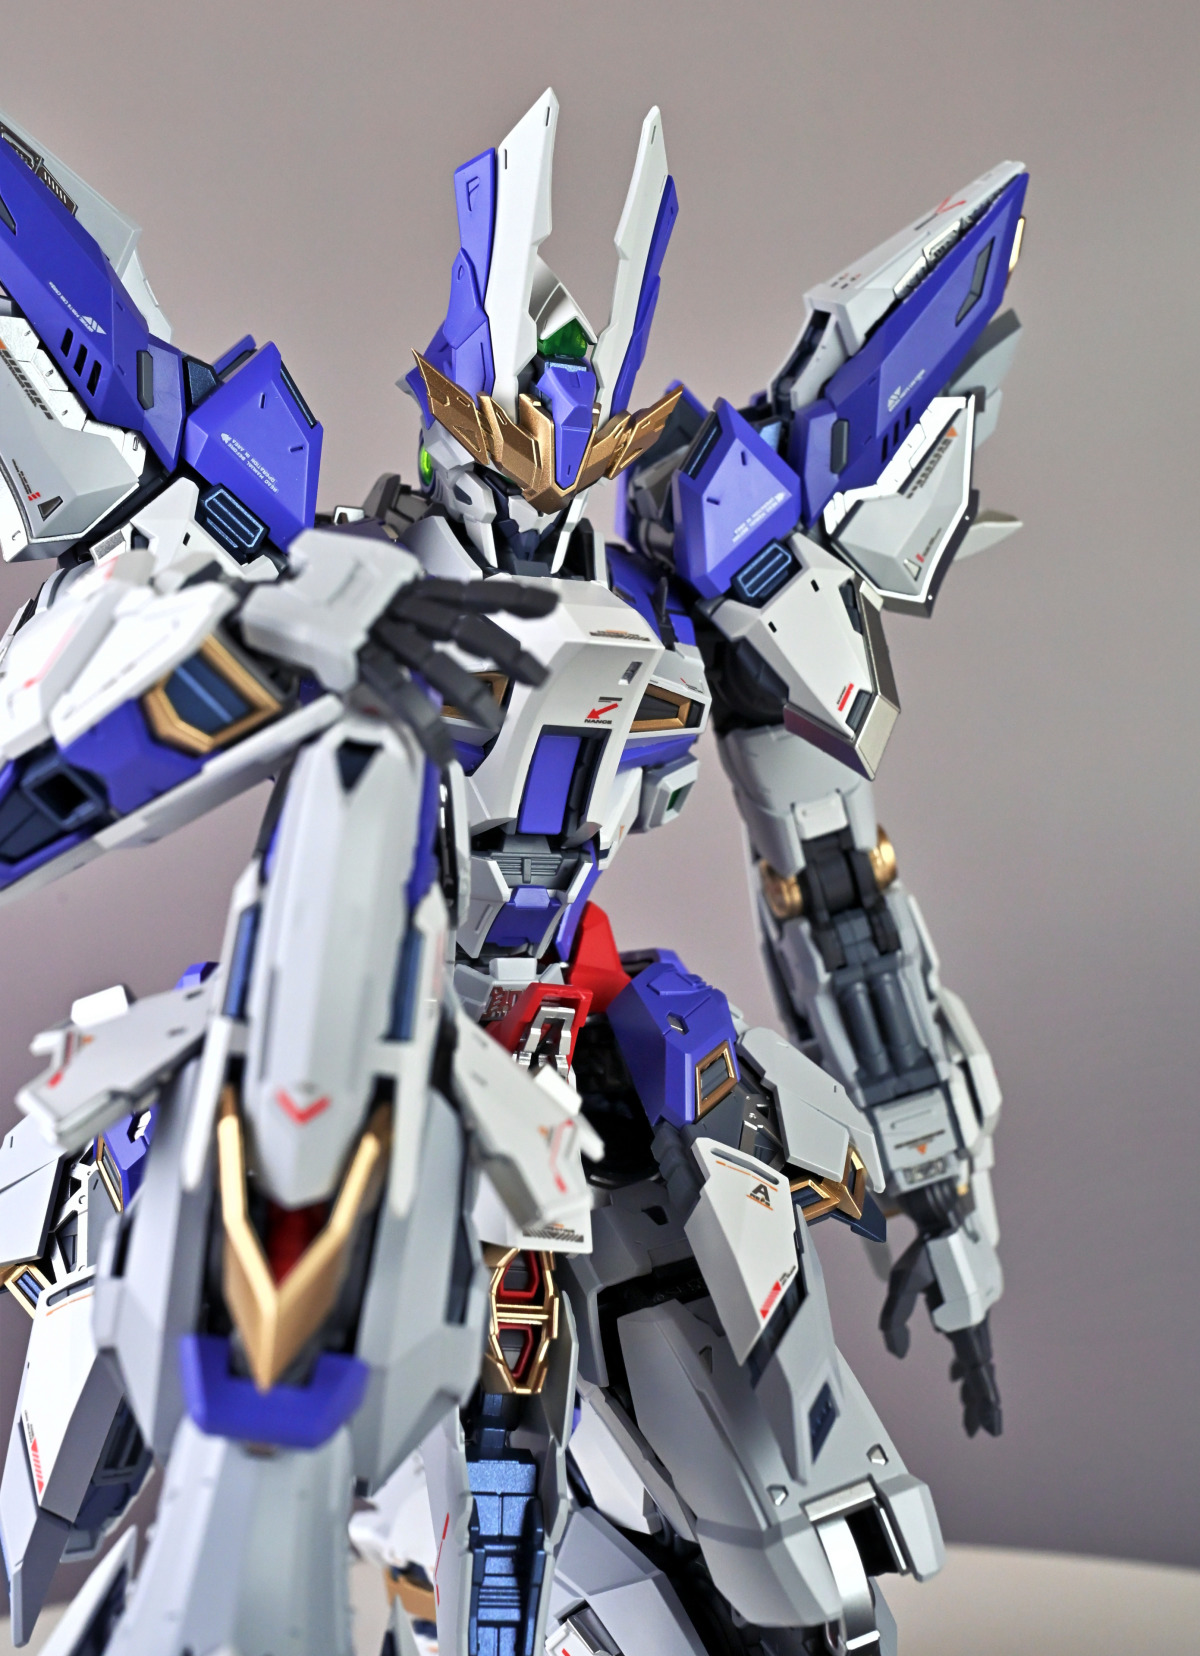
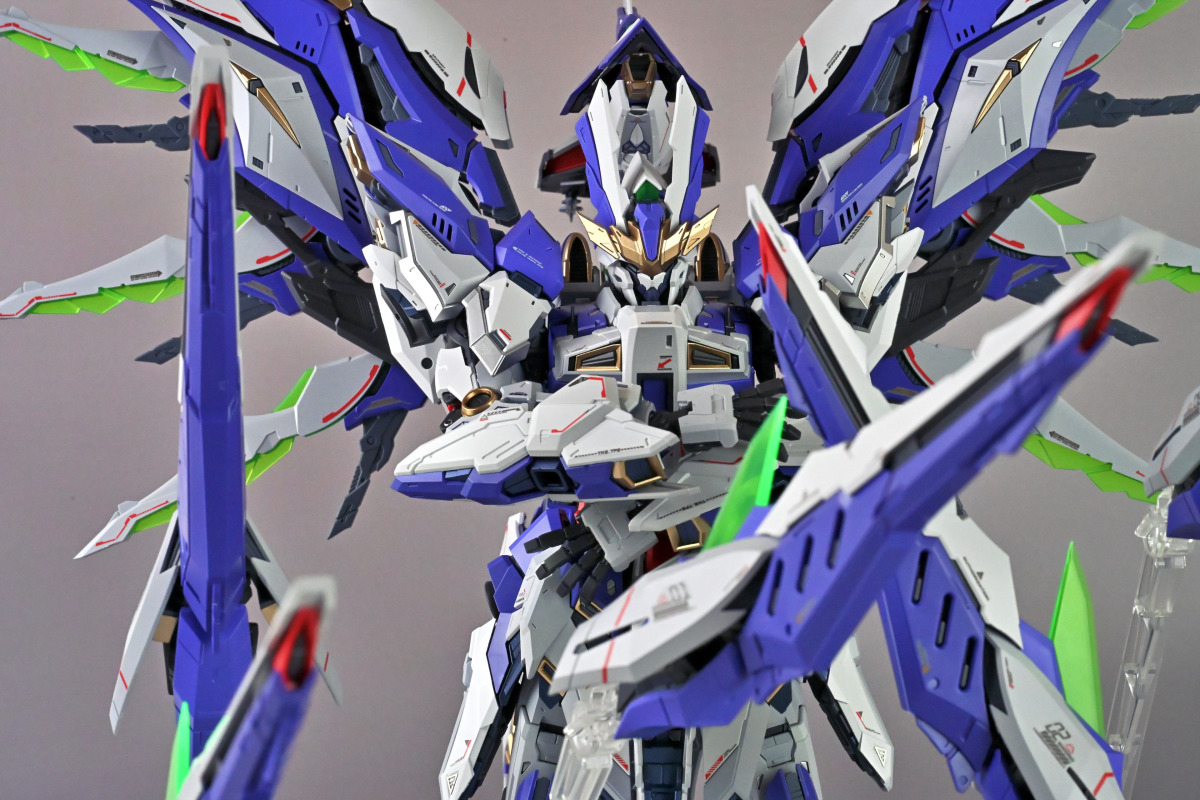
This model kit was not originally on my build plan or purchase list for this year, primarily because the Sky Defender is a certified space killer. However, as the title suggests, the reason I built this kit is because it was a gift from a fellow forum member on Mobil01. It all started after I posted my Nemesis build; this member asked if I had purchased the Sky Defender. When I said I hadn't, he offered to send me one he had, with the only condition being that I cover the shipping fee. He had no other requests, except that I share the completed build on the Mobil01 forum with detailed photos and descriptions.
And just like that, within a few days, the Sky Defender arrived at my doorstep, shipped from Shanghai to Taiwan. Upon receiving the model, I immediately scheduled it as my top priority. Having built the Nemesis with its stacked inner frame components, the Sky Defender felt much more straightforward in comparison. My only real complaint would be that the assembly experience for certain parts is truly, truly painful. It requires Herculean thumb strength, and you can't use external tools—you have to press parts in purely with your thumb, especially the connection between the wings and the backpack. After assembling this Sky Defender, my hand was in agony for a full three days because it was just so incredibly difficult to press together!
Most of the build time was spent cleaning up nub marks. Nearly 80% of the gates on this kit are undergated, which meant an eternity of trimming. Besides that, the next major task was applying the water slide decals after assembly. The kit comes with two types of decals, distinguished by red and black numbering. The red ones are the key decals, which give the model a high degree of completion once applied. The other type, with black numbering, adds a lot of finer details, warning labels, and markings. The manual suggests applying only the red ones, but after I finished with those, I felt something was still missing, so I went ahead and applied the black-numbered ones as well.
The sheer number of decals is immense; this Sky Defender rivals an MG Unicorn in decal count. It took me nearly three hours to complete all the decaling.
The quality of the Sky Defender's water slide decals is better than the Nemesis's. Also, dabbing a bit of decal softener before application makes the process much smoother and helps the decals adhere more closely to the surface.
This Sky Defender kit also includes photo-etched parts. Here, I have a small complaint: the adhesive on the photo-etch is really not great. I ended up having to reinforce almost all of them with super glue. I'm not sure if this was an issue specific to my kit, but compared to the Nemesis, the photo-etched parts on that kit had much stronger adhesion and almost never fell off after being applied.
For those who prefer straight builds without painting, this Sky Defender is a huge blessing. A simple assembly combined with the included water slide decals is enough to achieve a very high level of completion. The manufacturer also provides metal joint reinforcements, but I didn't use them. For a static display pose without much handling, I feel the original POM parts are strong enough, so I opted not to use the included metal components. Below are some simple photos. And a friendly reminder: this thing is a true space killer, so please measure your display space before you buy! XD
▼[YUJIAOLAND] A Gift from a Mobil01 Forum Member: 1/72 EINTA SKY DEFENDER Model Kit
▼The image below shows the basic inner frame before the metal frame parts are layered on.
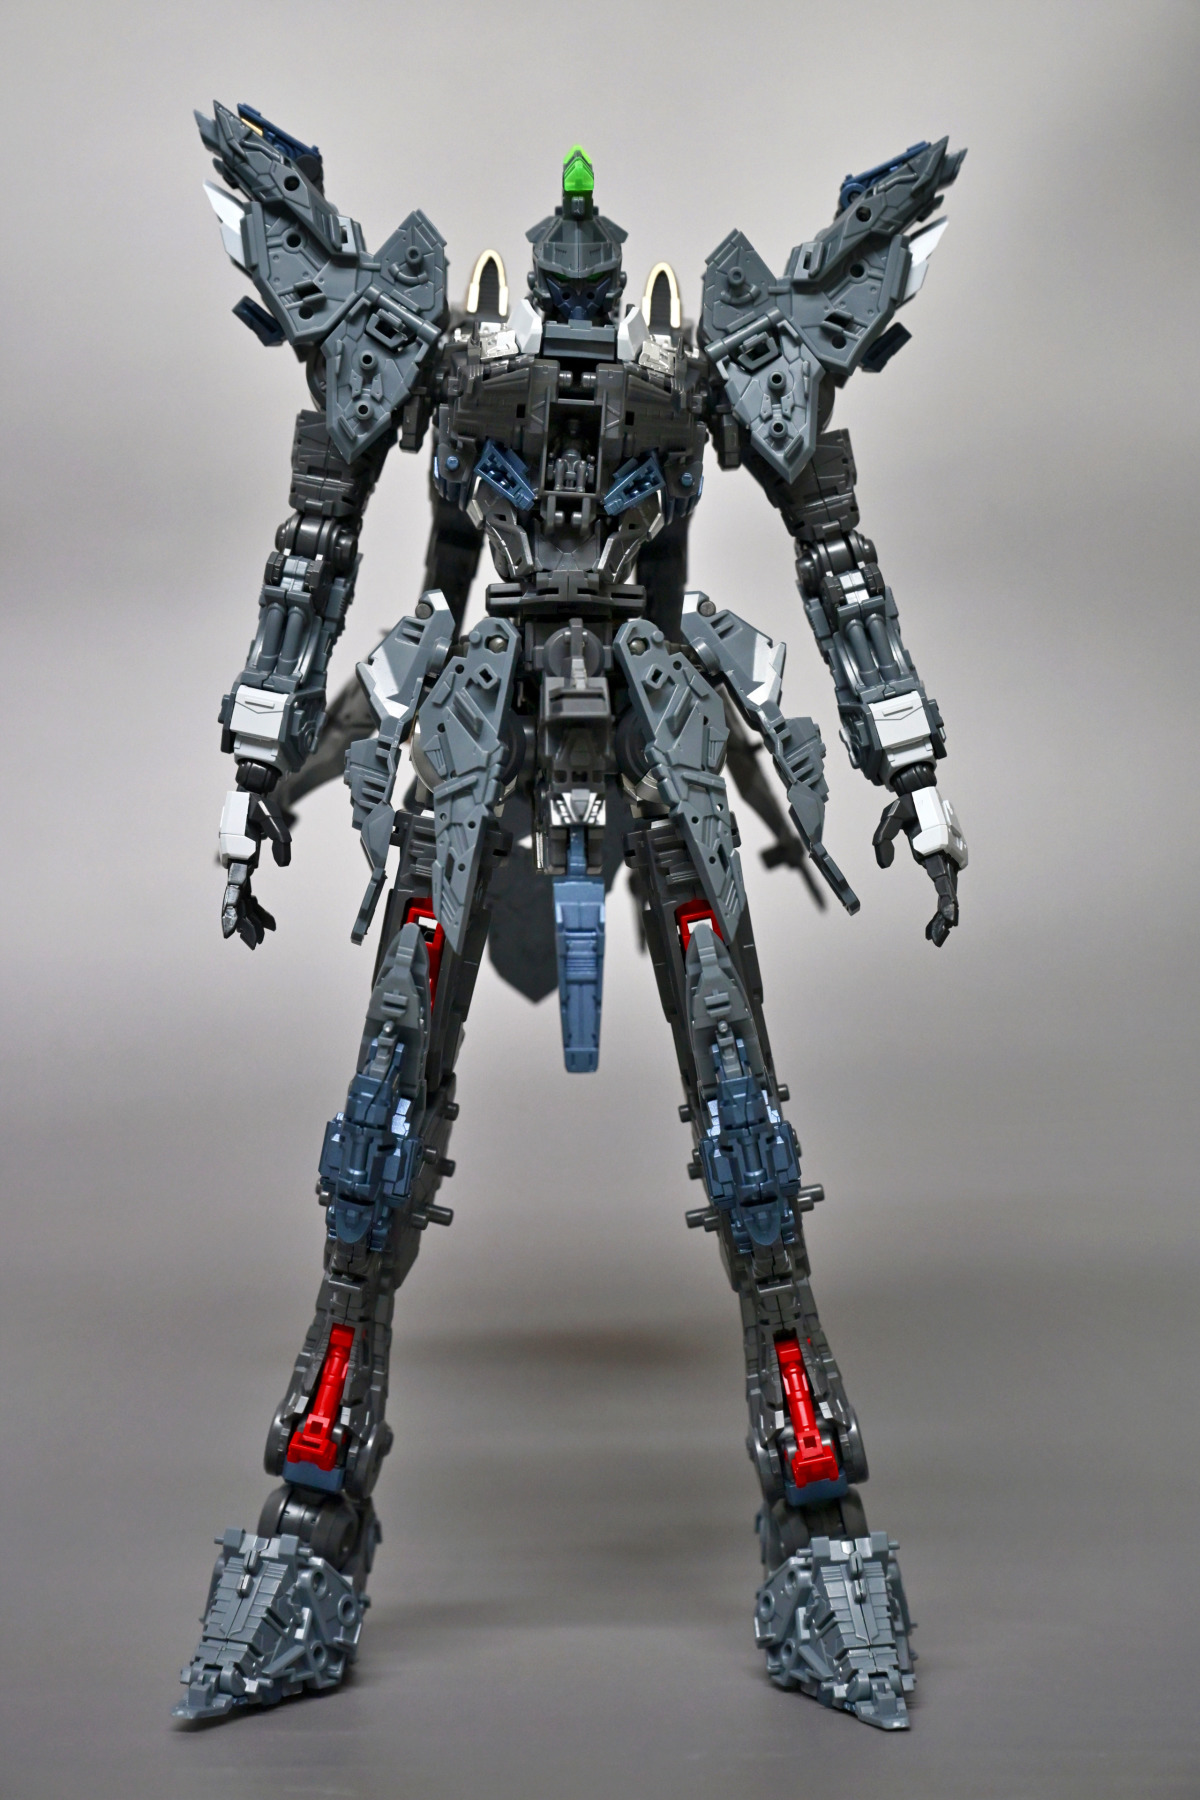
▼Side view.
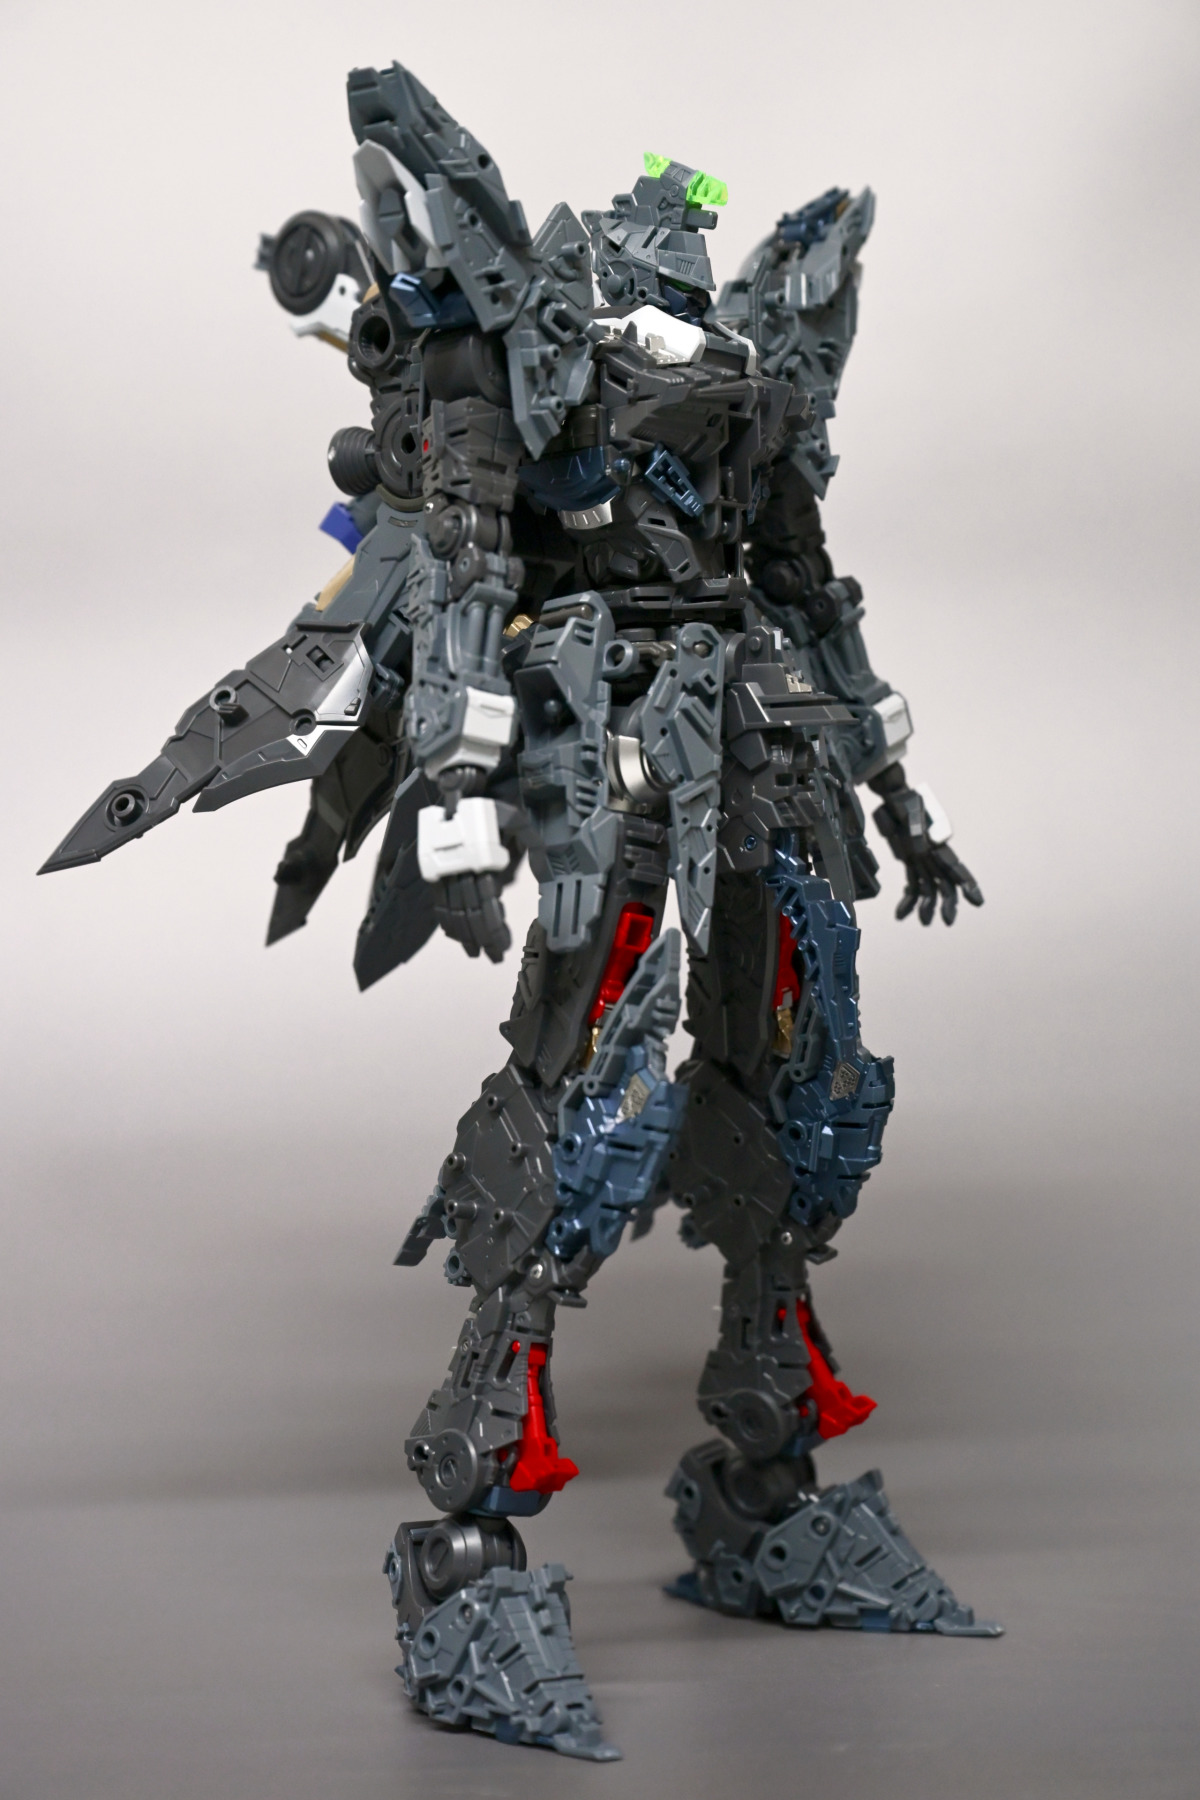
▼The frame uses multi-colored layers, and photo-etched parts are used in recessed areas to enhance the texture.
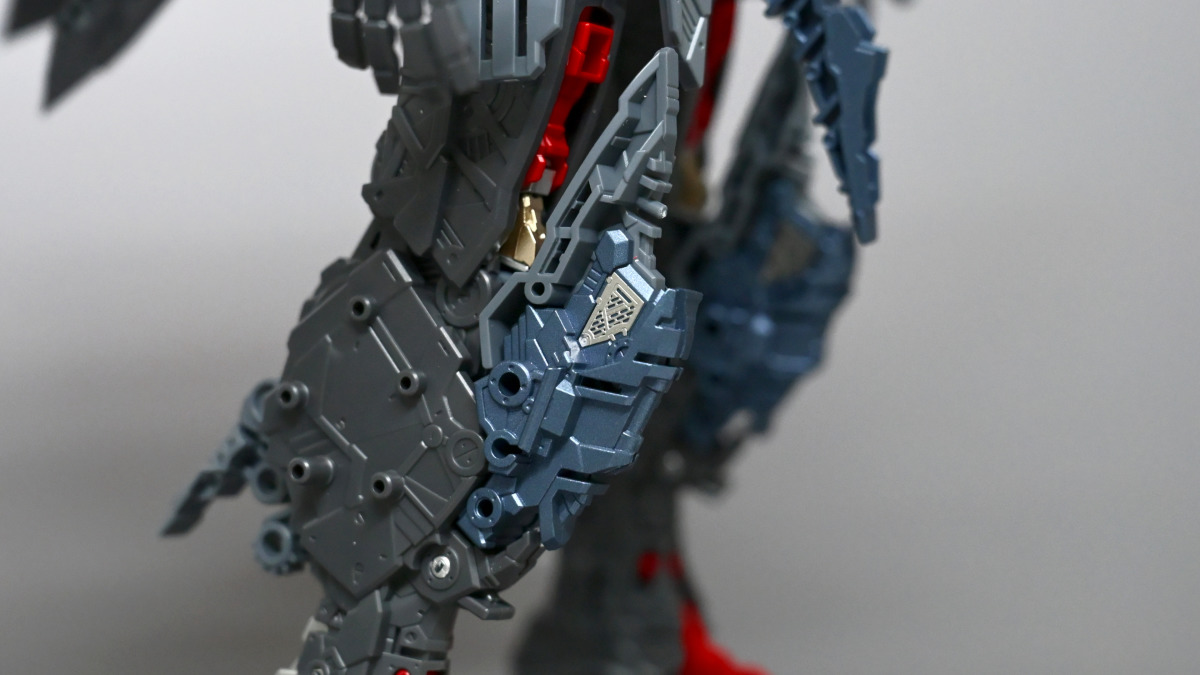
▼The ankle parts here can be replaced with metal ones, but I used the original kit parts. The feet require screws; be careful not to overtighten and strip the threads.
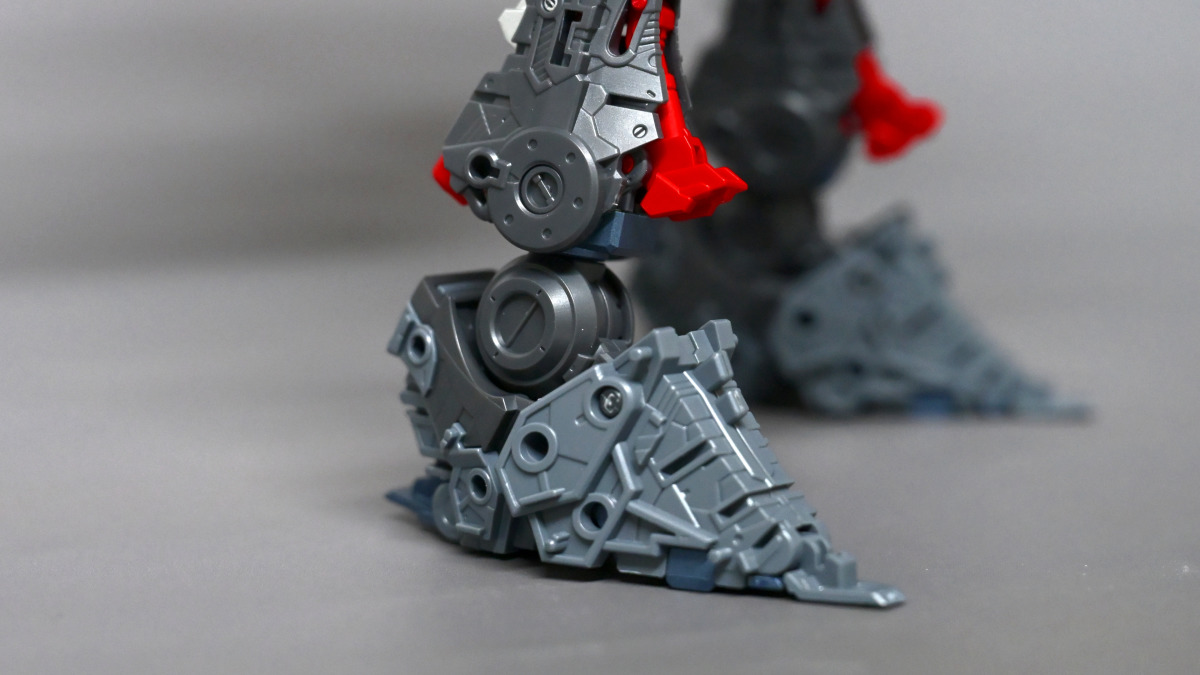
▼The thigh parts are assembled with two colors.
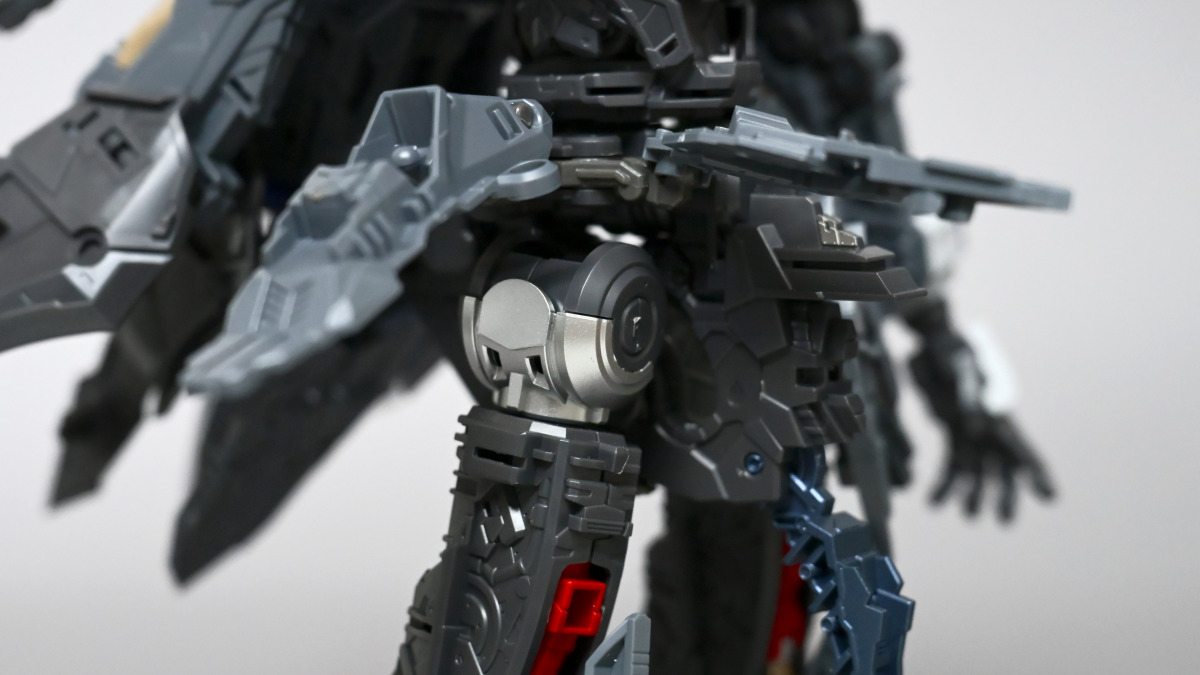
▼The legs use a U-shaped sliding joint to increase the range and position of movement.
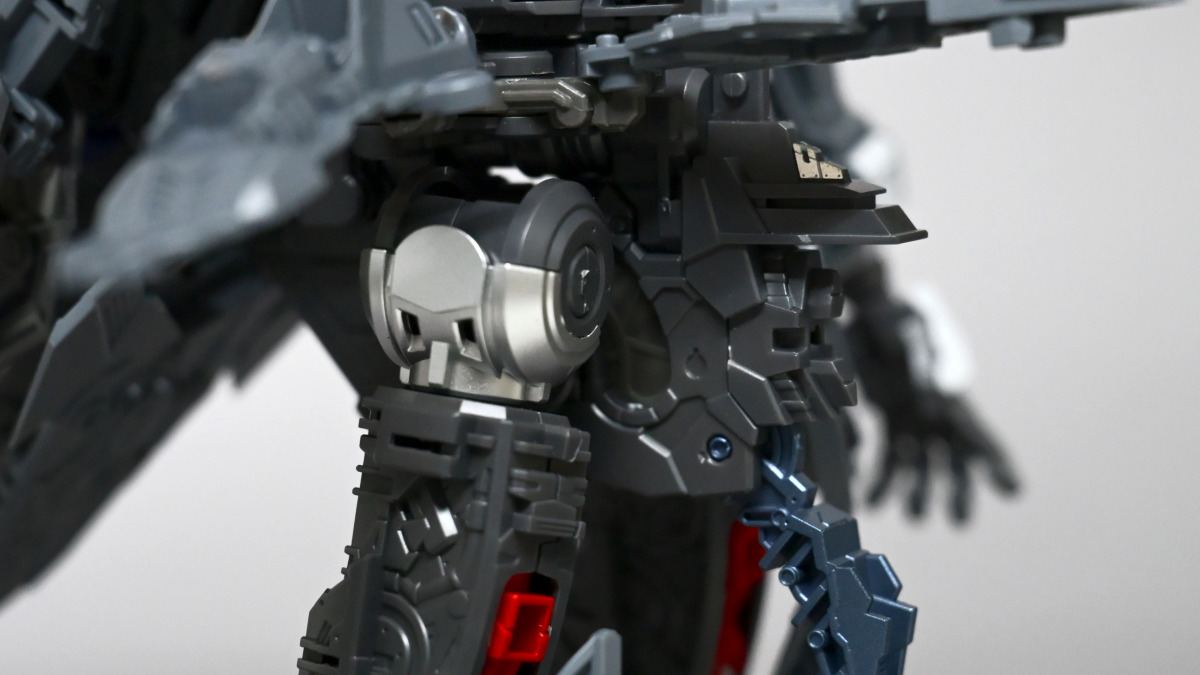
▼Both the arms and lower legs feature hydraulic rod structures.
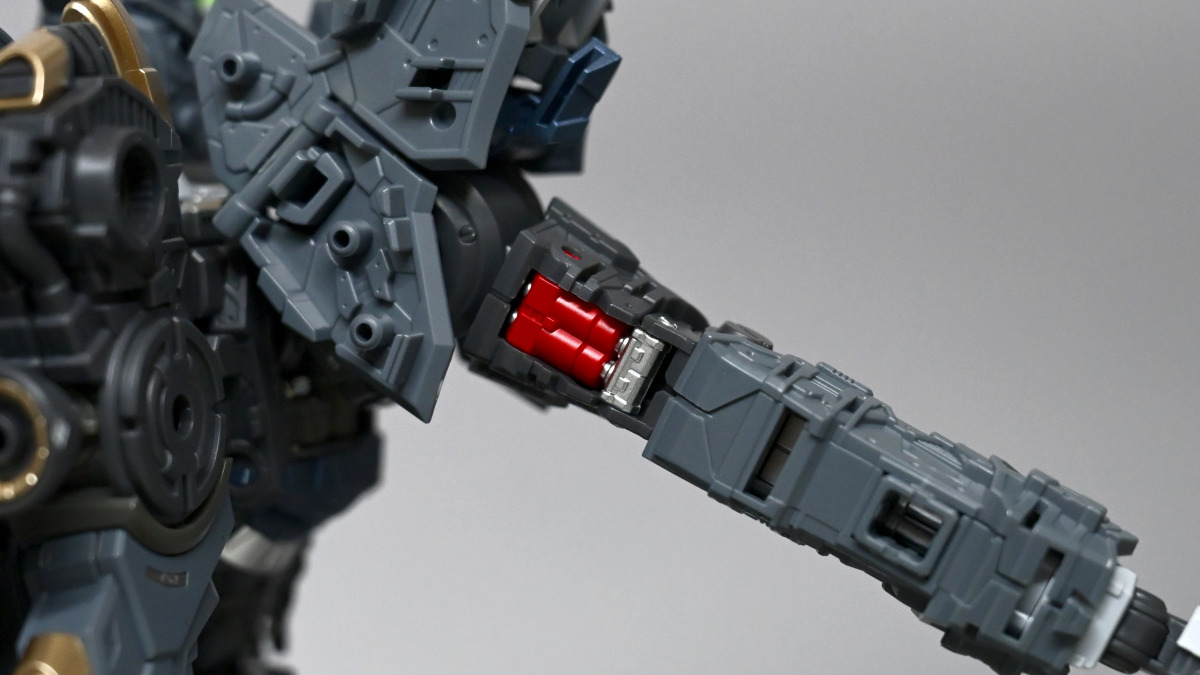
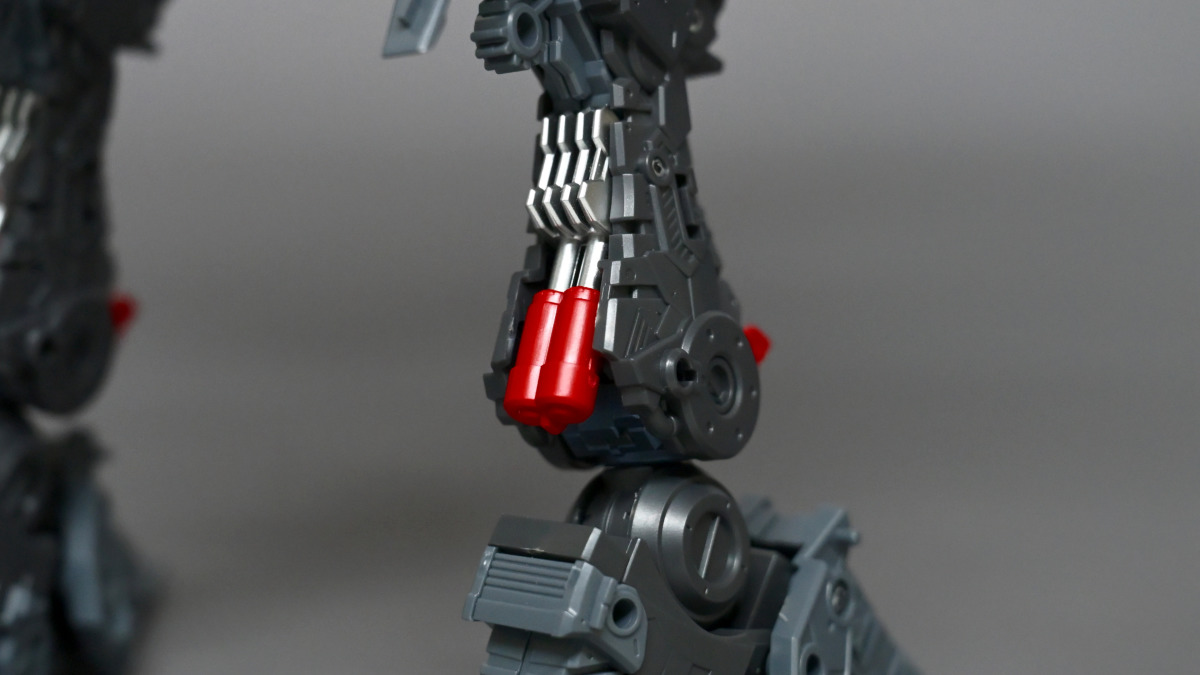
▼The backpack thrusters also use two-tone parts for added detail.
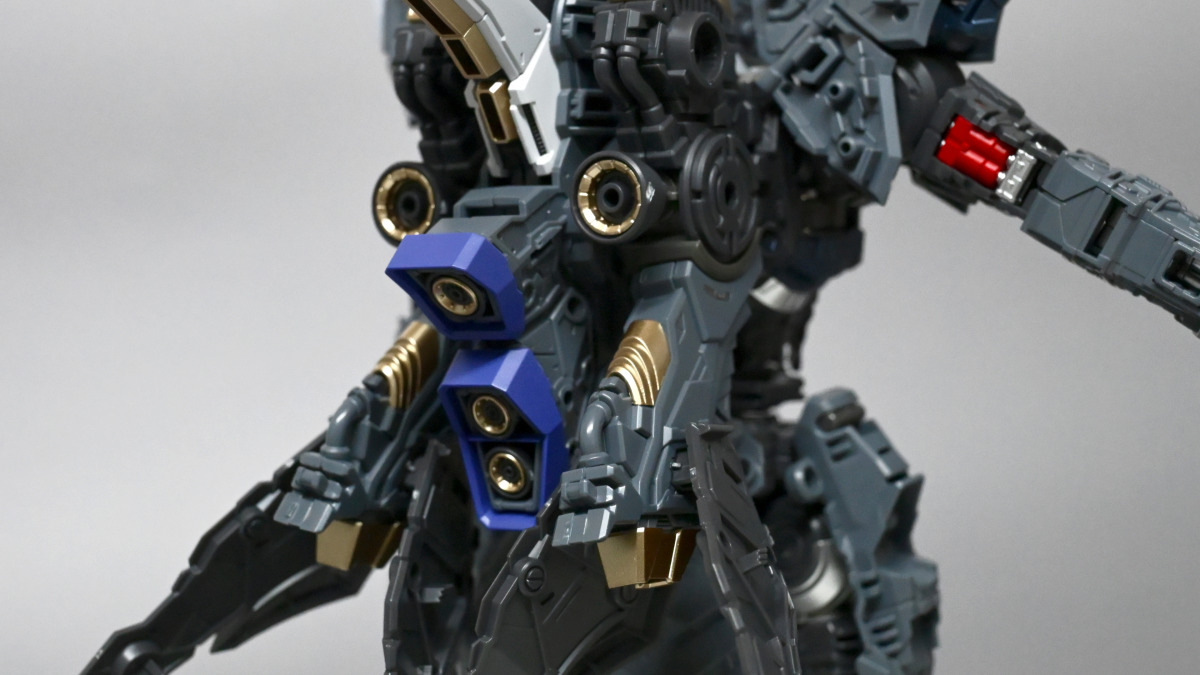
▼When the arm is bent, the hydraulic rod moves in conjunction.
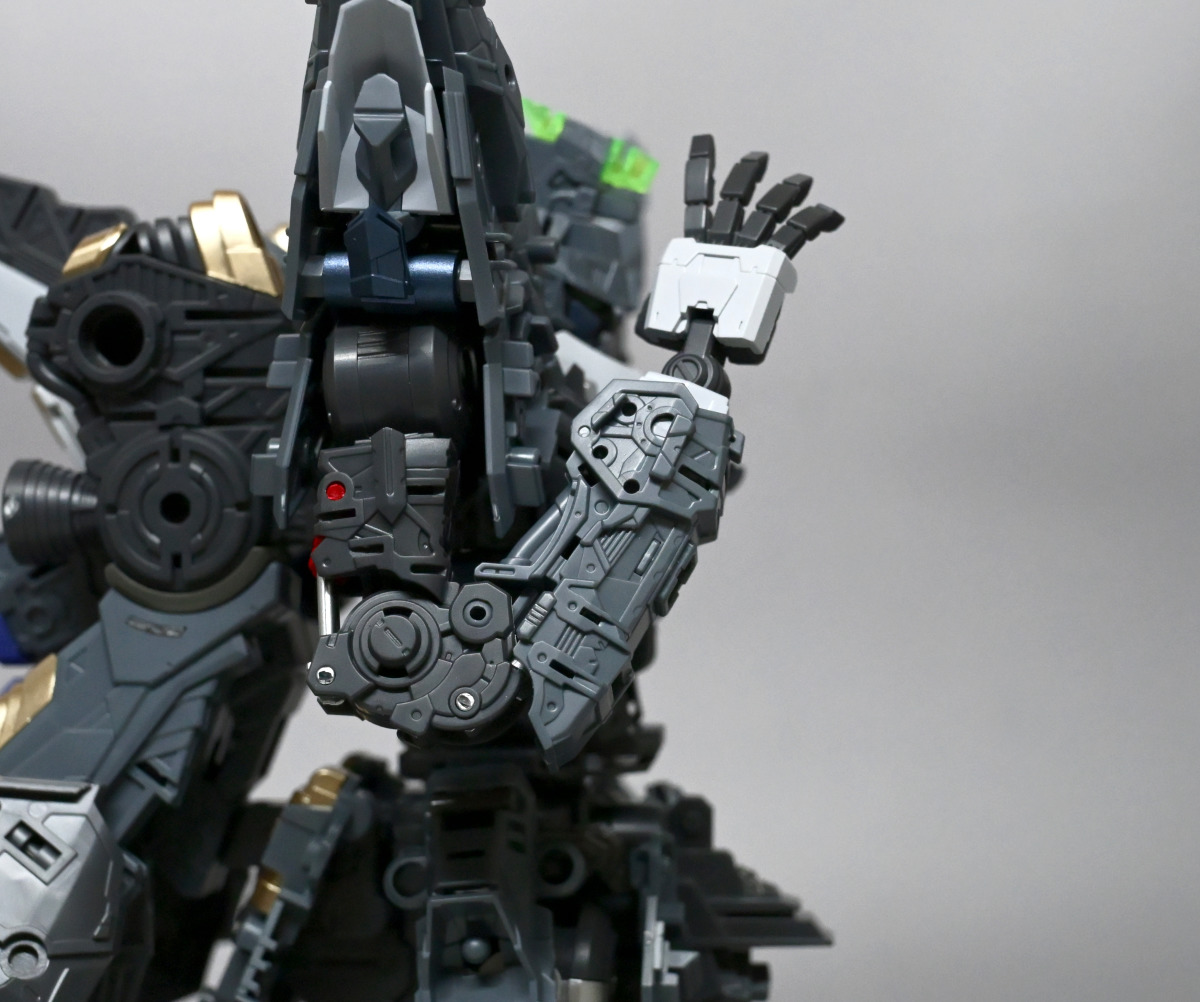
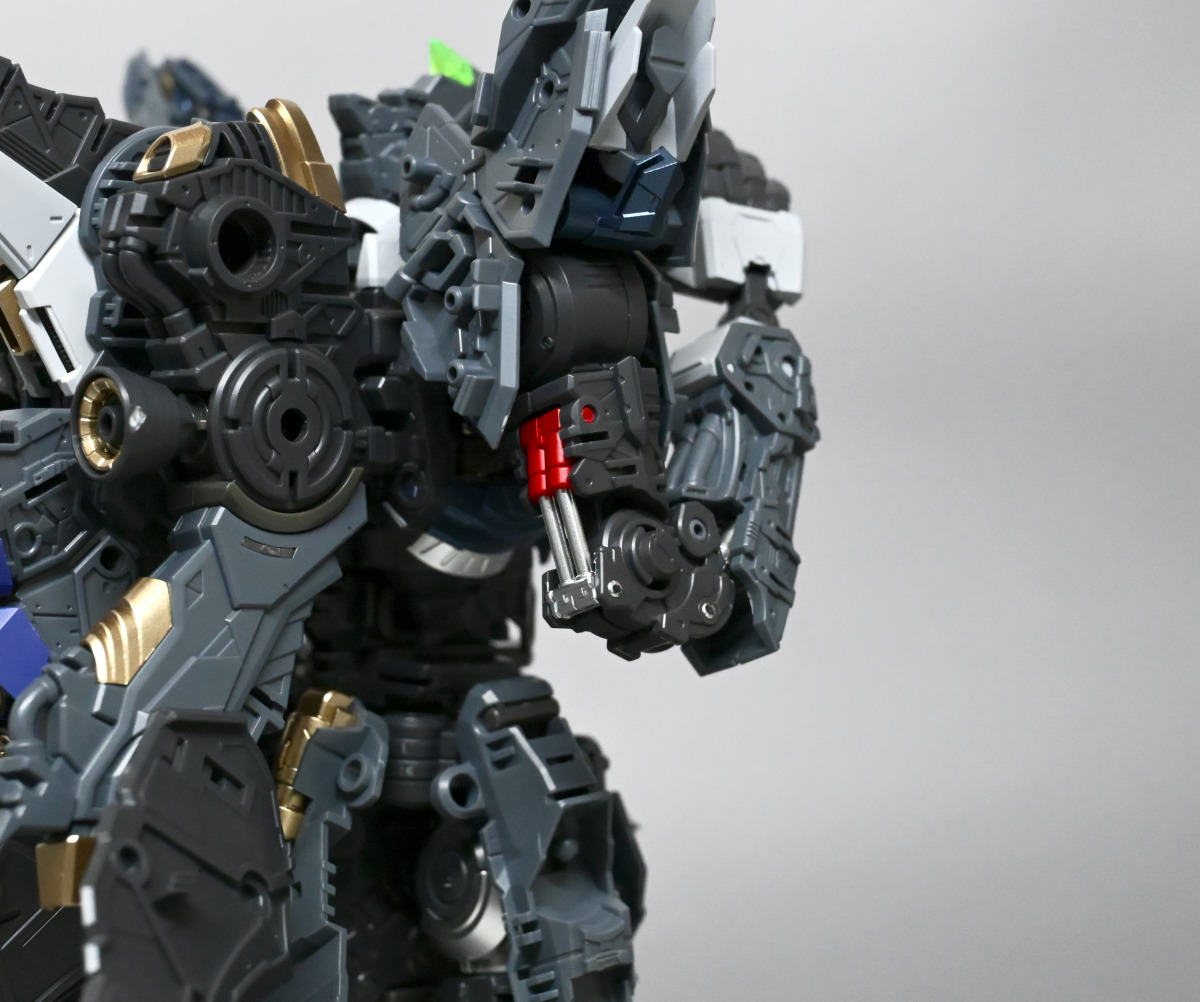
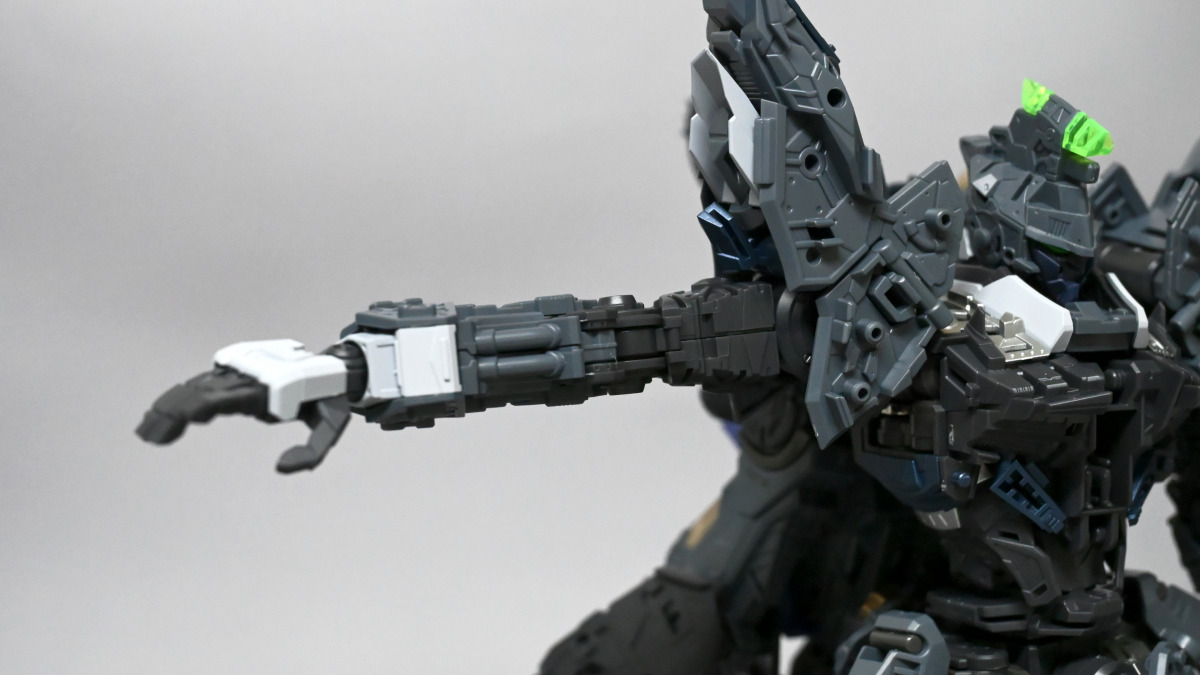
▼Raising the arm horizontally has minimal interference; the shoulder needs to be lifted.
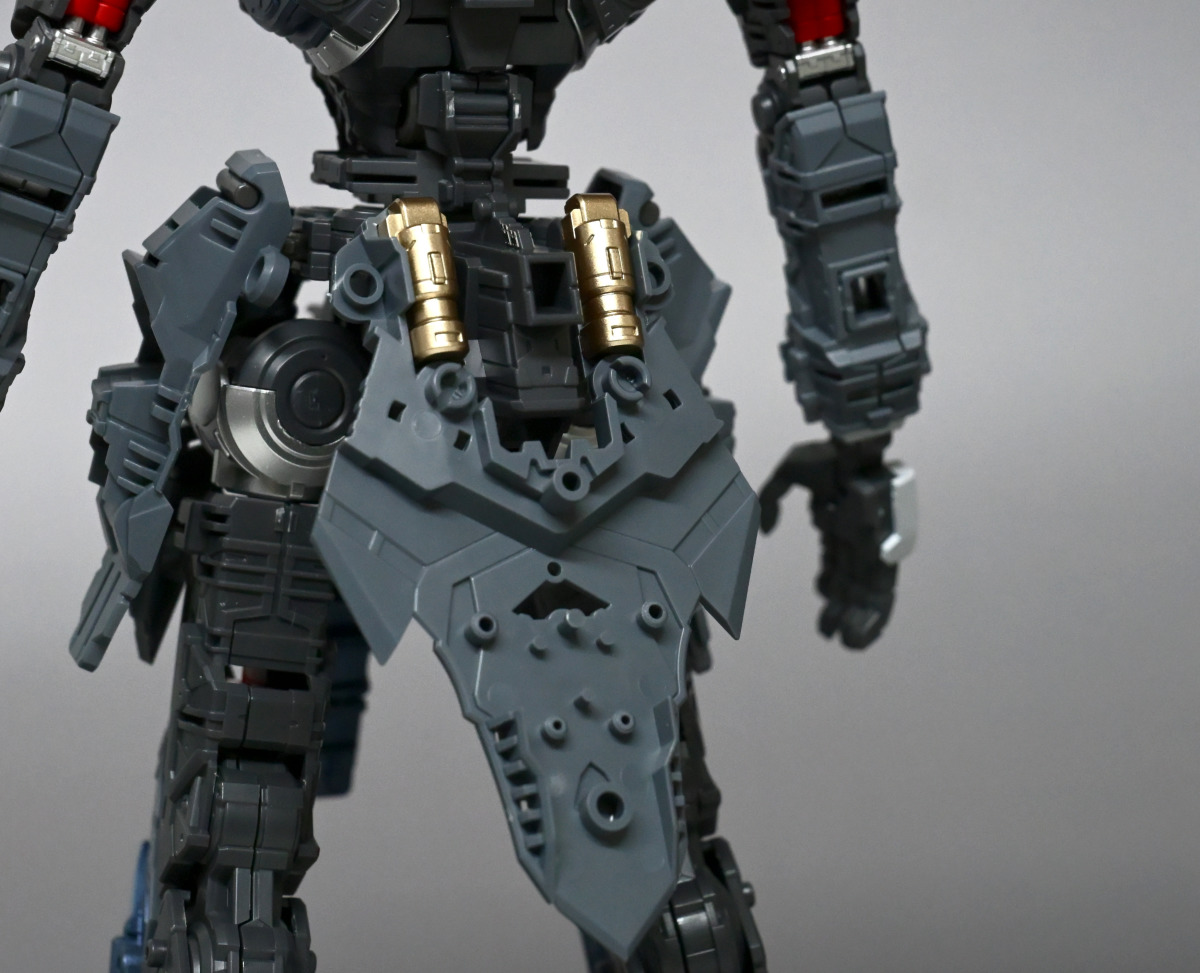
▼The rear skirt armor looks a bit empty with just the inner frame.
▼Kneeling pose.
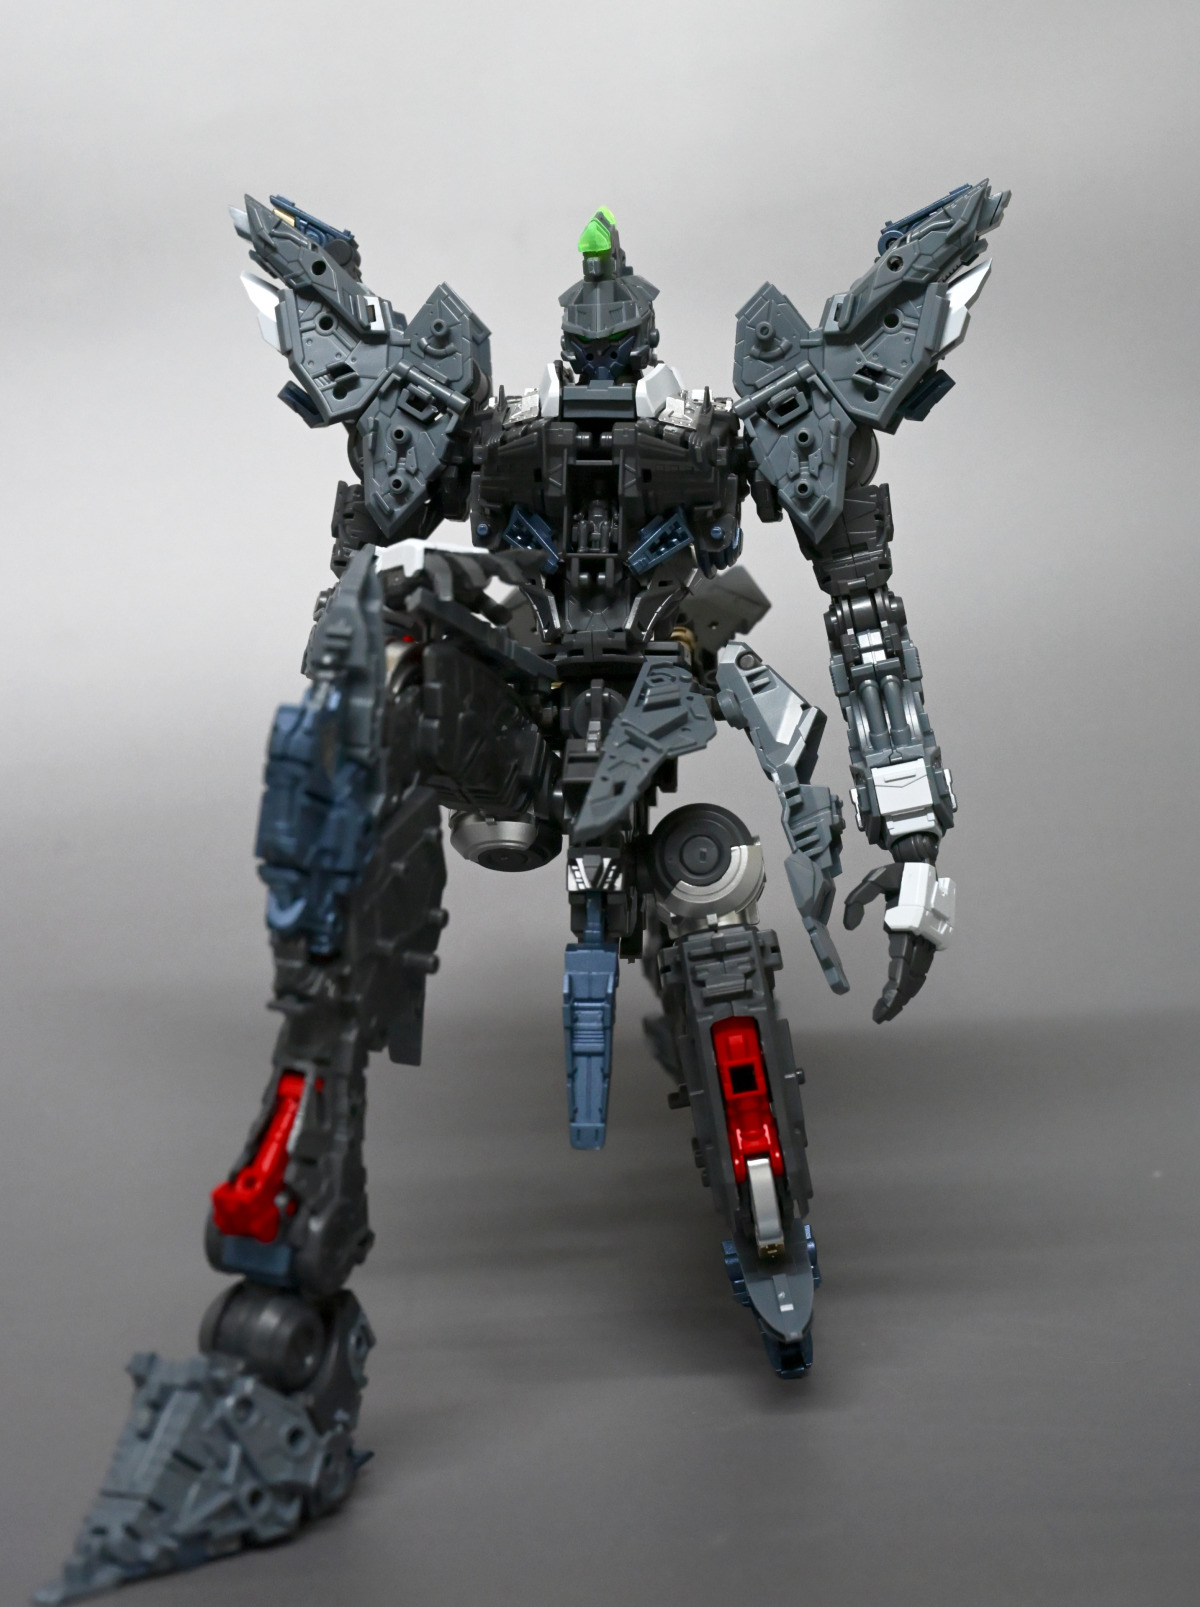
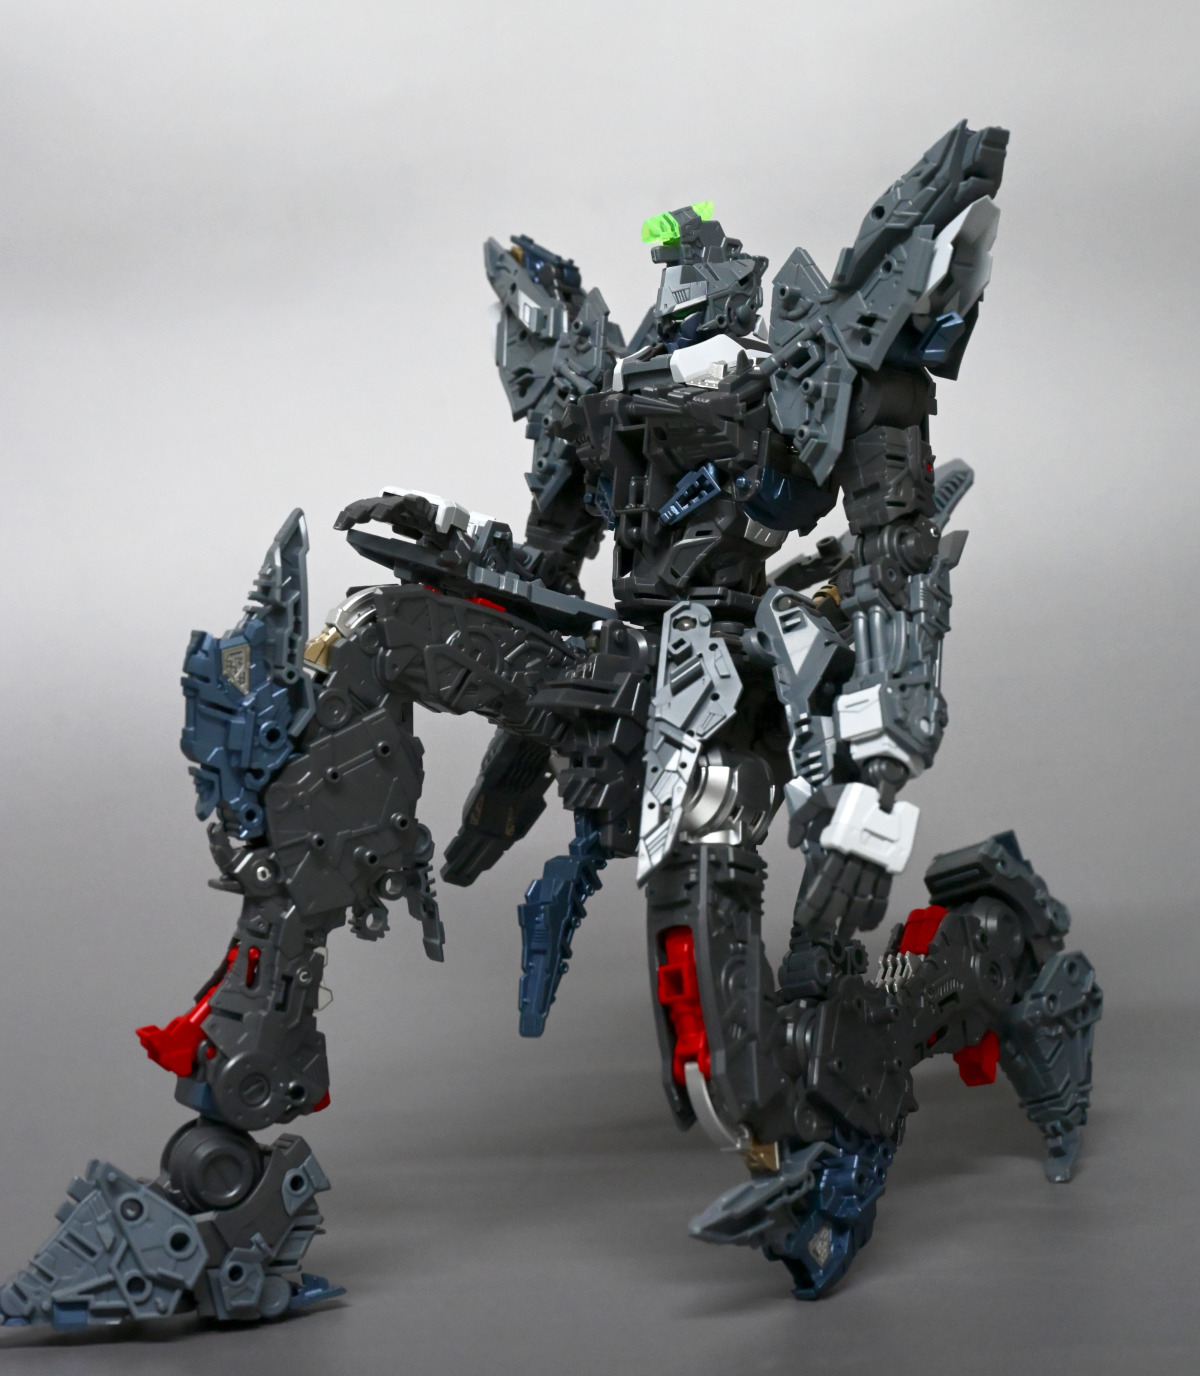
▼Knee articulation linkage.
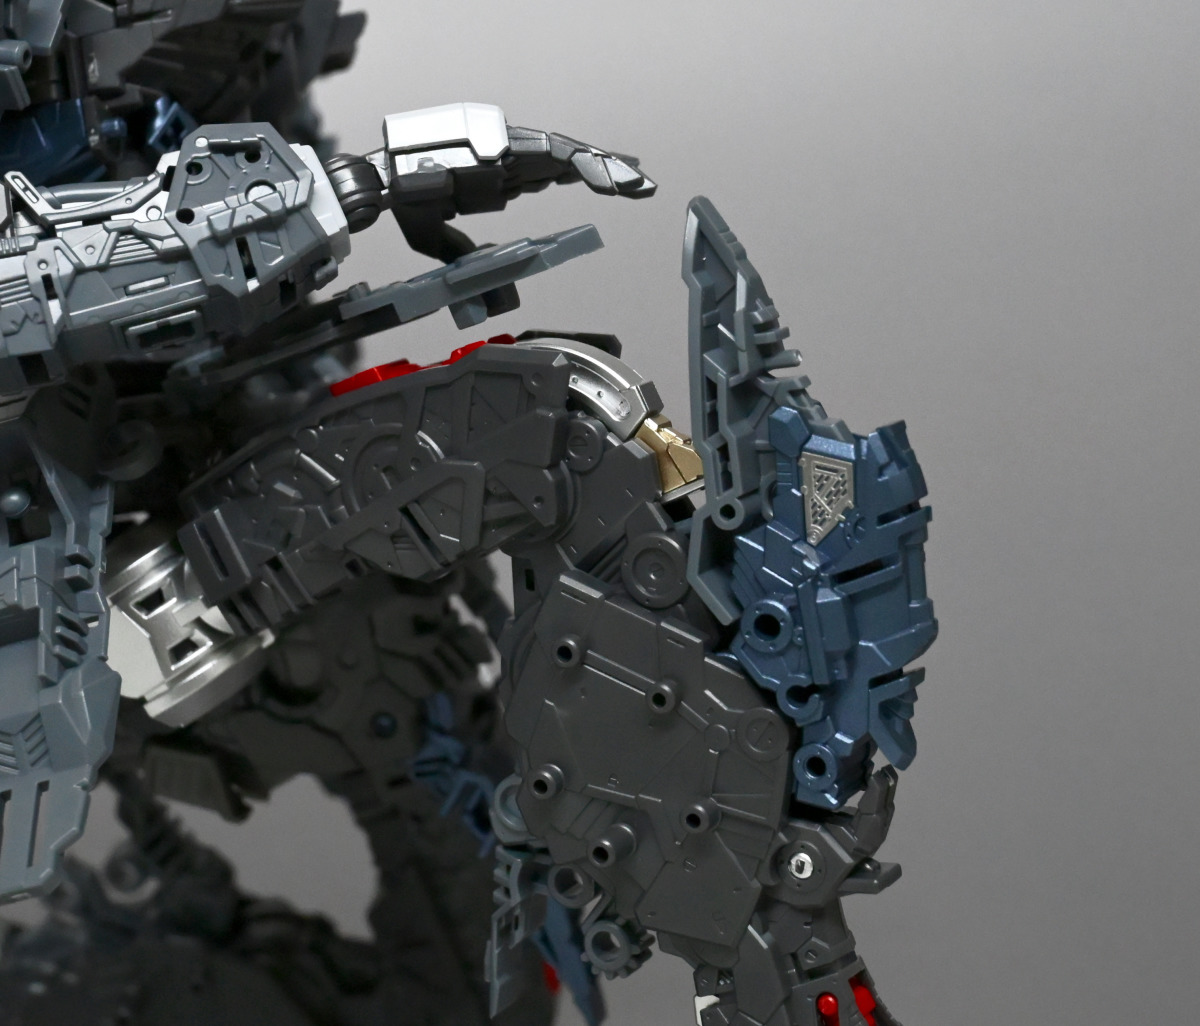
▼Exposed details.
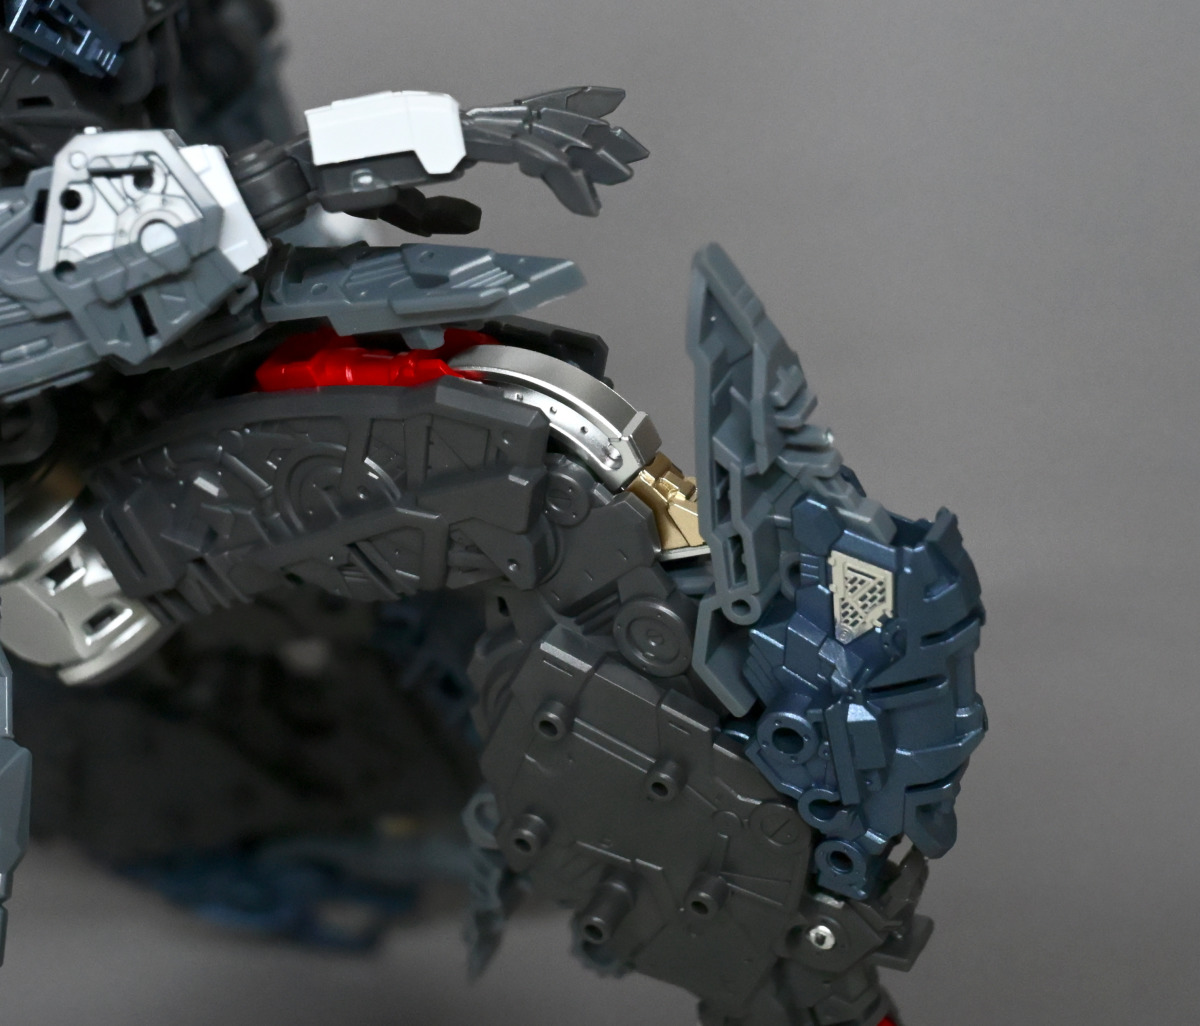
▼The details on the soles of the feet are also meticulously done.
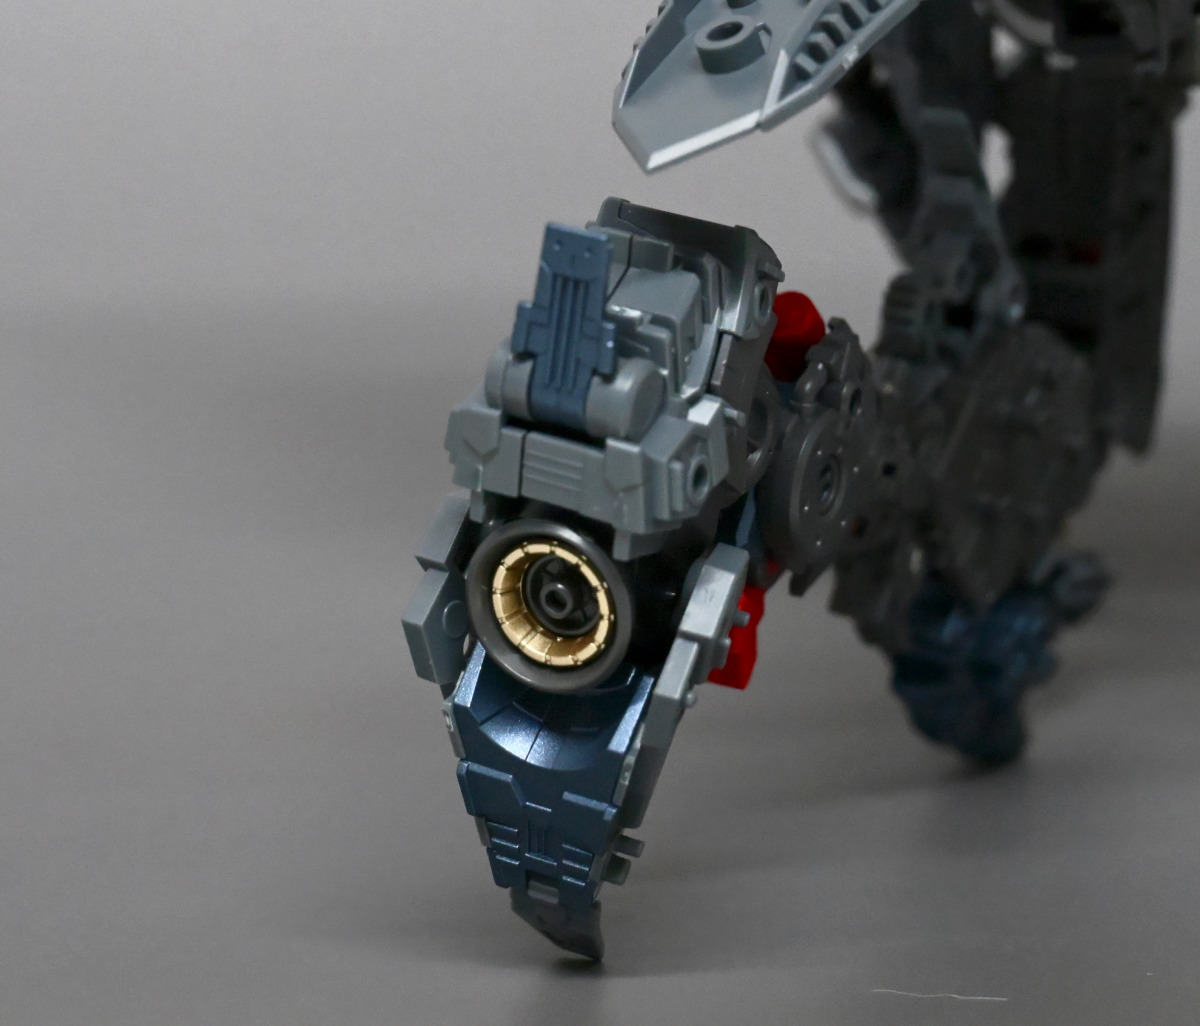
▼Backpack.
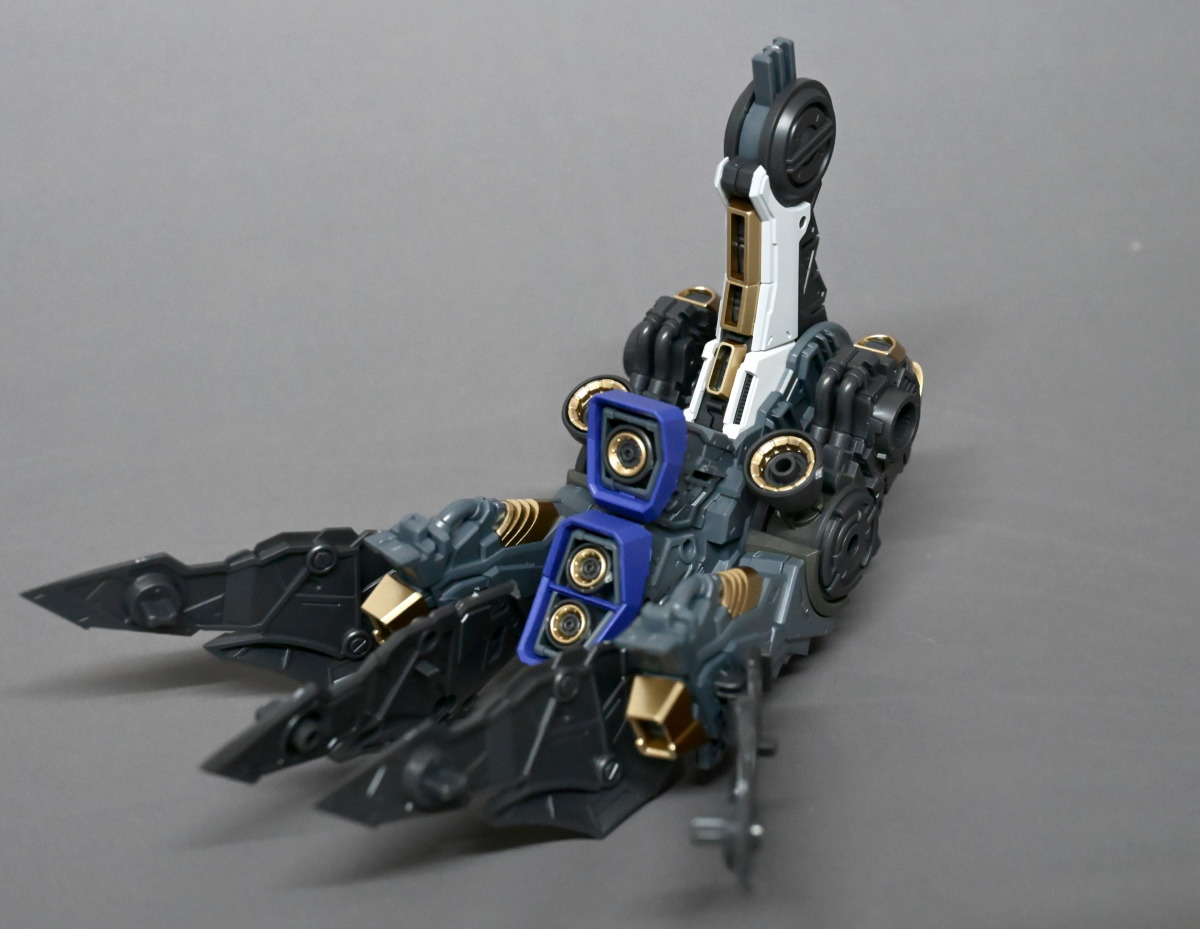
▼The pull-out joint here can be replaced with a metal part. Some online reports mention that using the metal part can cause a loose connection with the arm, leading it to slide off. Although there are fixes, I opted for the original kit part.
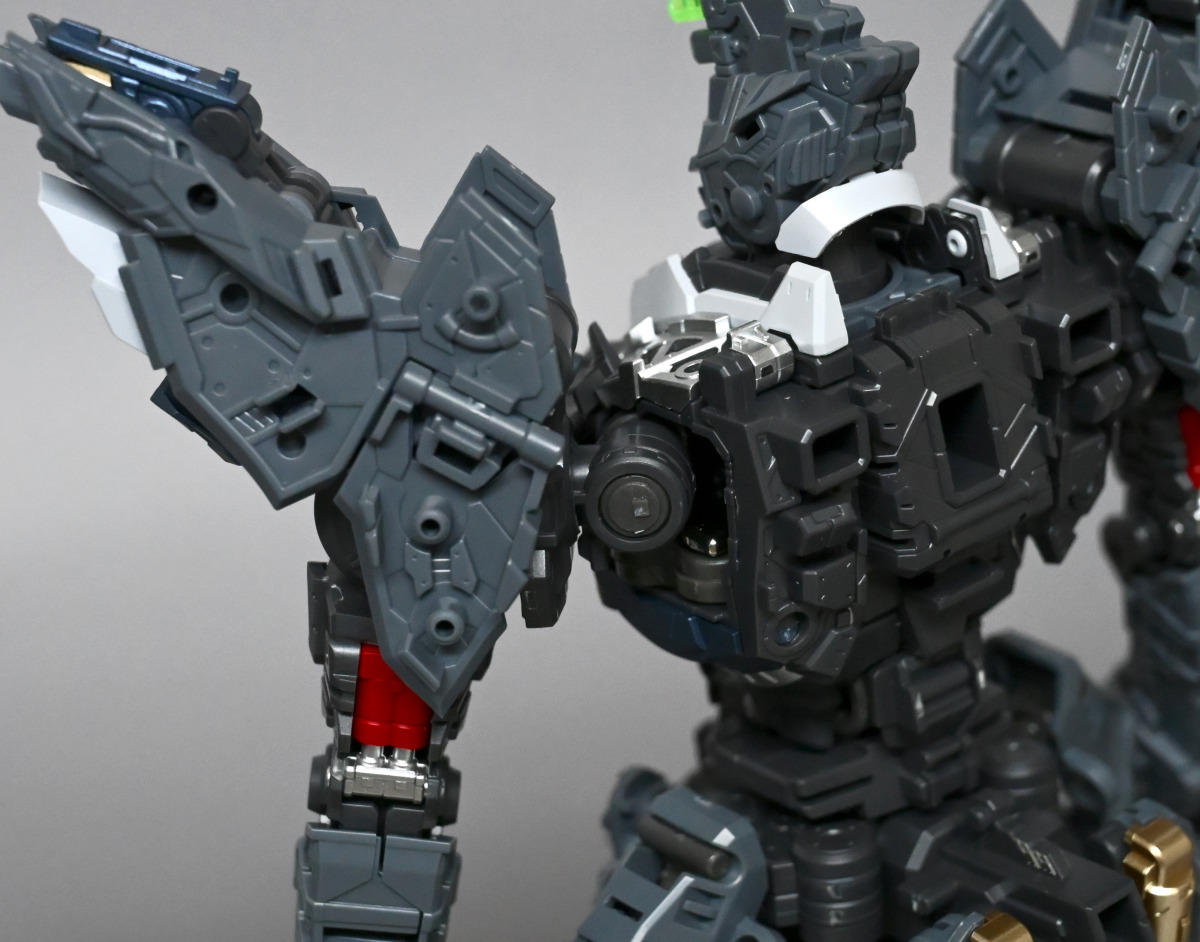
▼The funnels also have an inner frame.
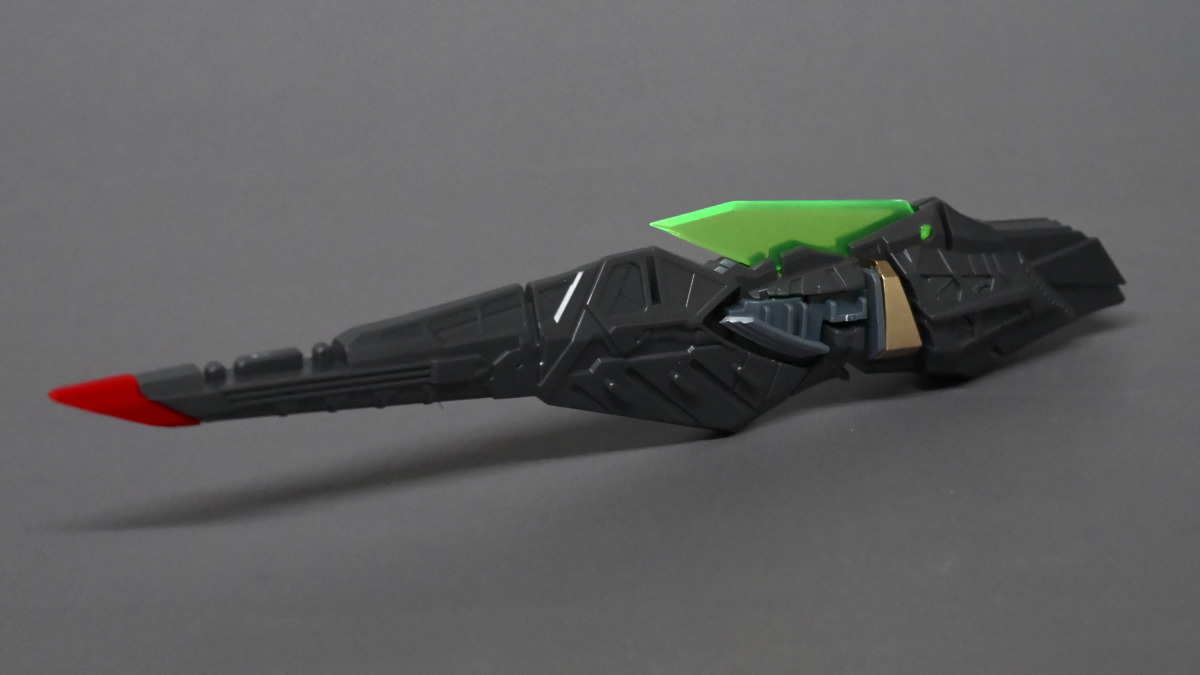
▼The green part can be pulled upwards.
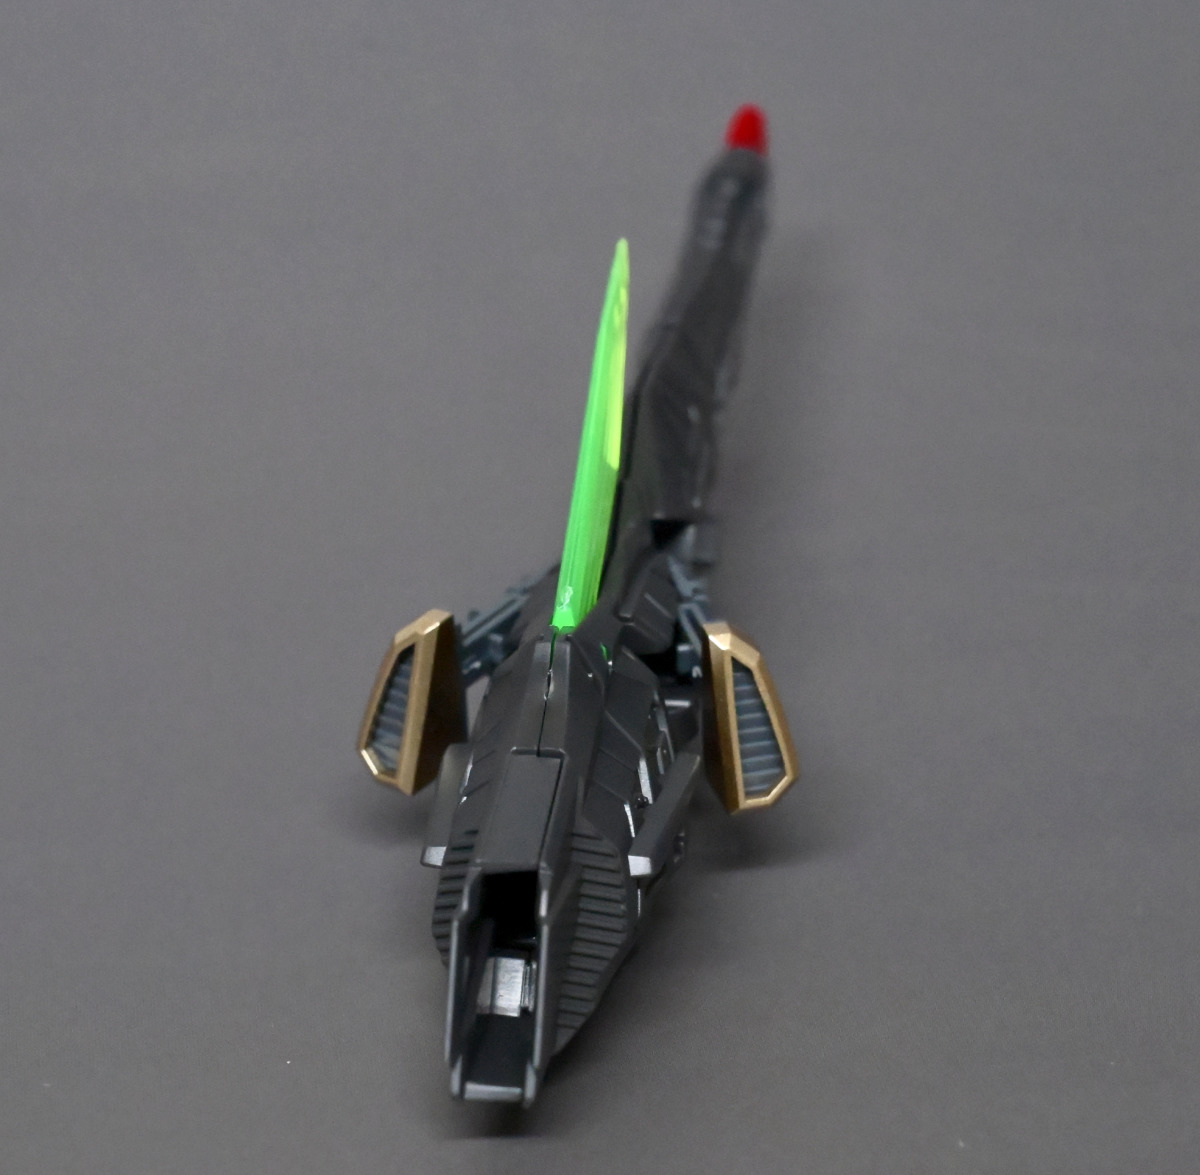
▼The left and right sides can be pulled outwards.
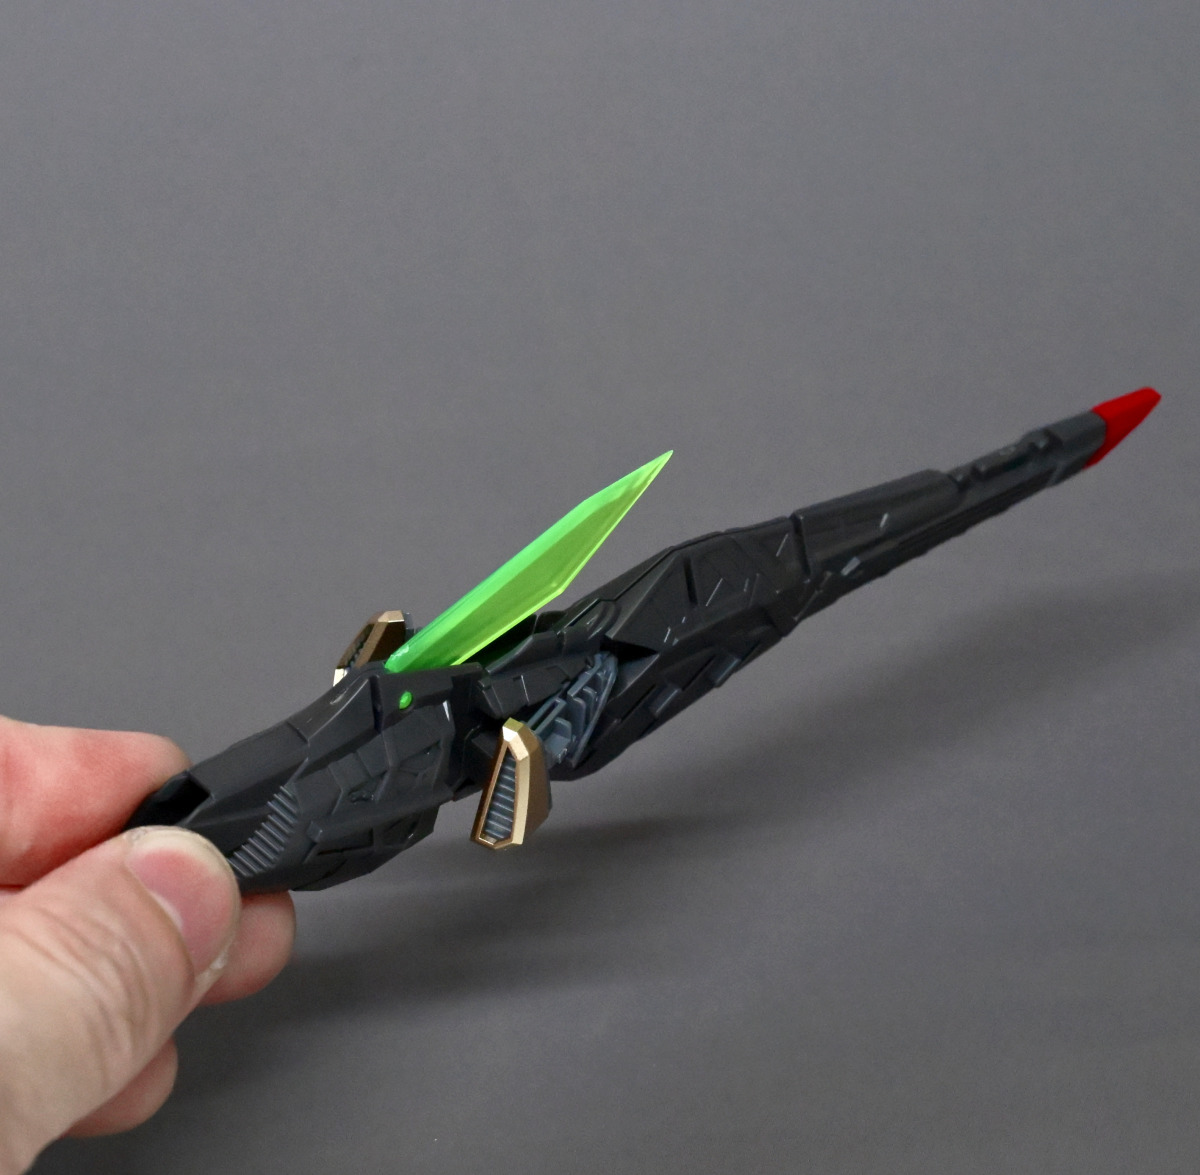
▼The Falcon, this is a drone.
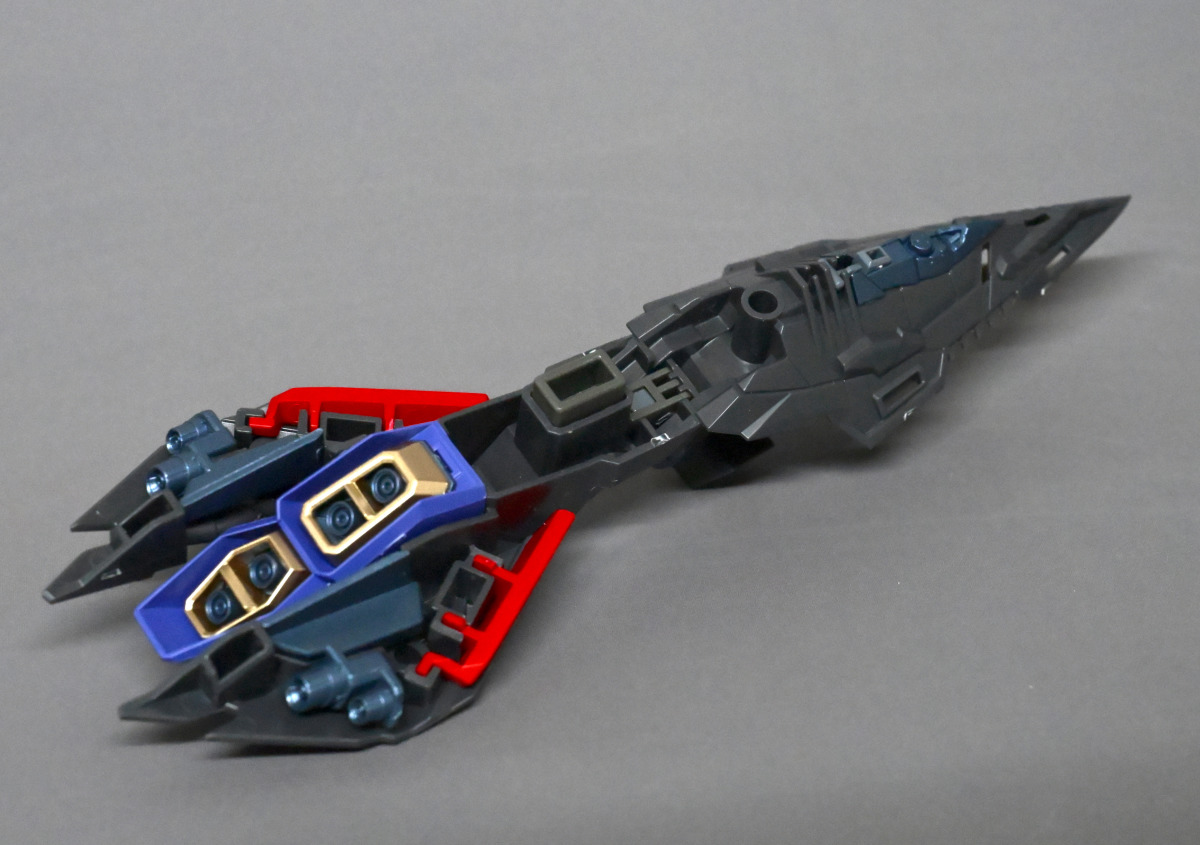
▼Pre-painted parts are used in multiple areas.
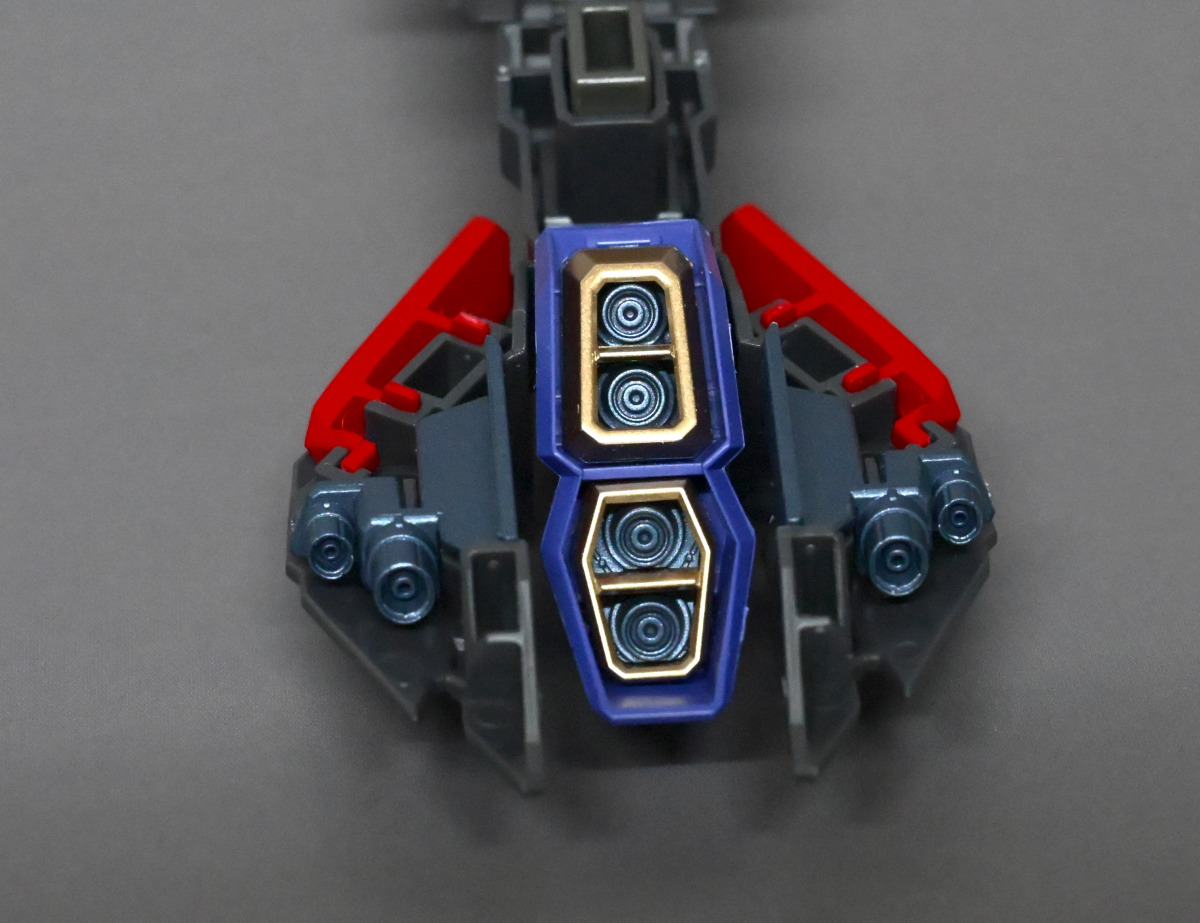
▼The mechanical arm under the Falcon can be pulled down to reveal the beam cannon.
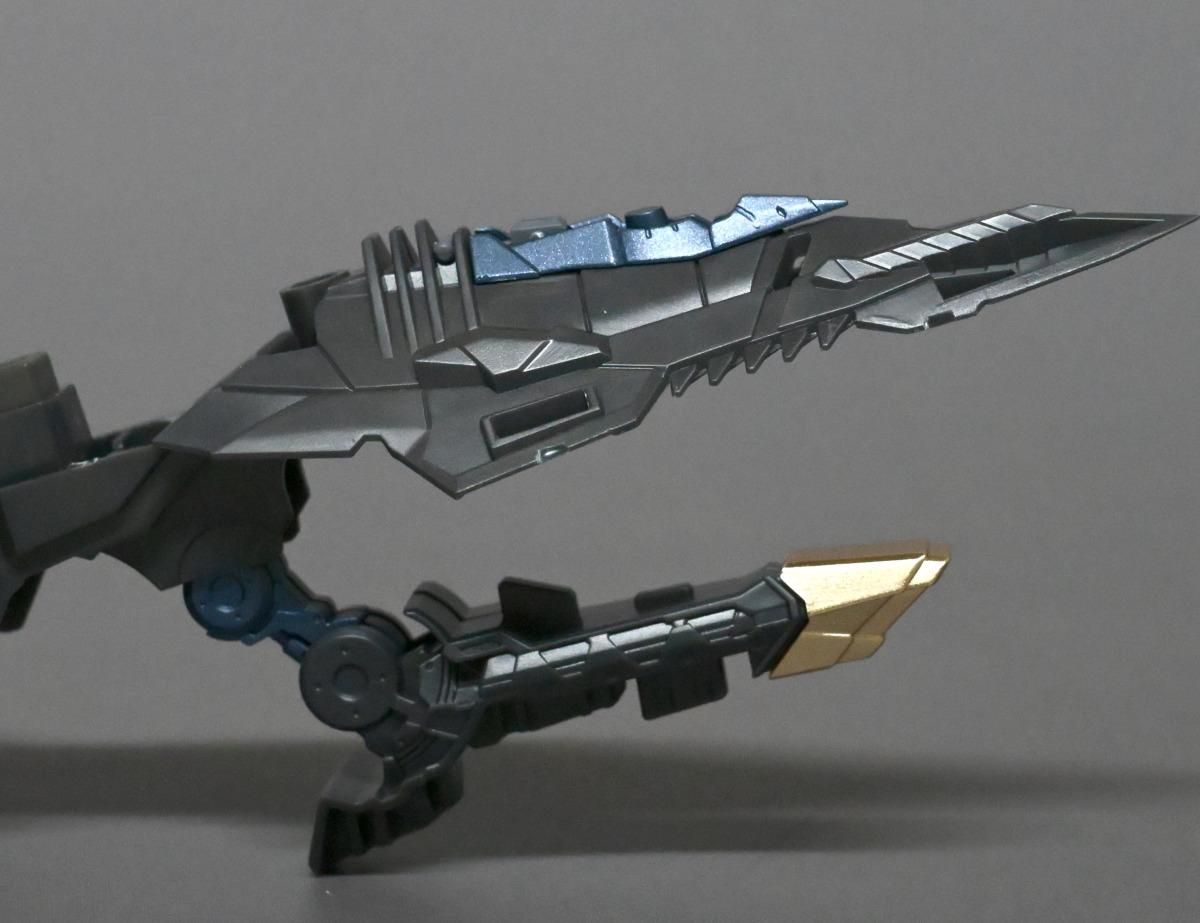
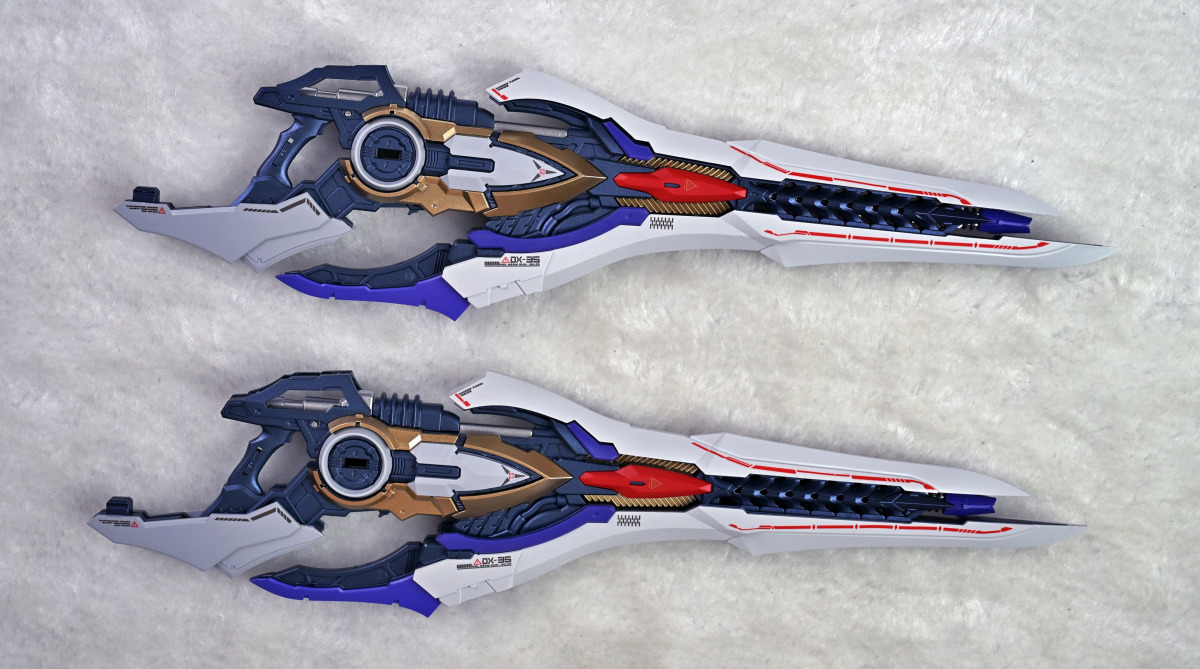
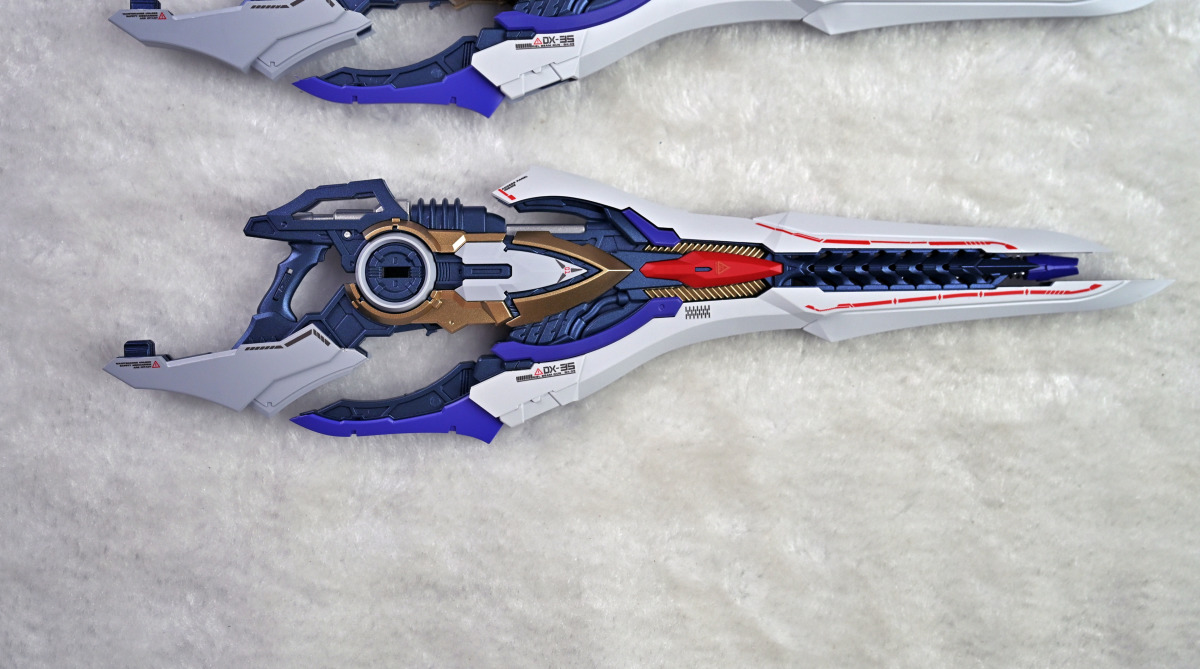
▼The beam rifle with minimal articulation is named Gungnir, also known as the "Spear of Odin" in Norse mythology.
▼The wings that carry the funnels. These wings are really, really, really~~~ hard to install! Herculean thumb strength is a must, and even then it's hard to press in. Too much force and you risk breaking it; too little and it won't go in. The forum member who gifted me the kit warned me not to follow the manual's assembly order and avoid disassembling it, as it's prone to breaking and extremely difficult to take apart once assembled. So, I deliberately left them for last, to be assembled after taking the photos.
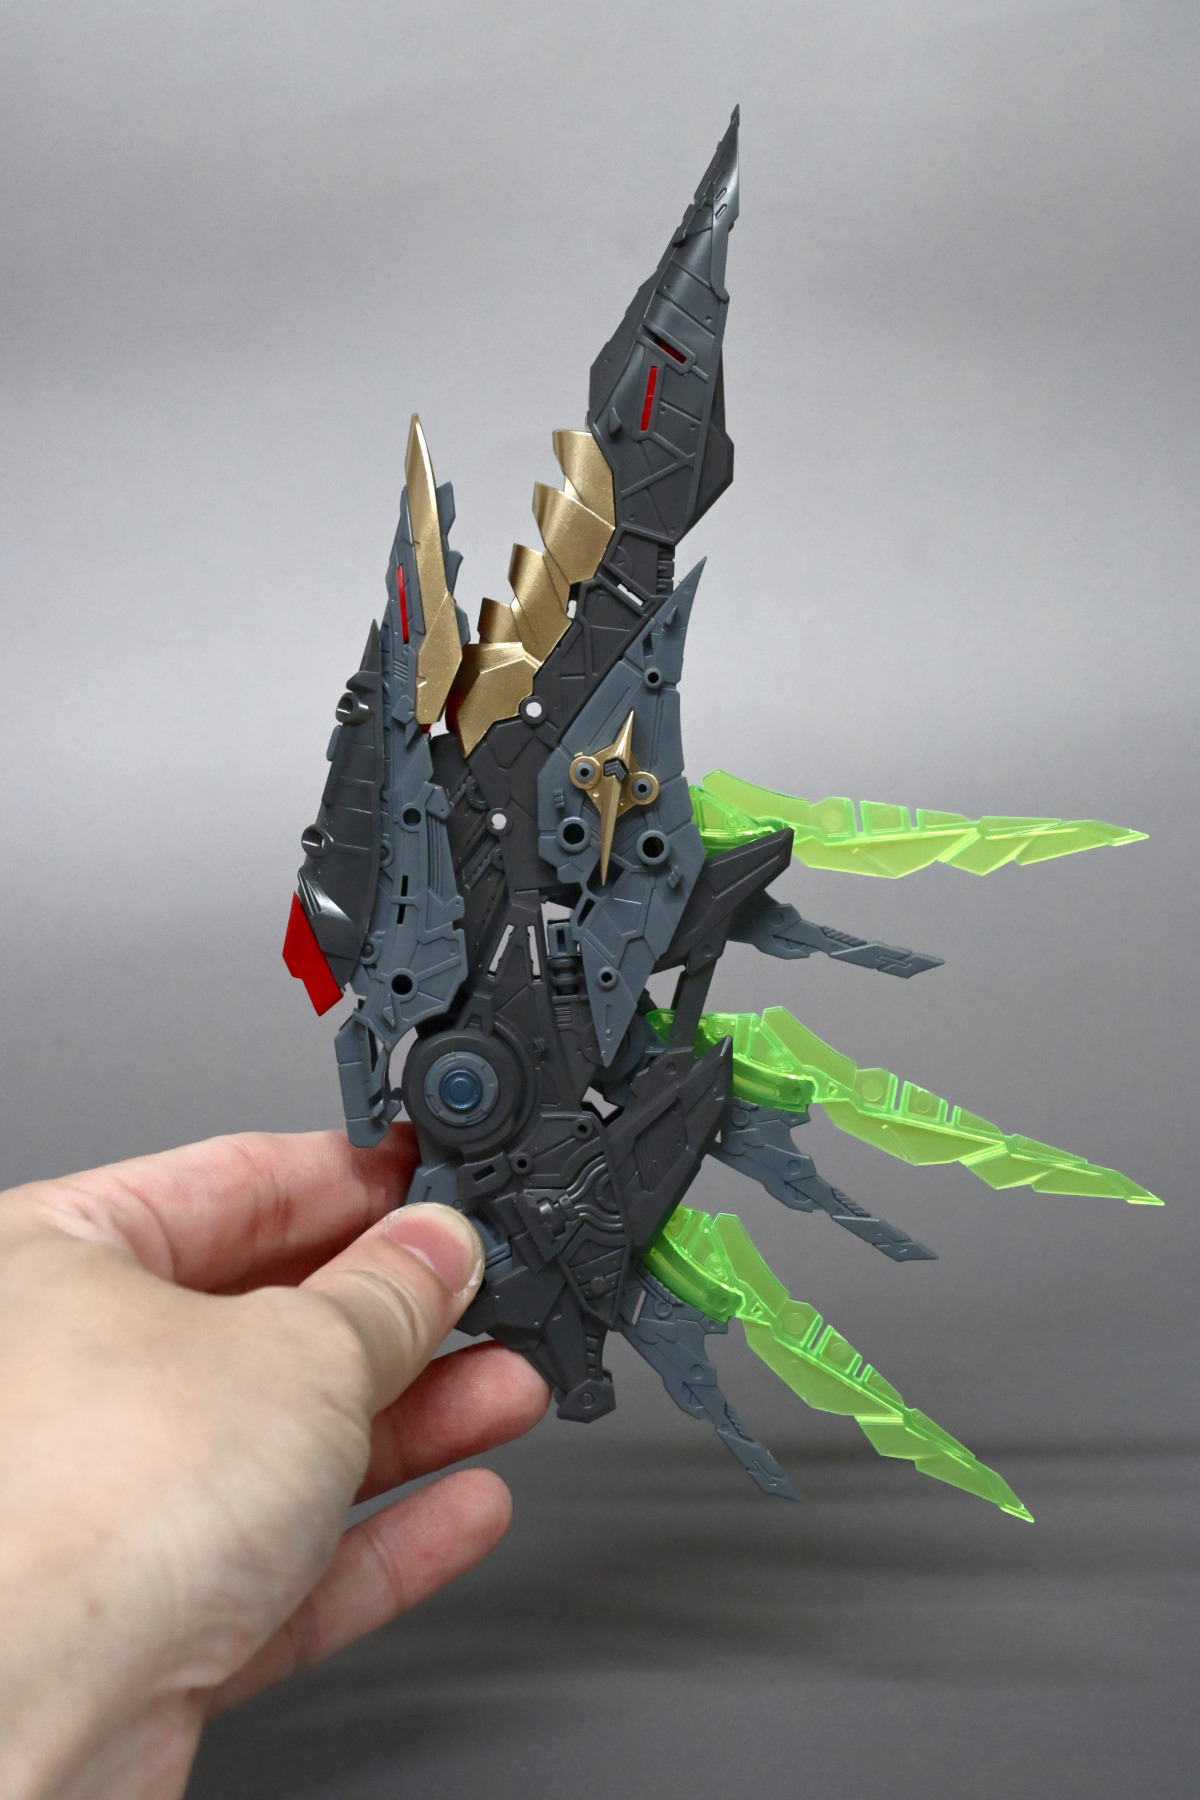
▼Deployed.
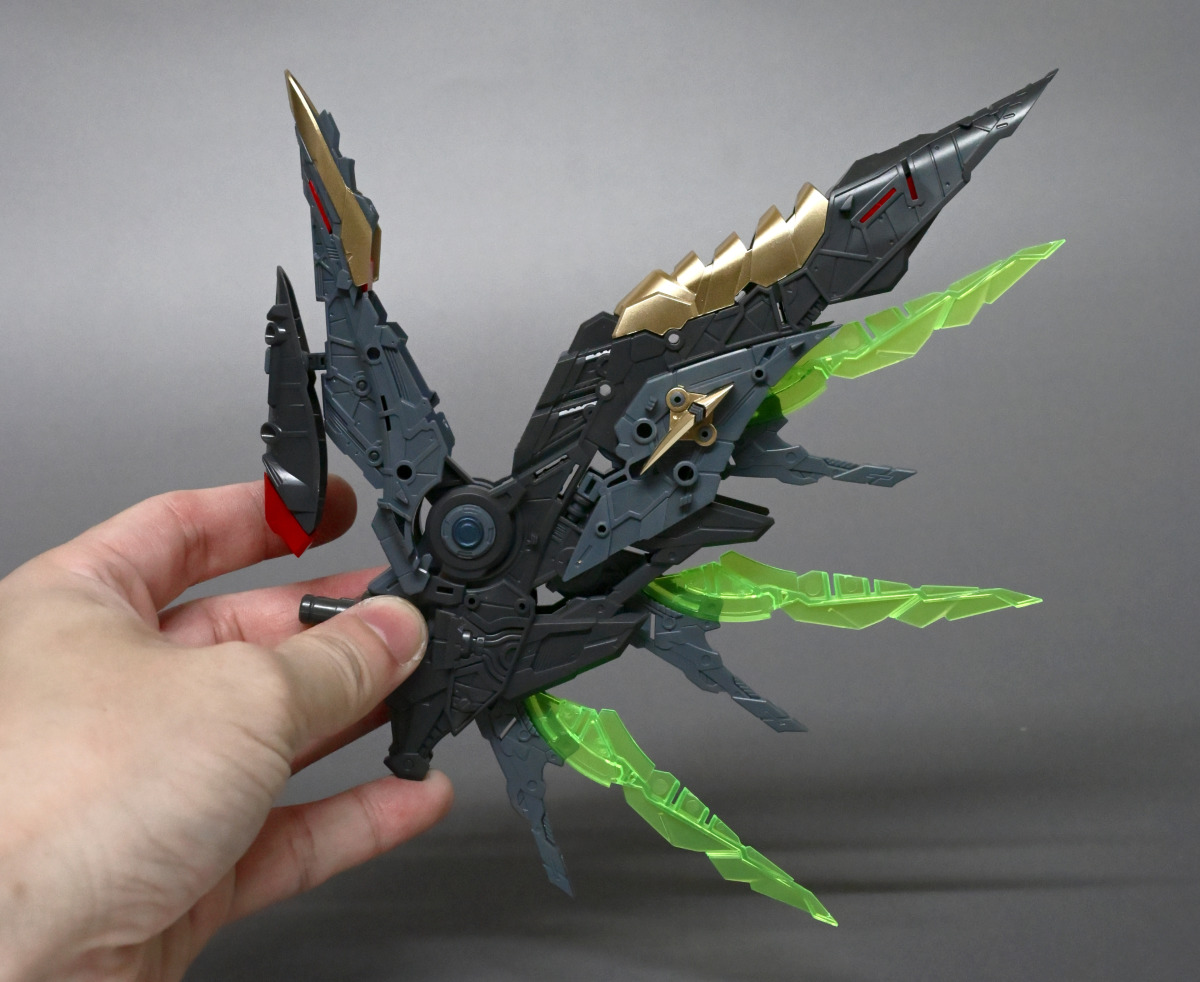
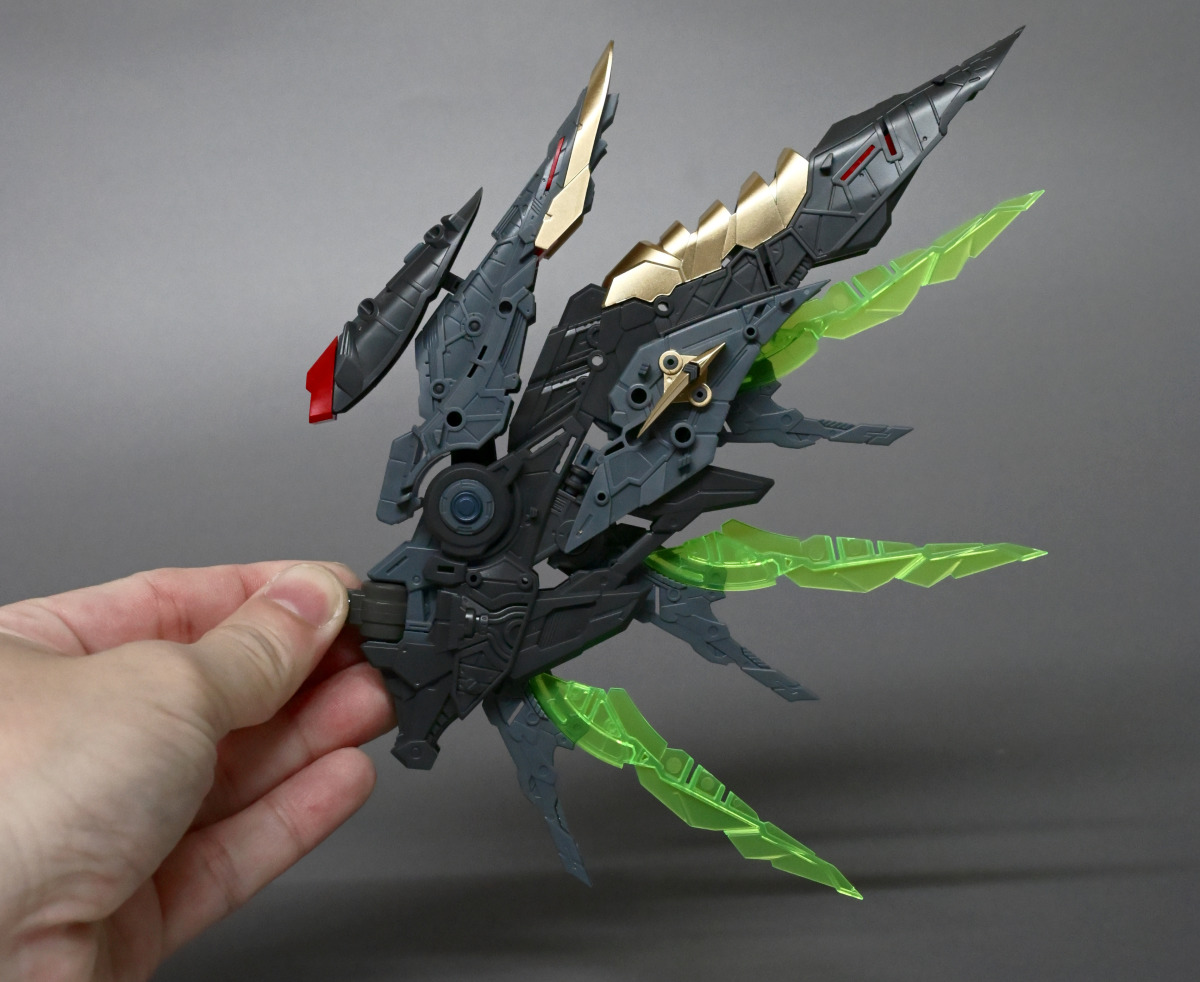
▼The structures in three places are all articulated.
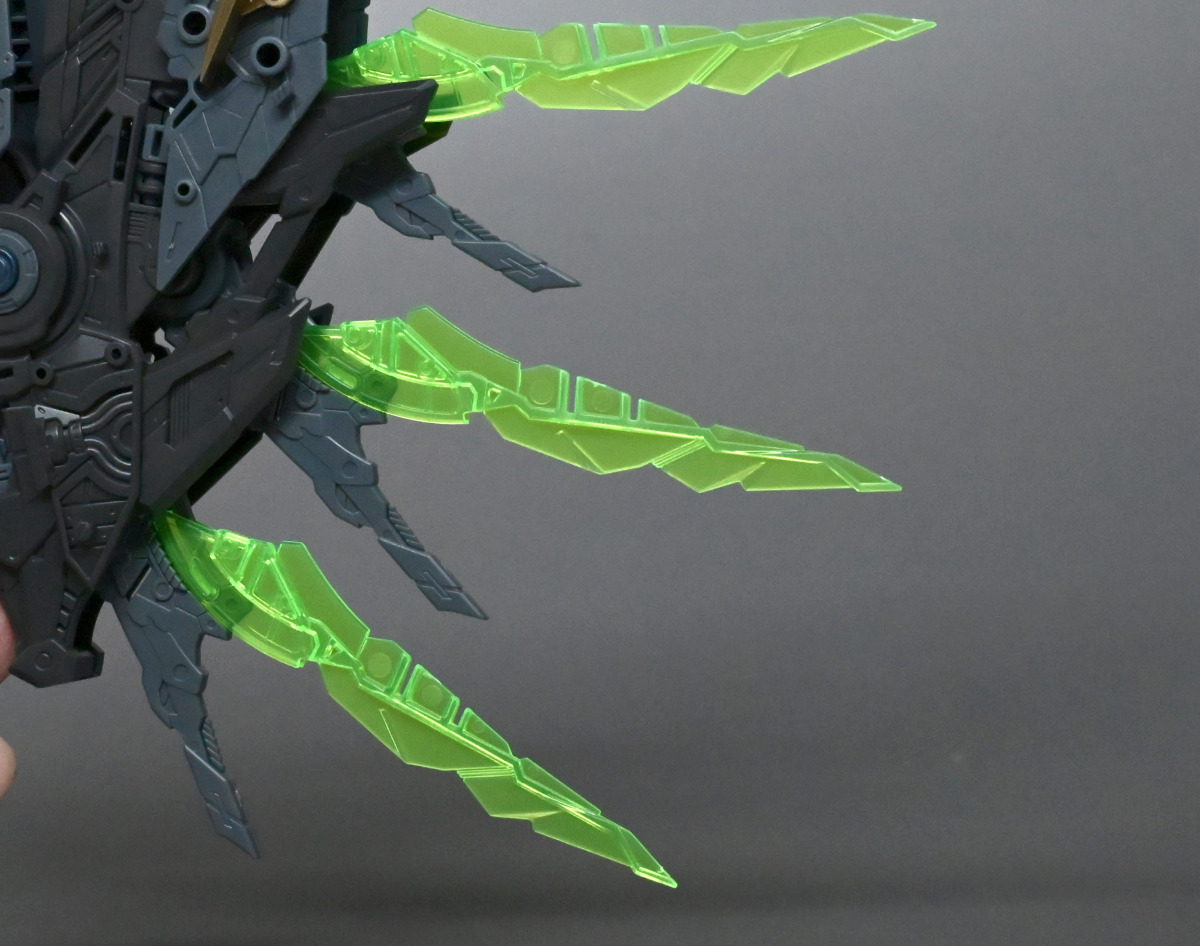
▼Next is to attach the metal frame parts.
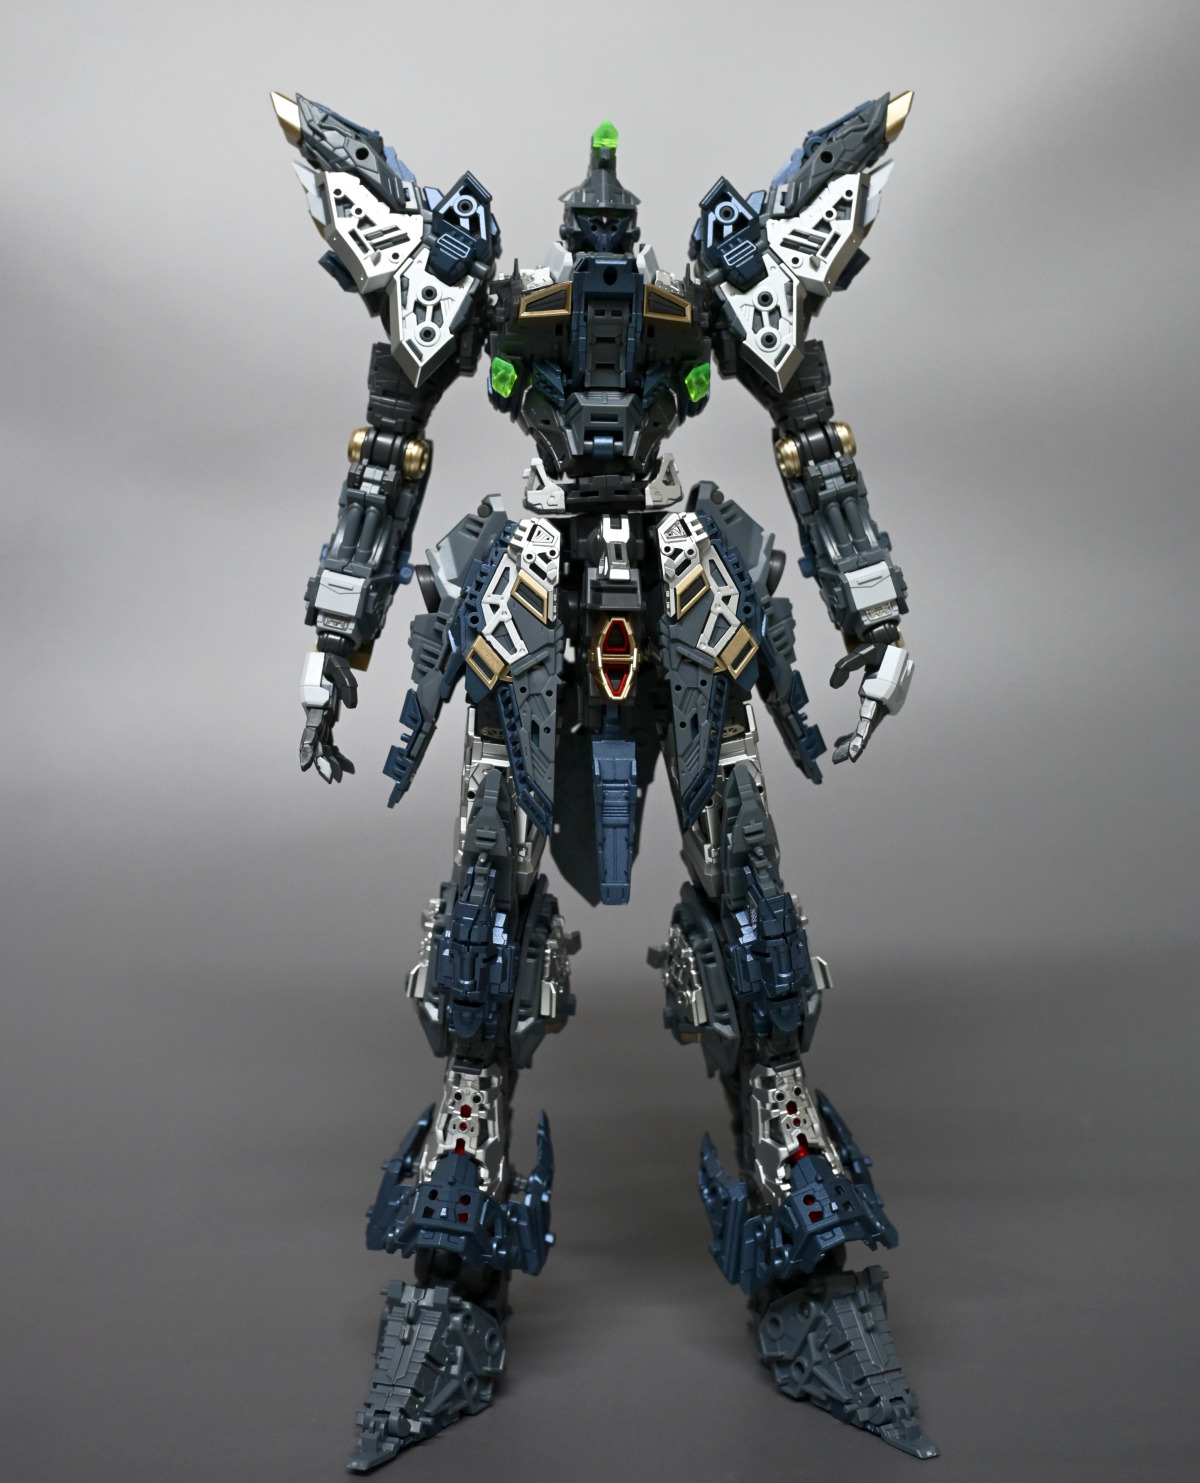
▼After layering on the metal frame, the shoulders look much more robust.
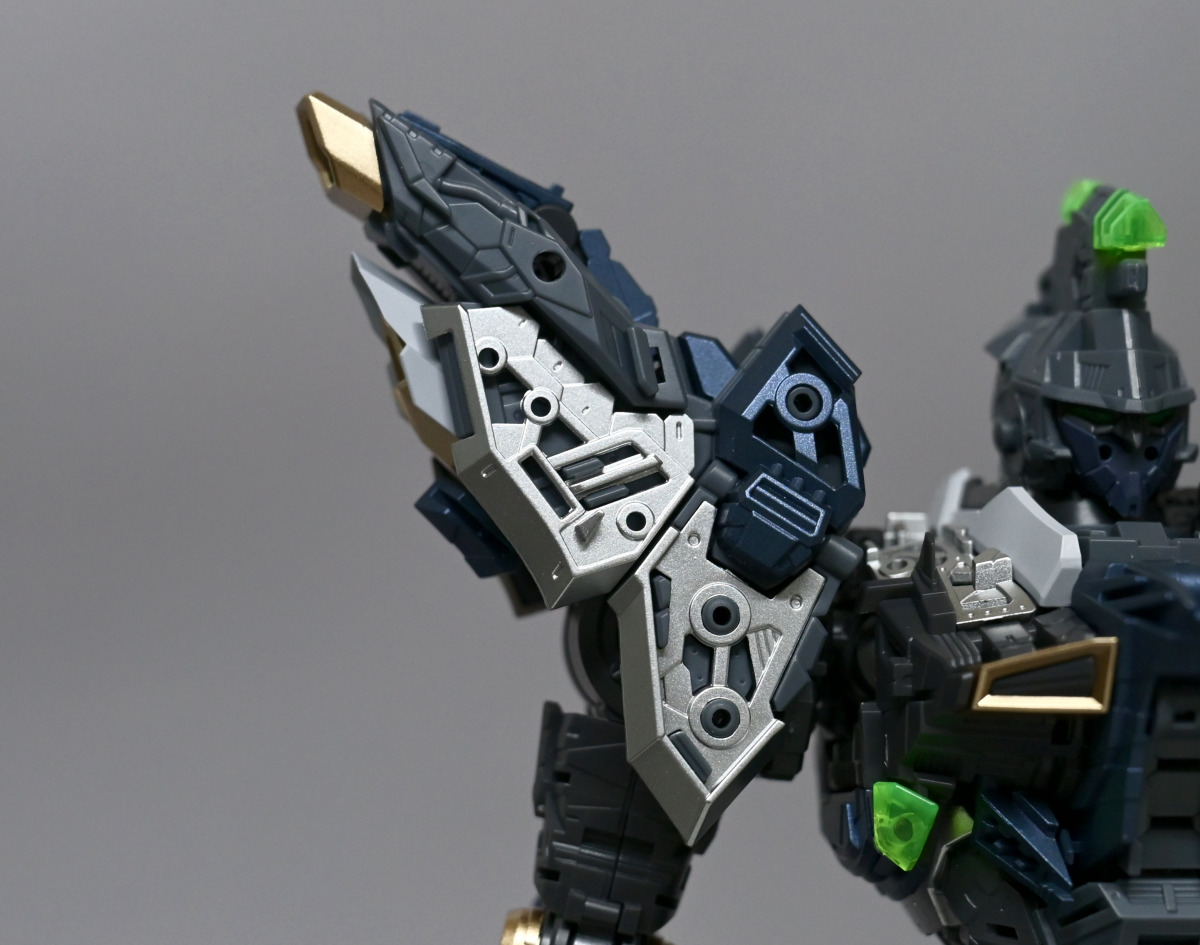
▼Chest.
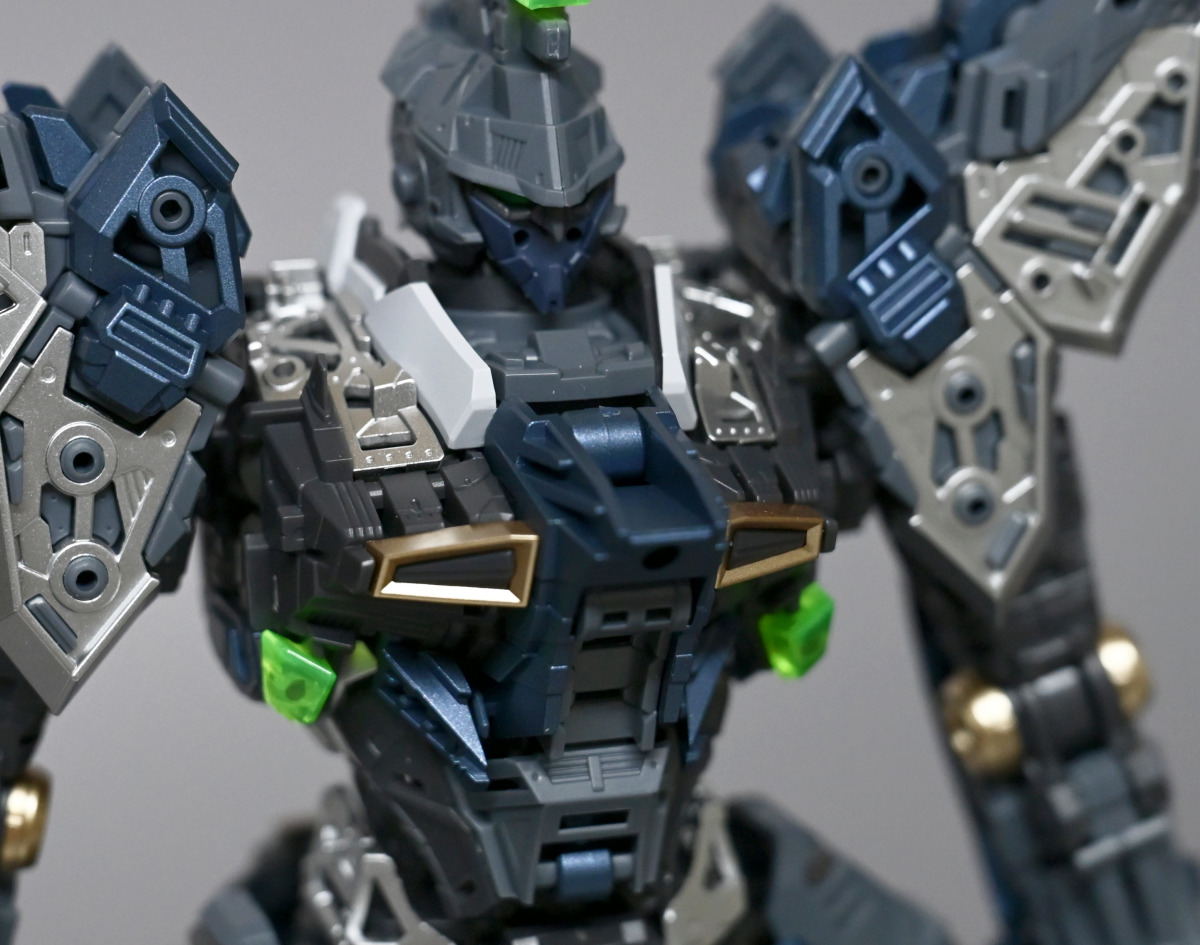
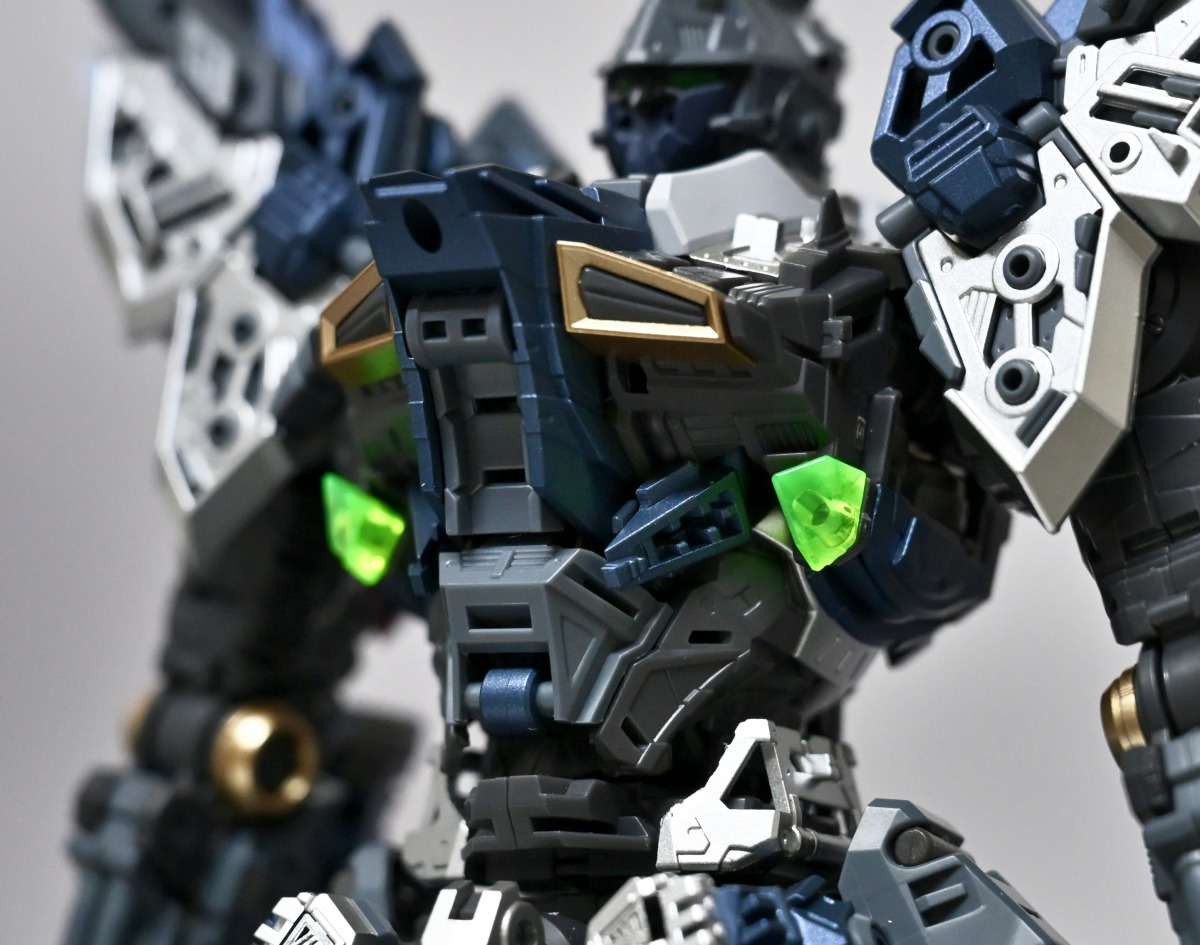
▼The hands use a replaceable peg-joint system.
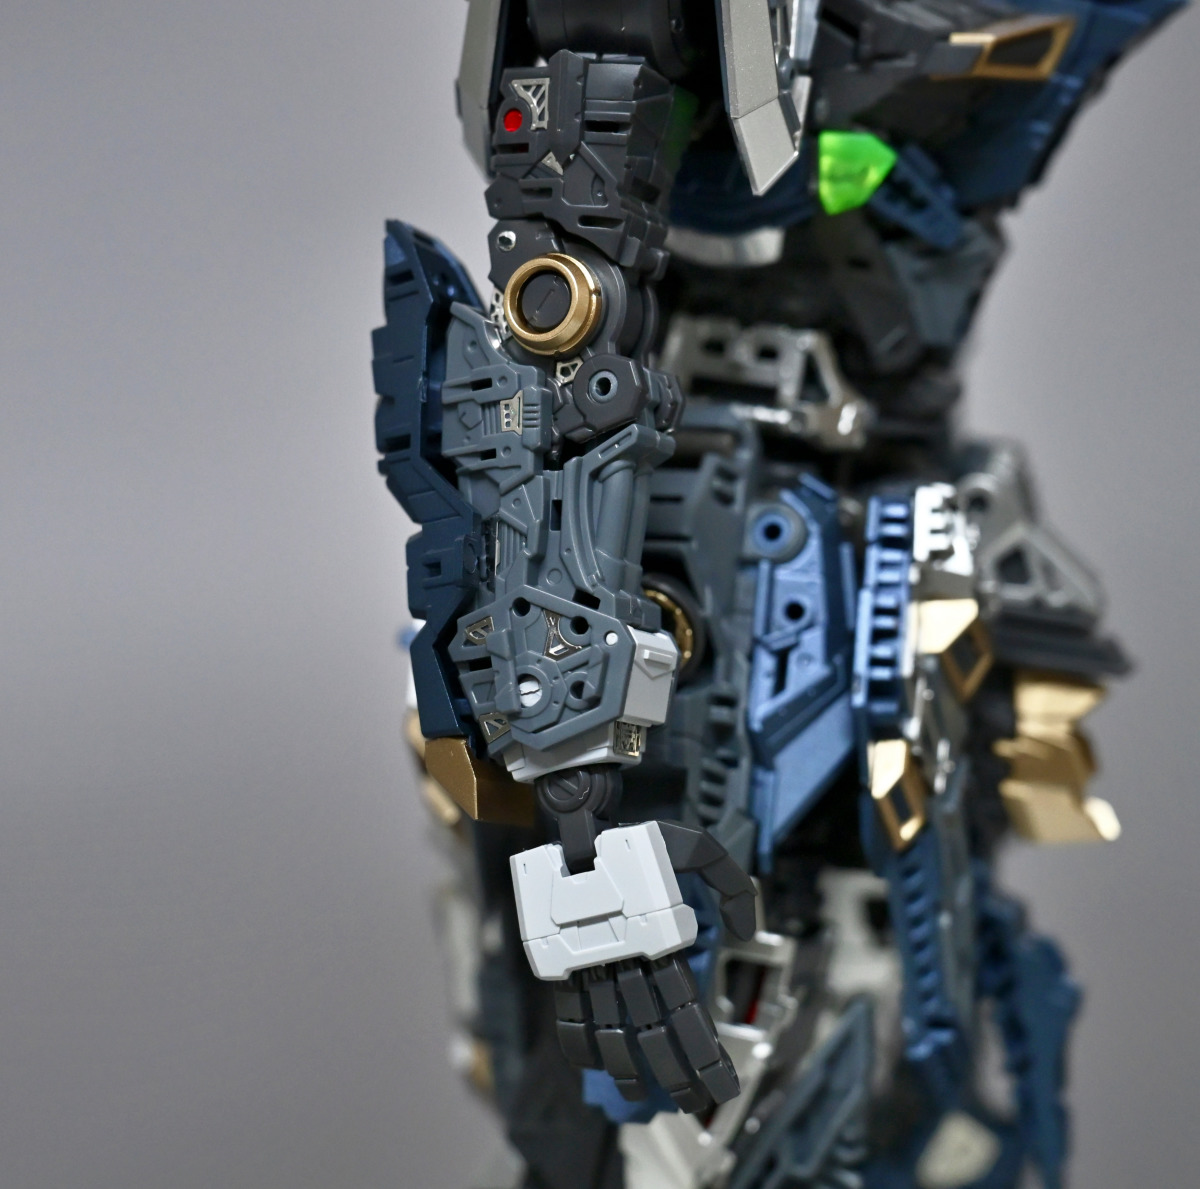
▼The arms are covered in photo-etched parts. These PE parts are extremely small. For someone of my age, it's impossible to apply them without glasses. Also, be careful when handling them with tweezers as they can easily fly off. Furthermore, they might not stick well and require some super glue.
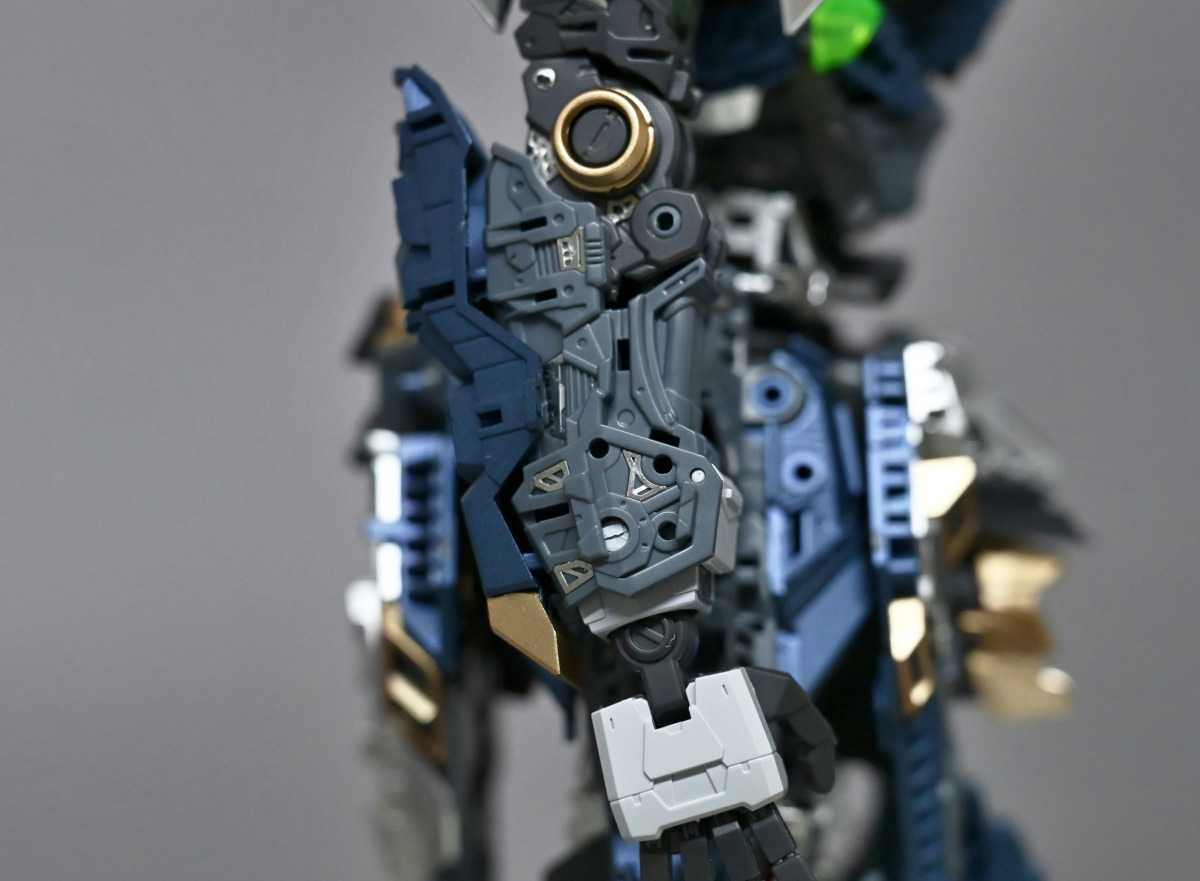
▼The chest can be opened to reveal the cockpit inside.
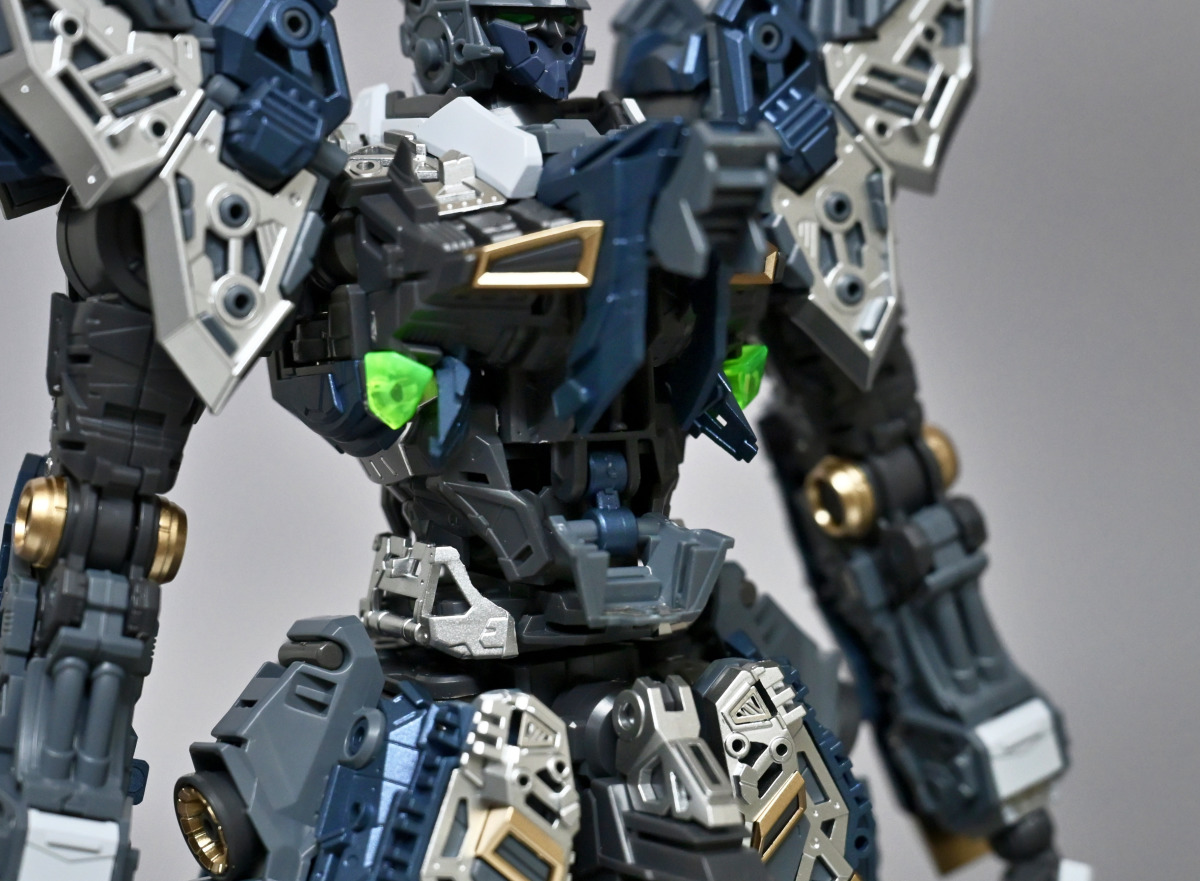
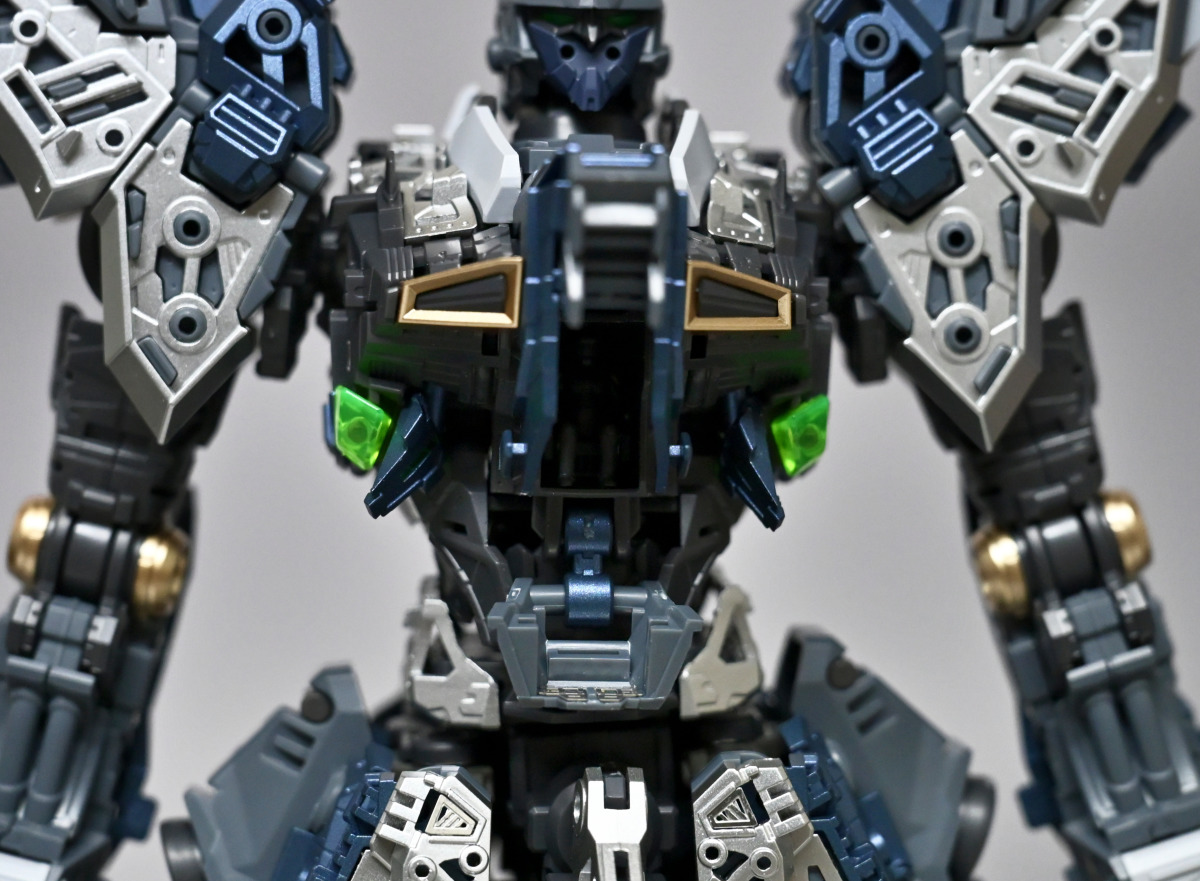
▼Layering the metal frame on the left and right skirt armor.
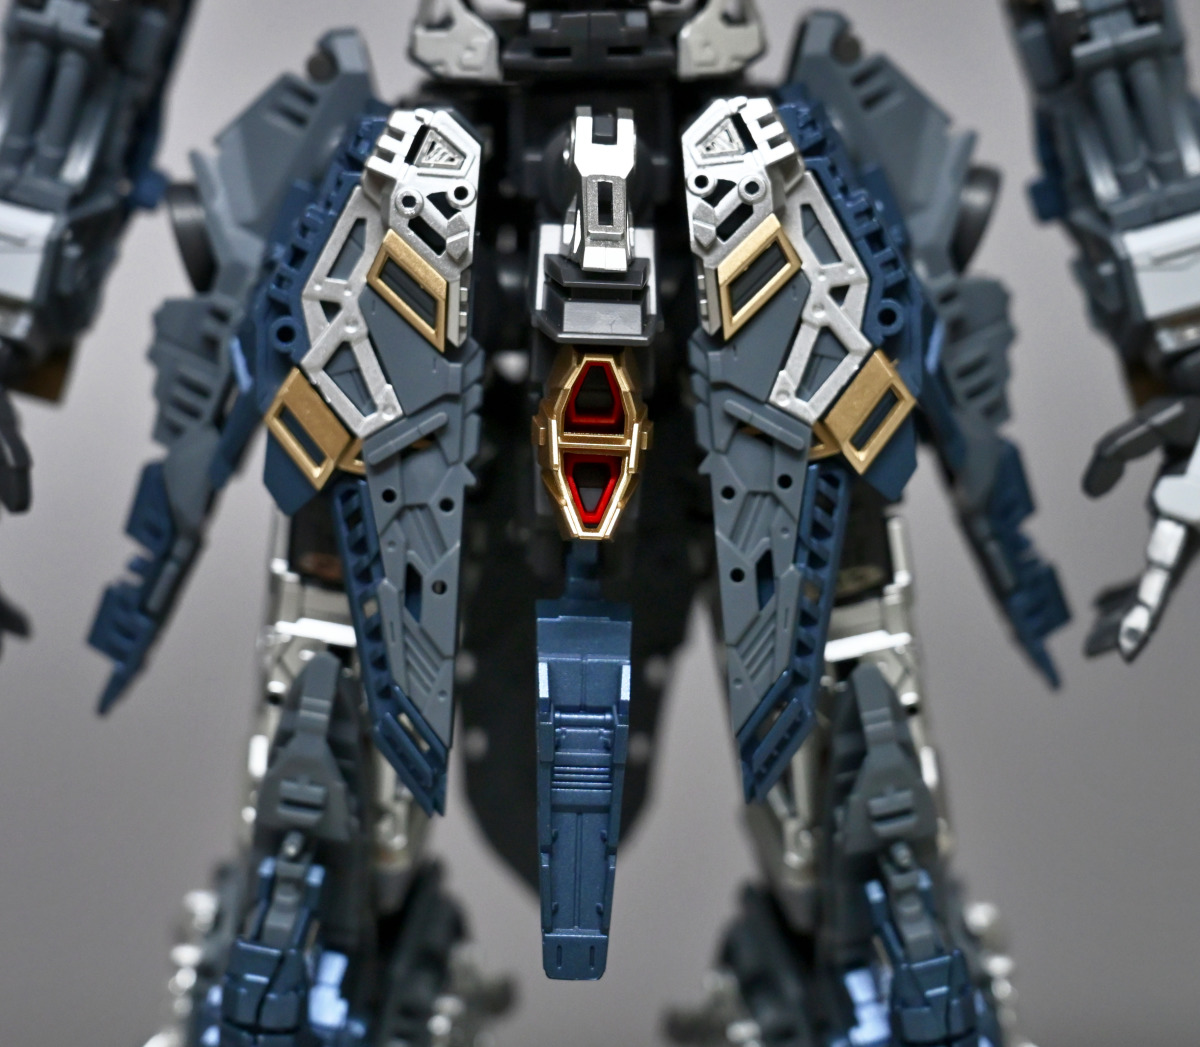
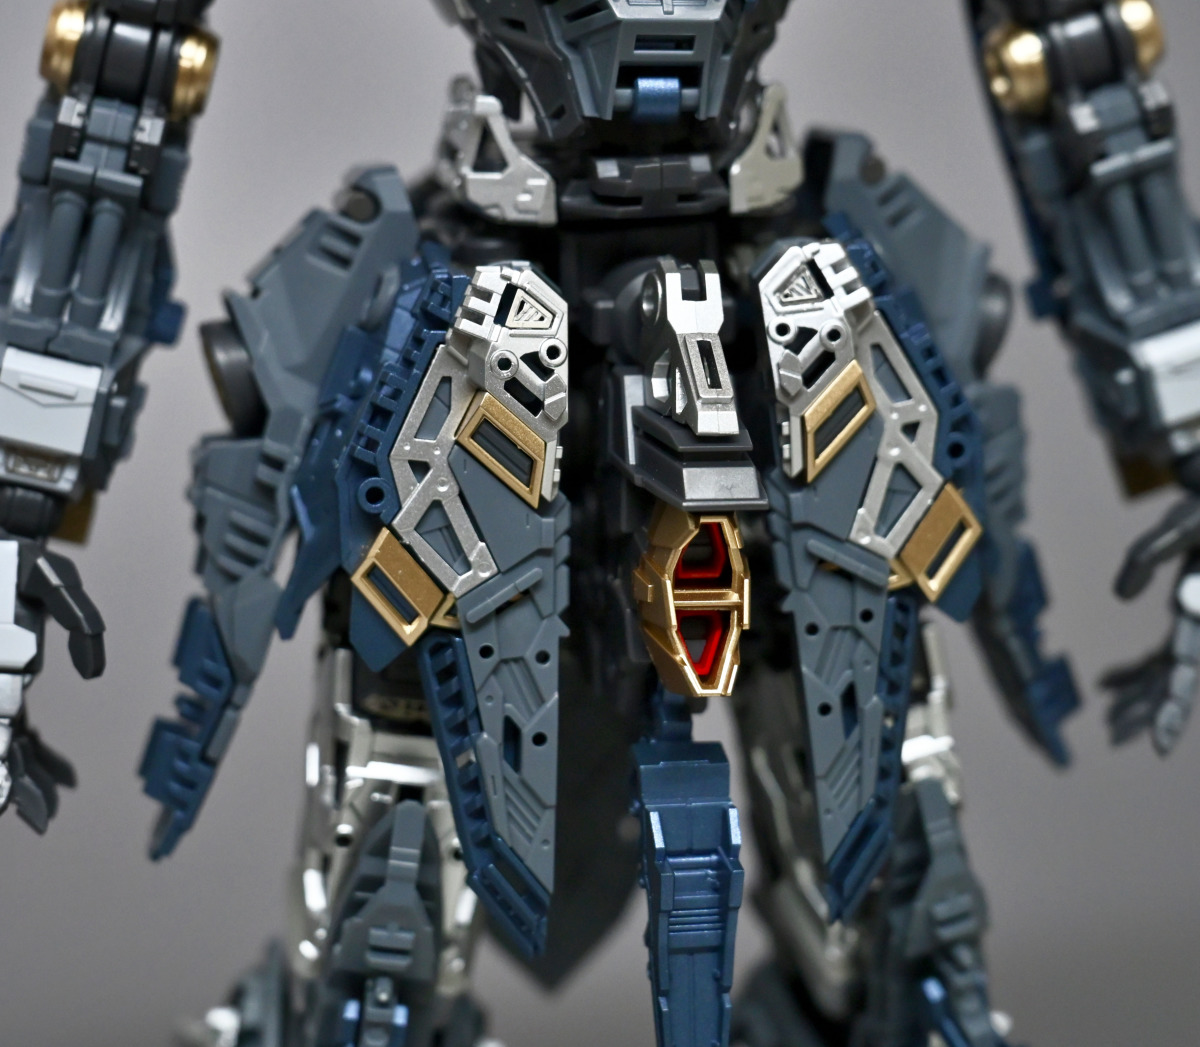
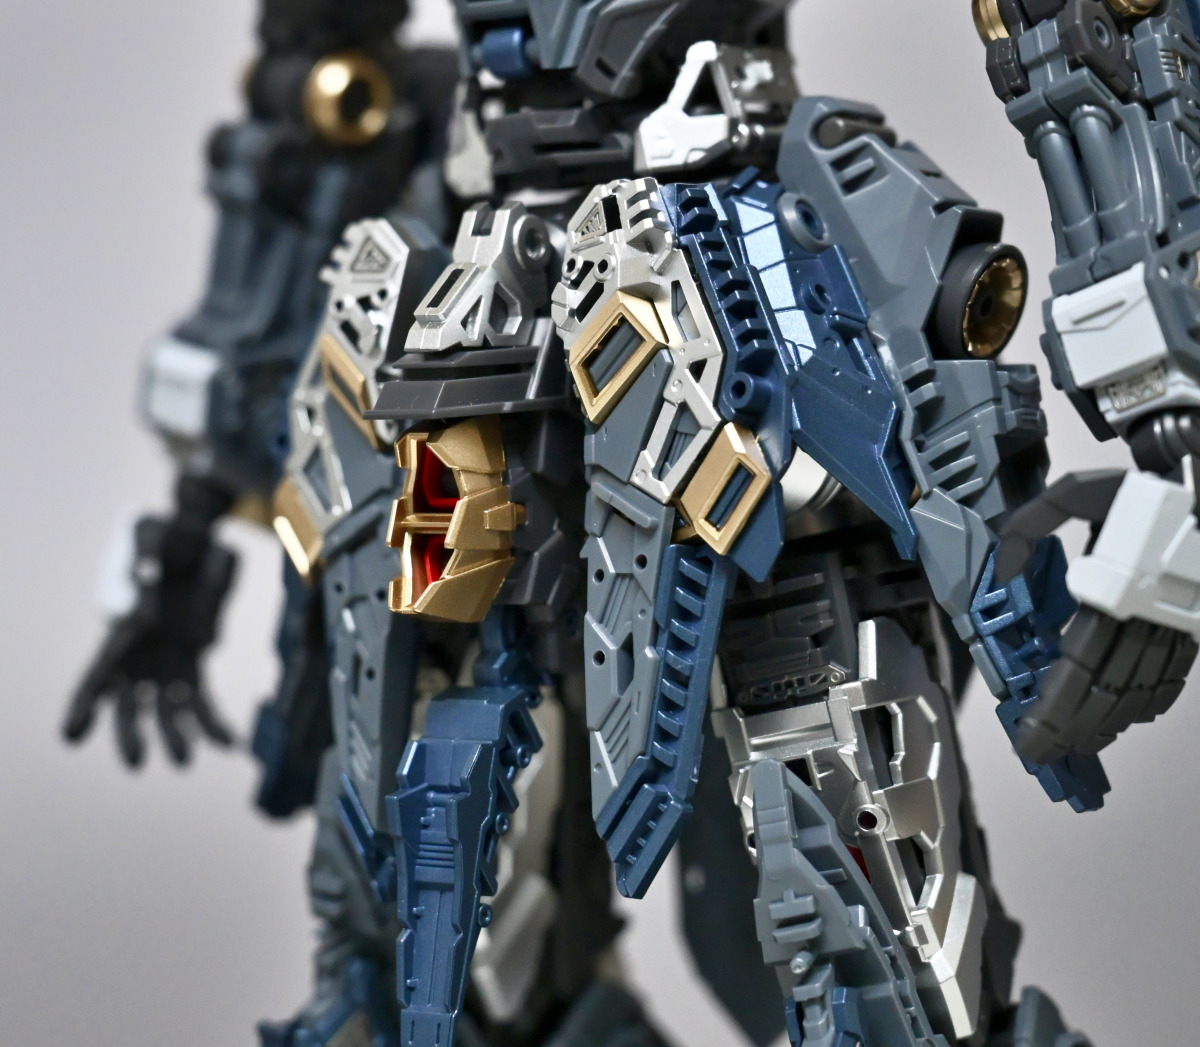
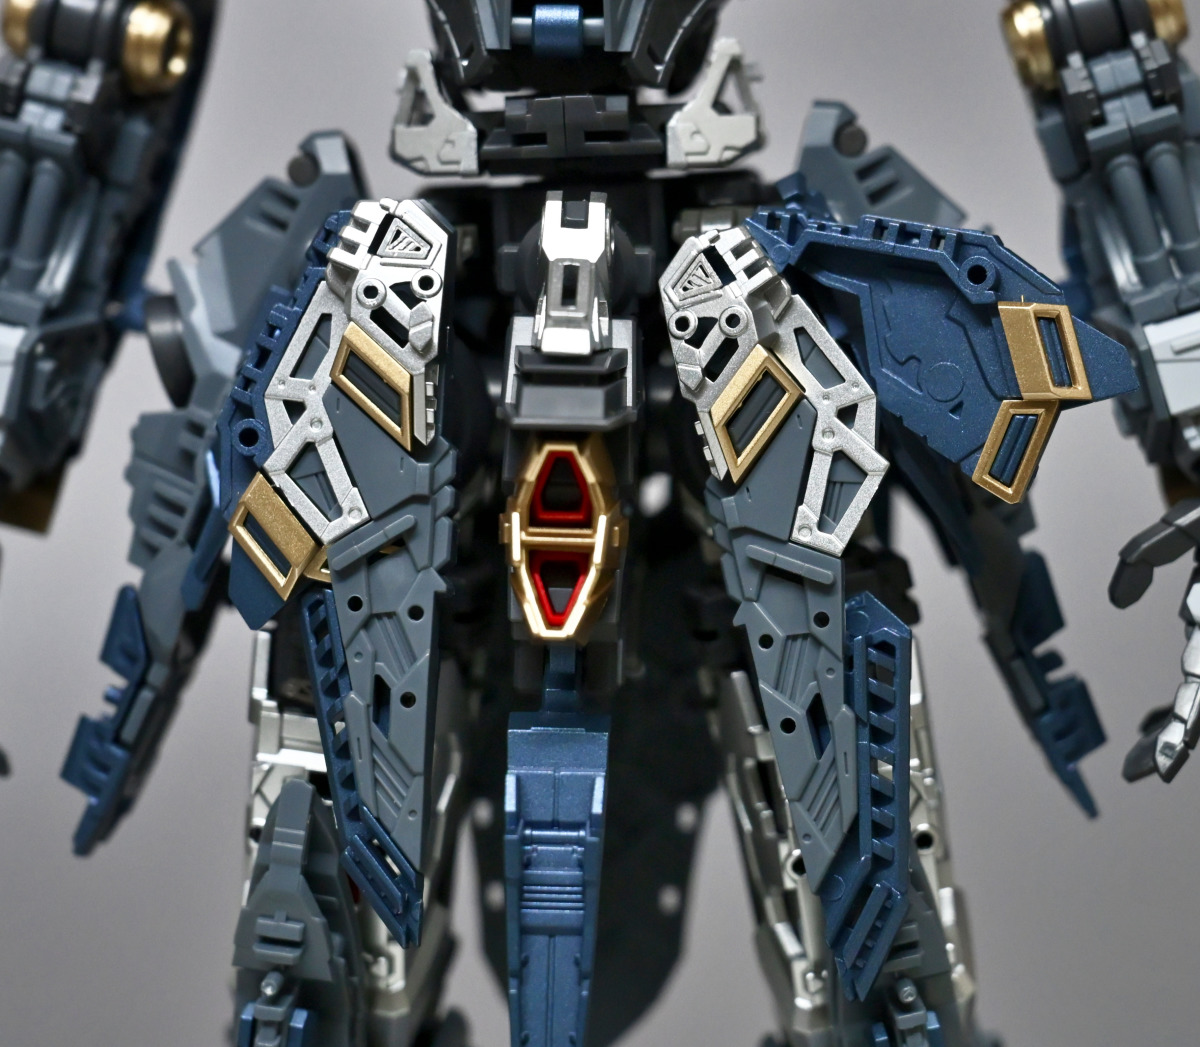
▼The thighs also have detailed photo-etched parts. I recommend using super glue here.
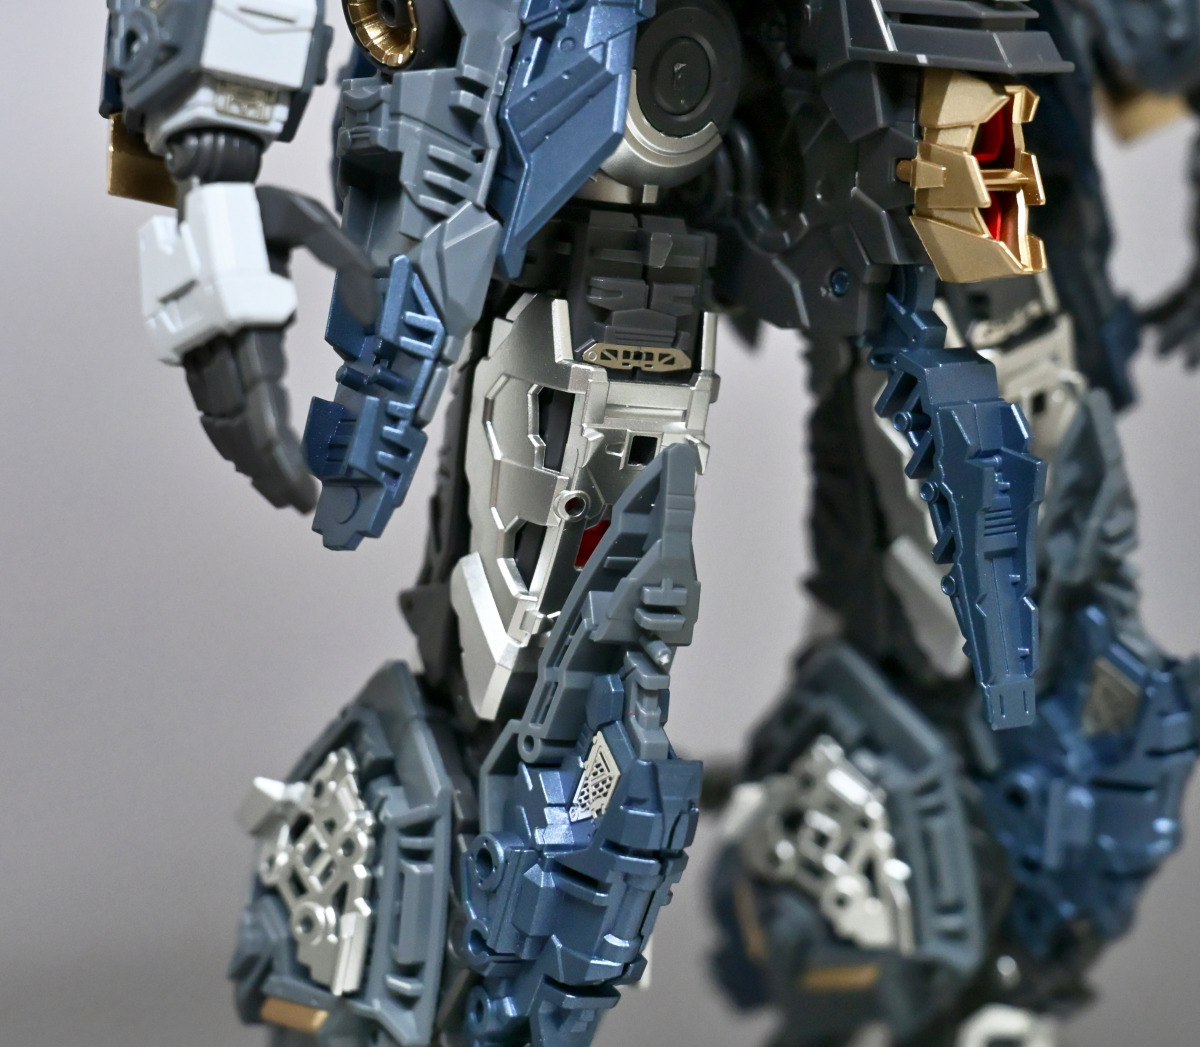
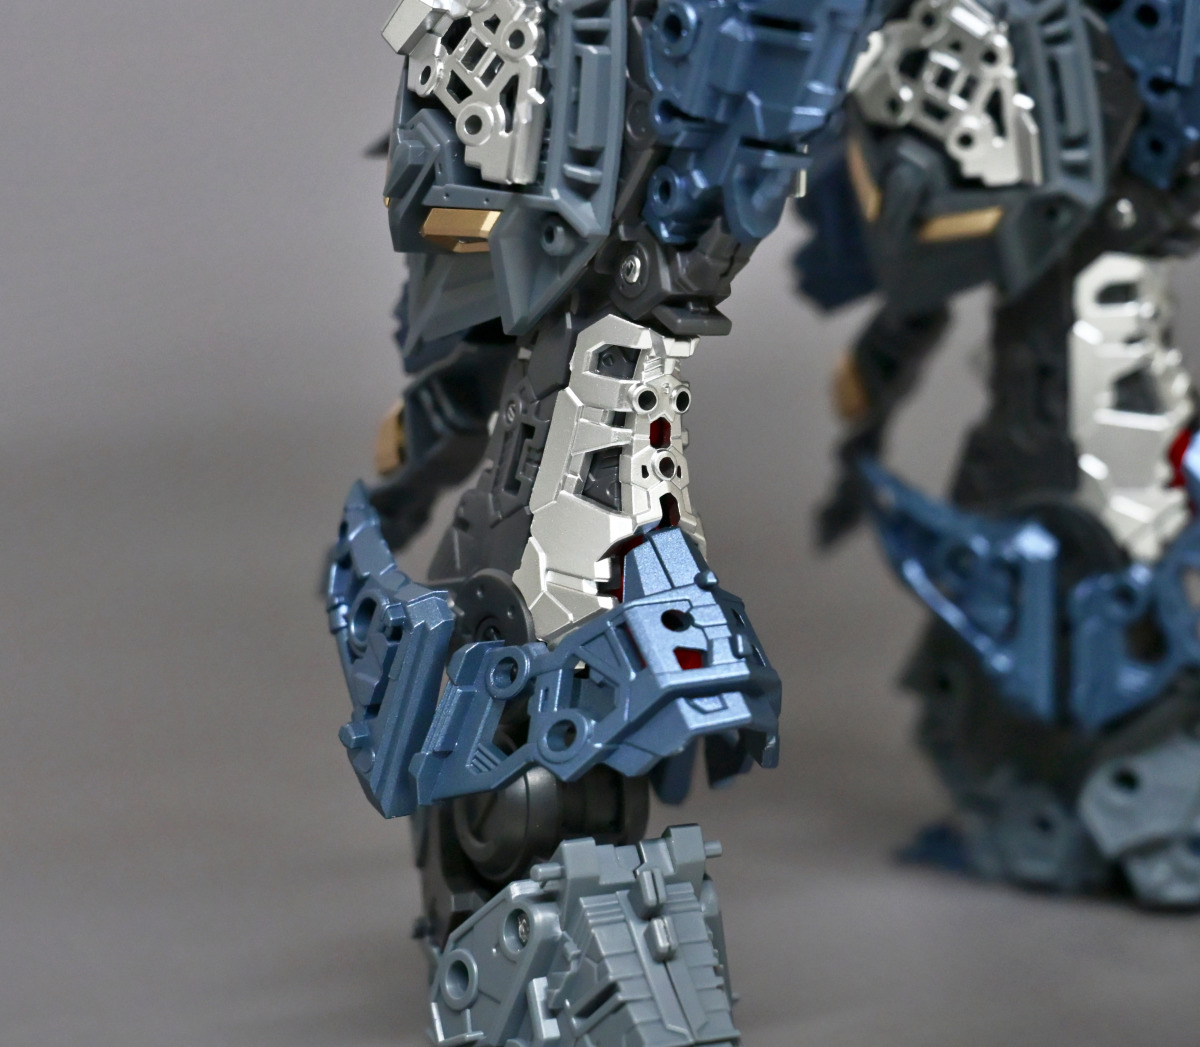
▼Lower leg metal frame.
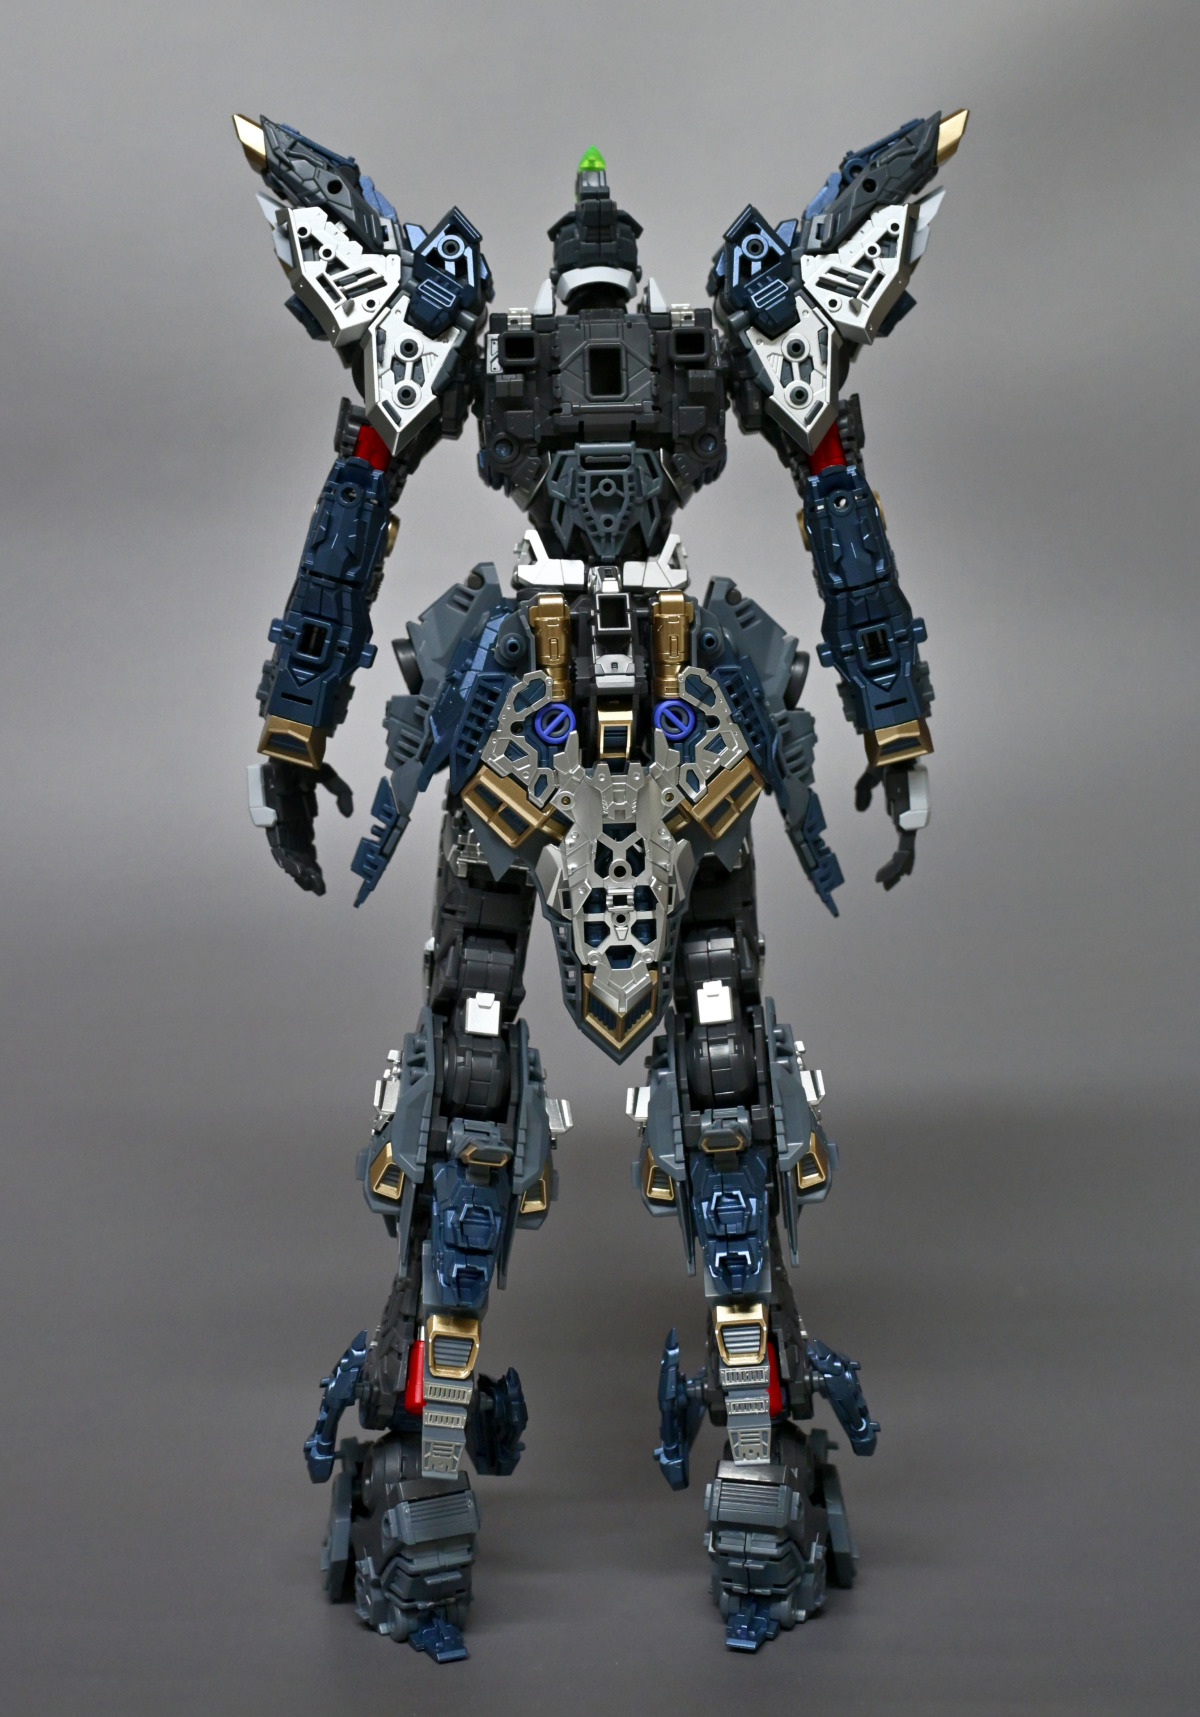
▼Back view.
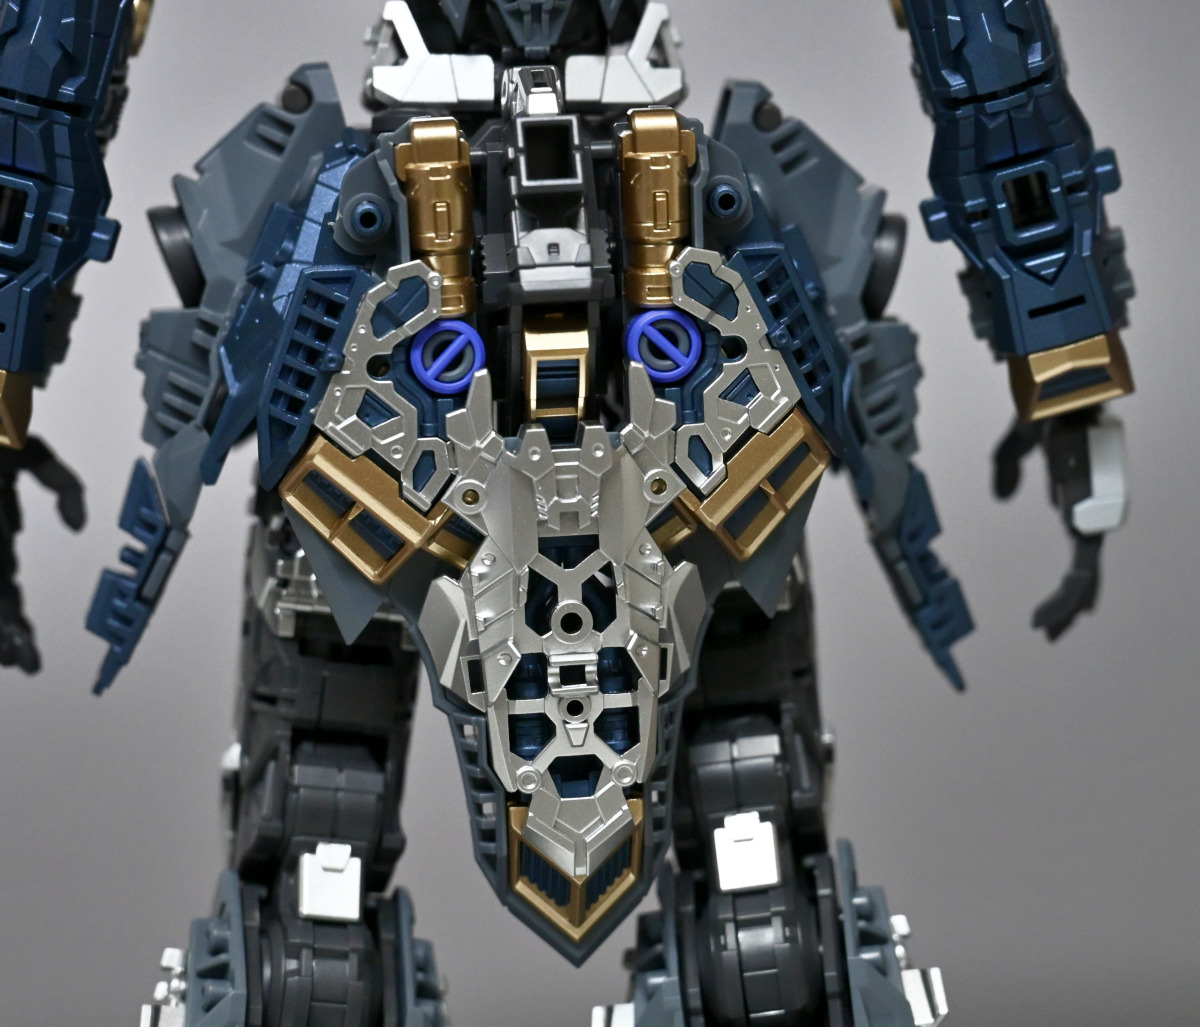
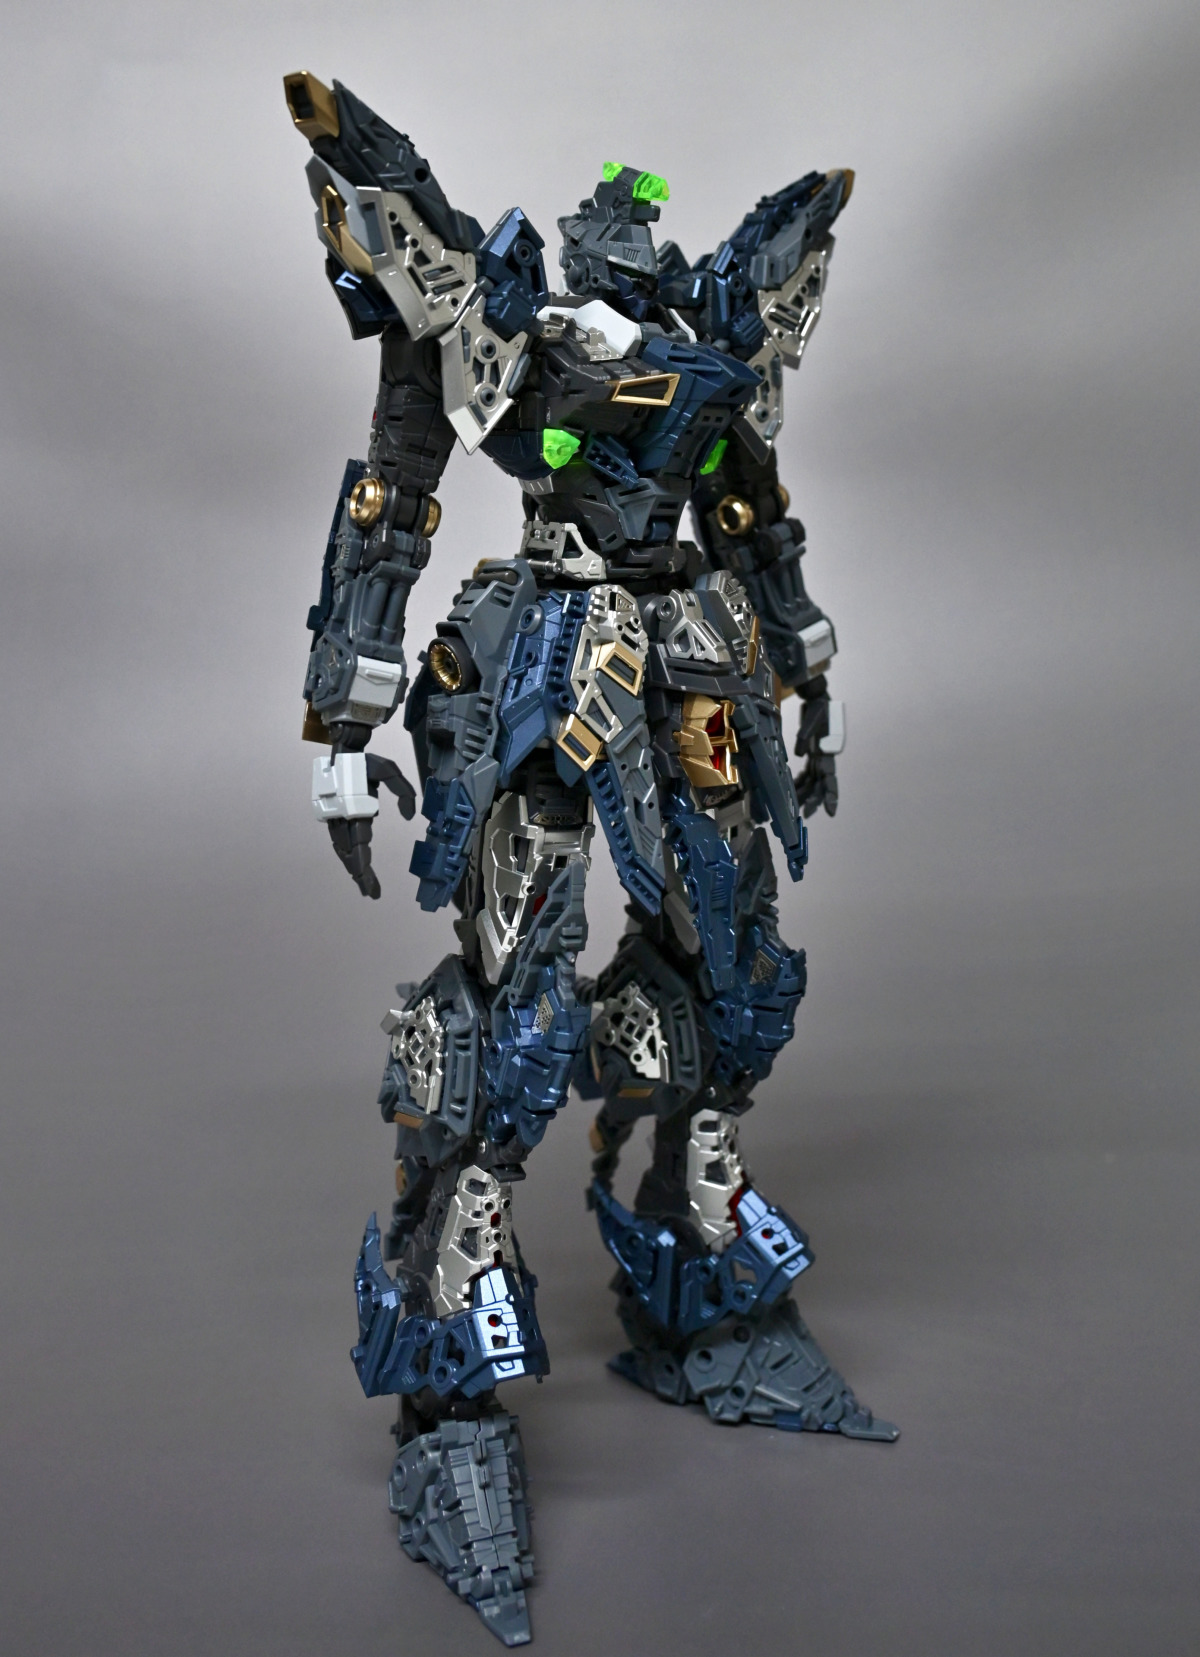
▼After installing the metal frame, the rear skirt armor looks much richer and less plain.
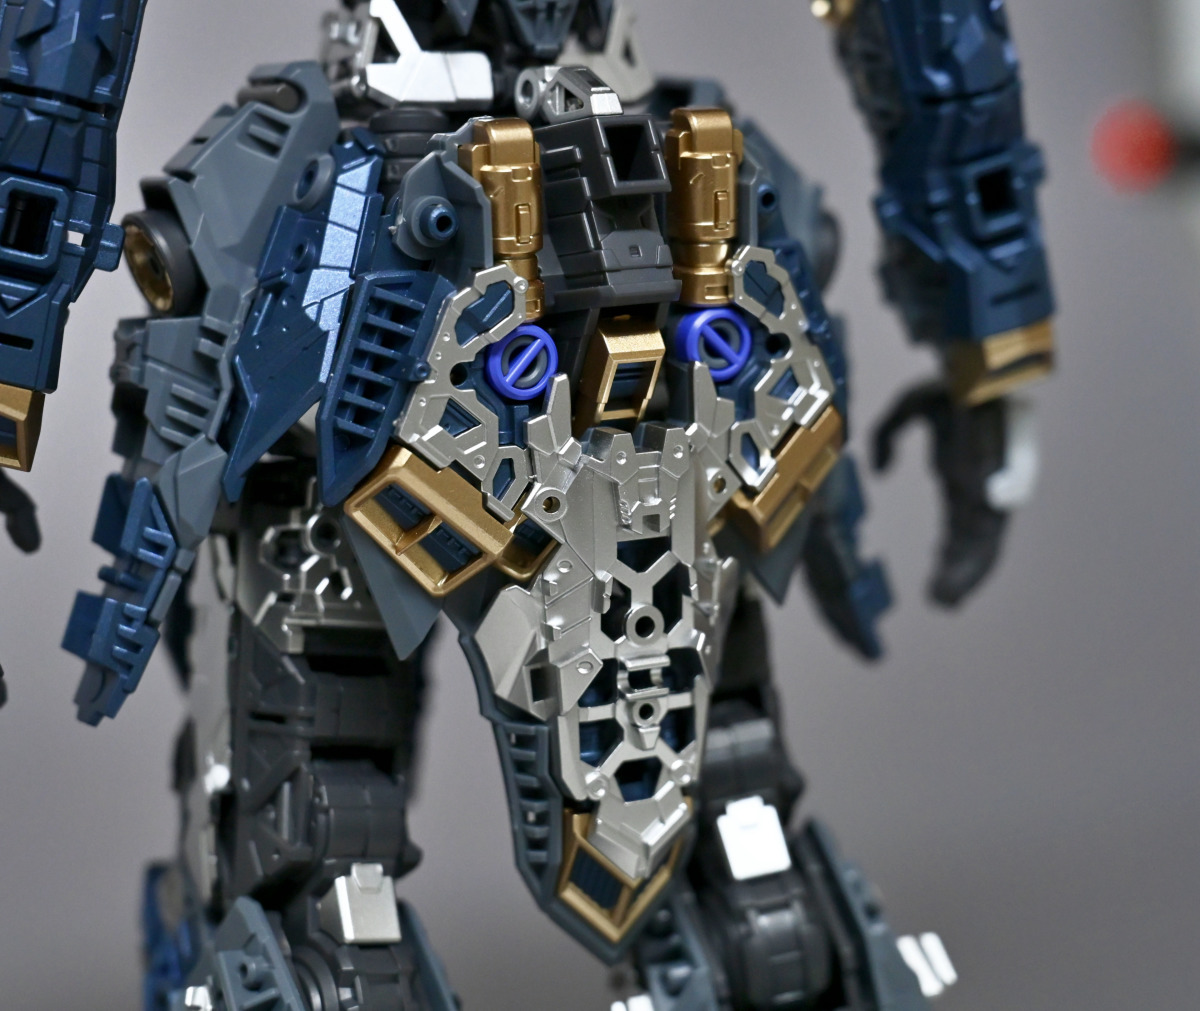
▼There are three photo-etched pieces on each side (left and right). Since the adhesion is terrible and they fall off easily, I just used super glue to attach them.
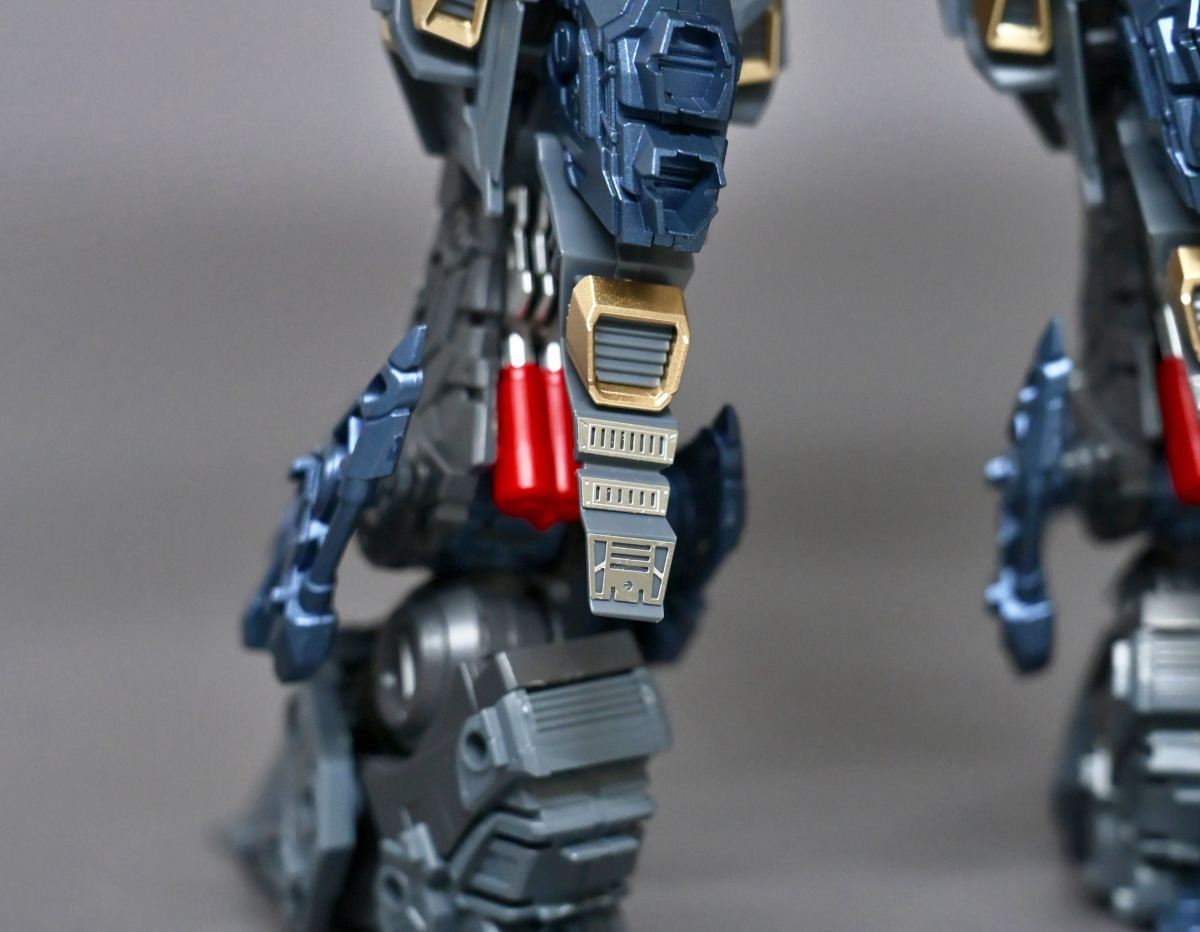
▼The rear skirt armor can be raised and fixed into the correct position.
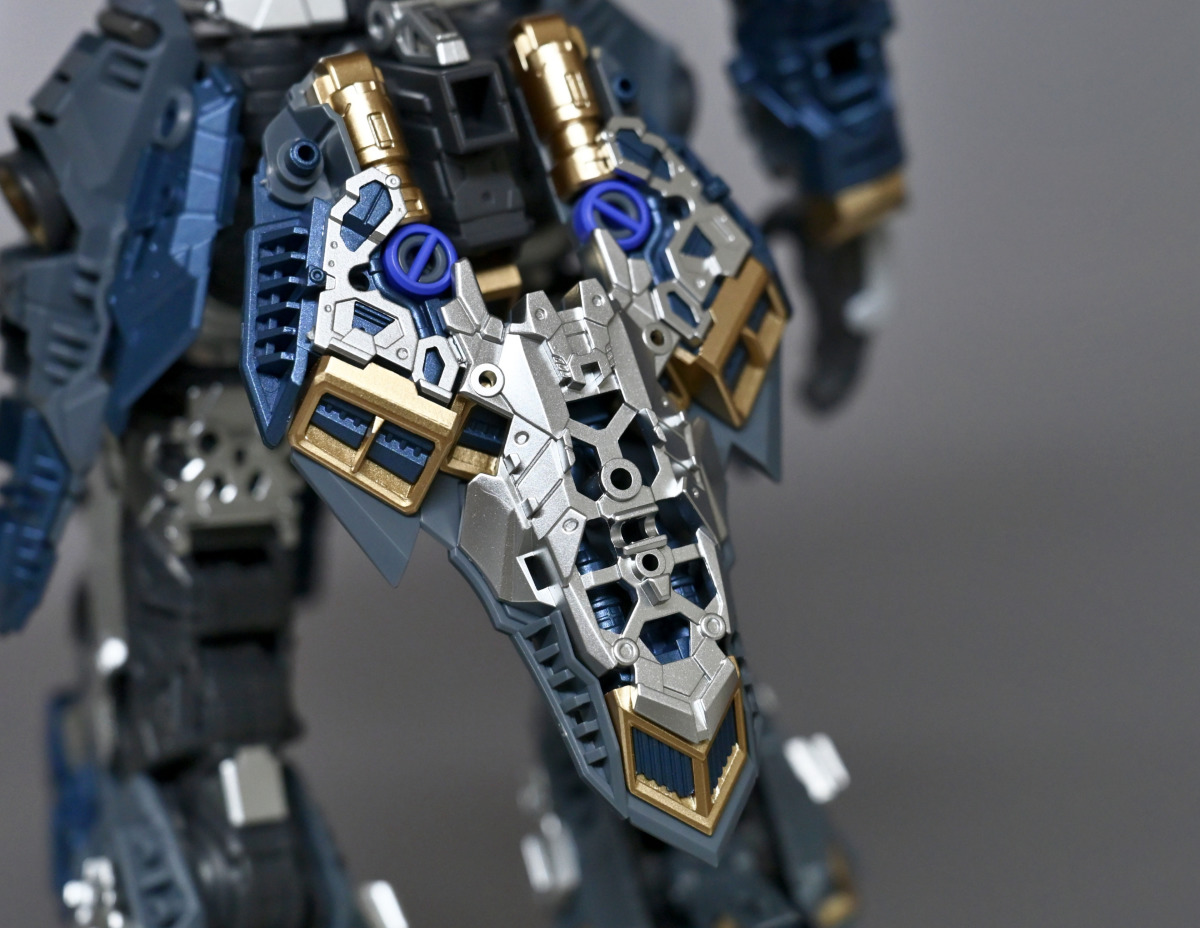
▼Side close-up. After adding the second layer of the metal frame, the overall inner structure is much richer and doesn't look so plain.
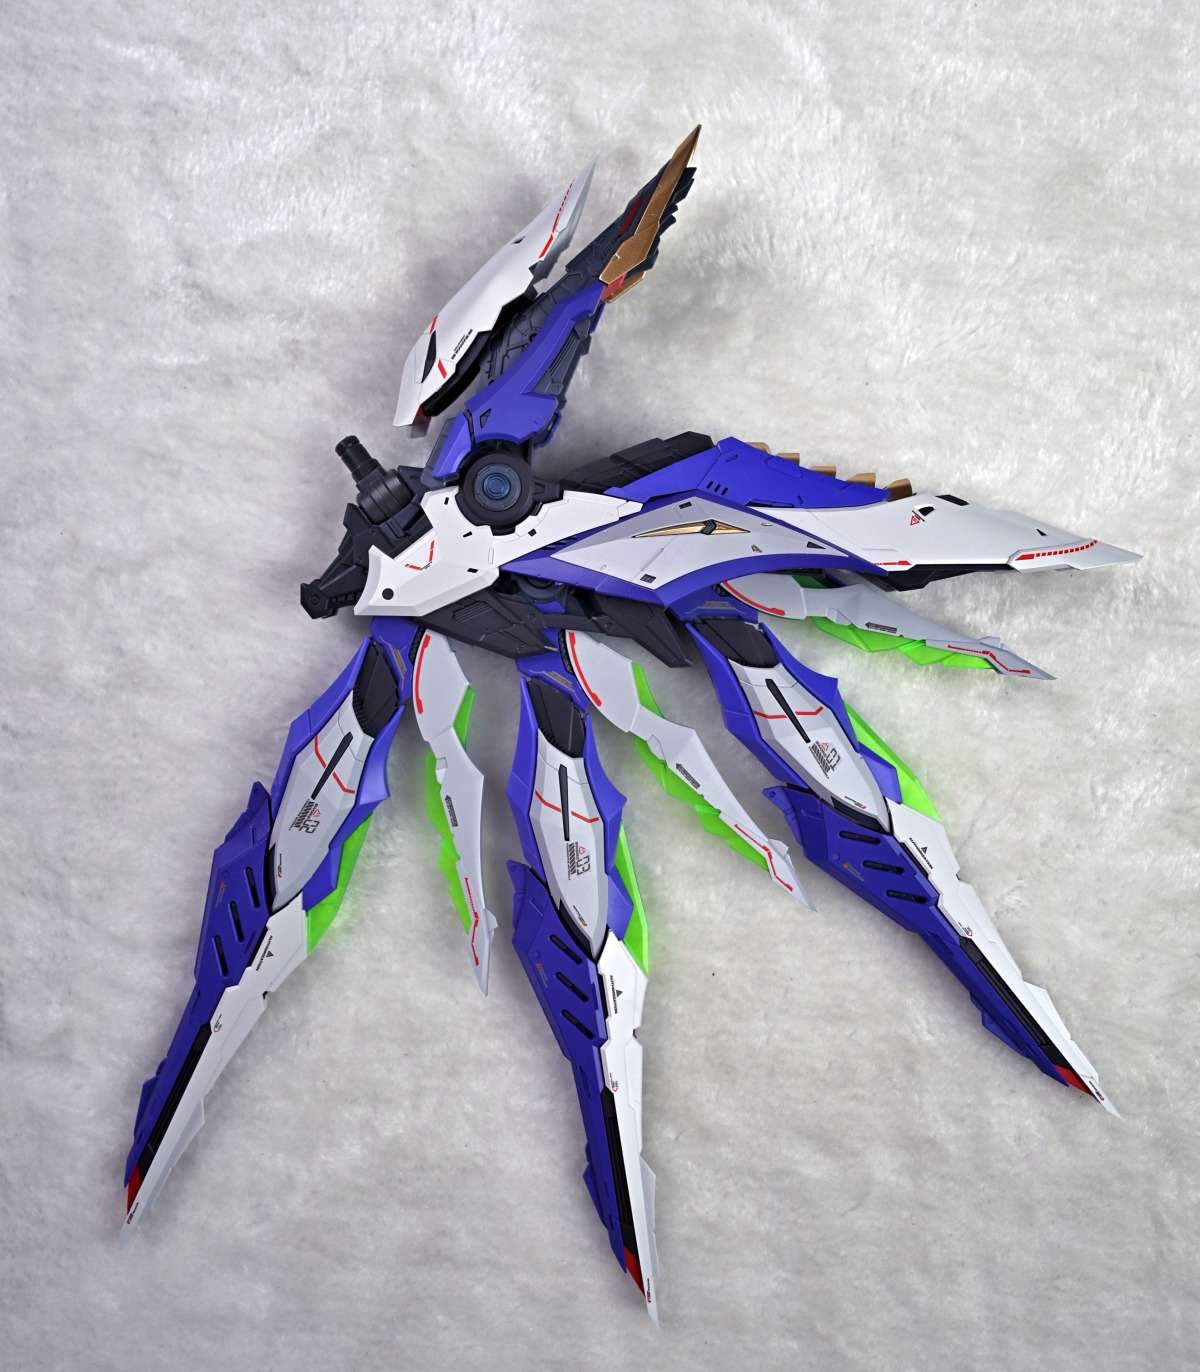
▼The complete wings and funnels. See those two POM pegs on the wings? If you've bought the Sky Defender, get your Herculean thumb strength ready for when you assemble it with the backpack.
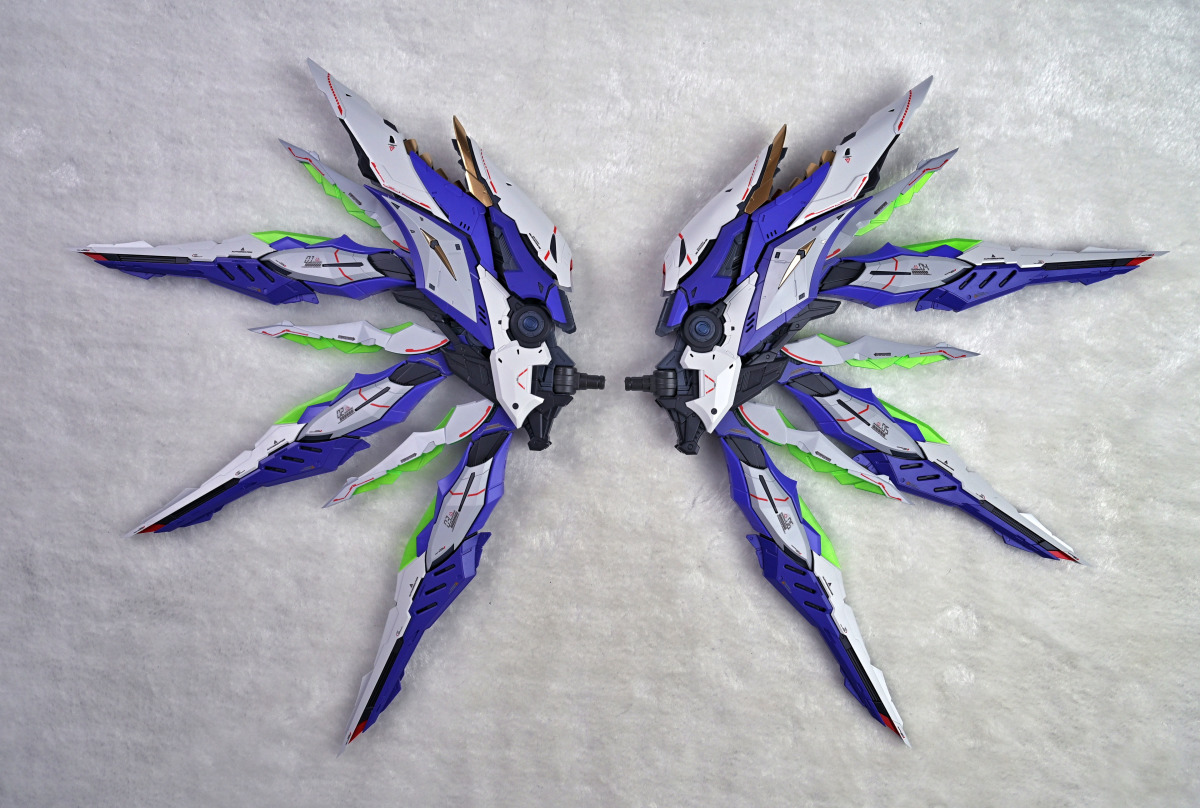
▼Almost all the red-numbered and black-numbered water slide decals for the funnels and wings were applied.
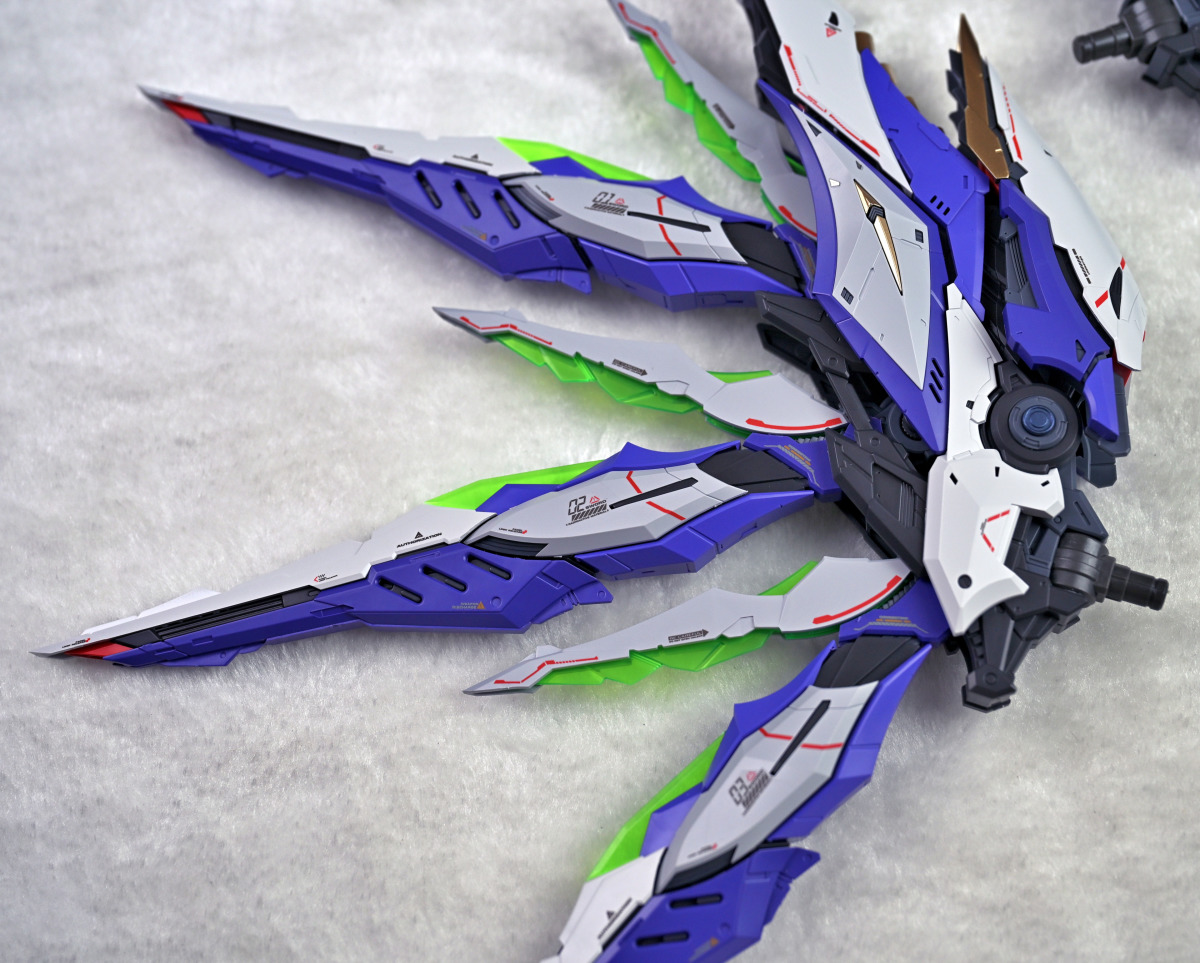
▼The numbers on the funnels were surprisingly not classified as red-numbered key decals, but as black ones, meaning they are optional. So, I just applied them all. The image below shows funnels 1-6 with all the decals applied.
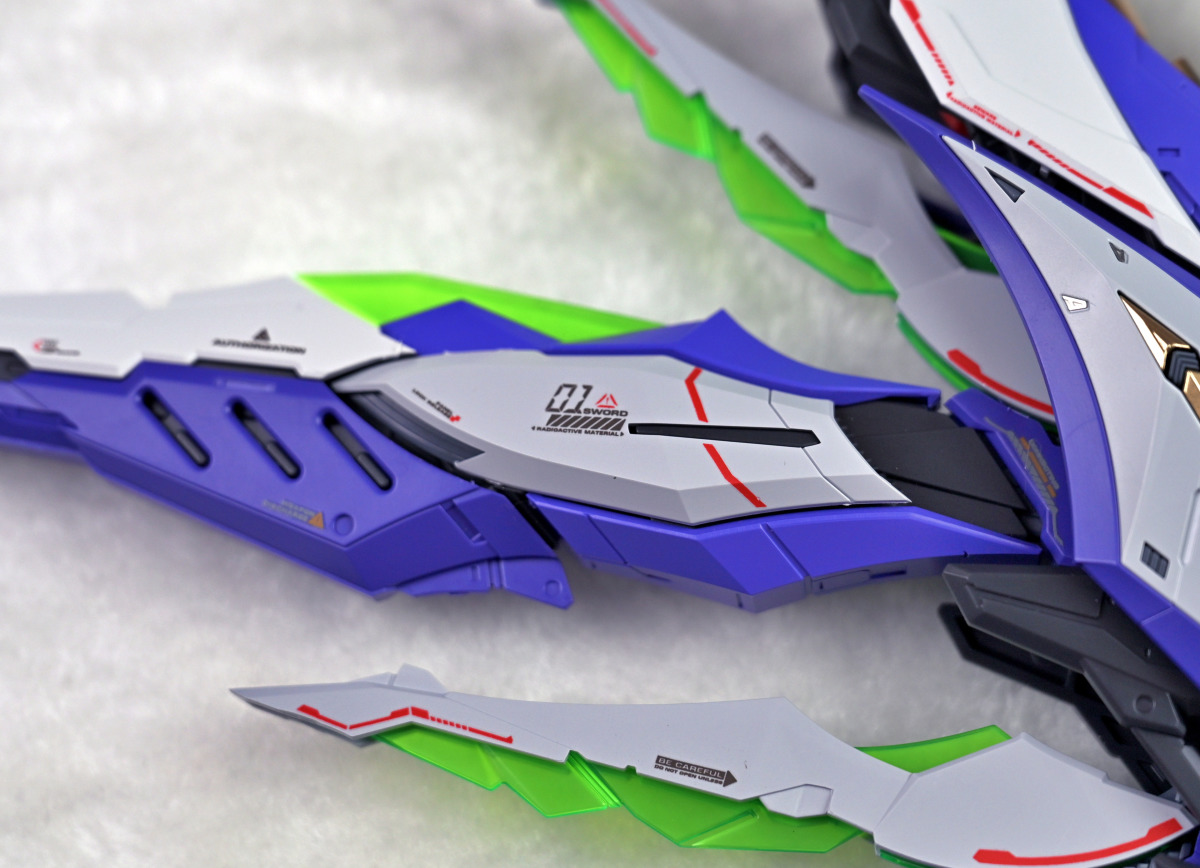
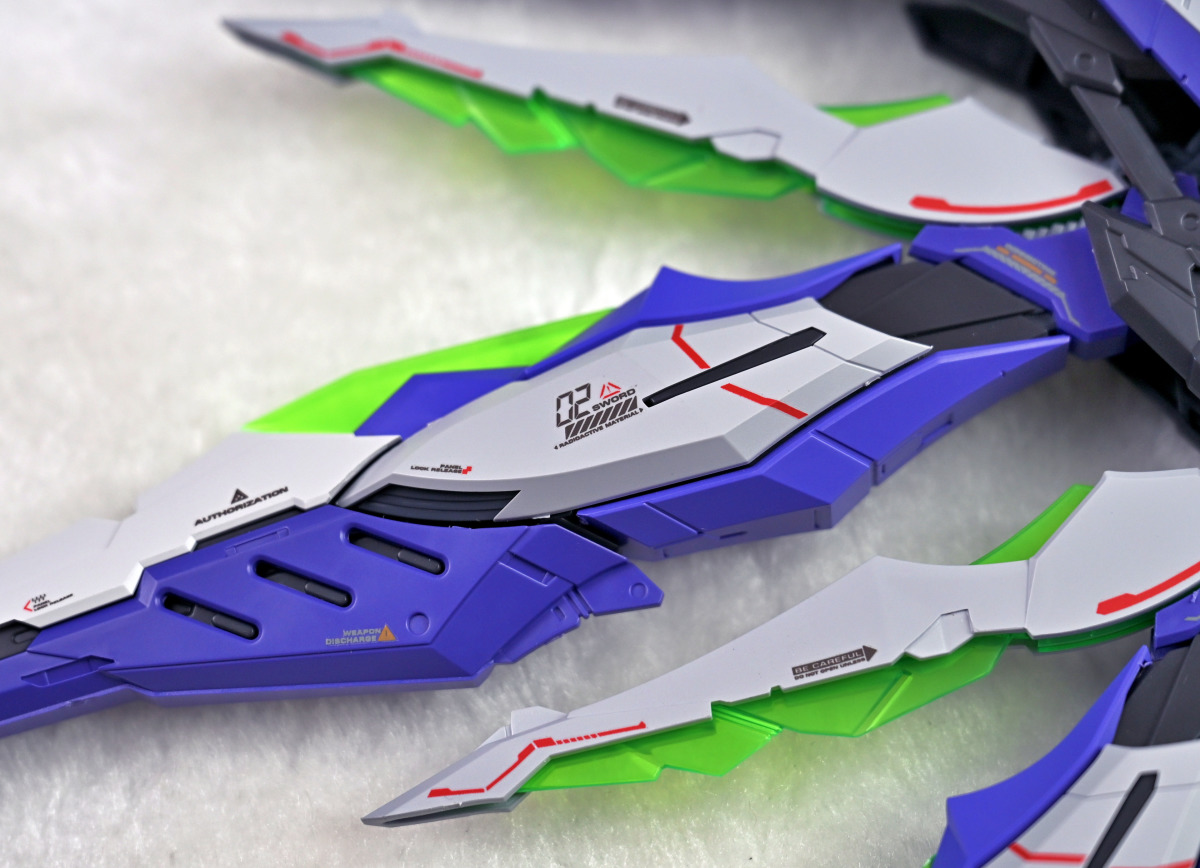
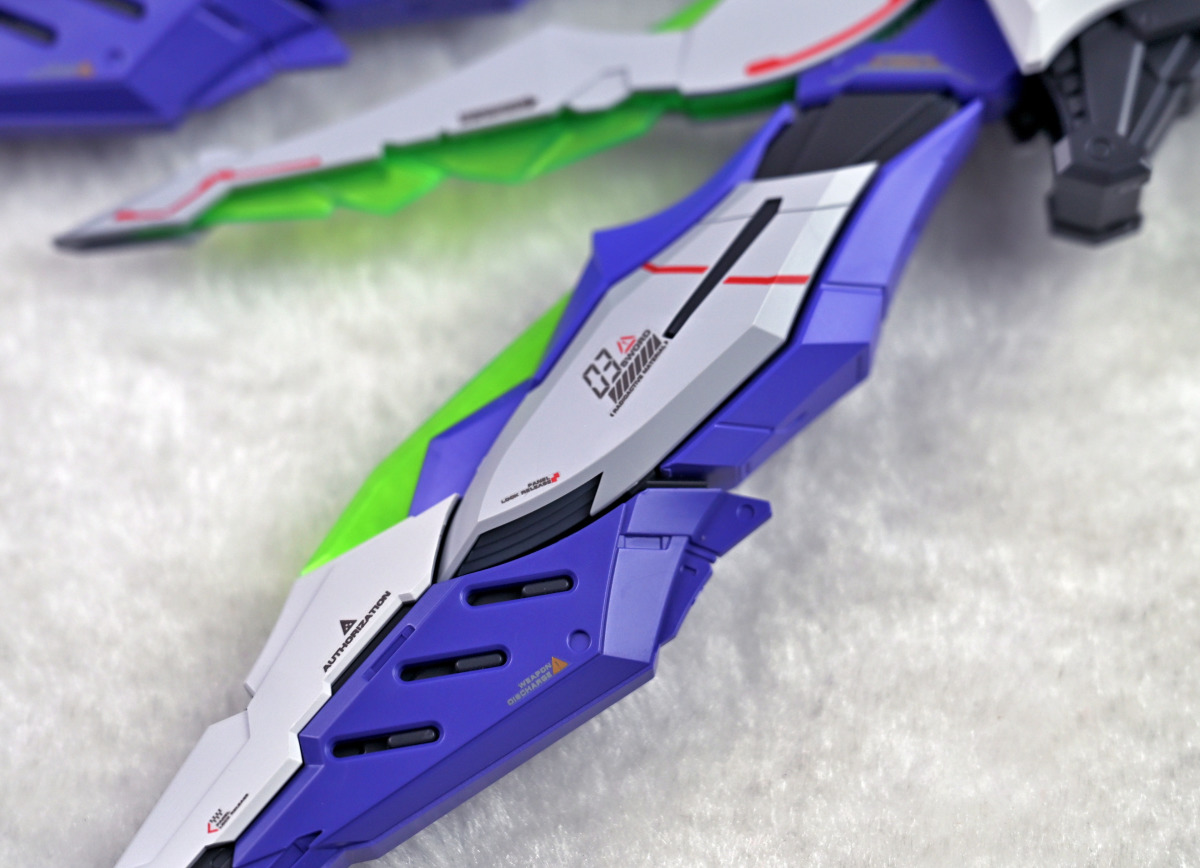
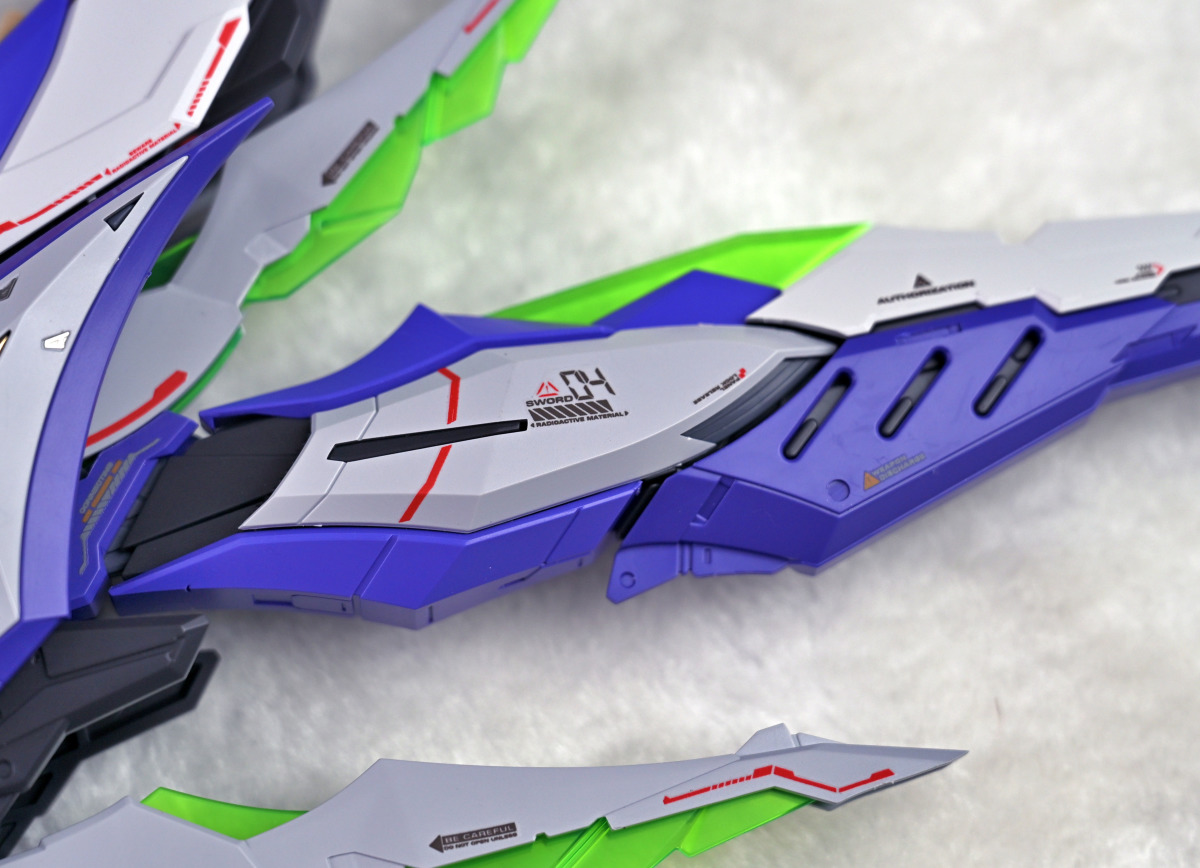
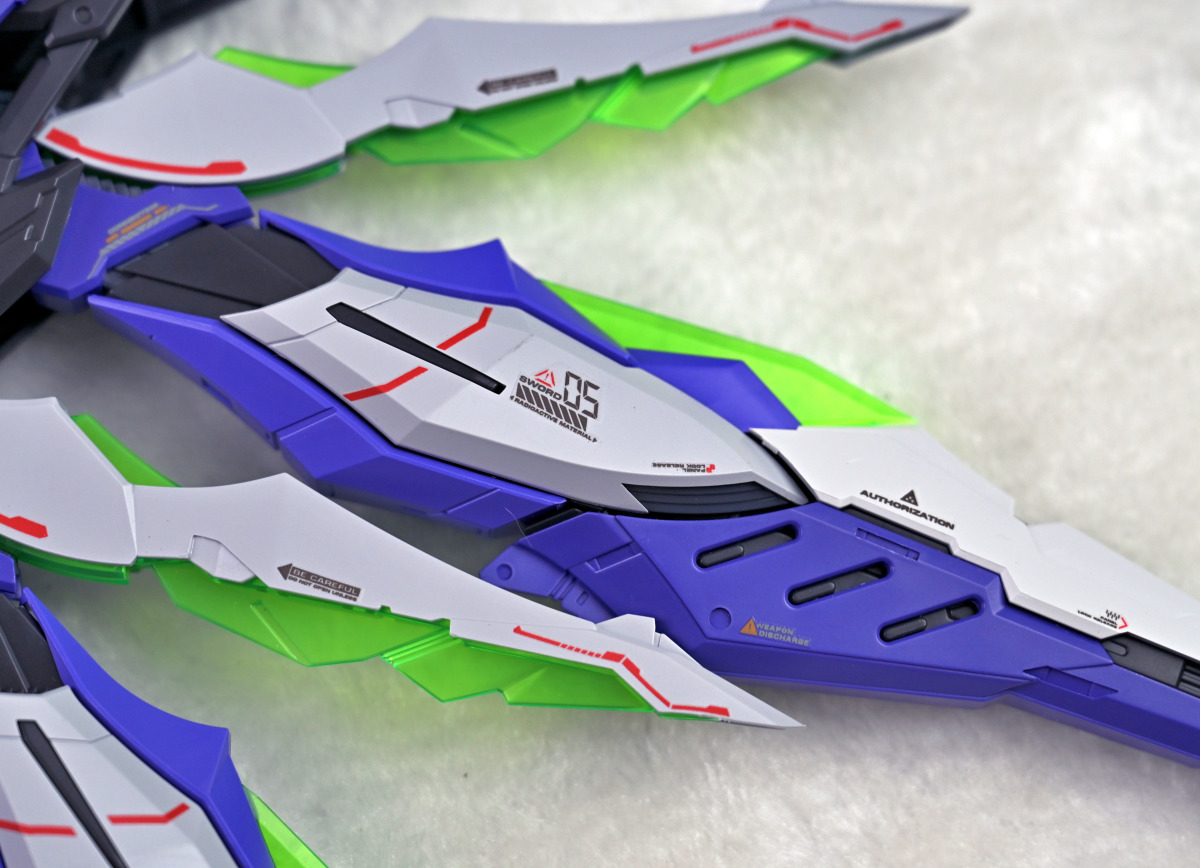
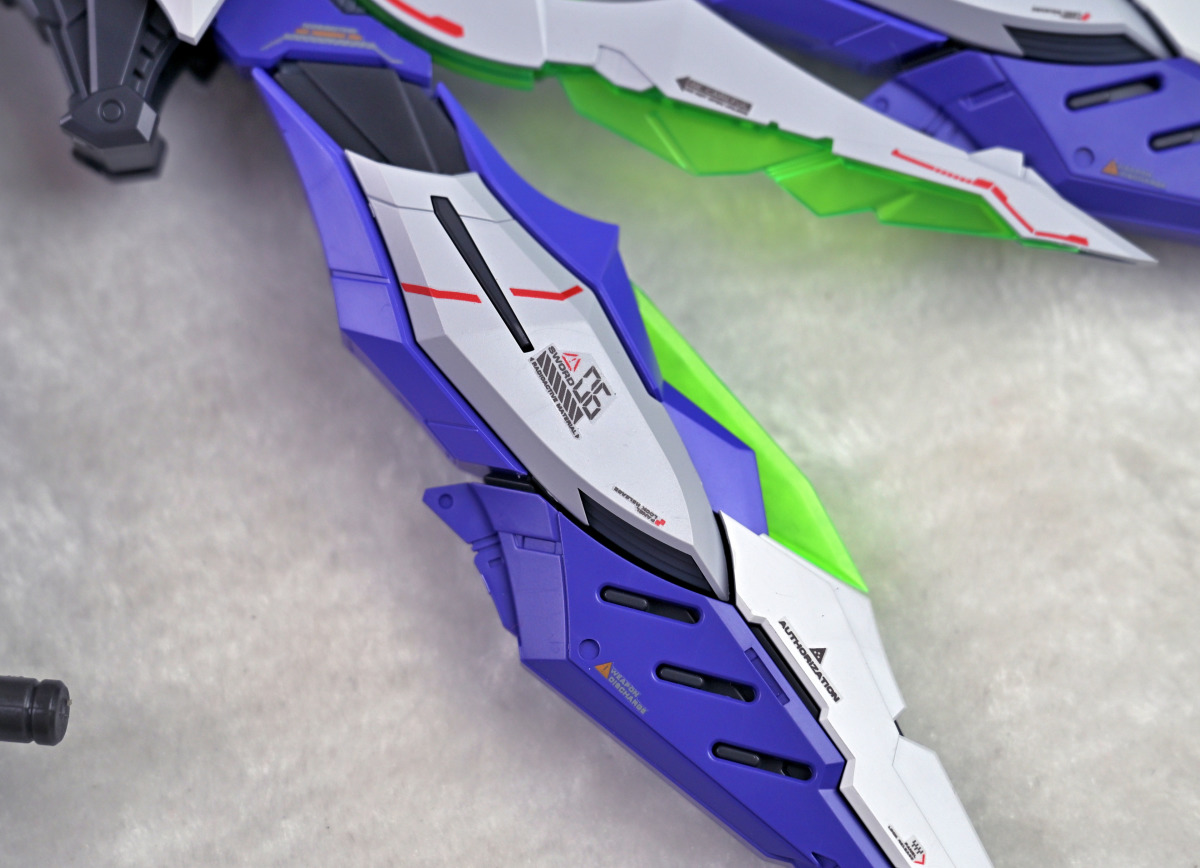
▼Funnels deployed.
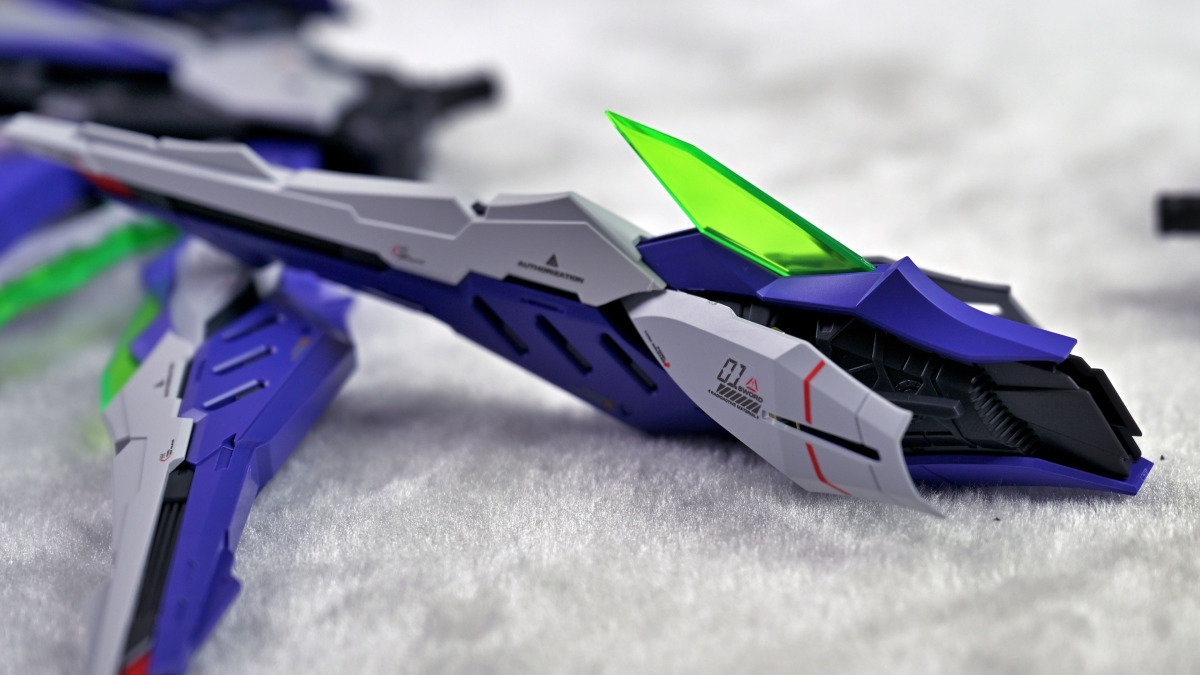
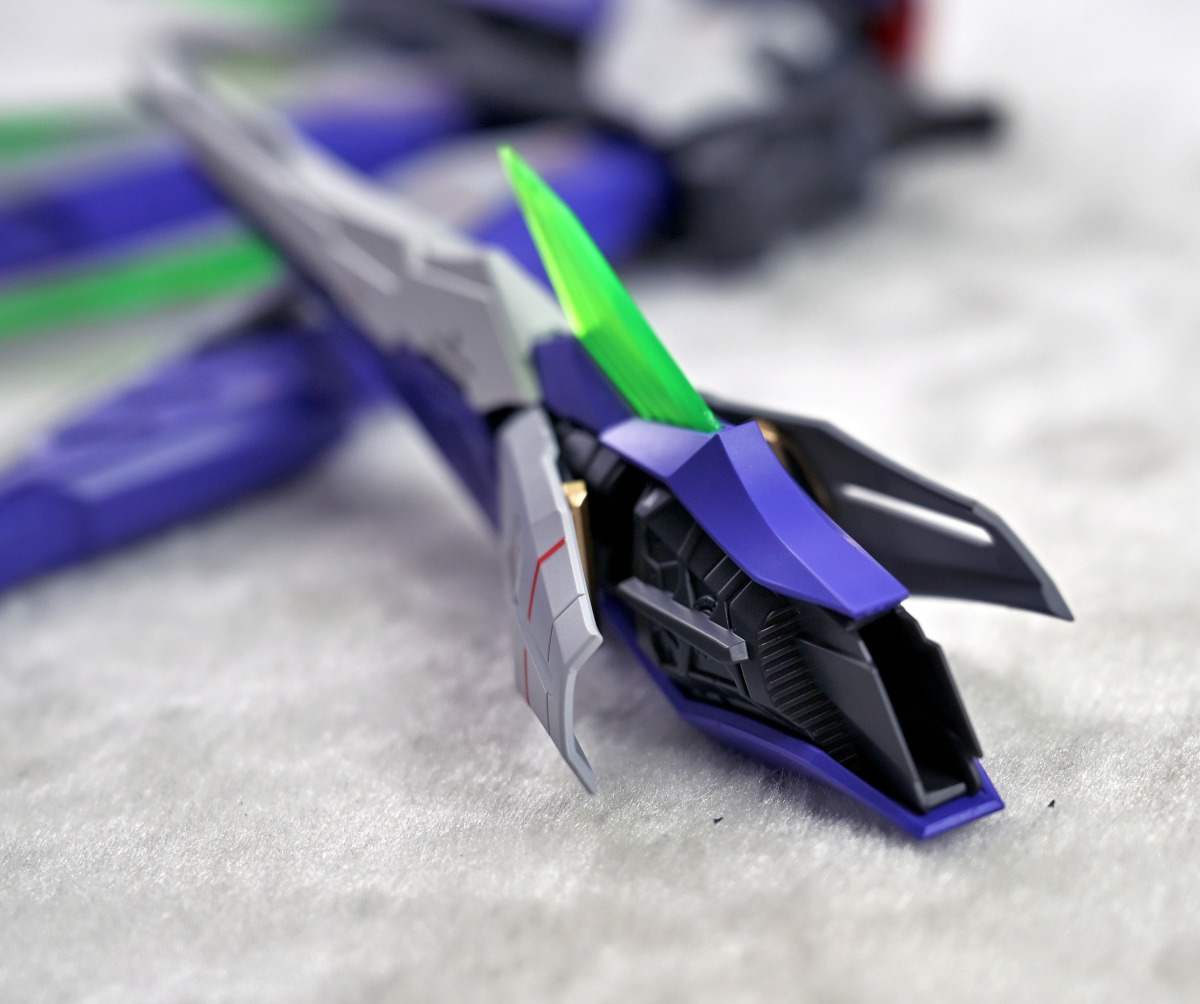
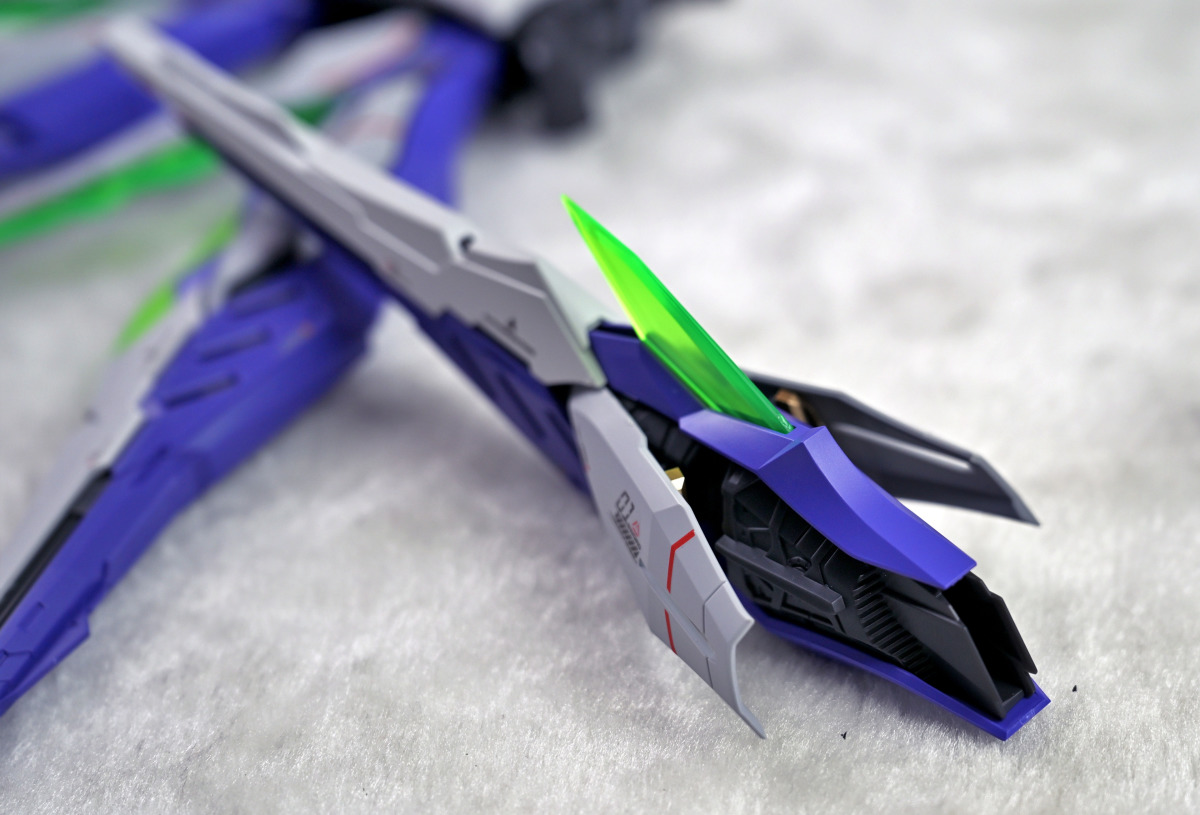
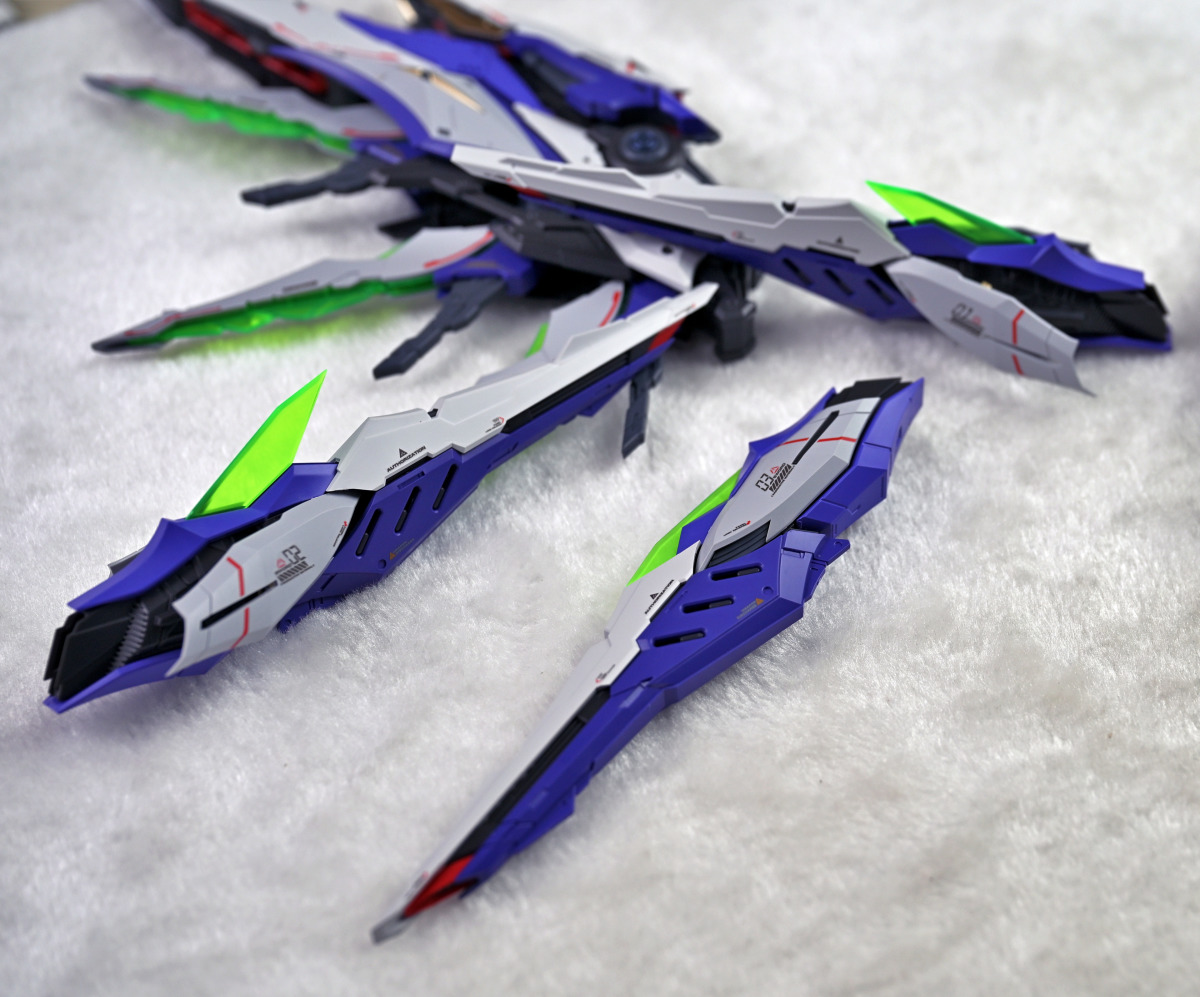
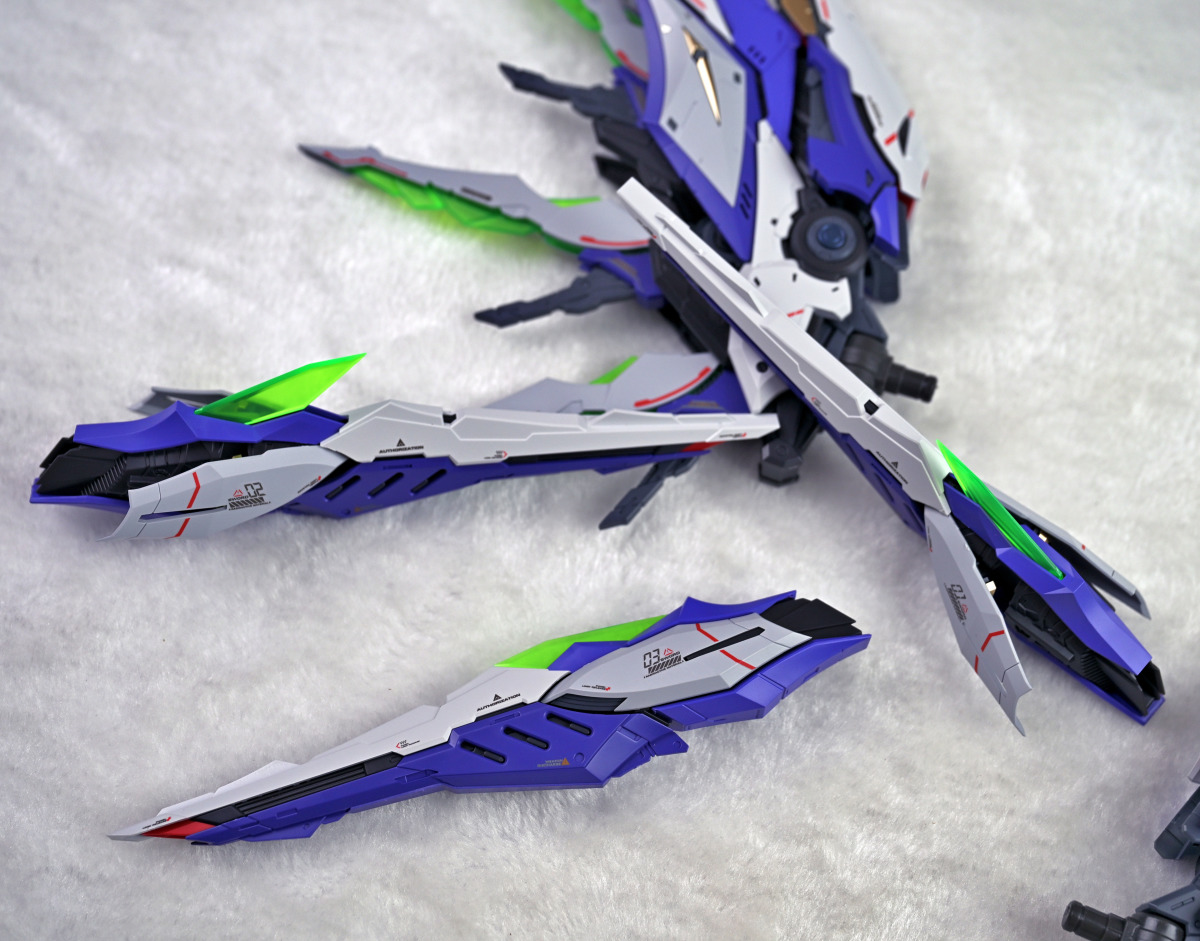
▼Combining the funnels and wings. The connection mechanism for the funnels and wings is designed to be foolproof, so you basically can't install them backwards or in the wrong direction.
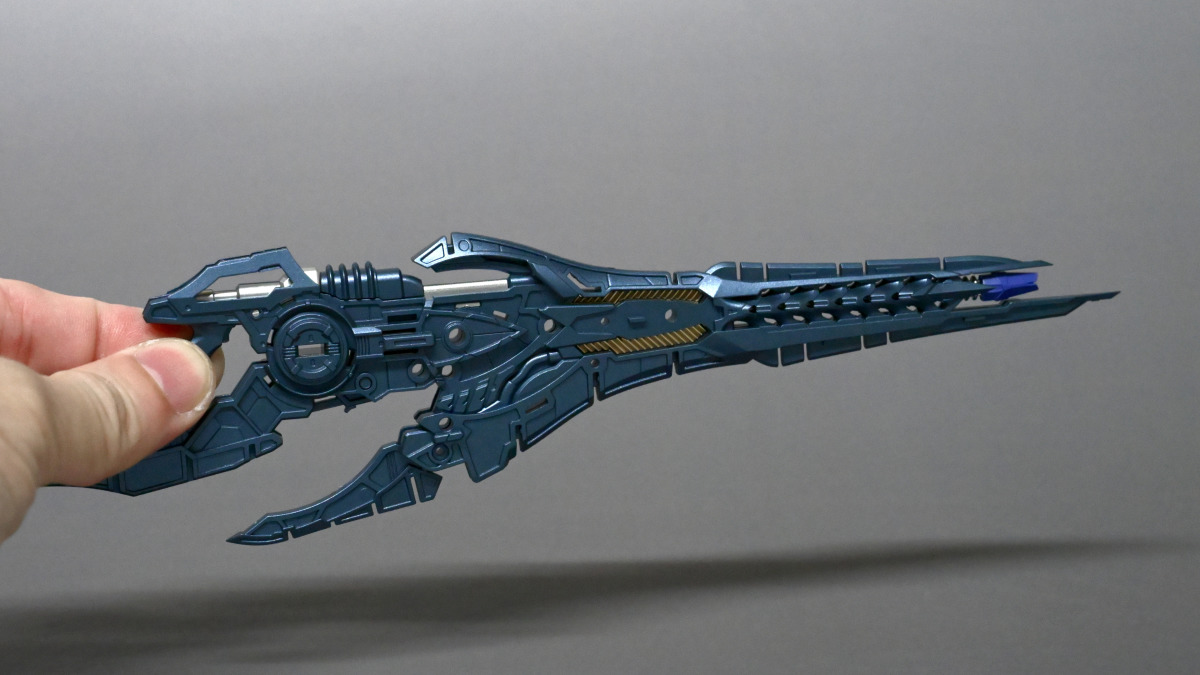
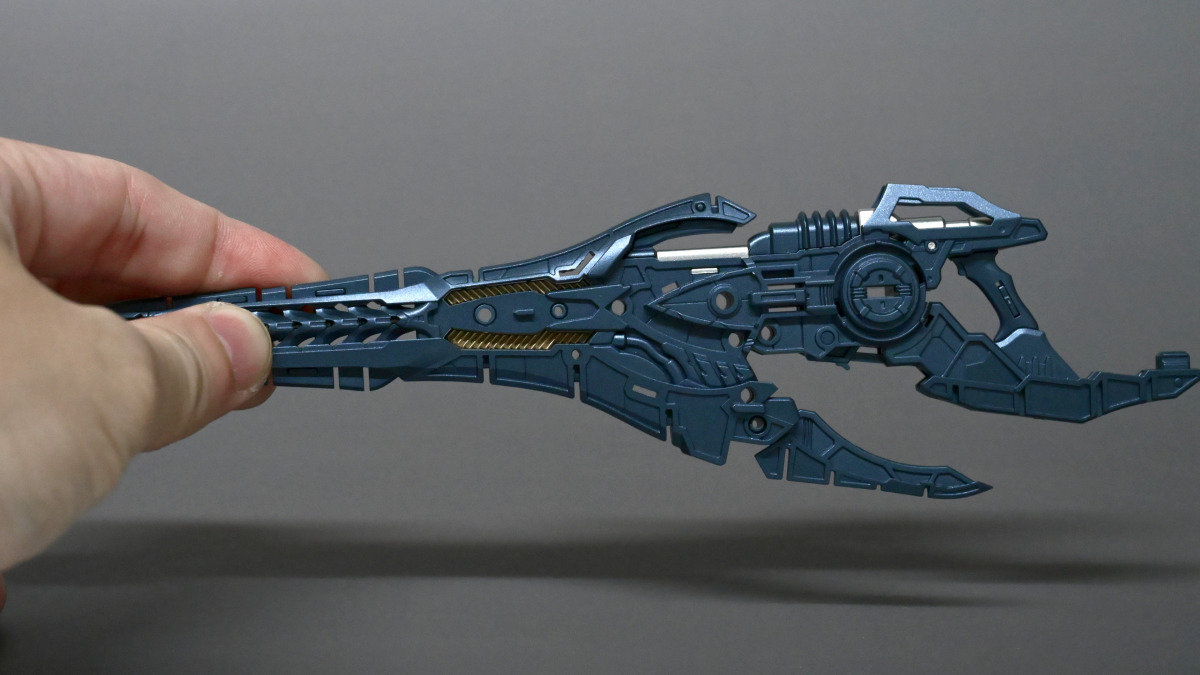
▼The two Gungnir rifles. I recommend applying all the water slide decals, otherwise they look very plain.
▼It has no deployment gimmick itself. The entire weapon has a curved design, with arcs and curves all over.
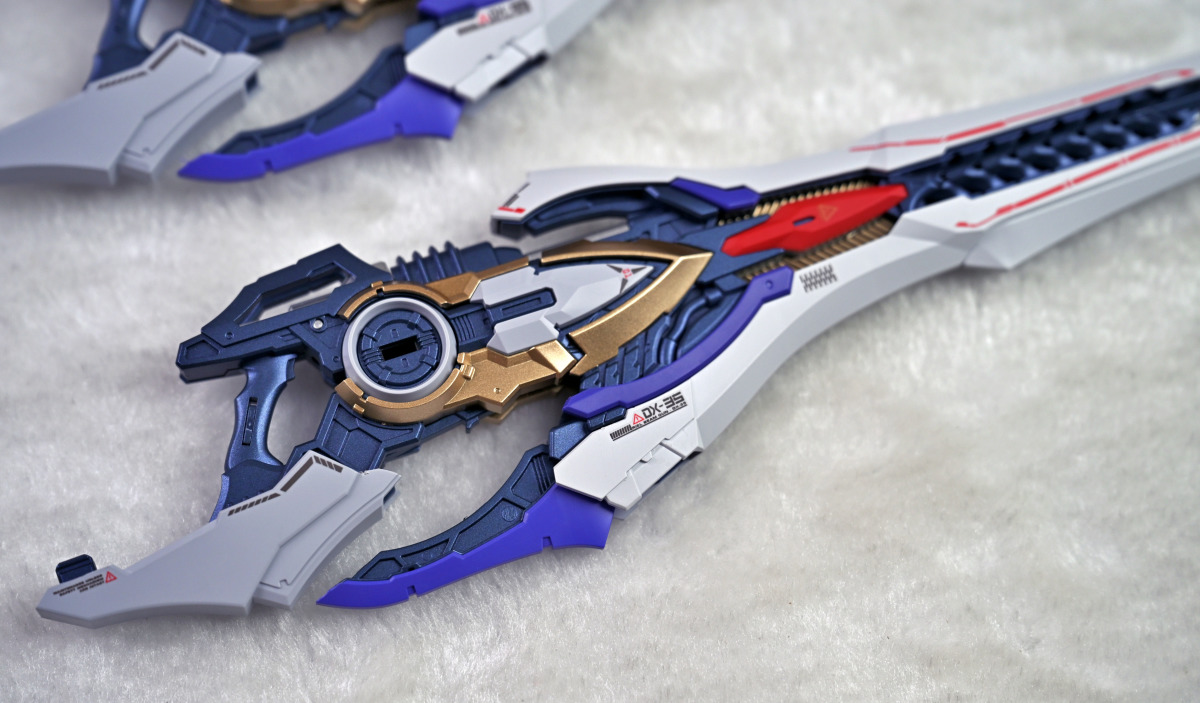
▼I found this part to be the most difficult for applying decals. Because the part itself has curves and level differences, I recommend using decal softener after application to make the decal conform better to the surface.
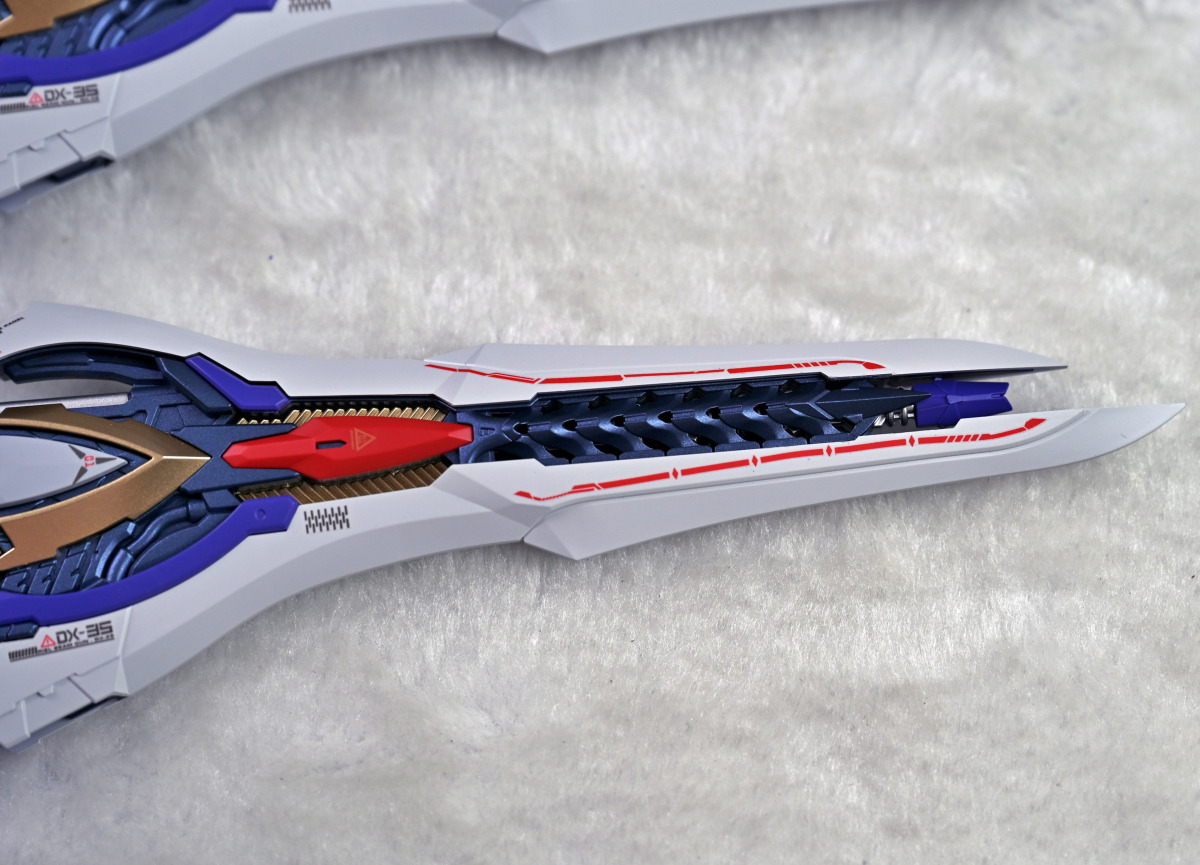
▼Next up are some simple studio shots. I didn't do too many dynamic poses, just a simple studio photoshoot to share. First, here are some of the detail deployment gimmicks.
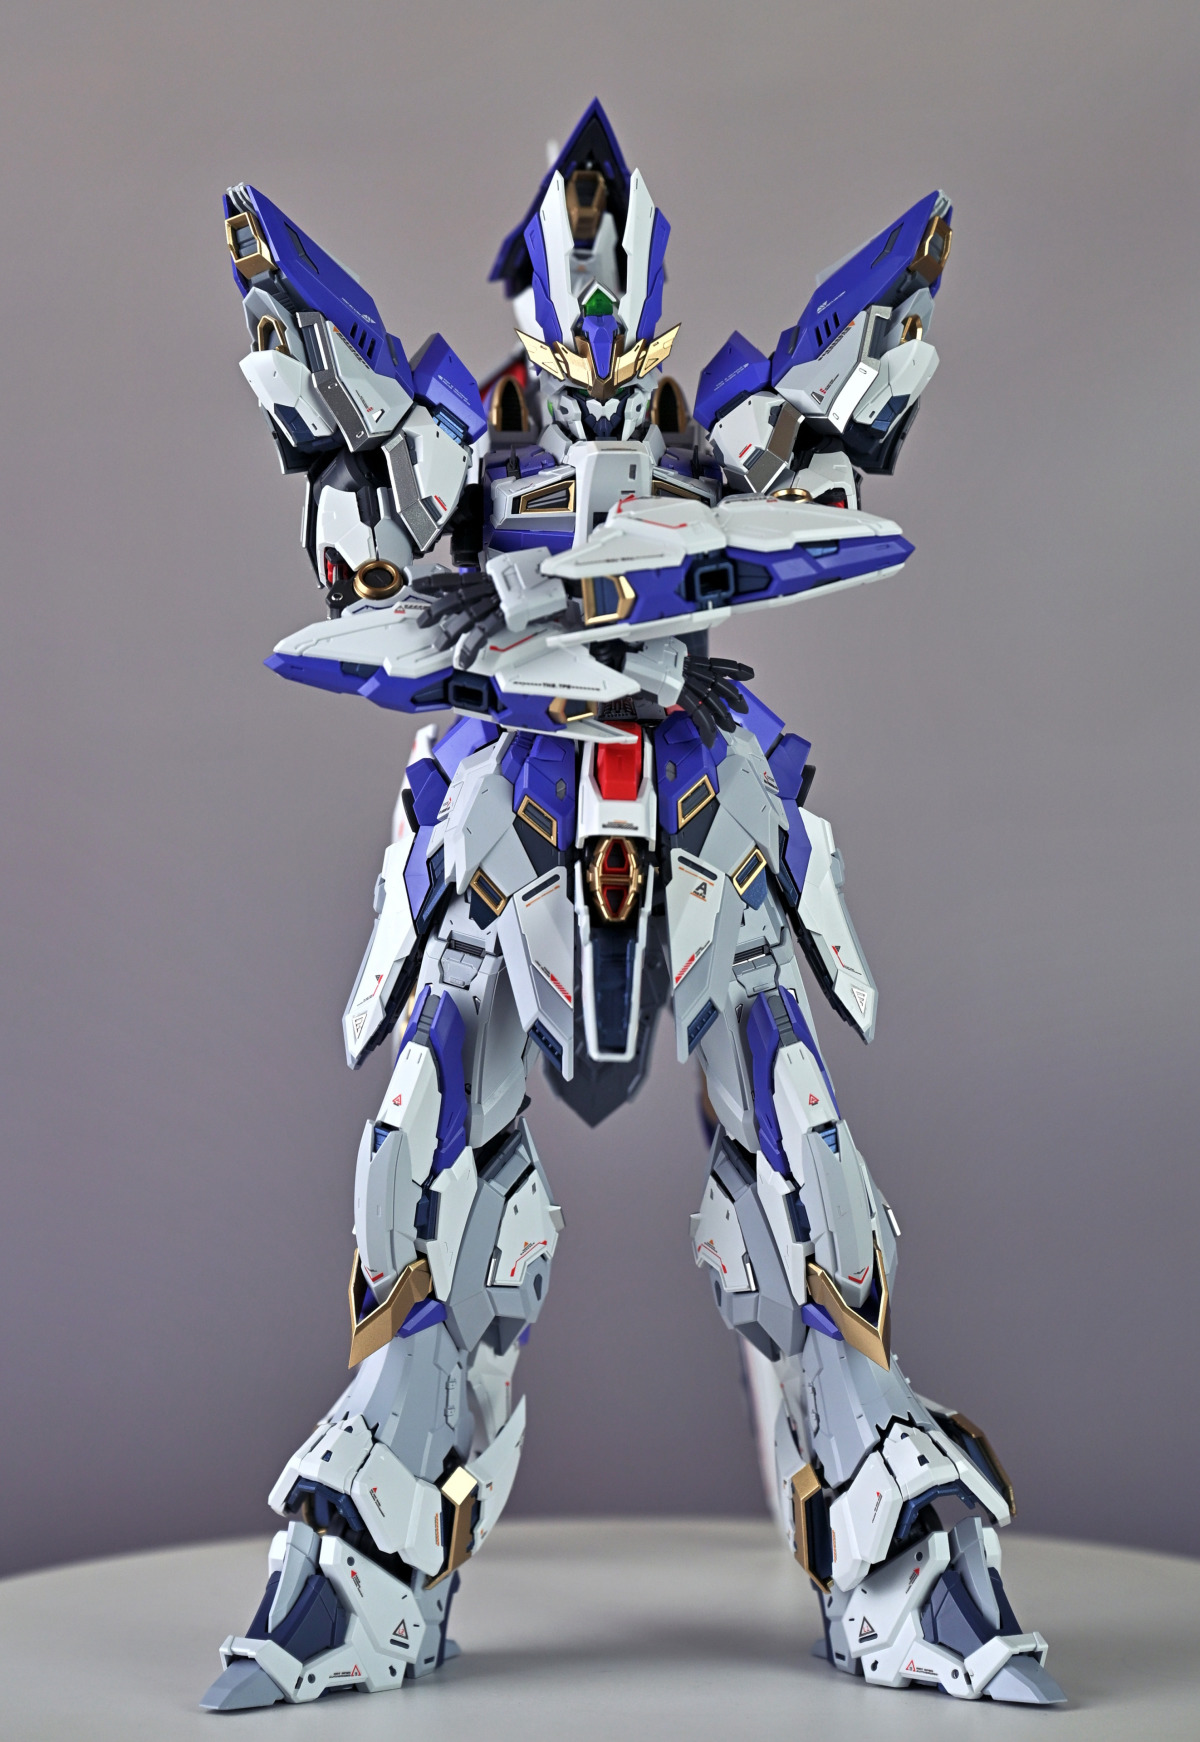
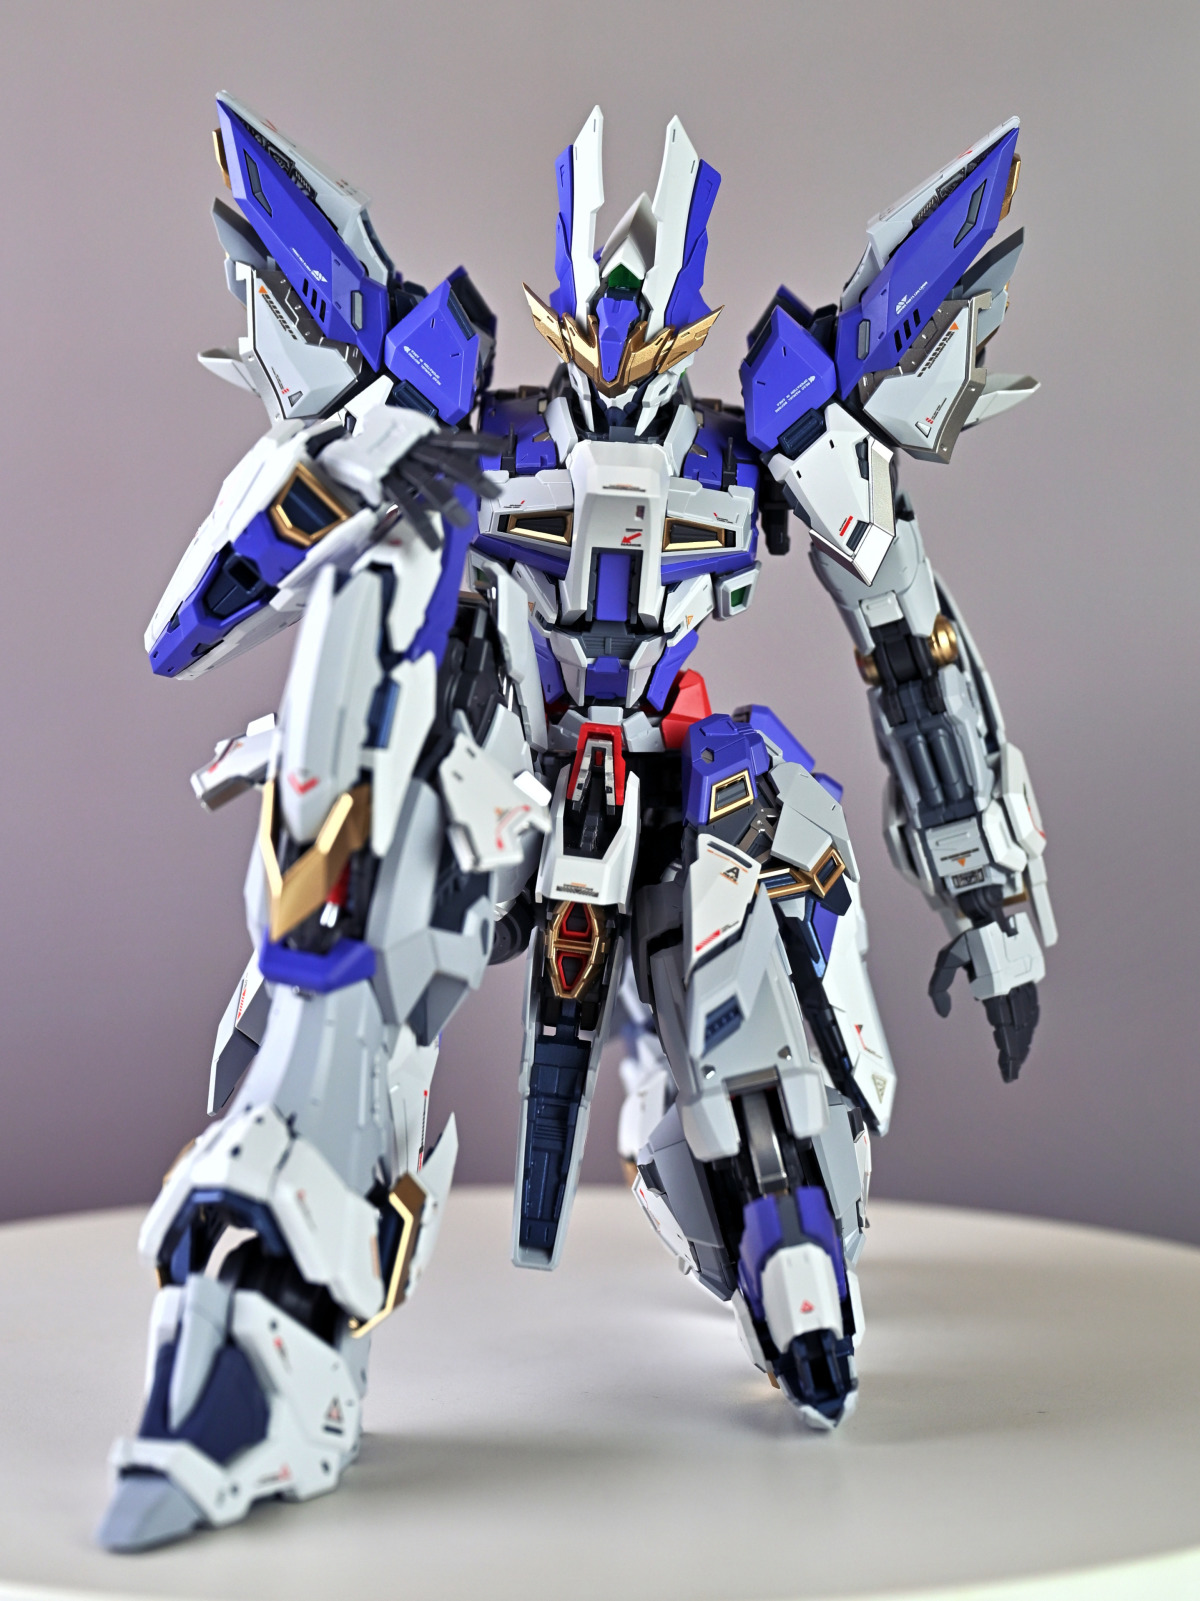
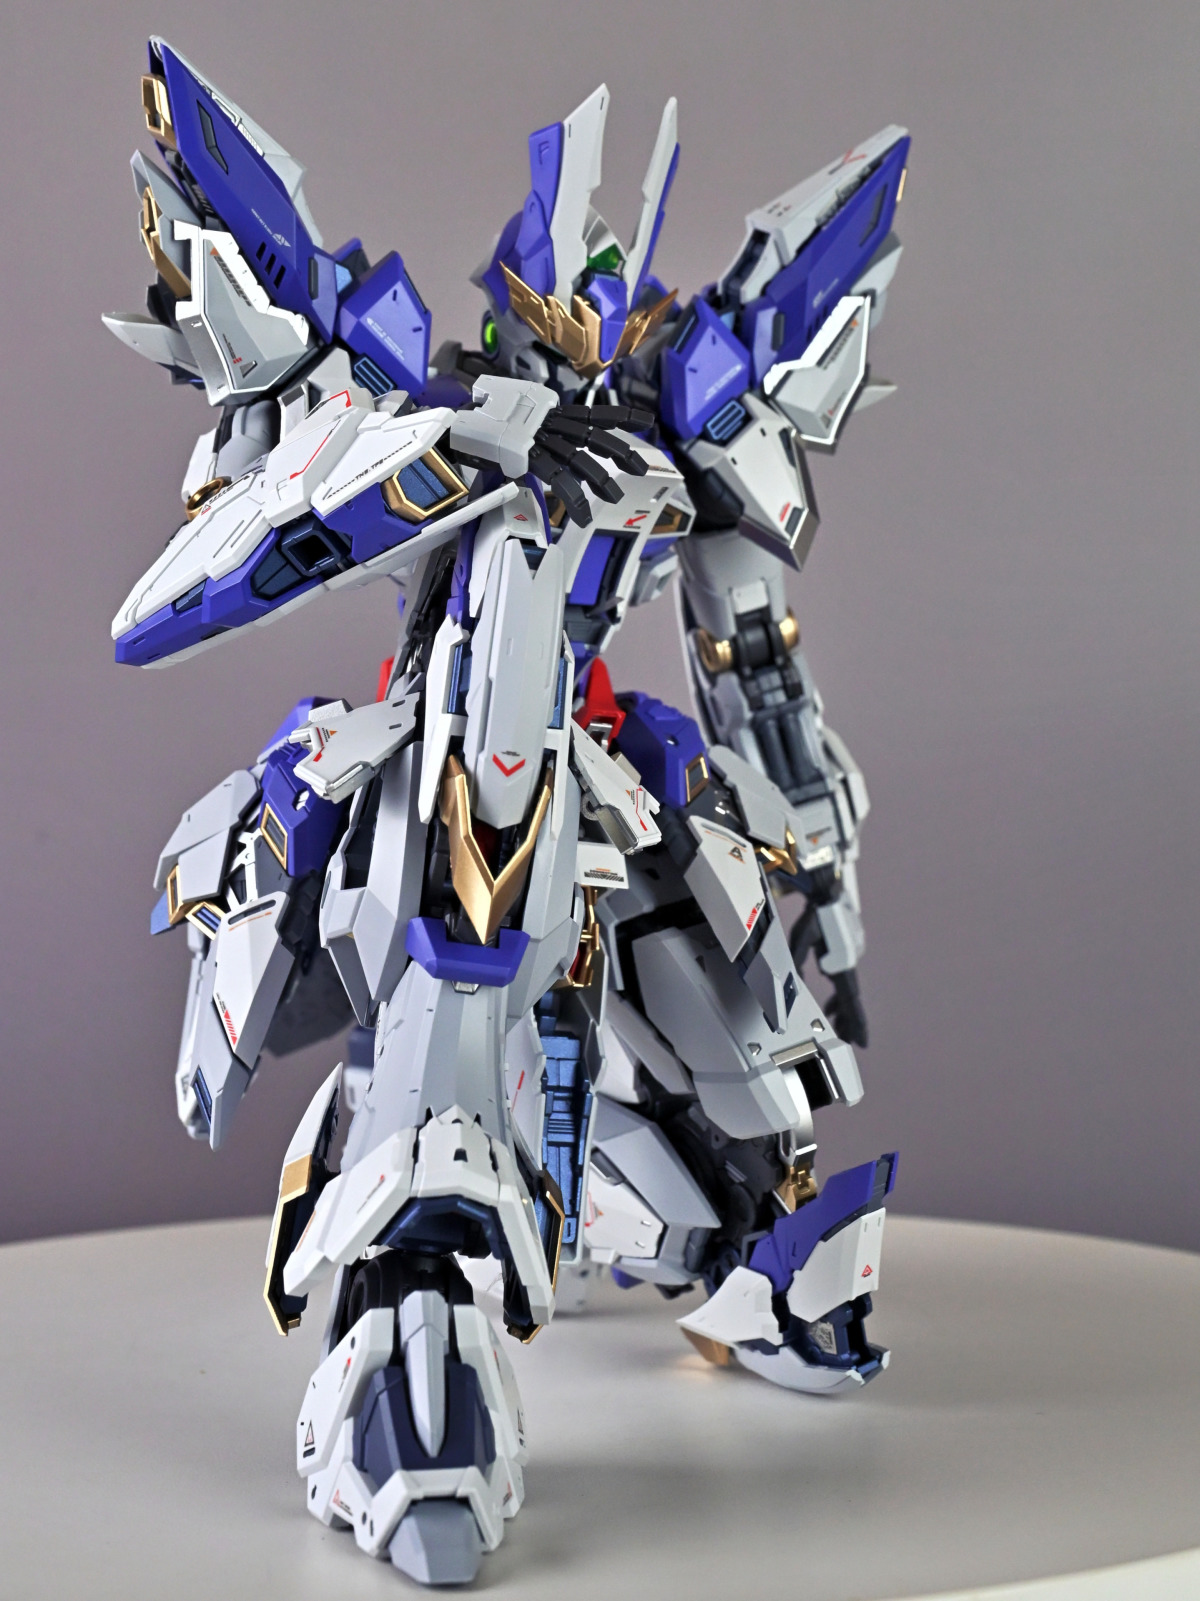
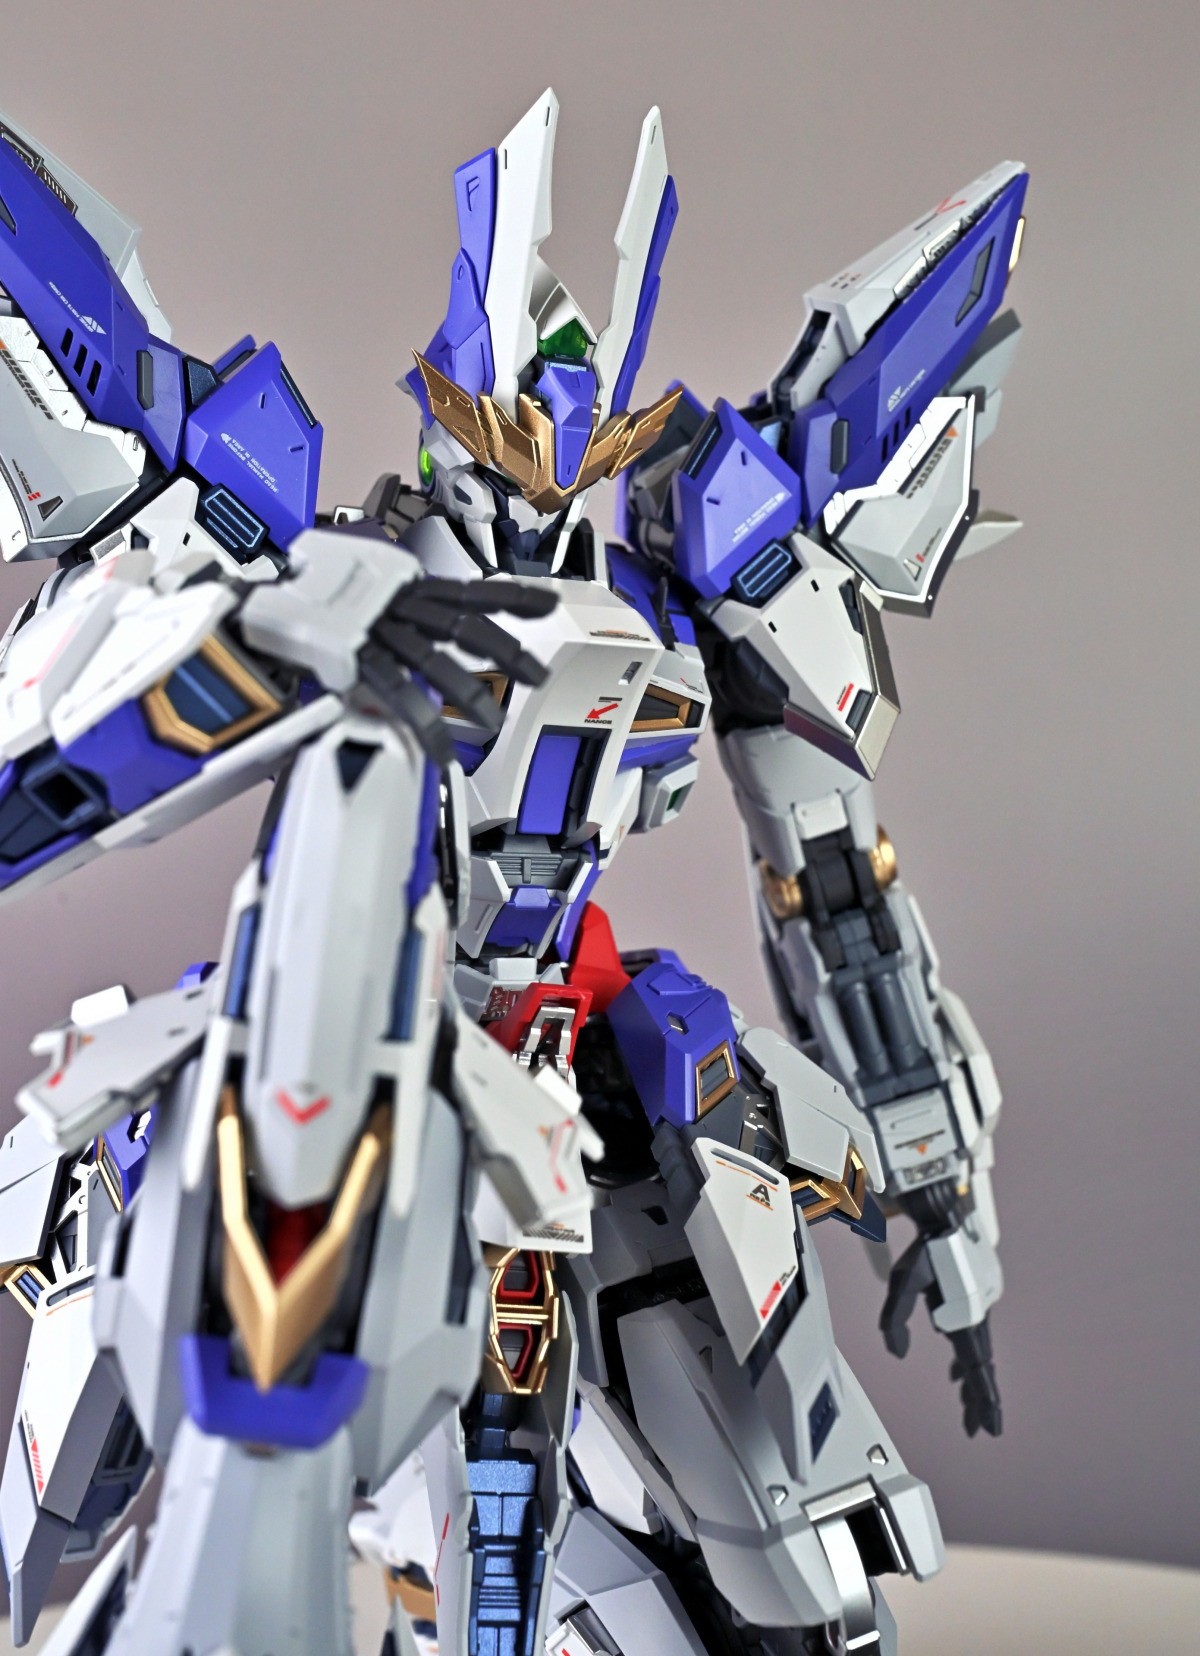
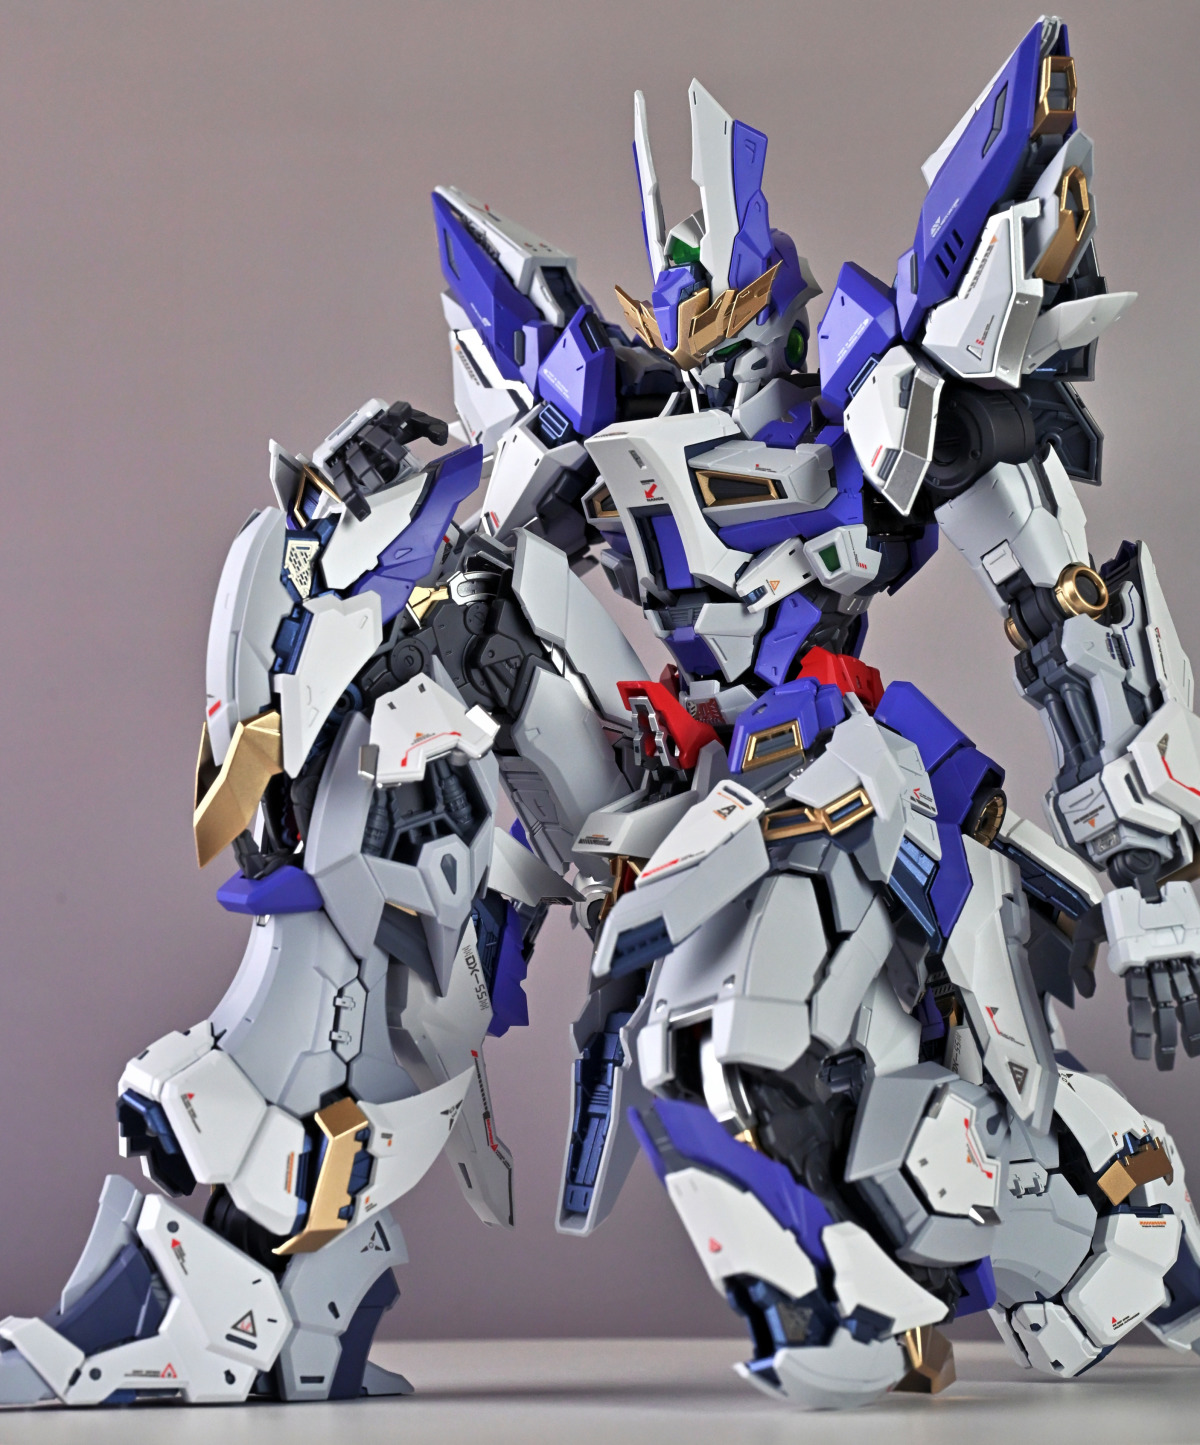
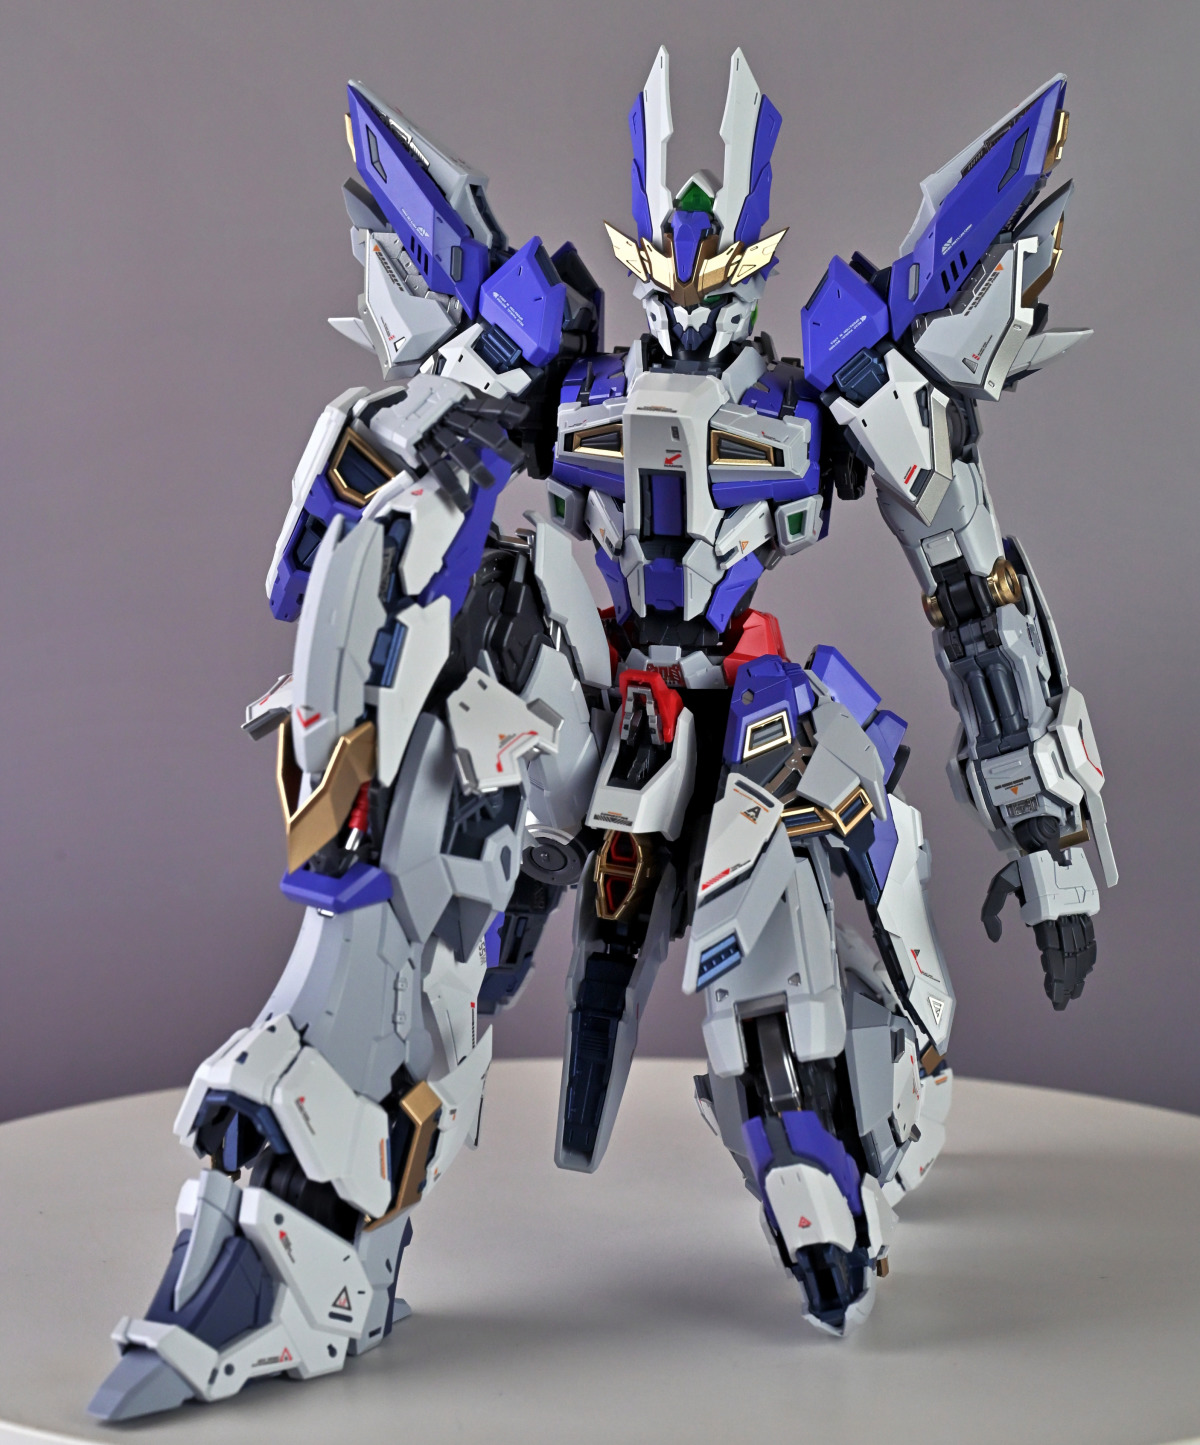
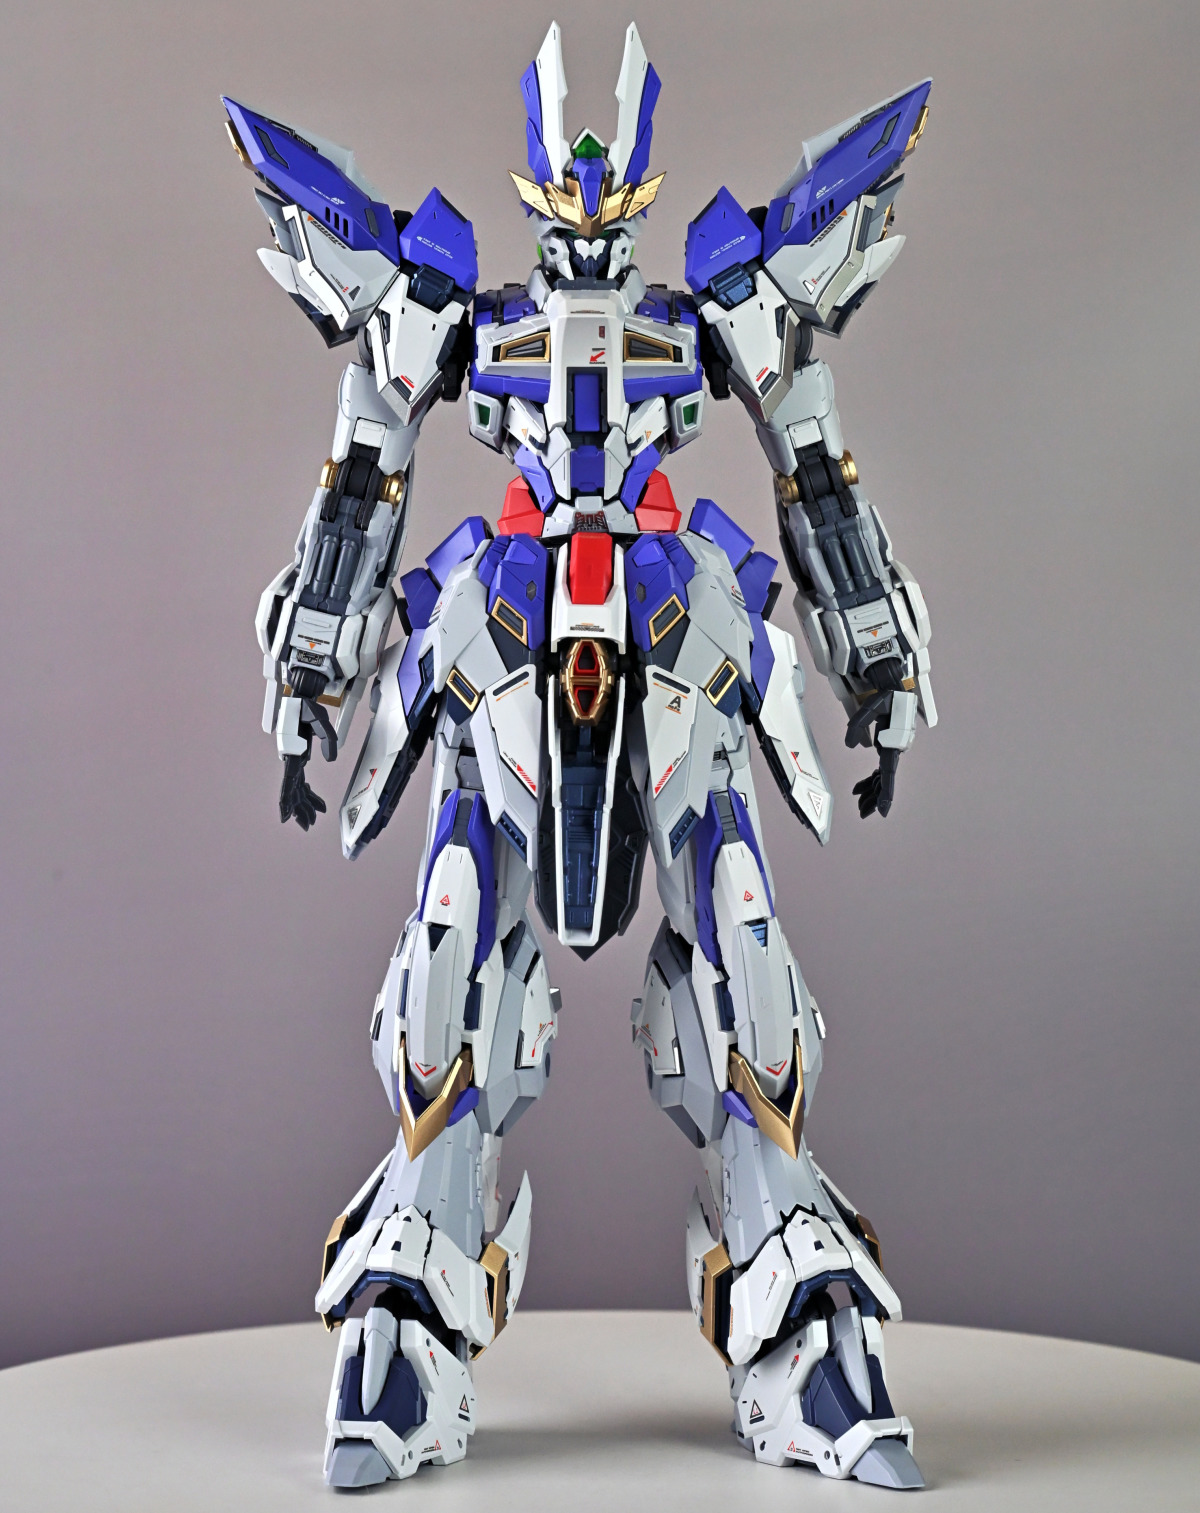
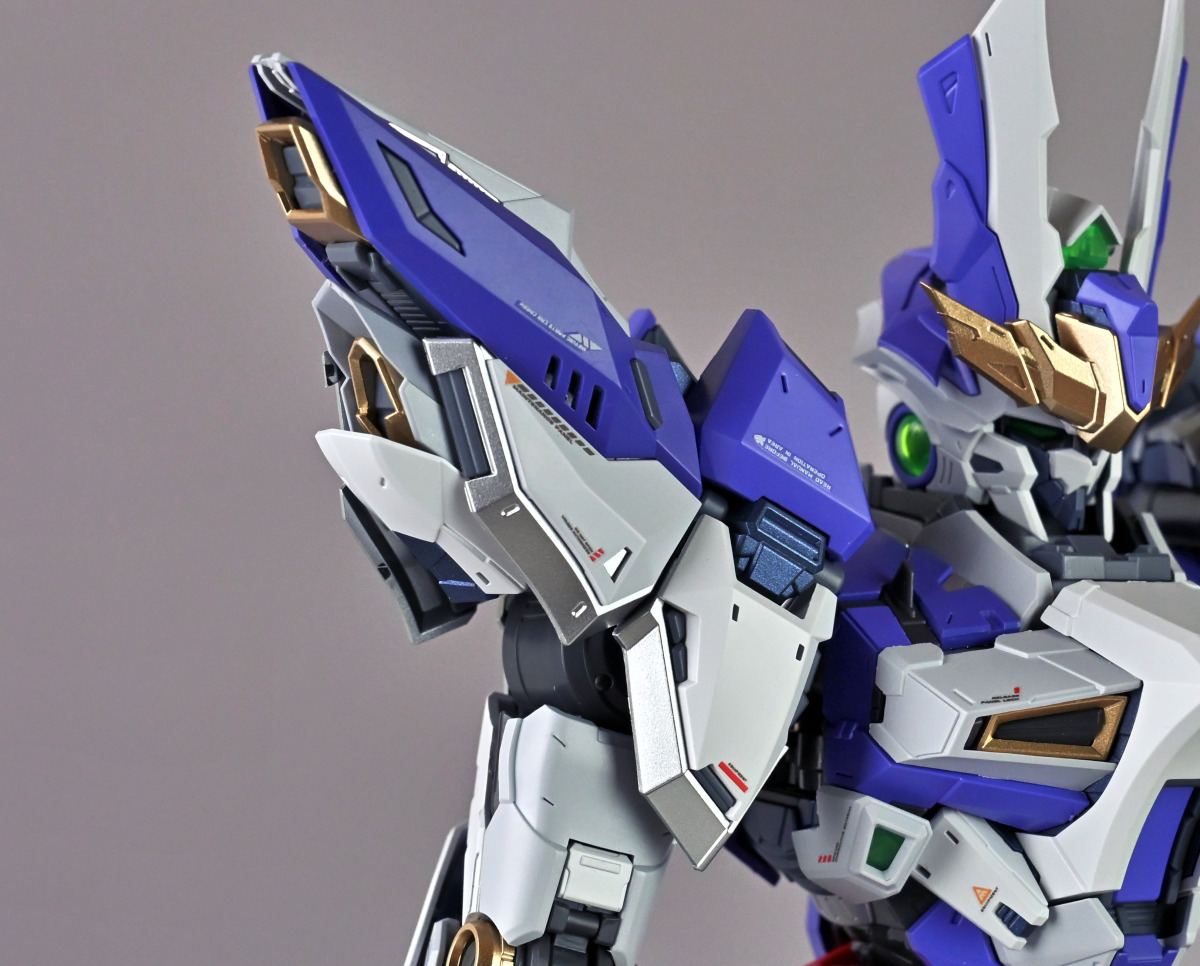
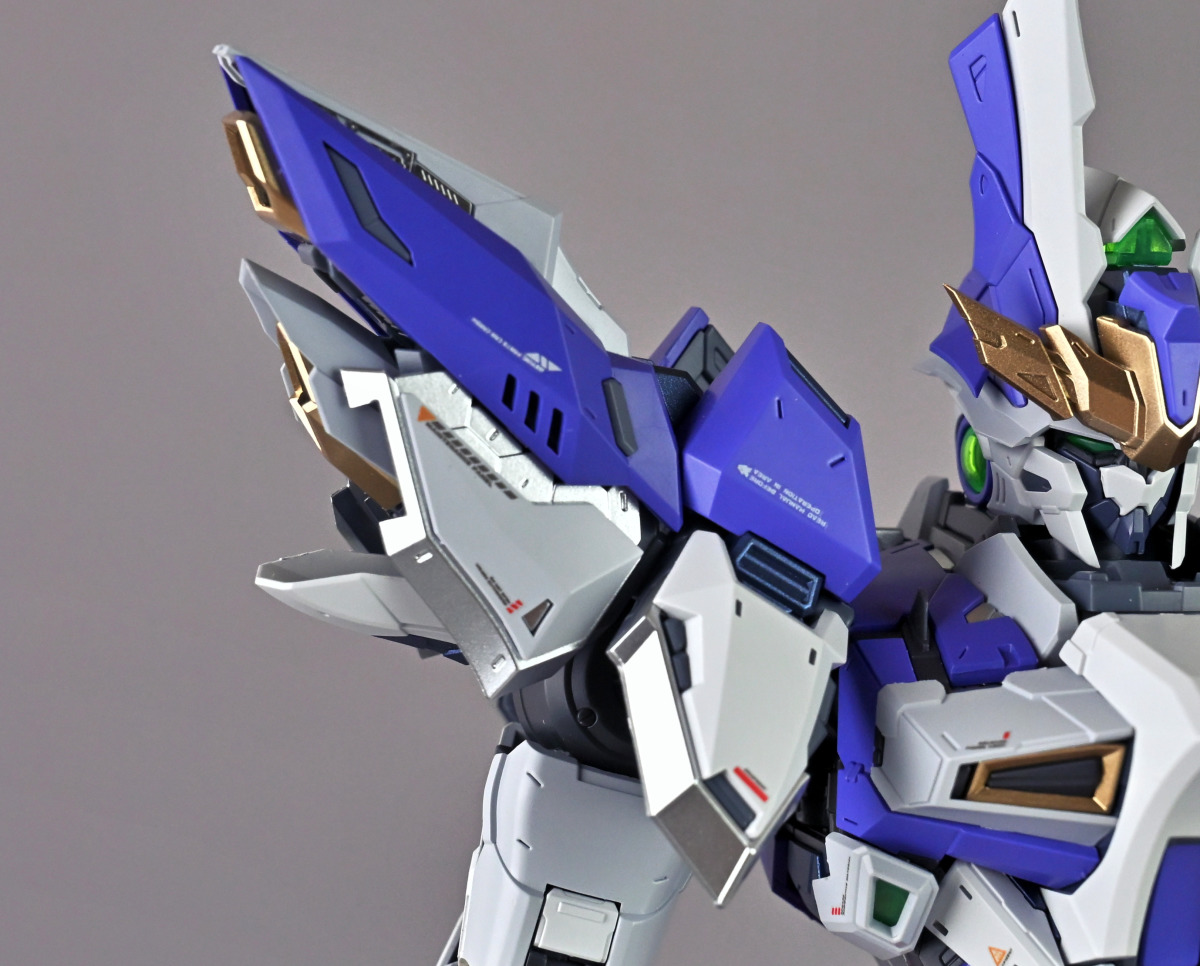
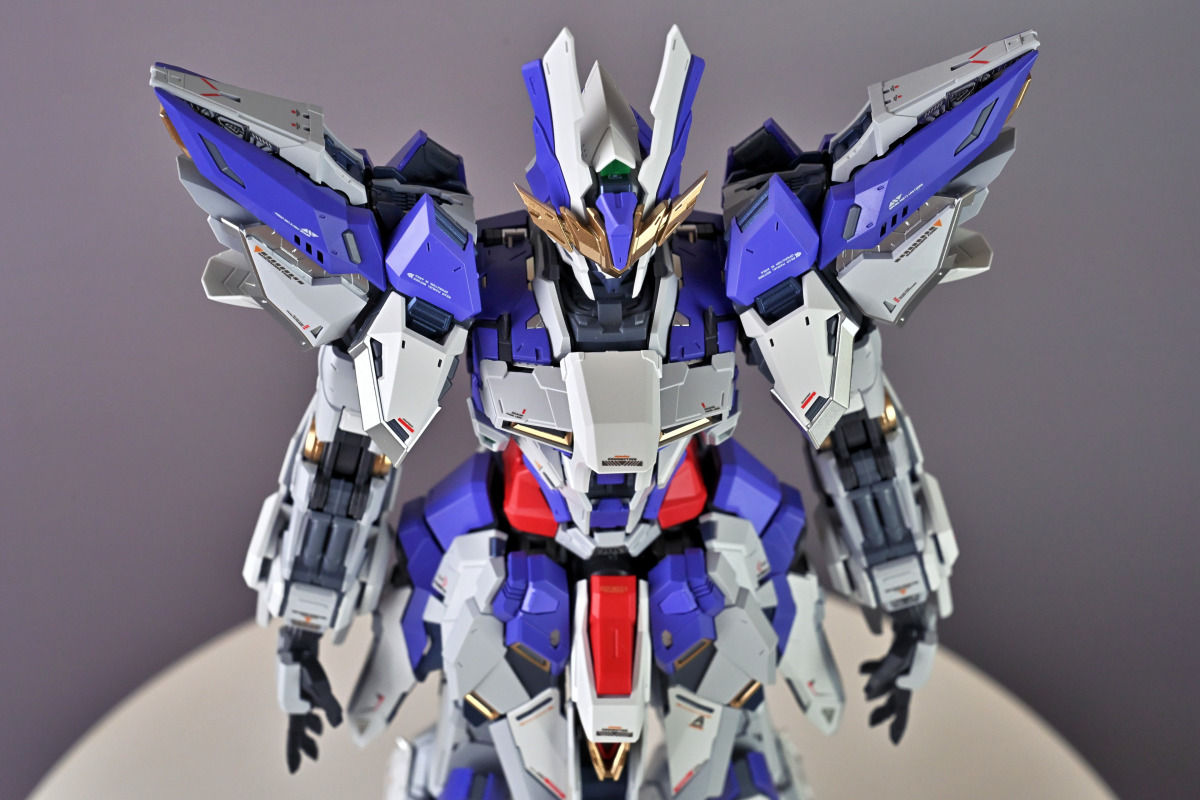
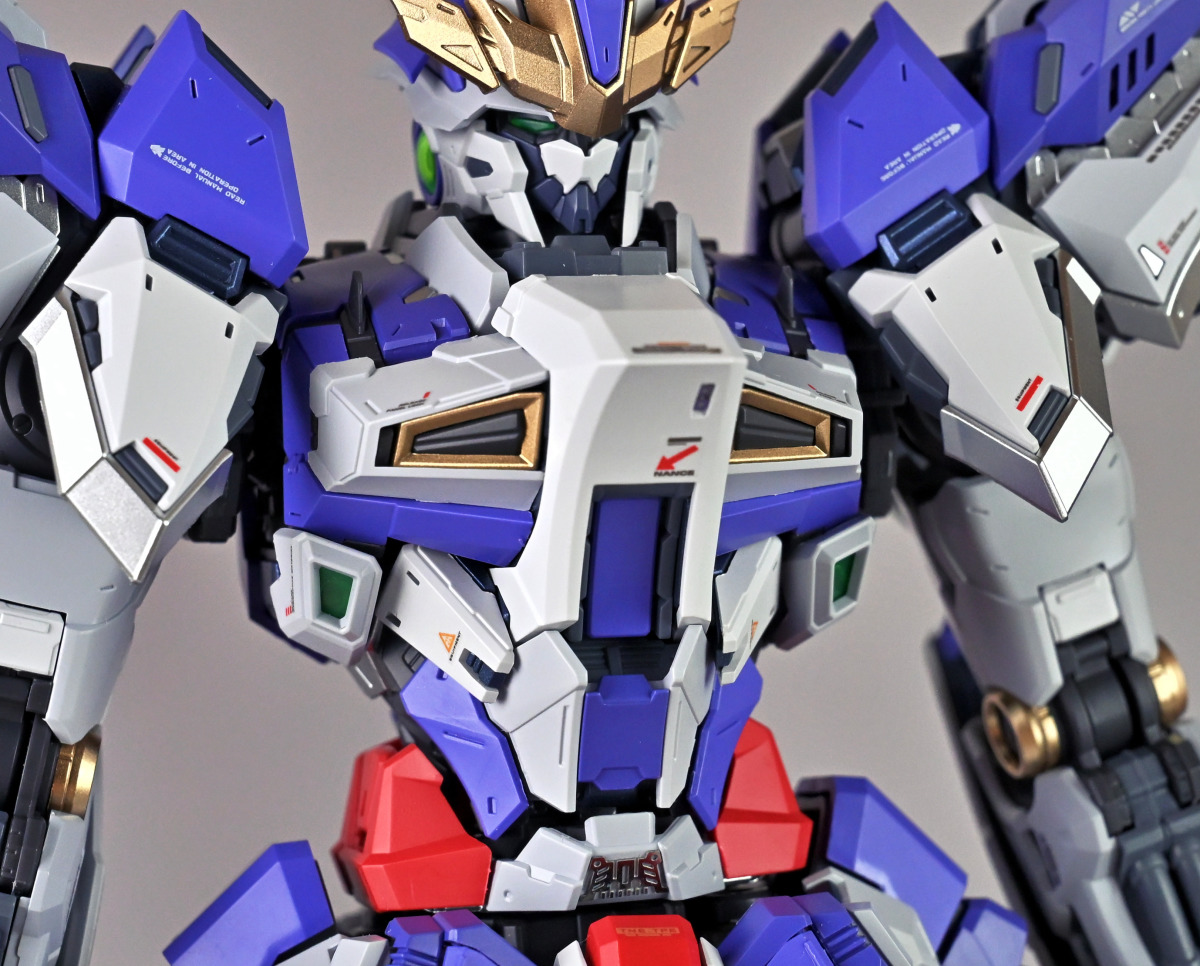
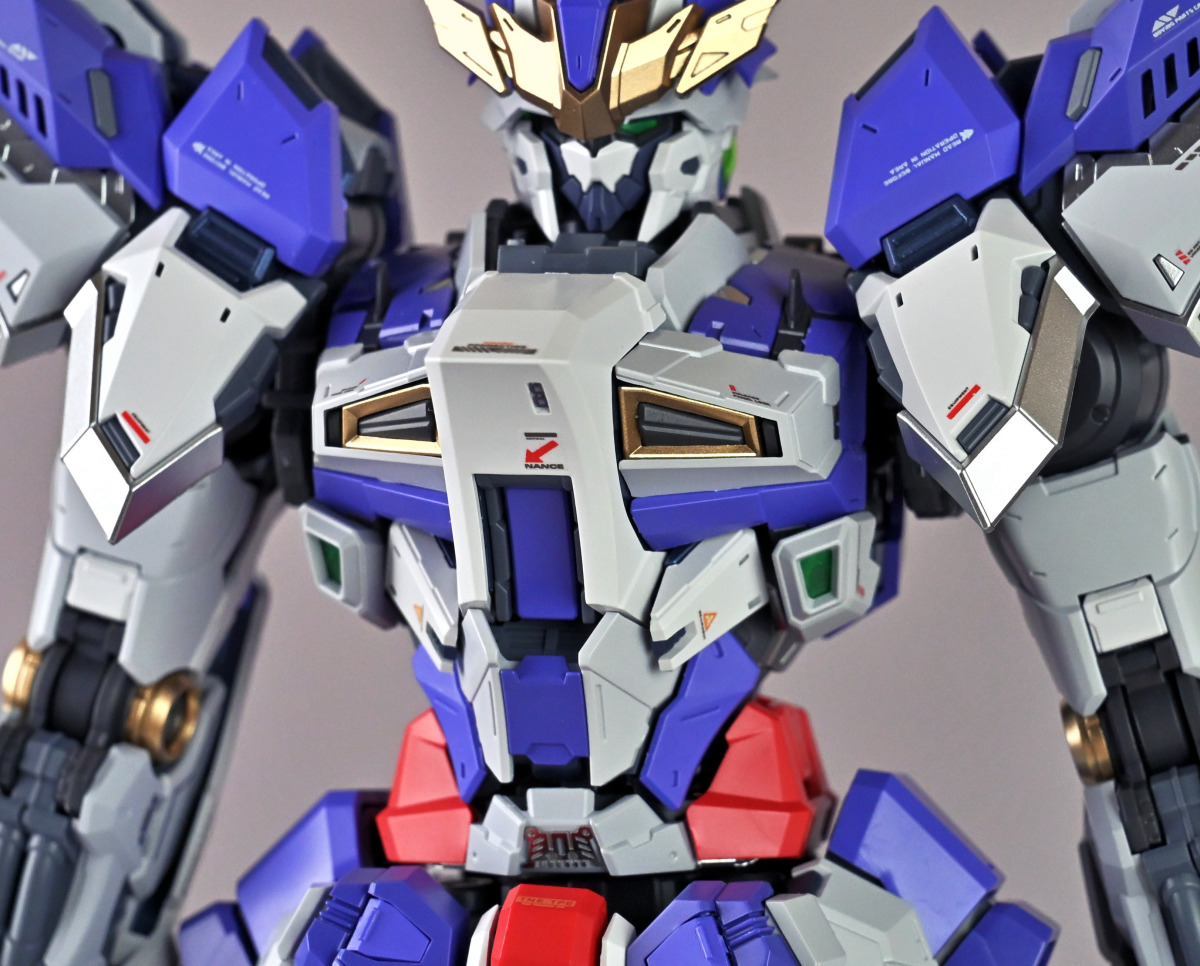
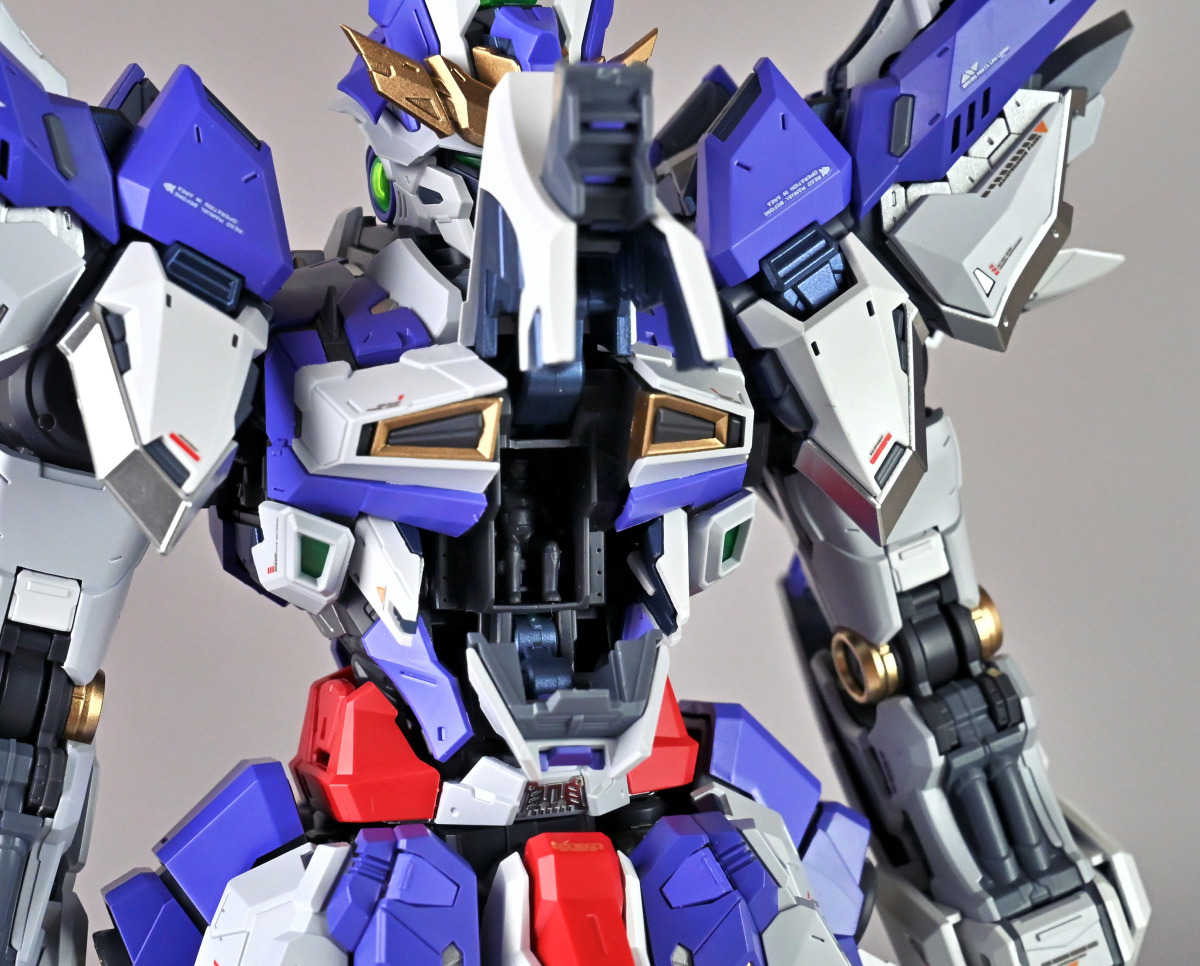
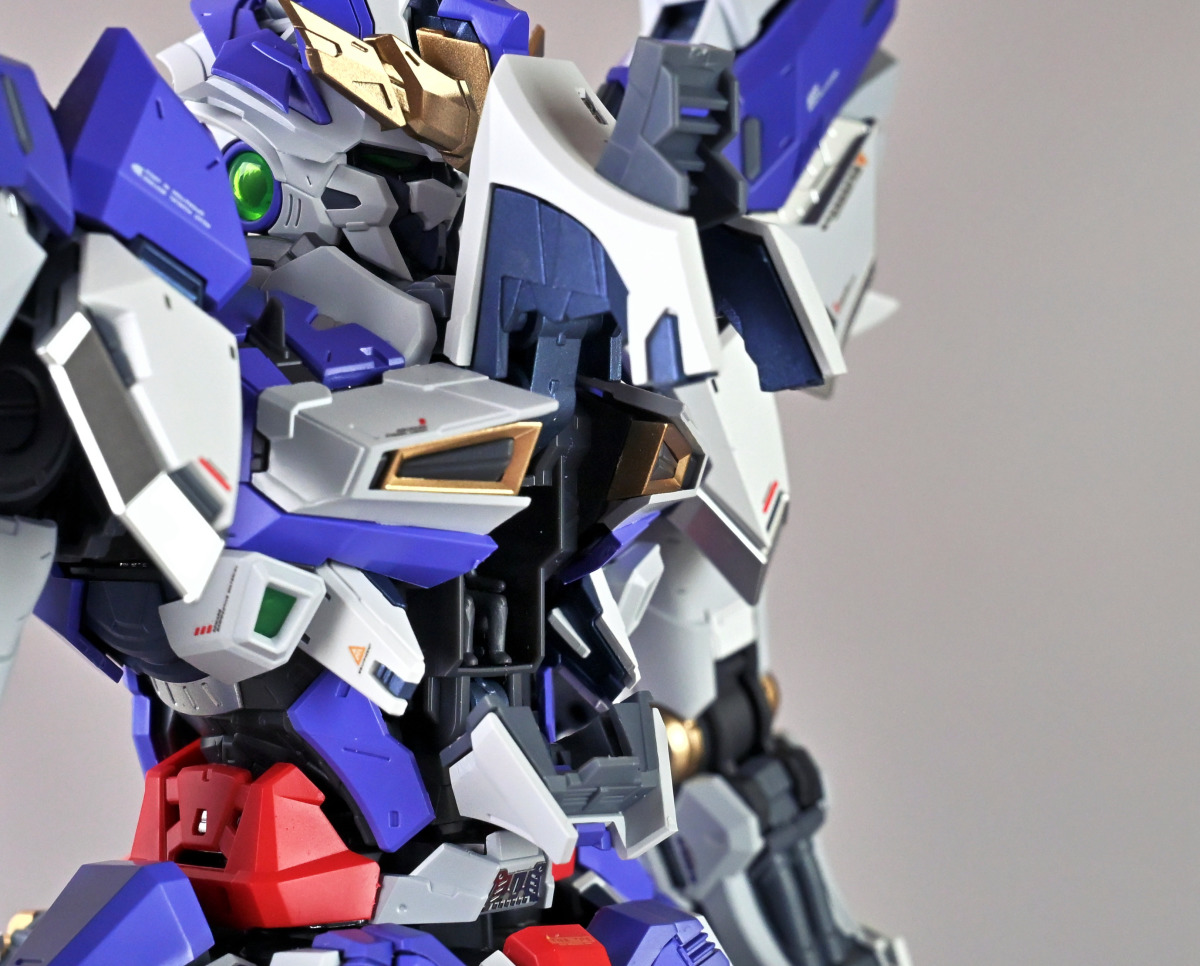
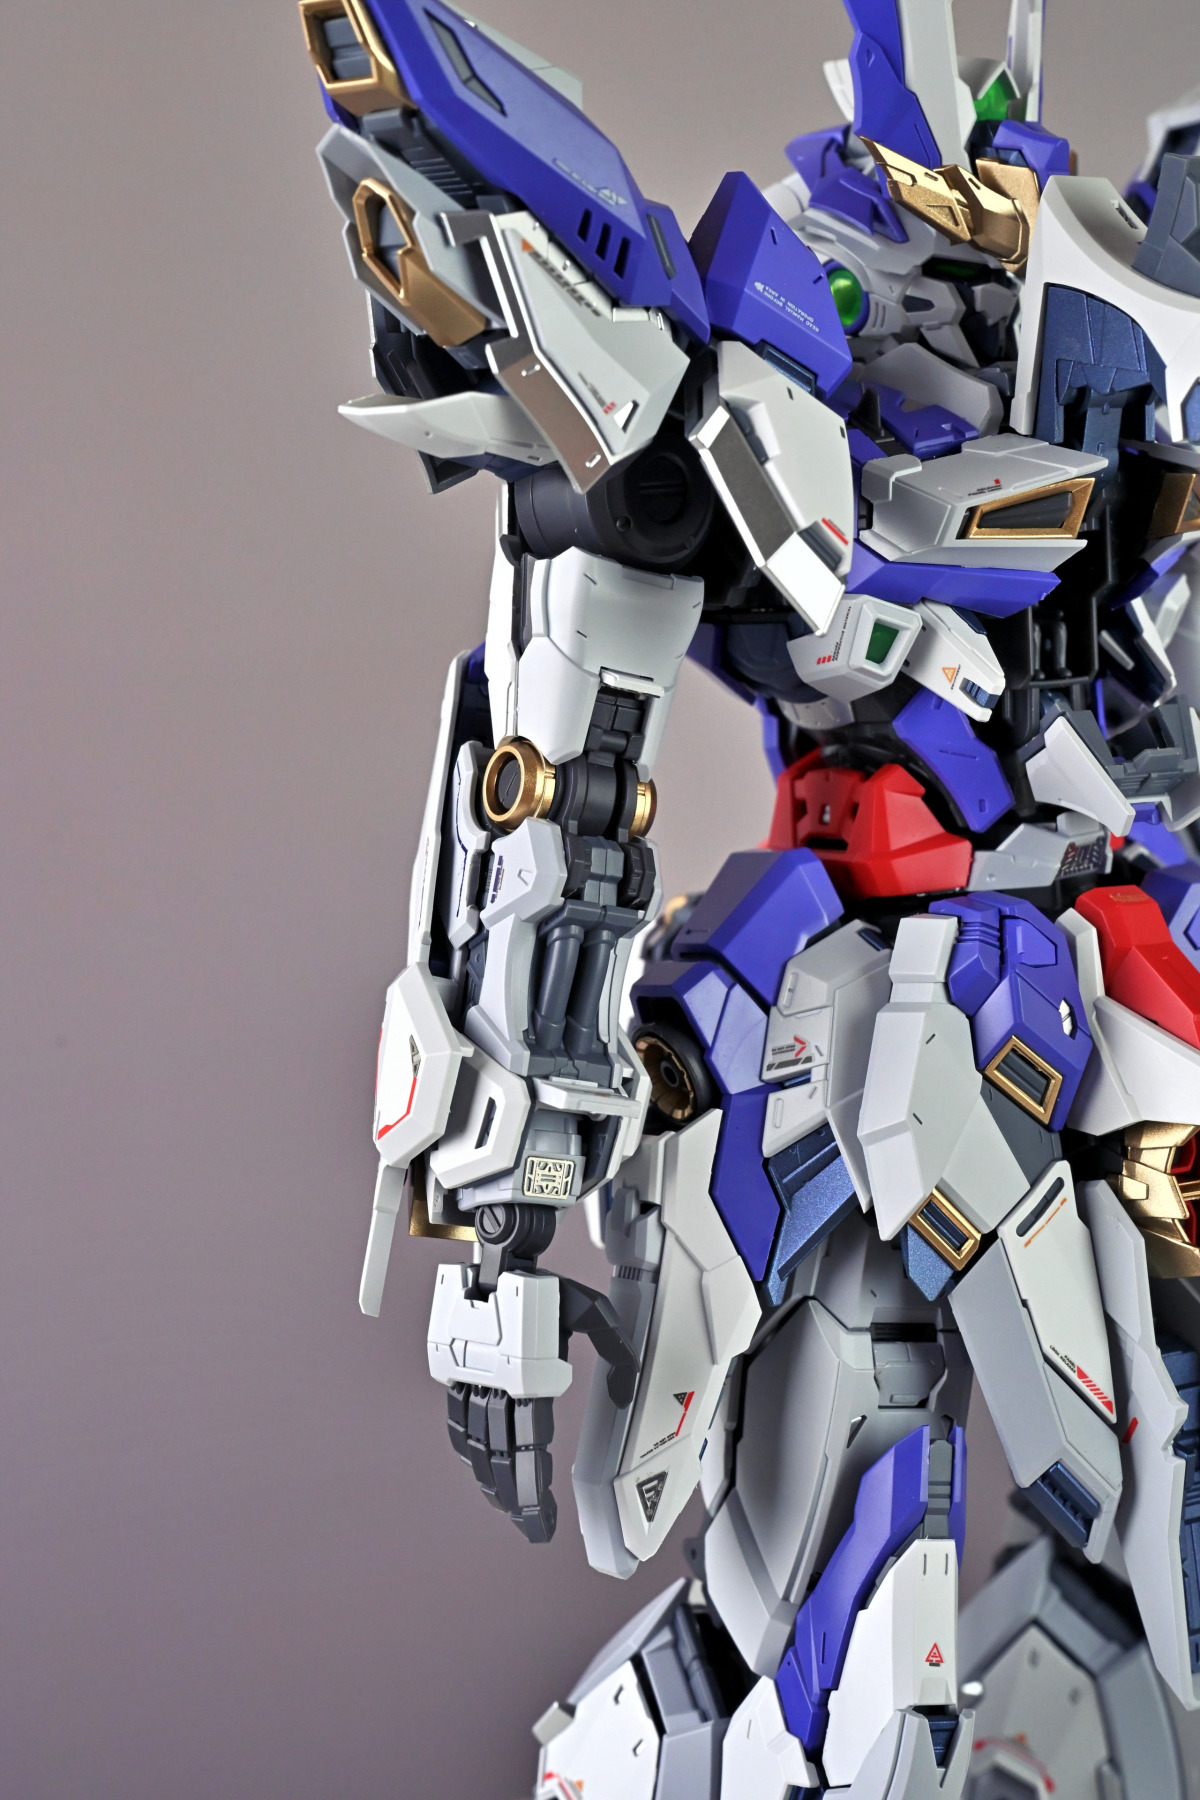
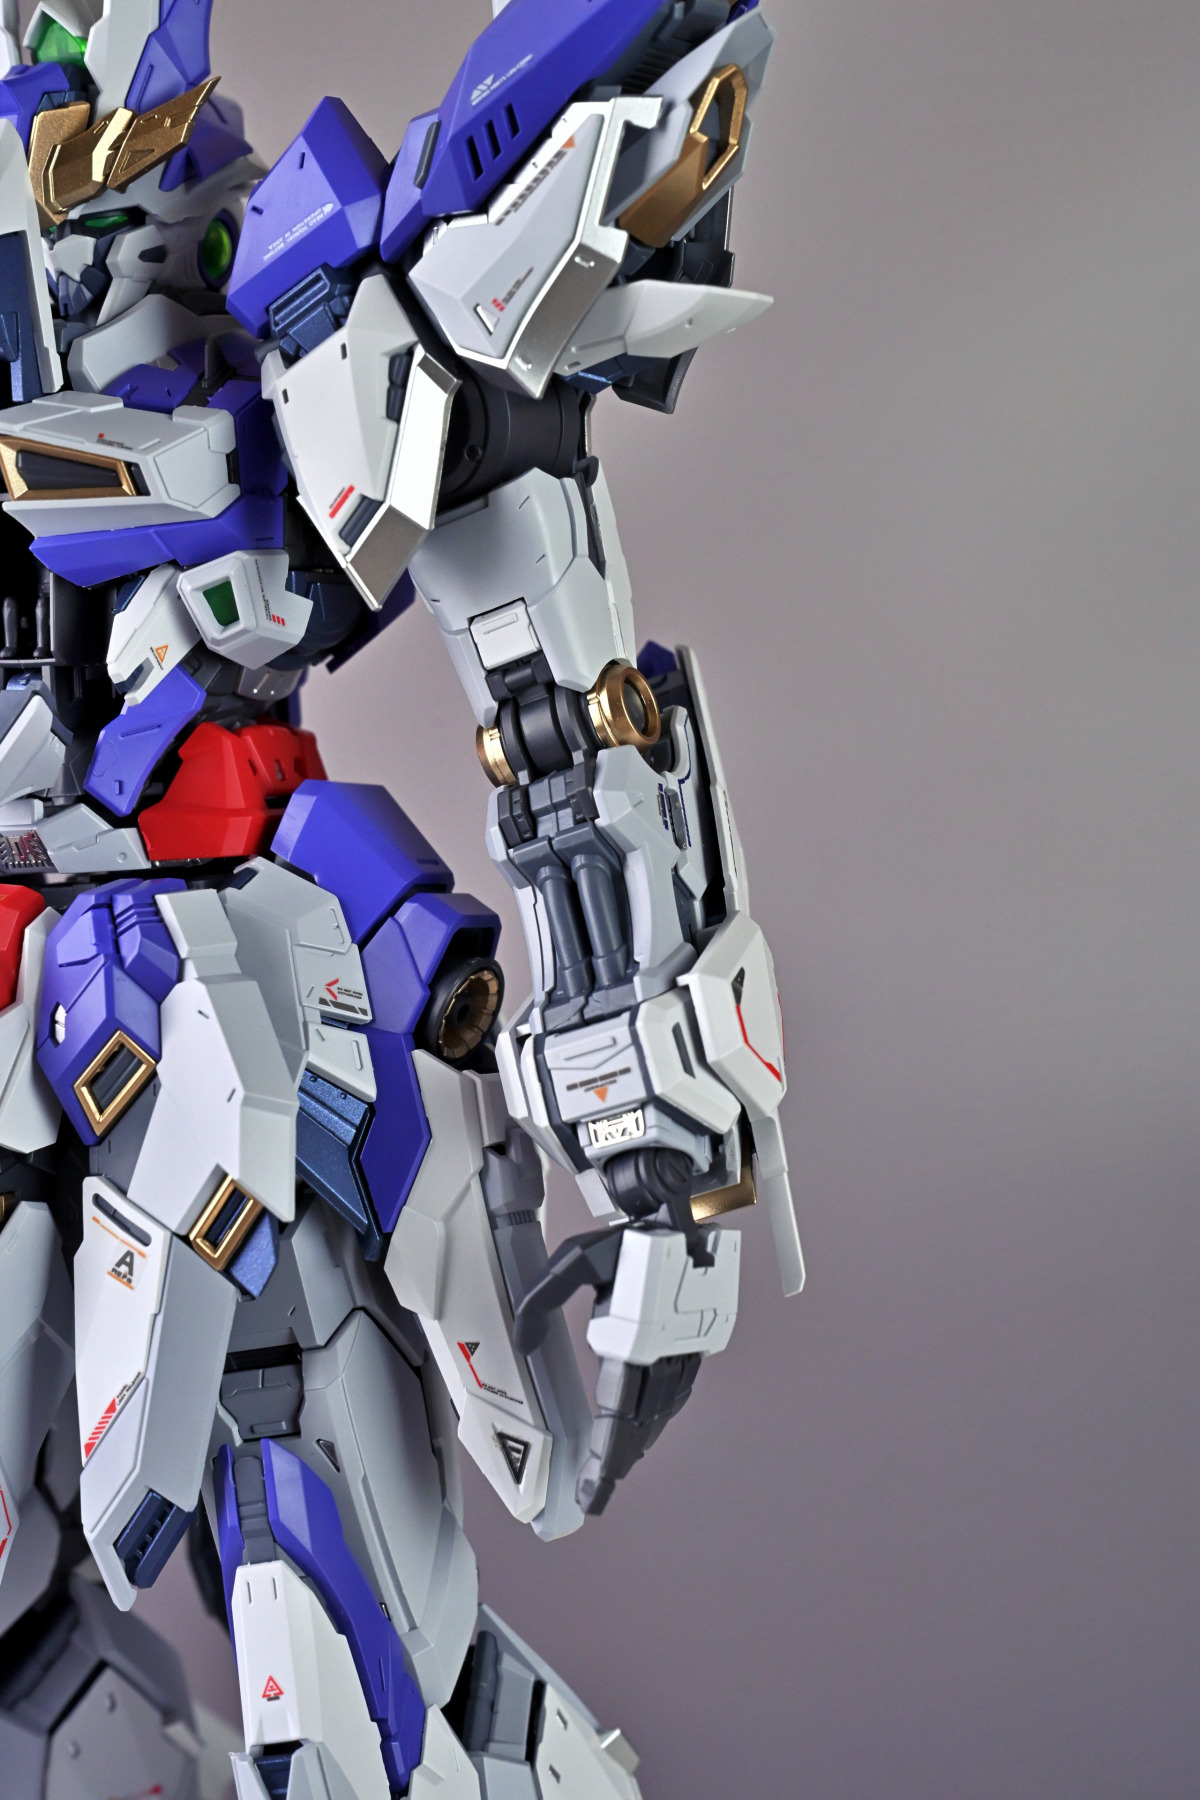
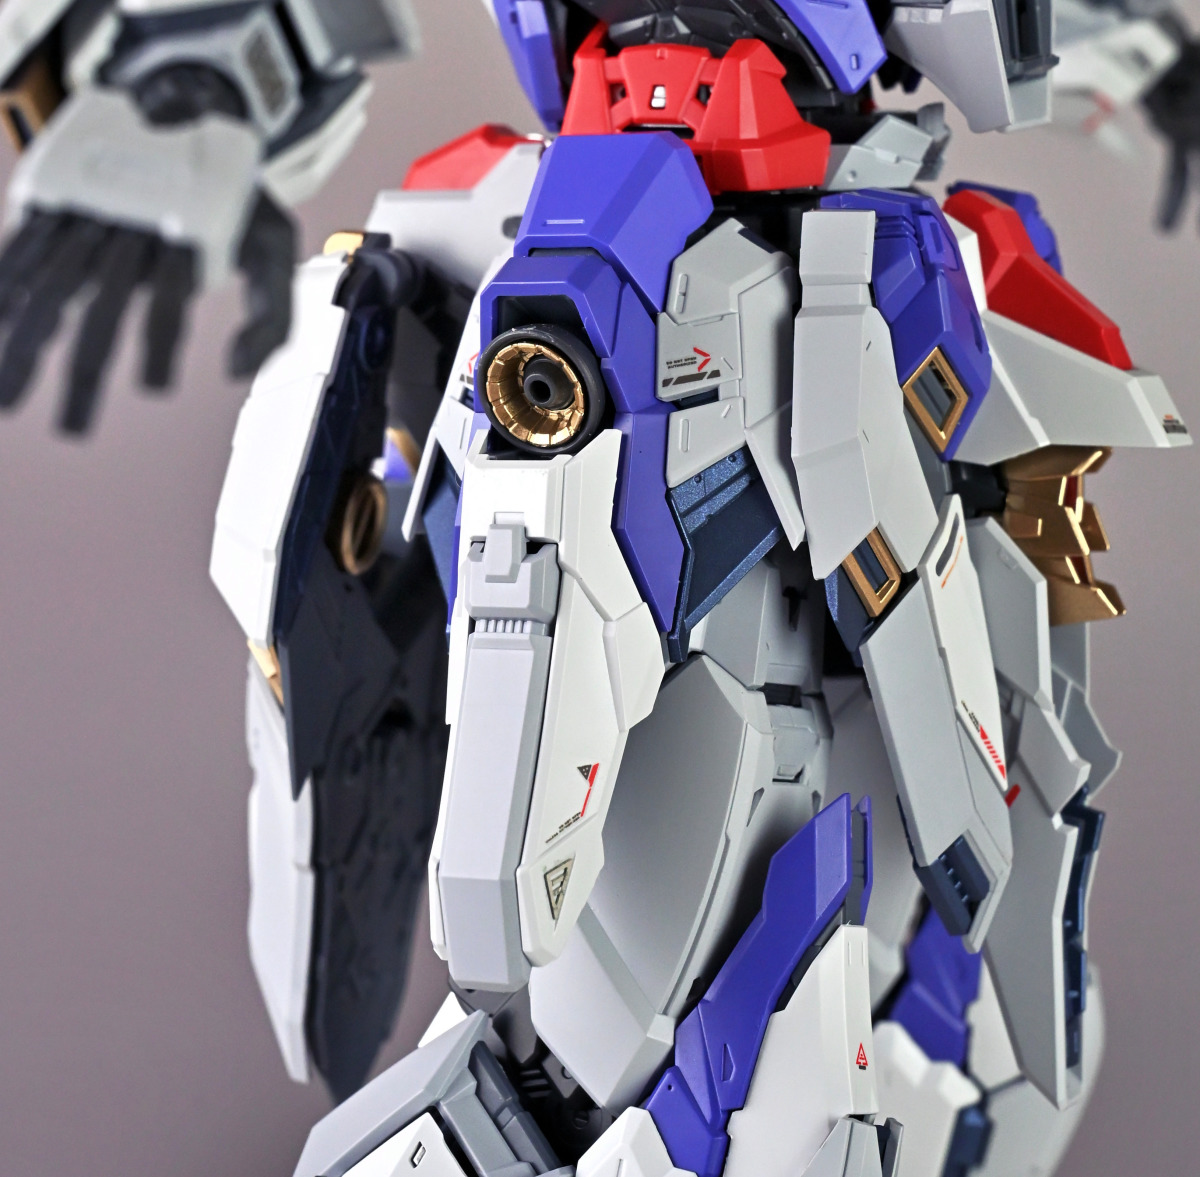
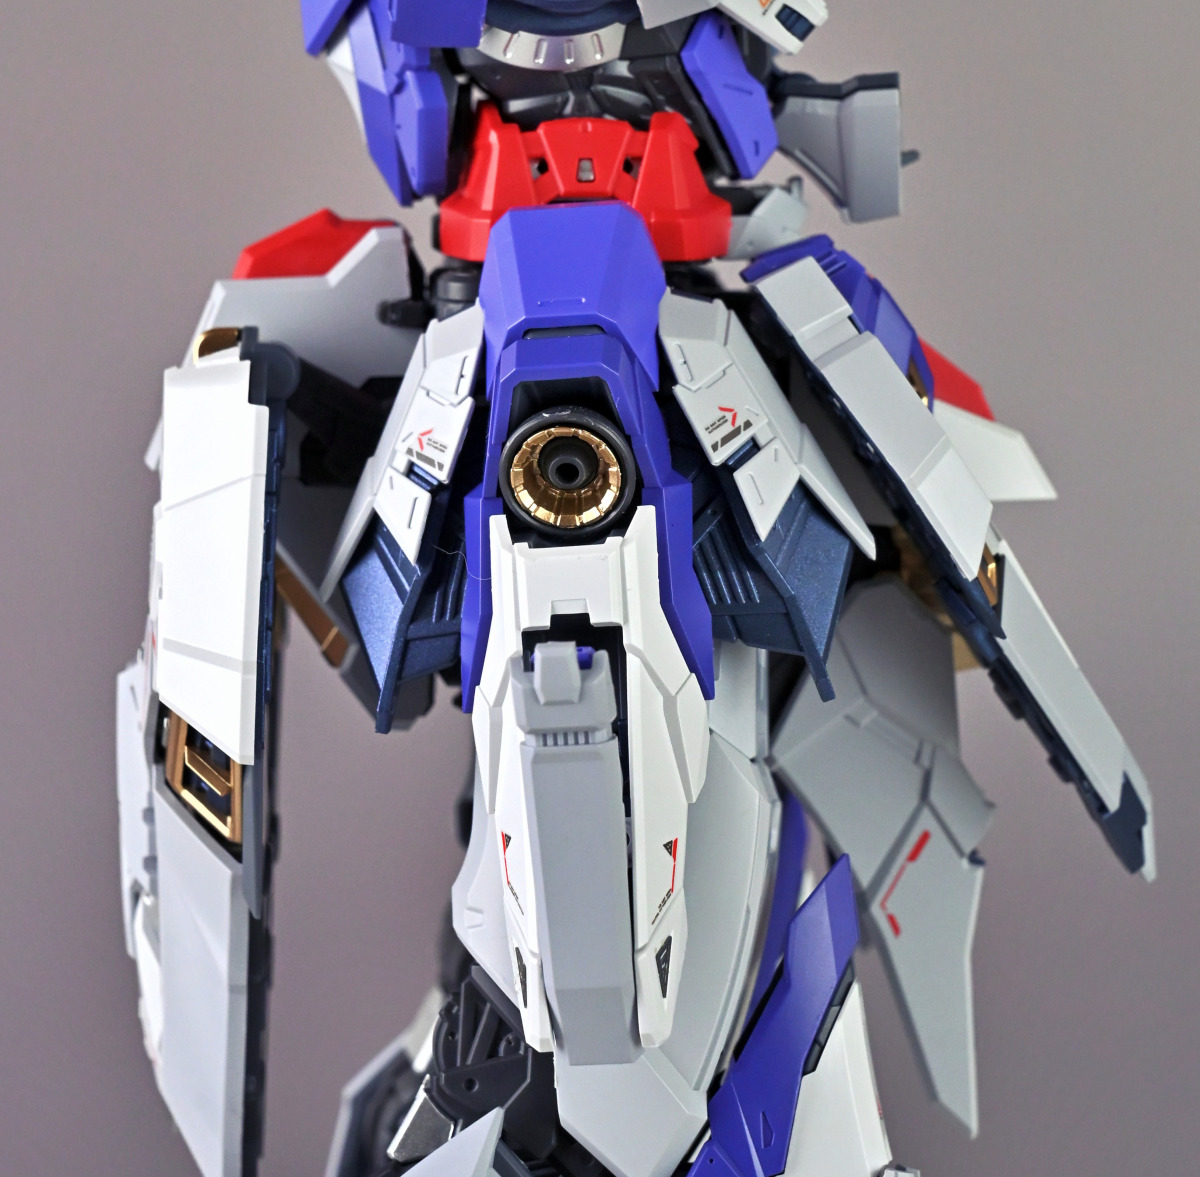
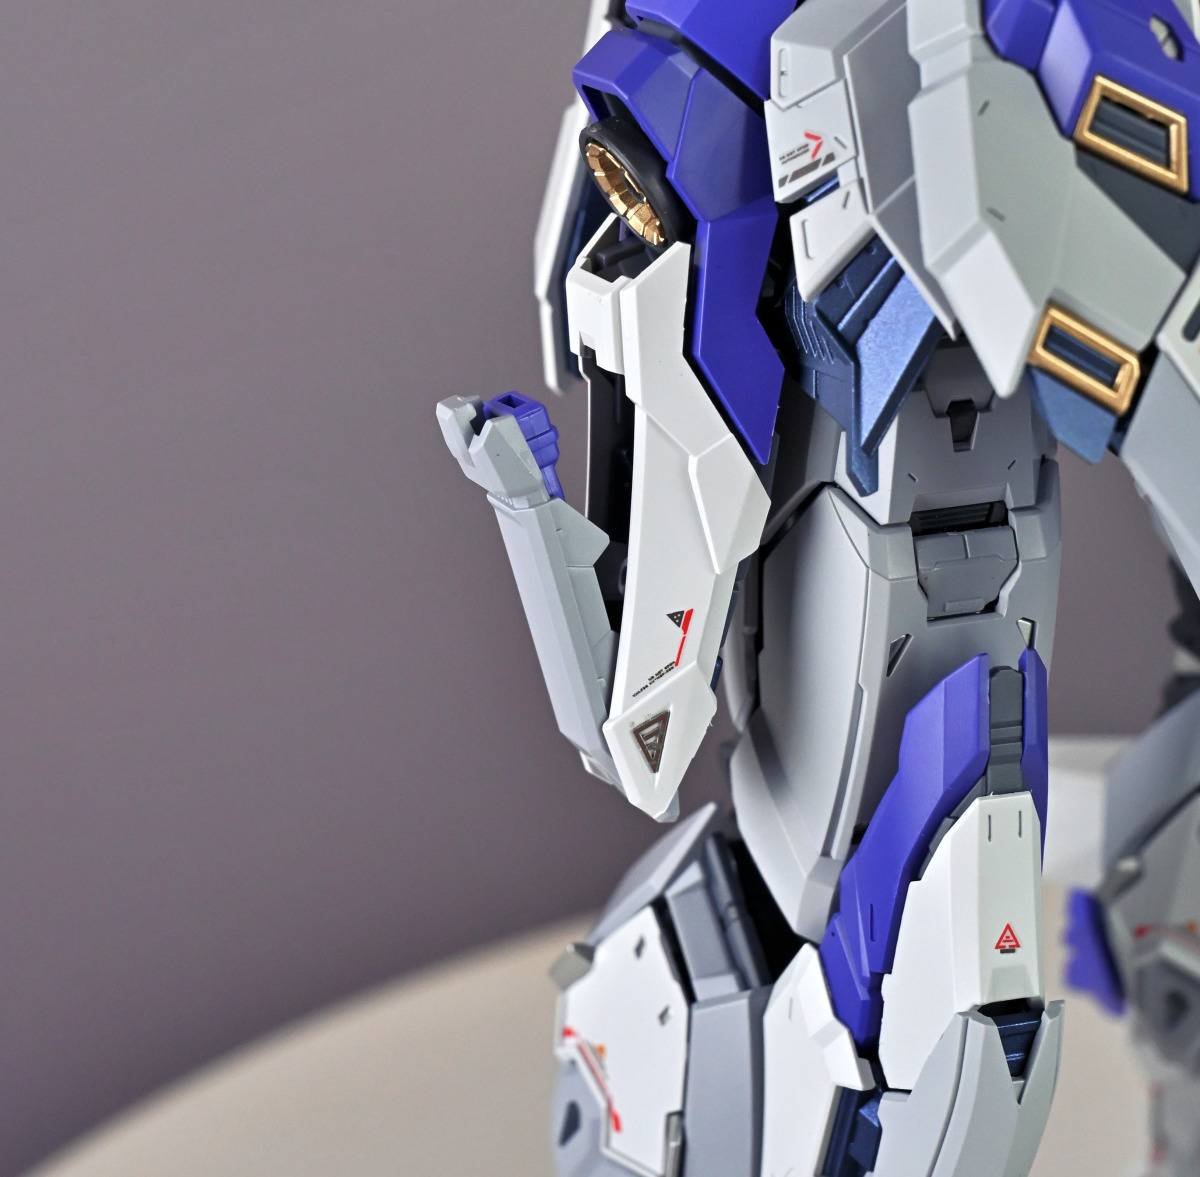
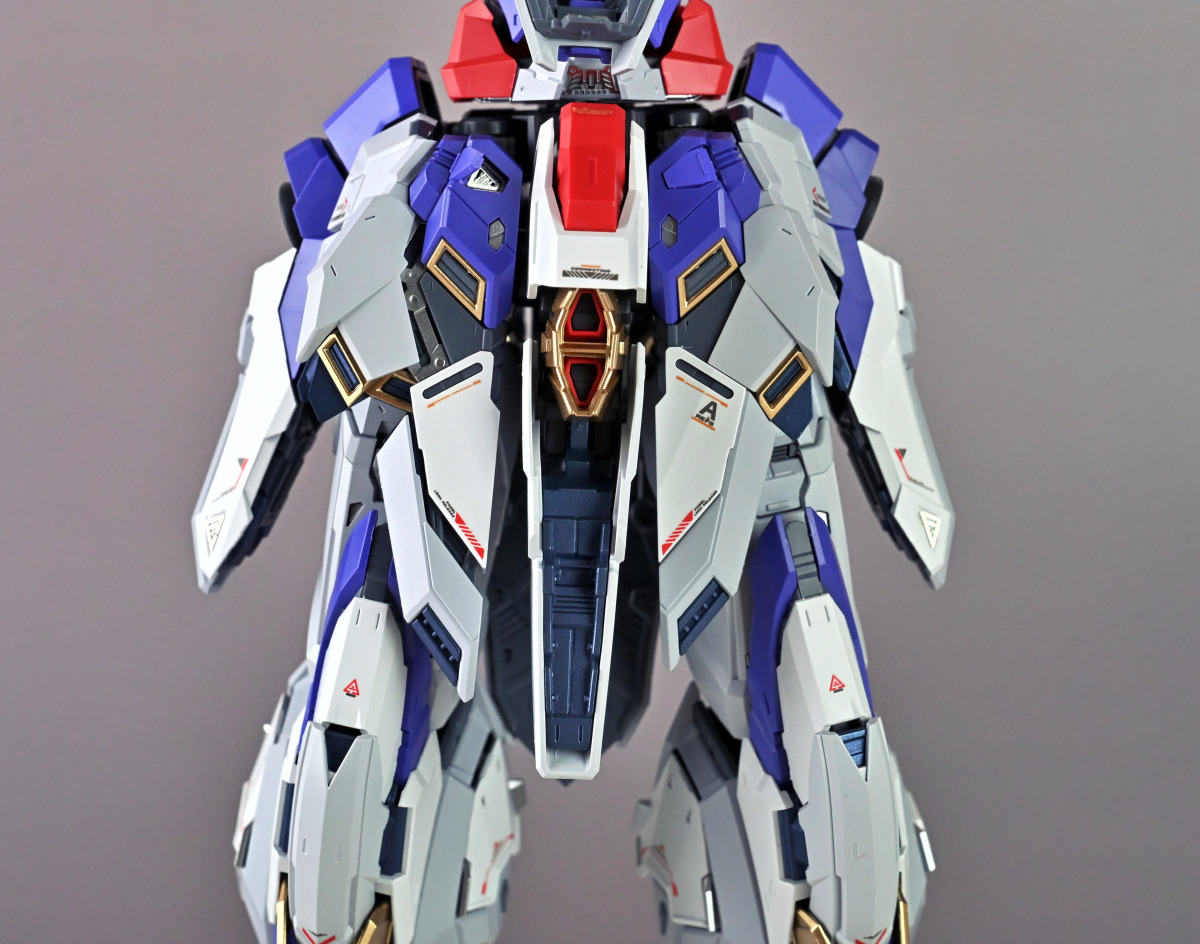
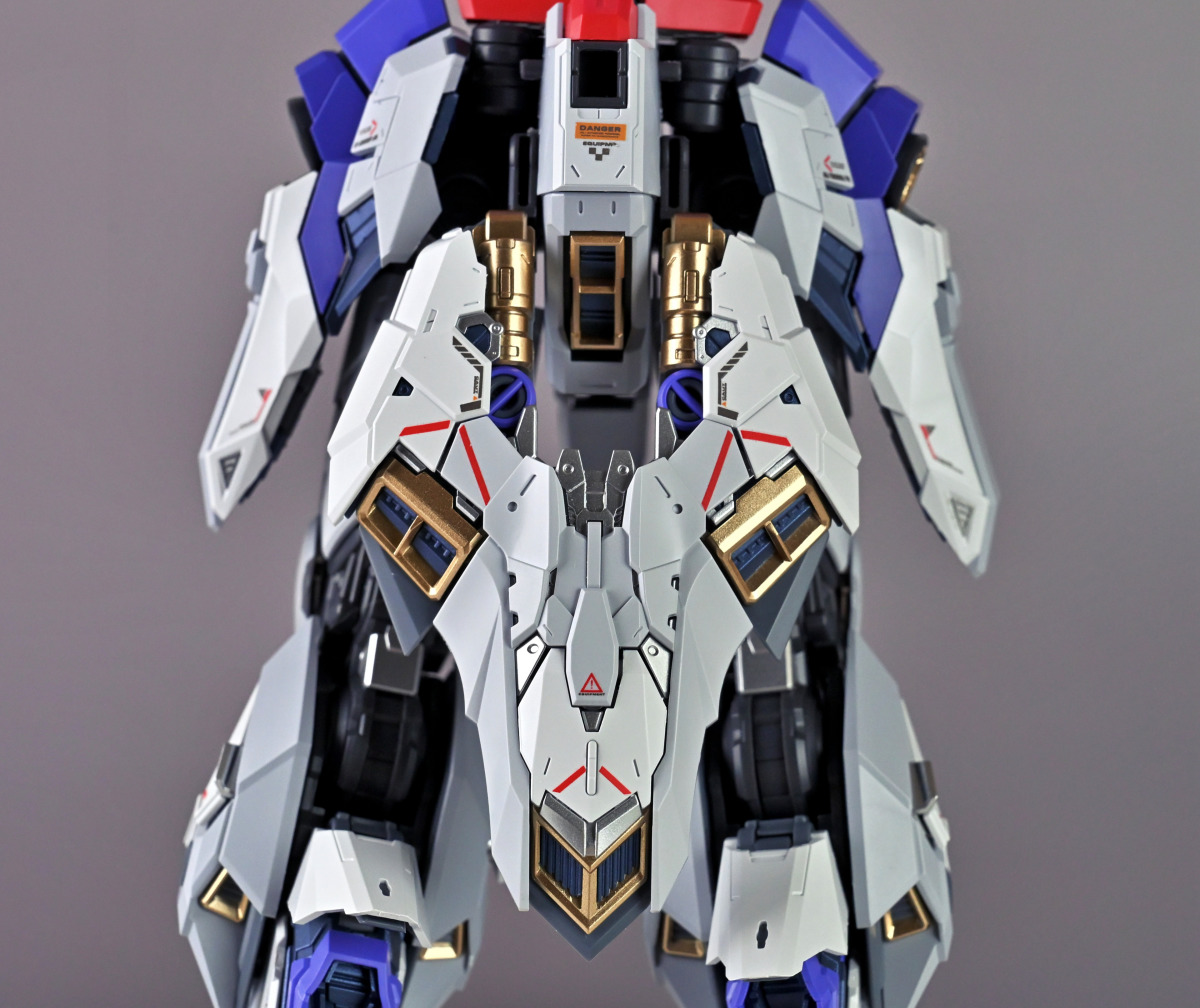
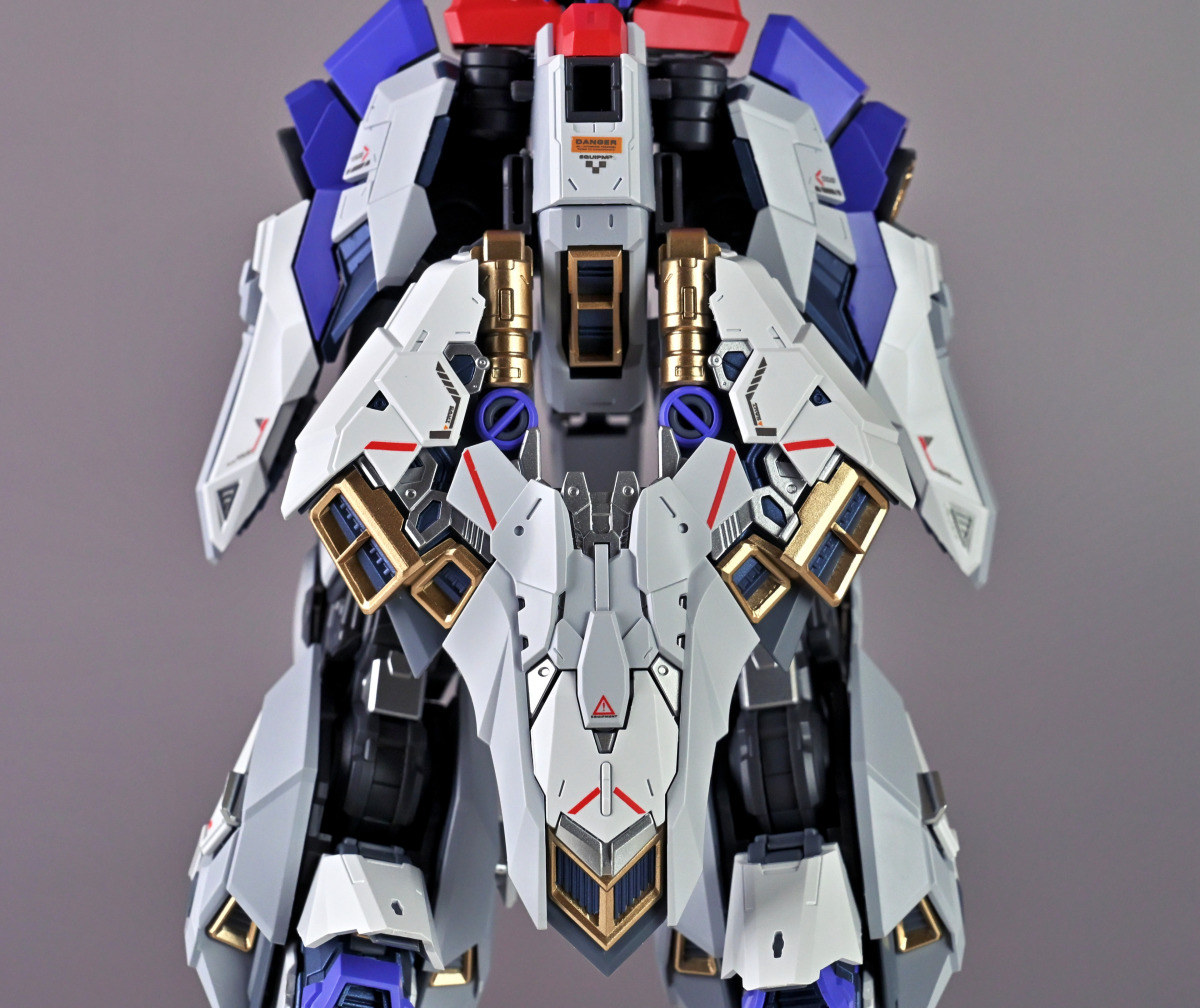
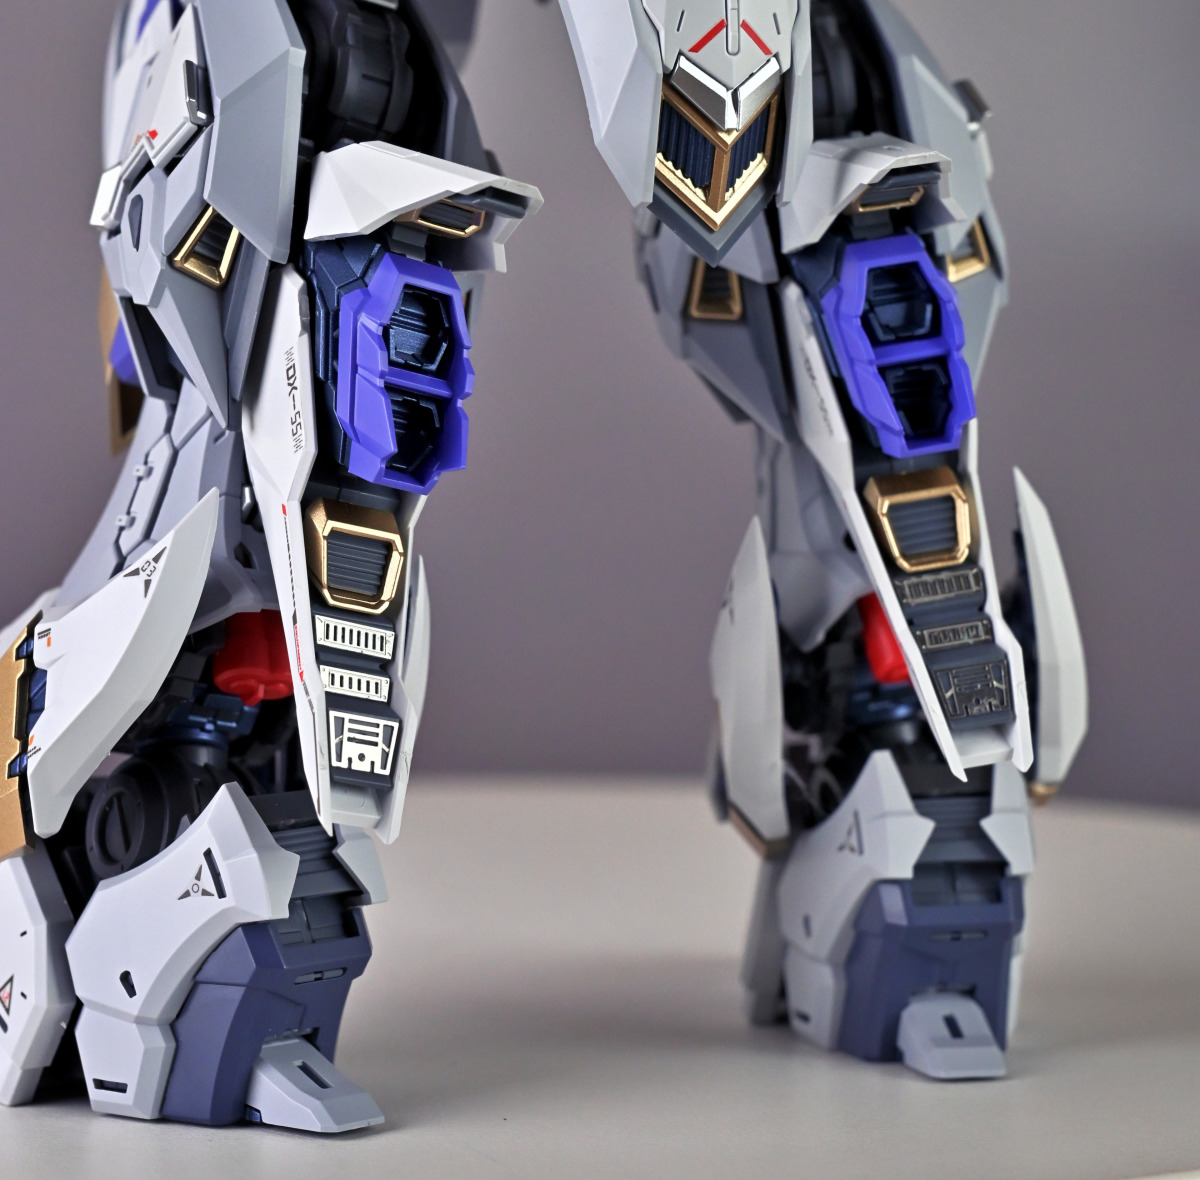
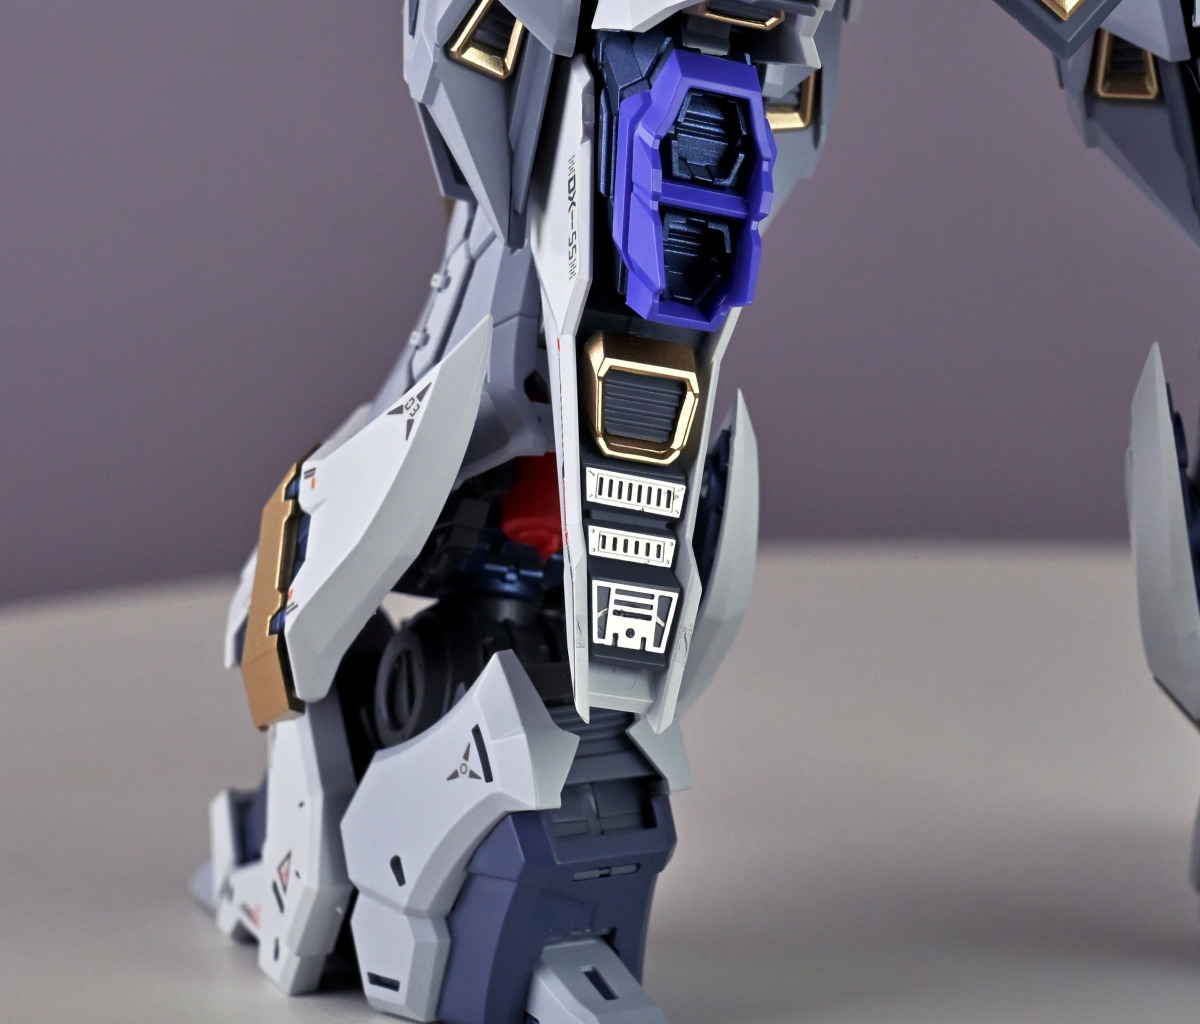
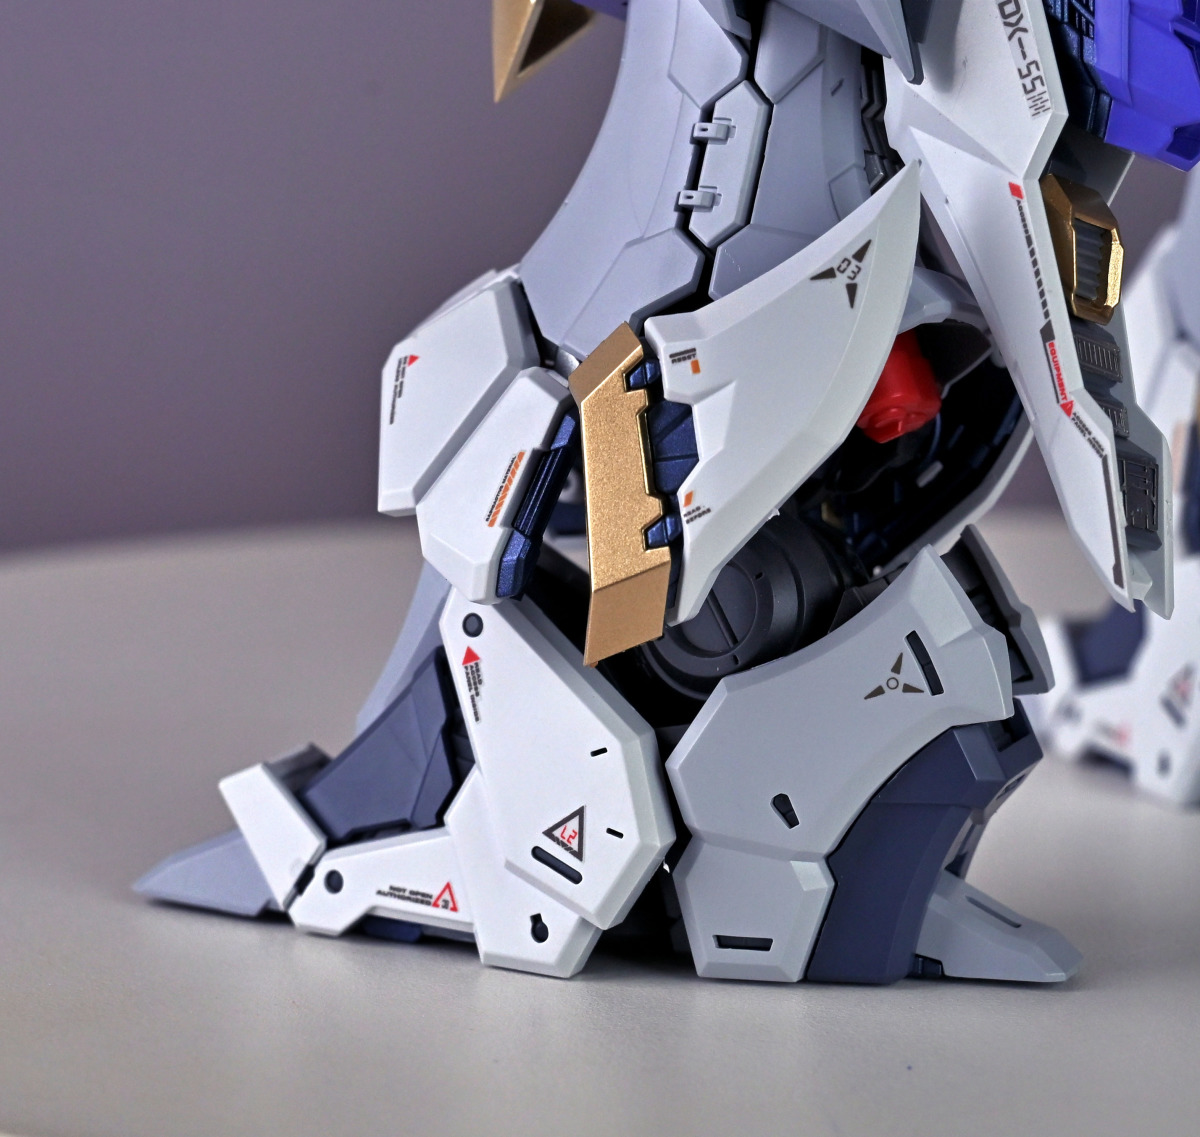
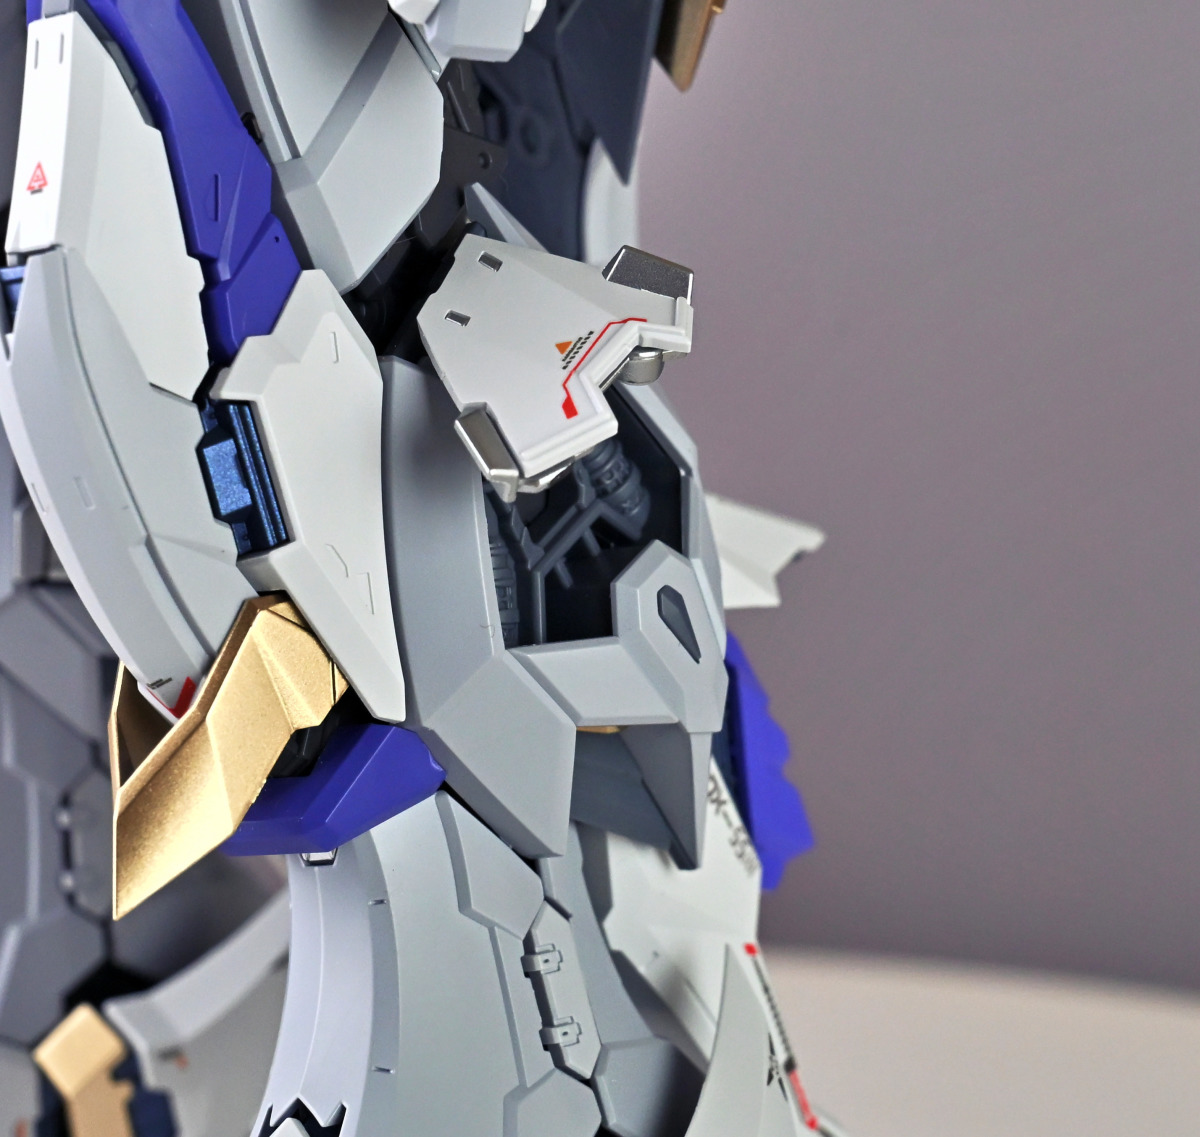
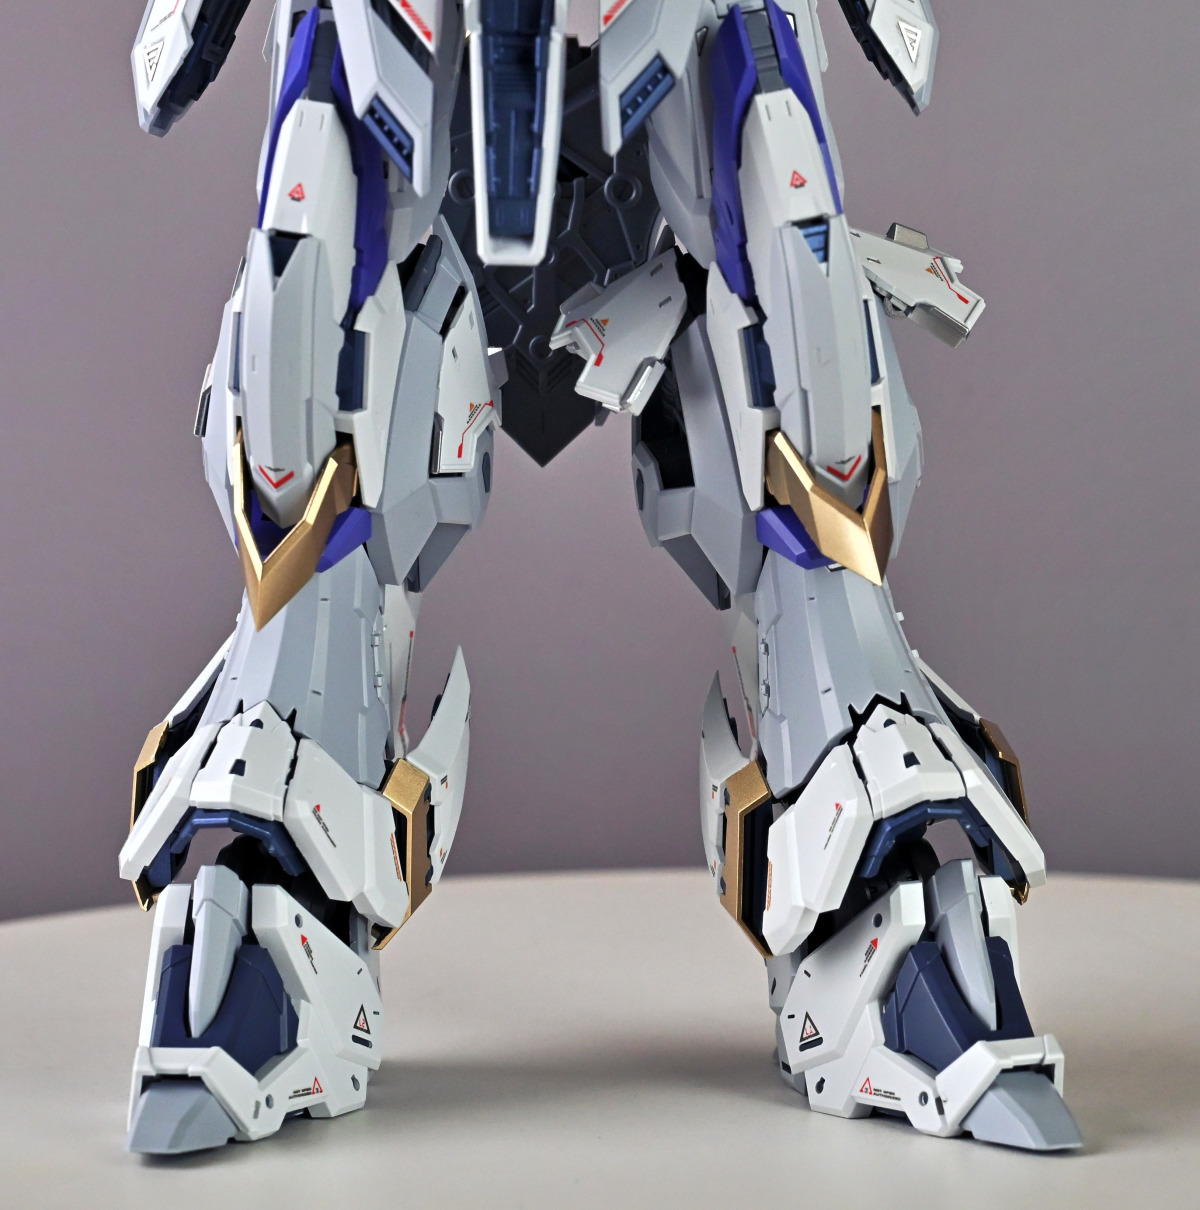
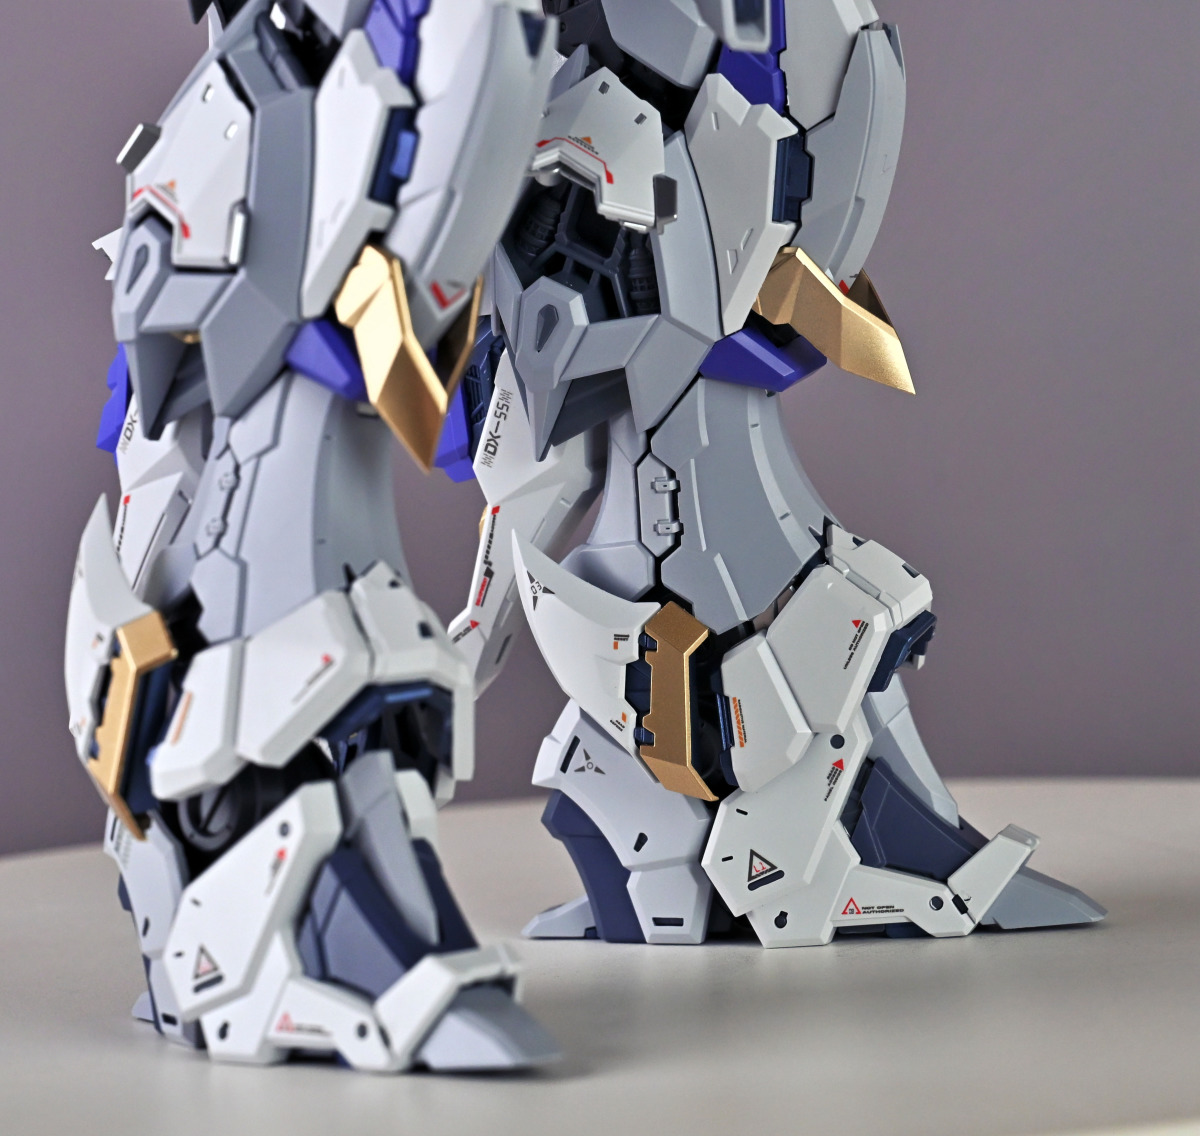
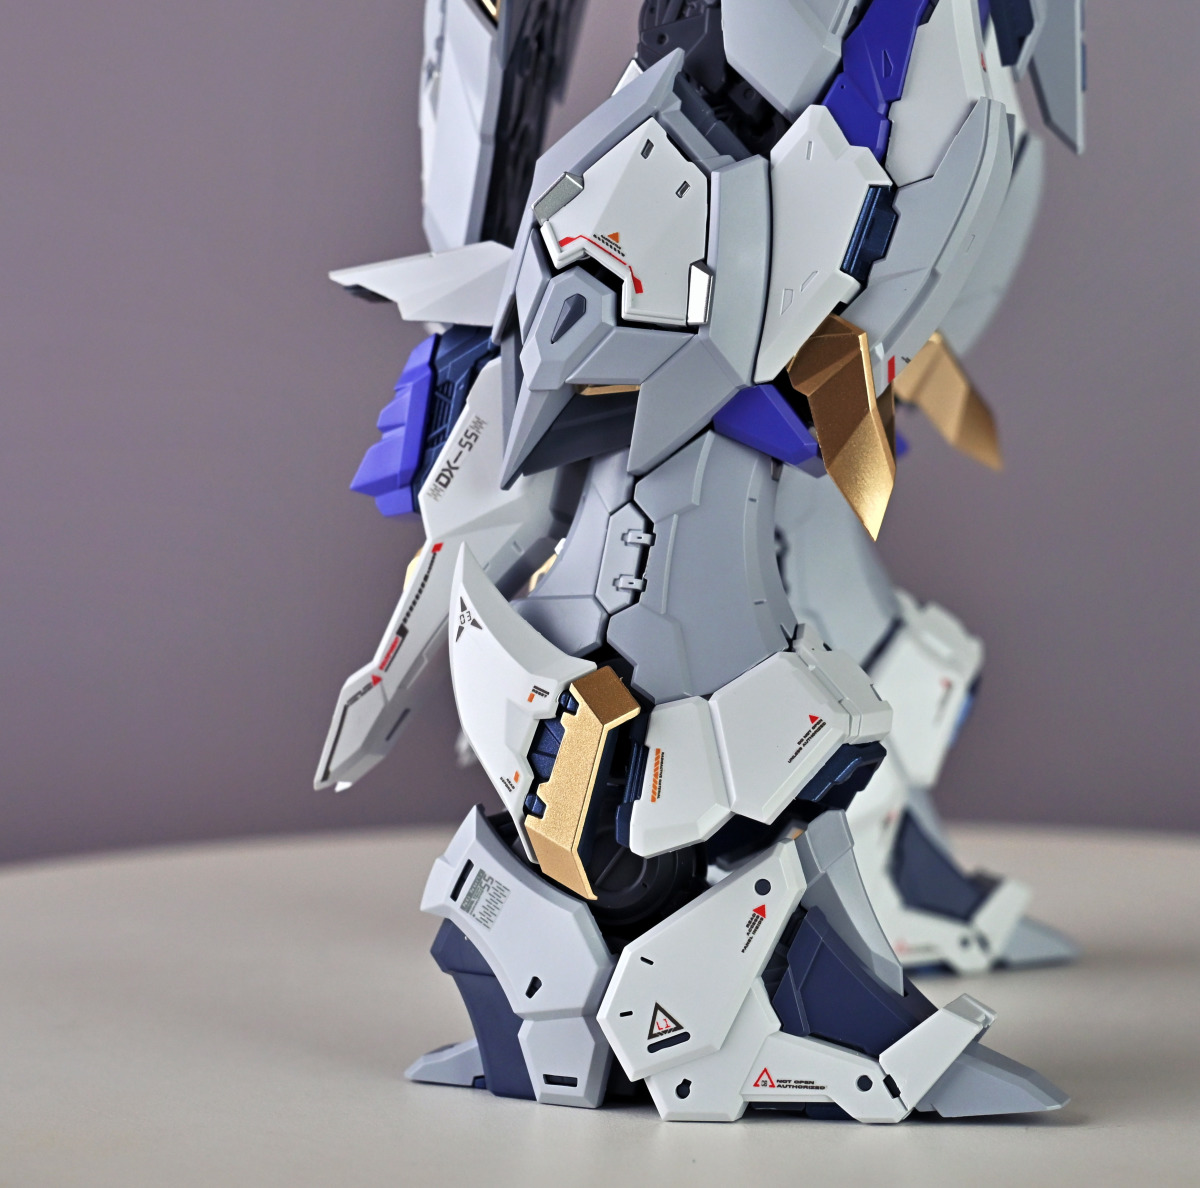
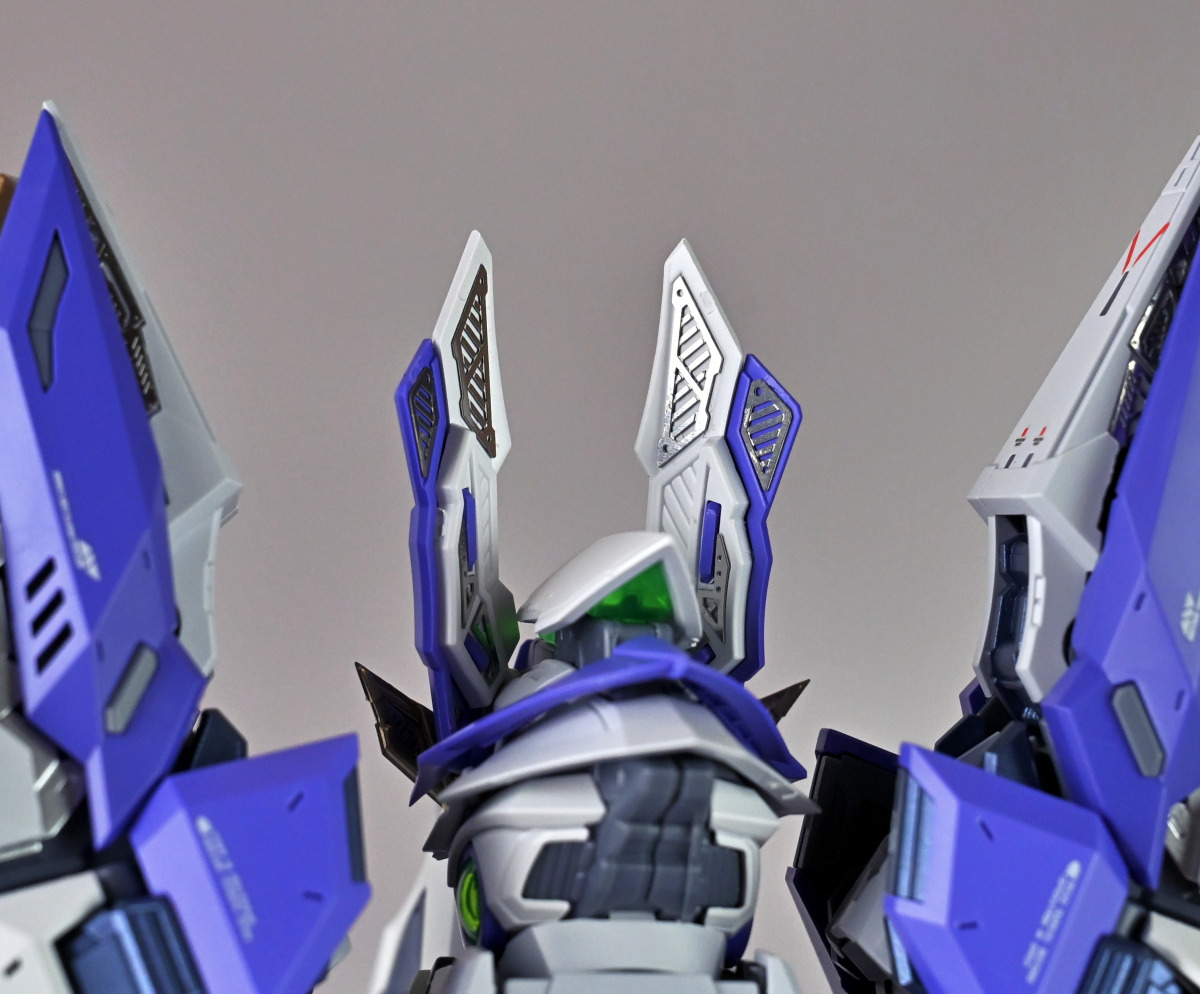
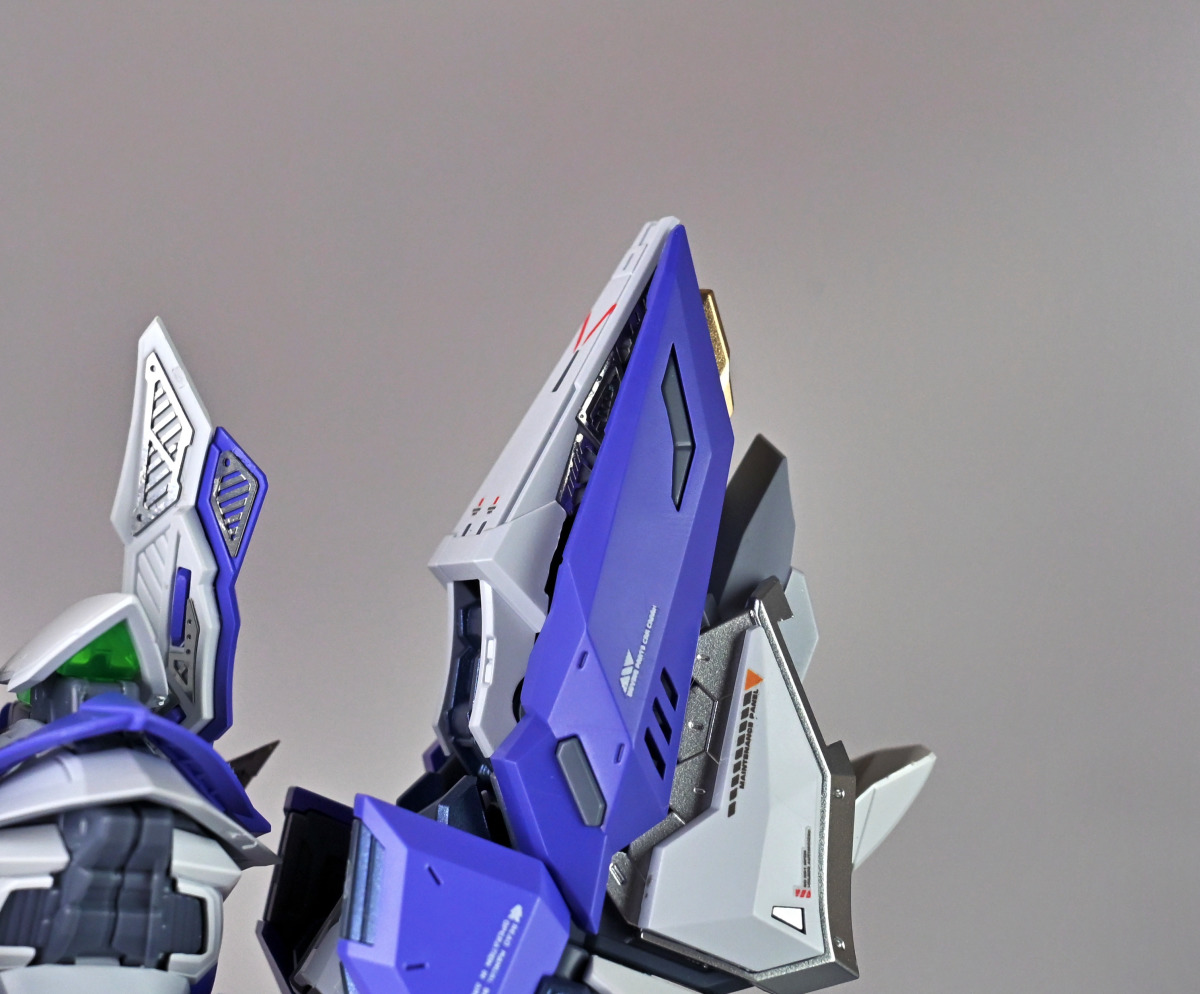
▼Fully assembled studio photoshoot.
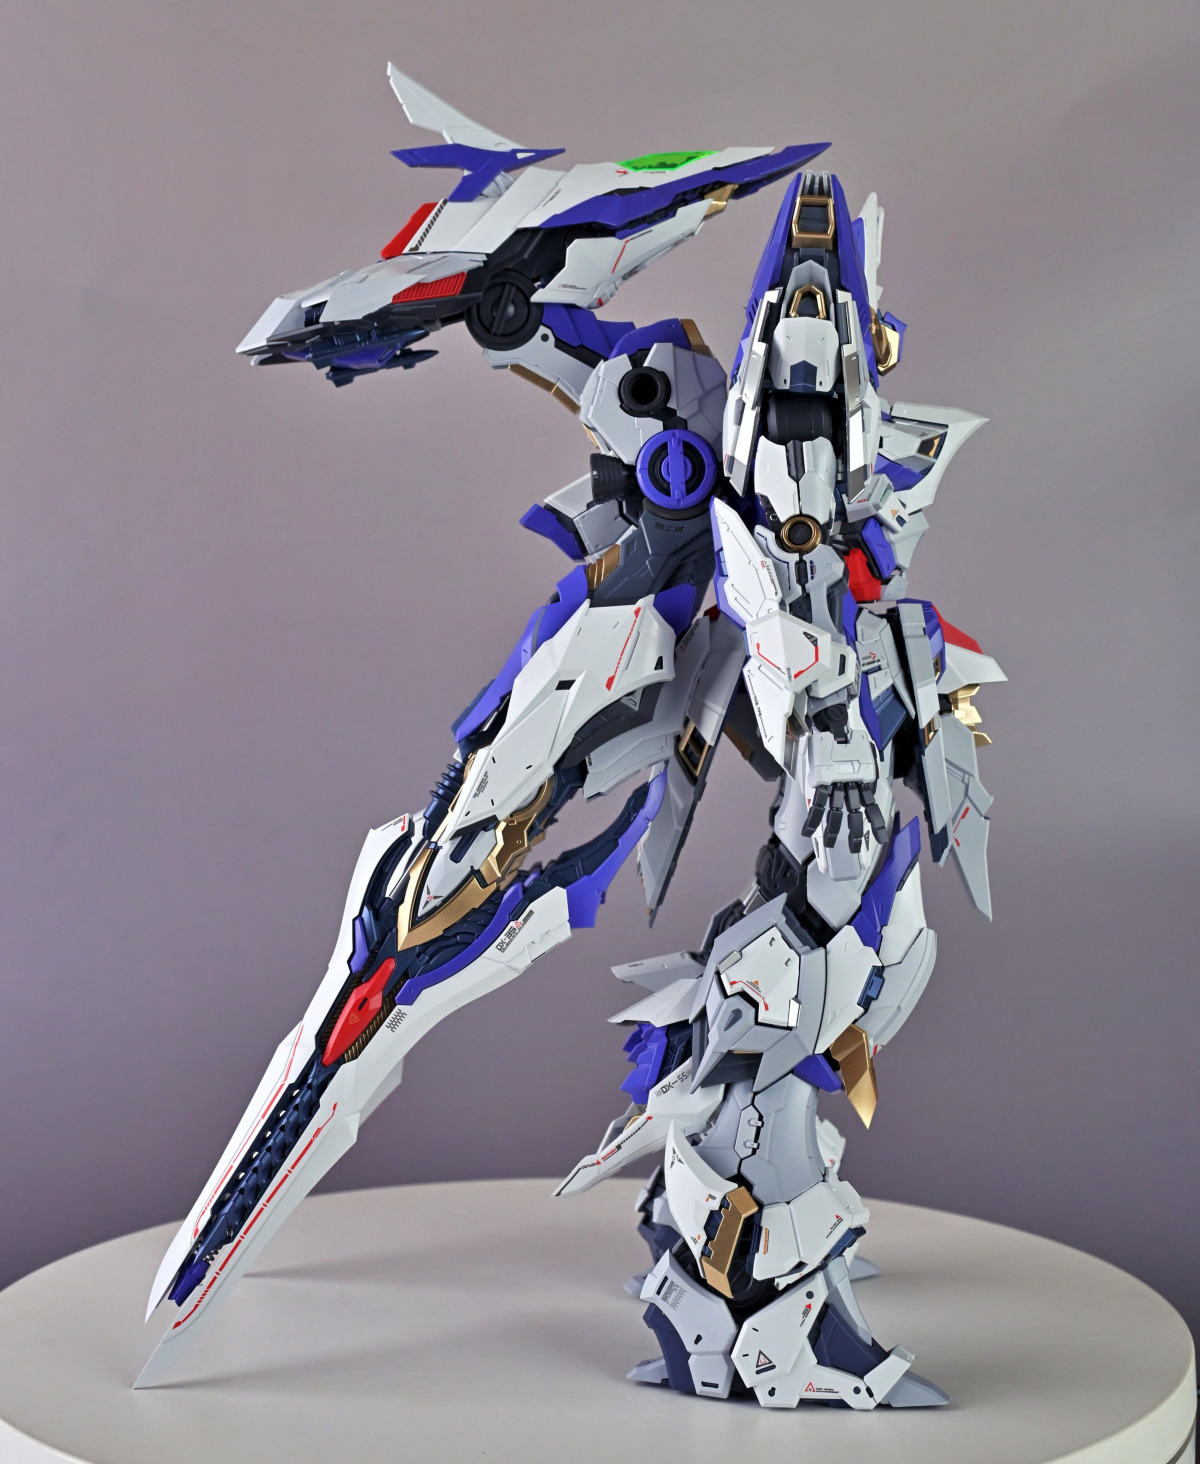
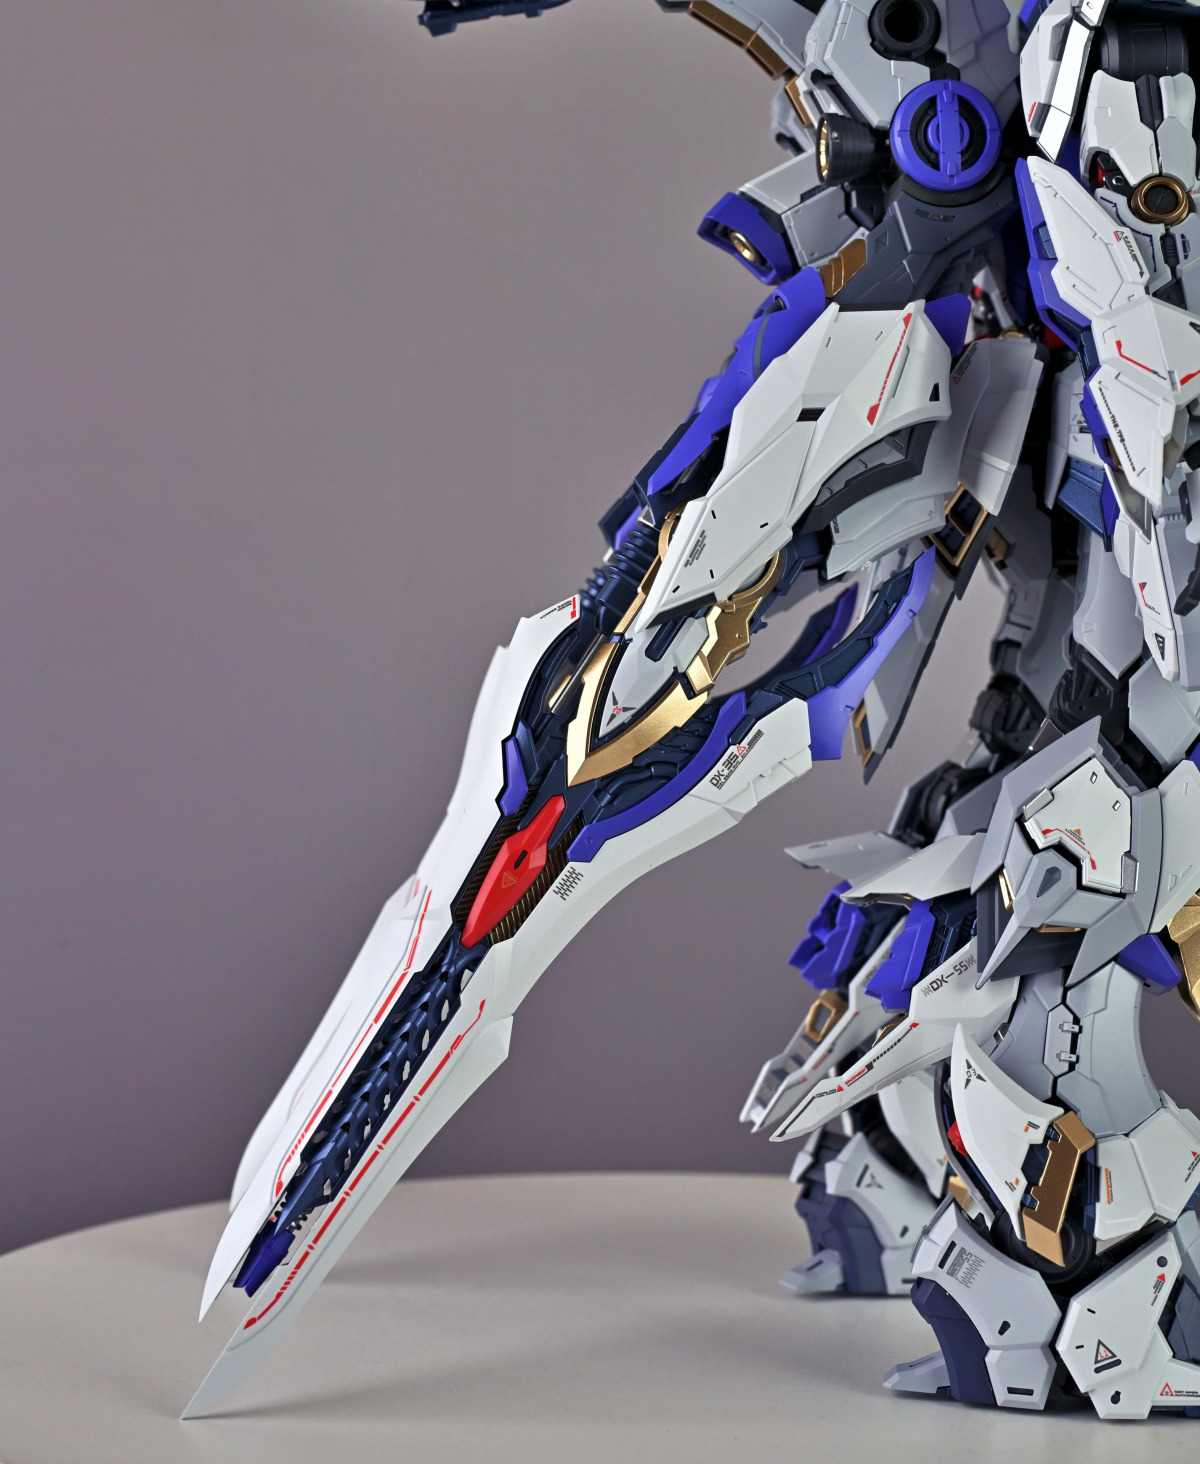
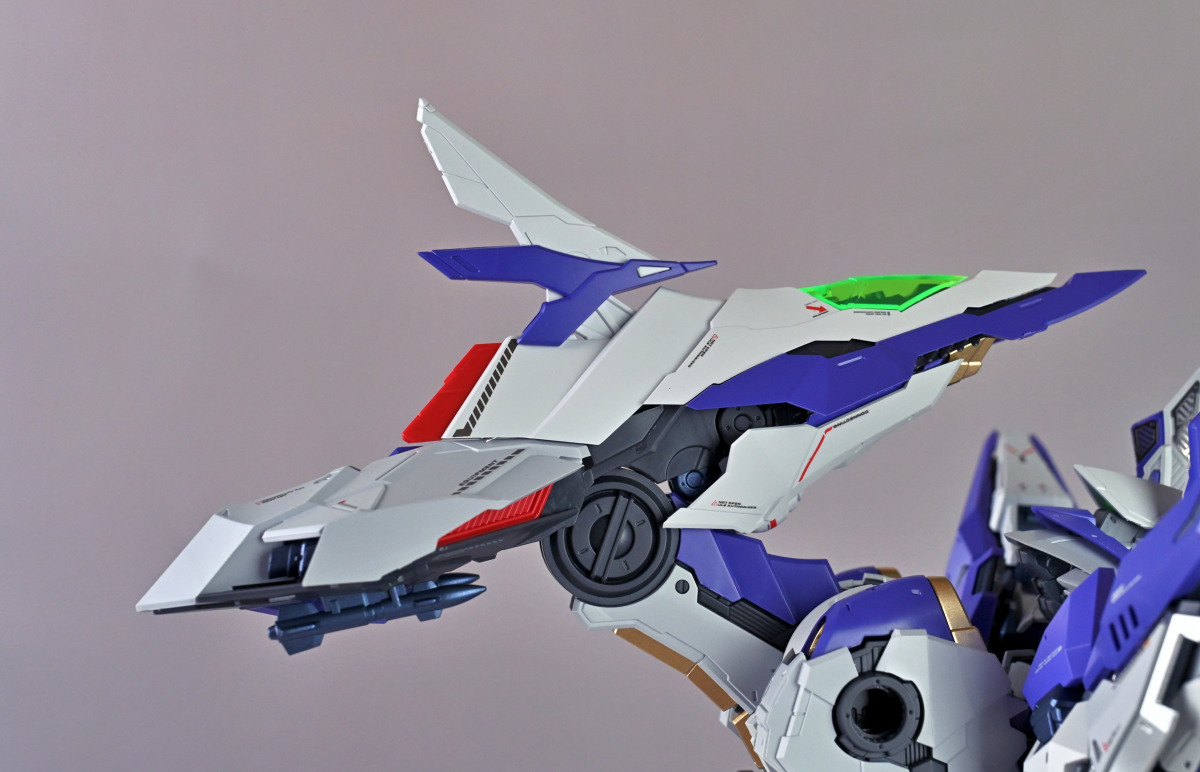
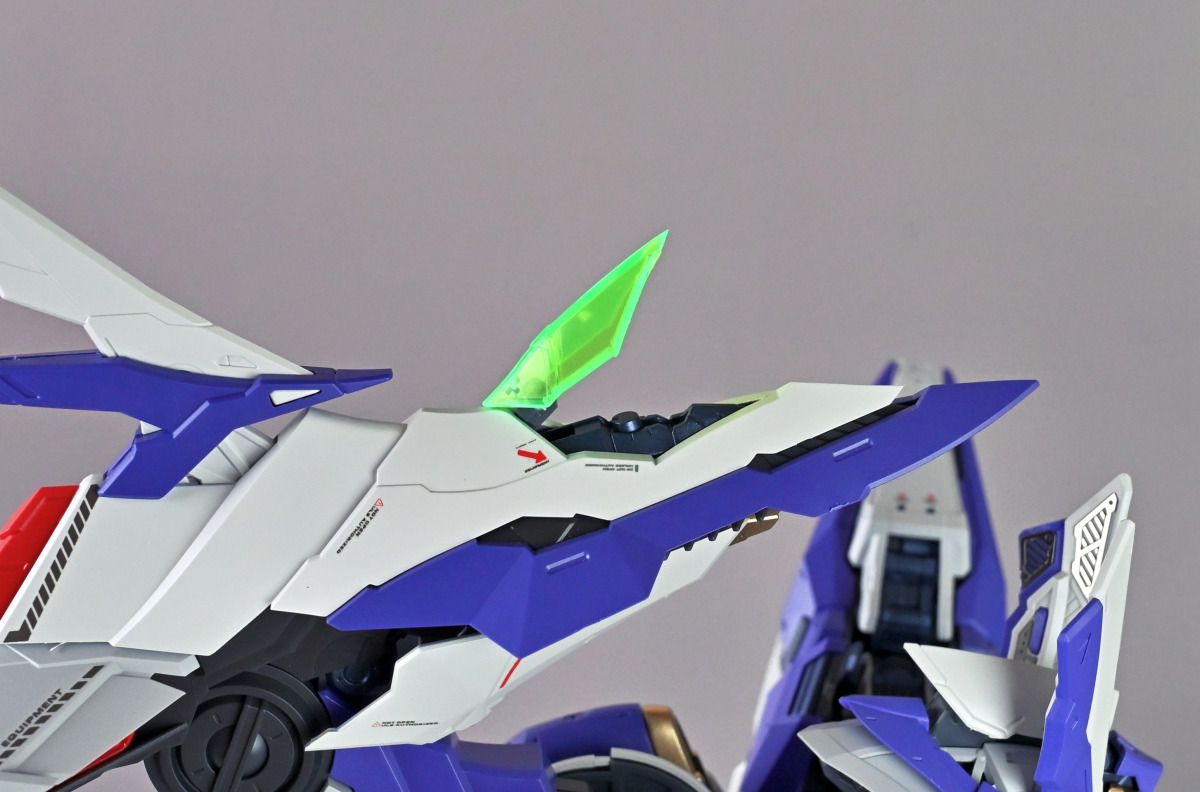
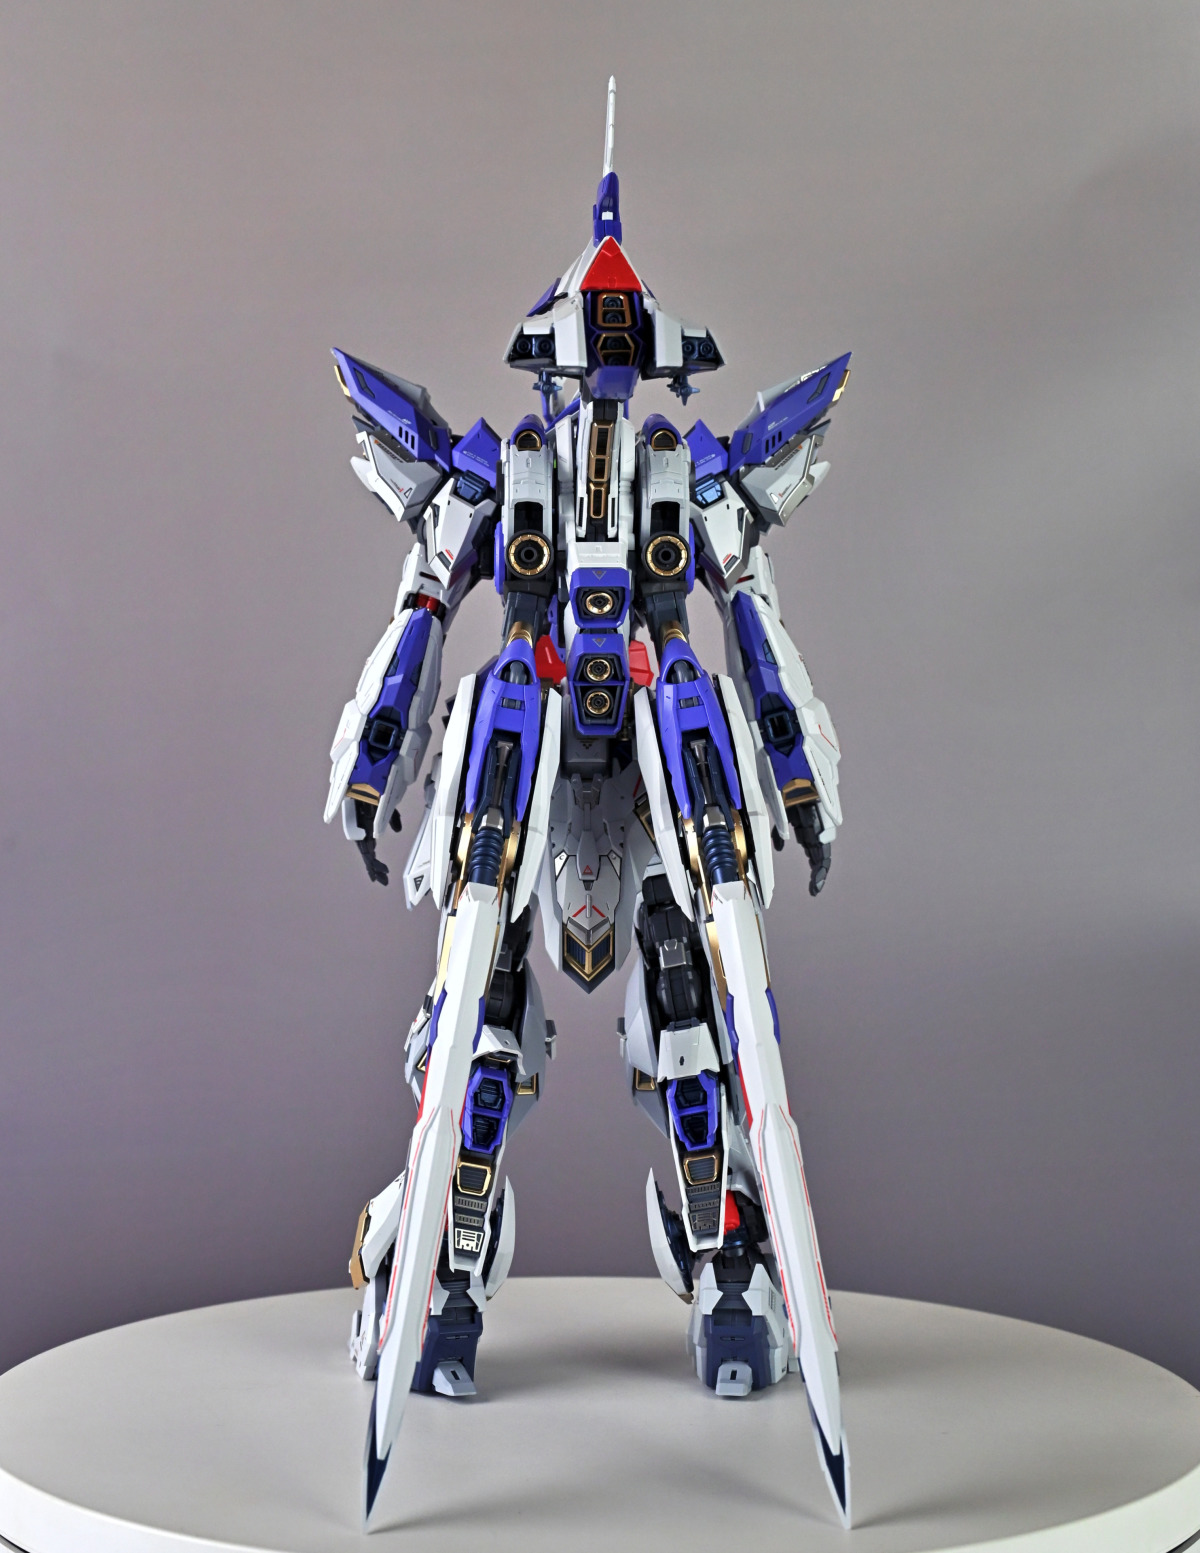
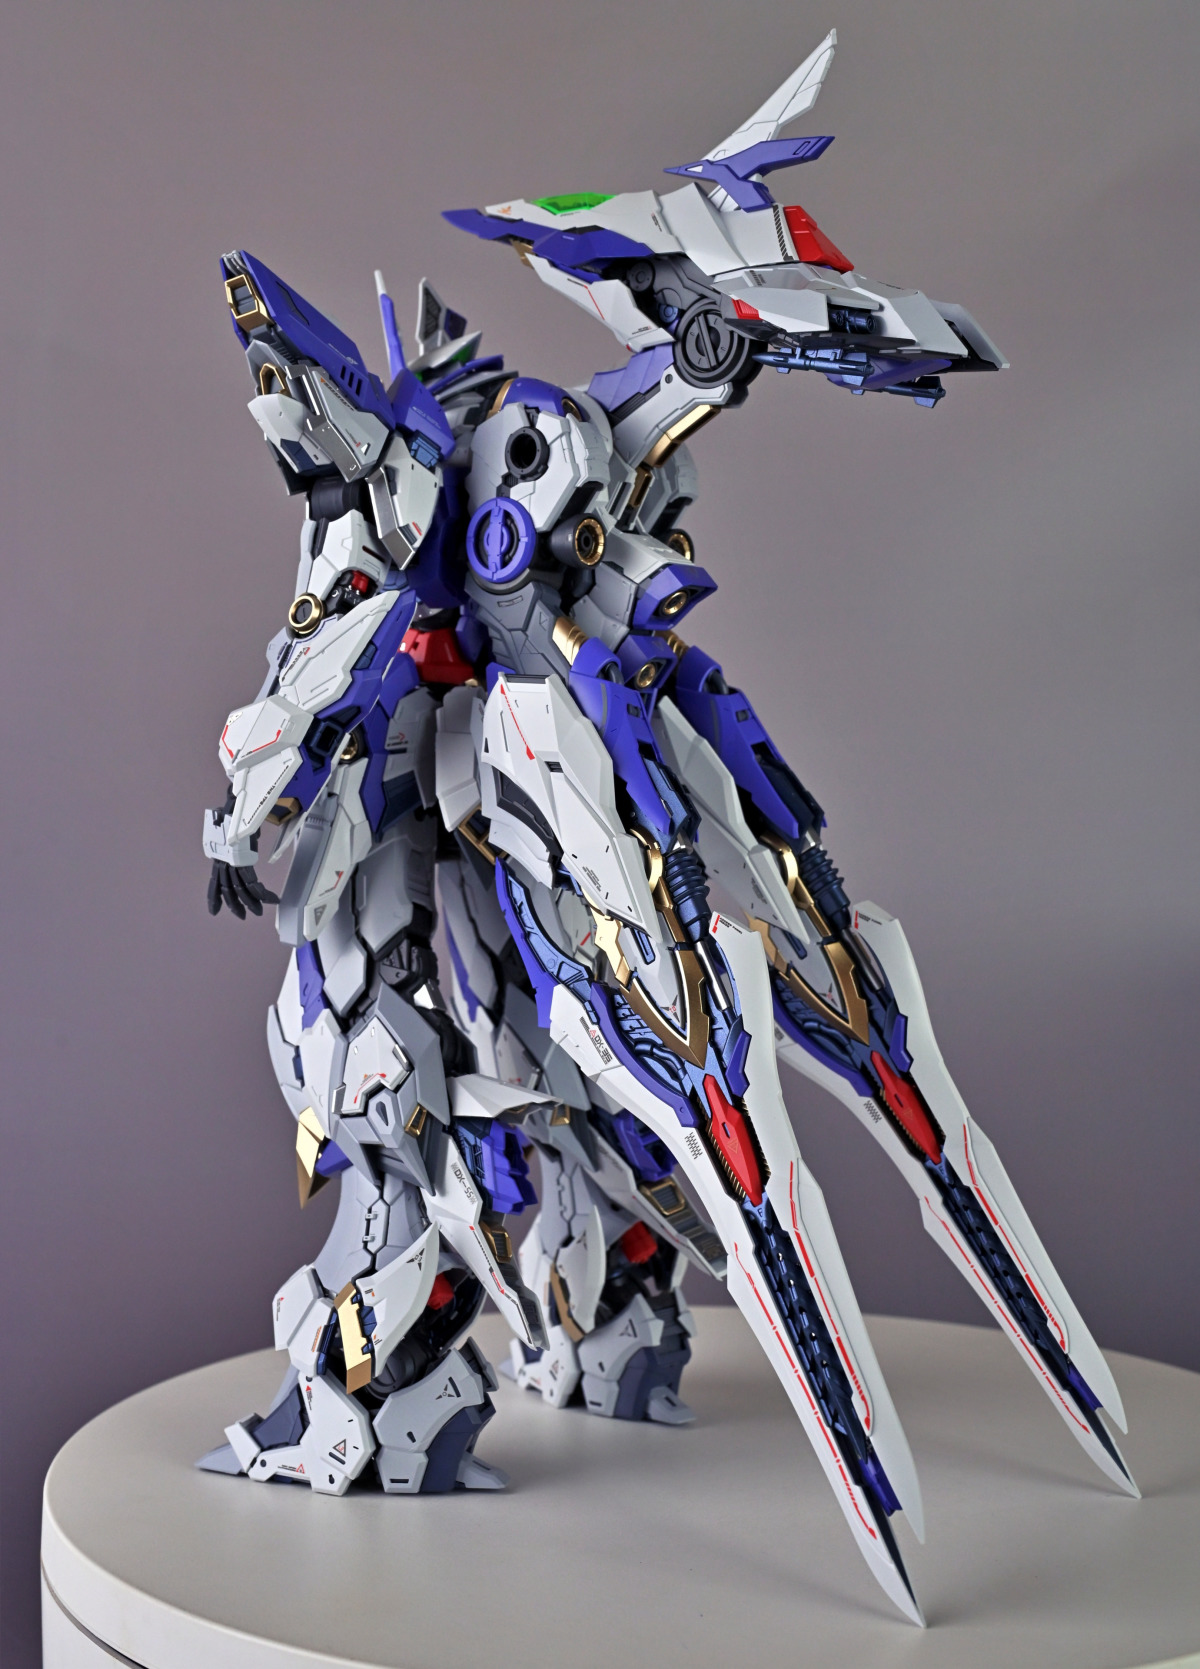
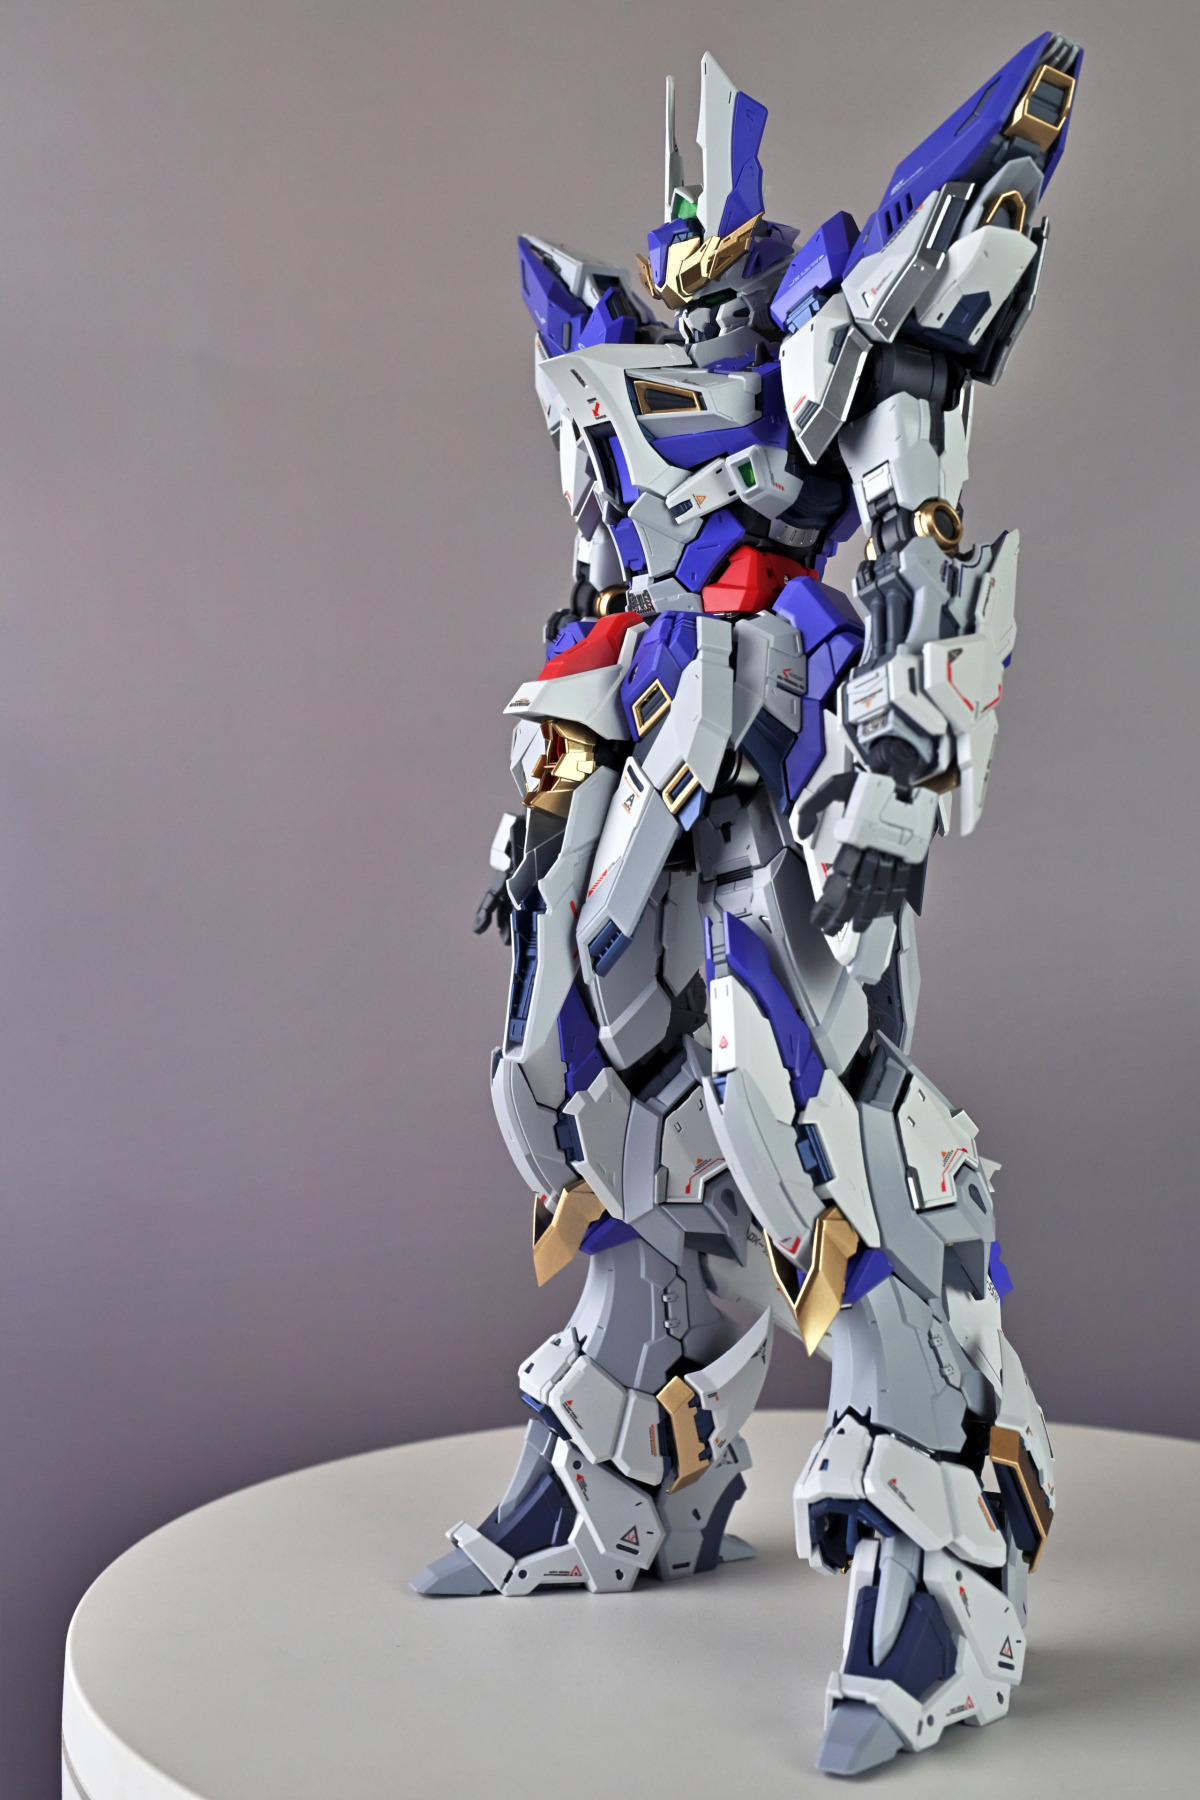
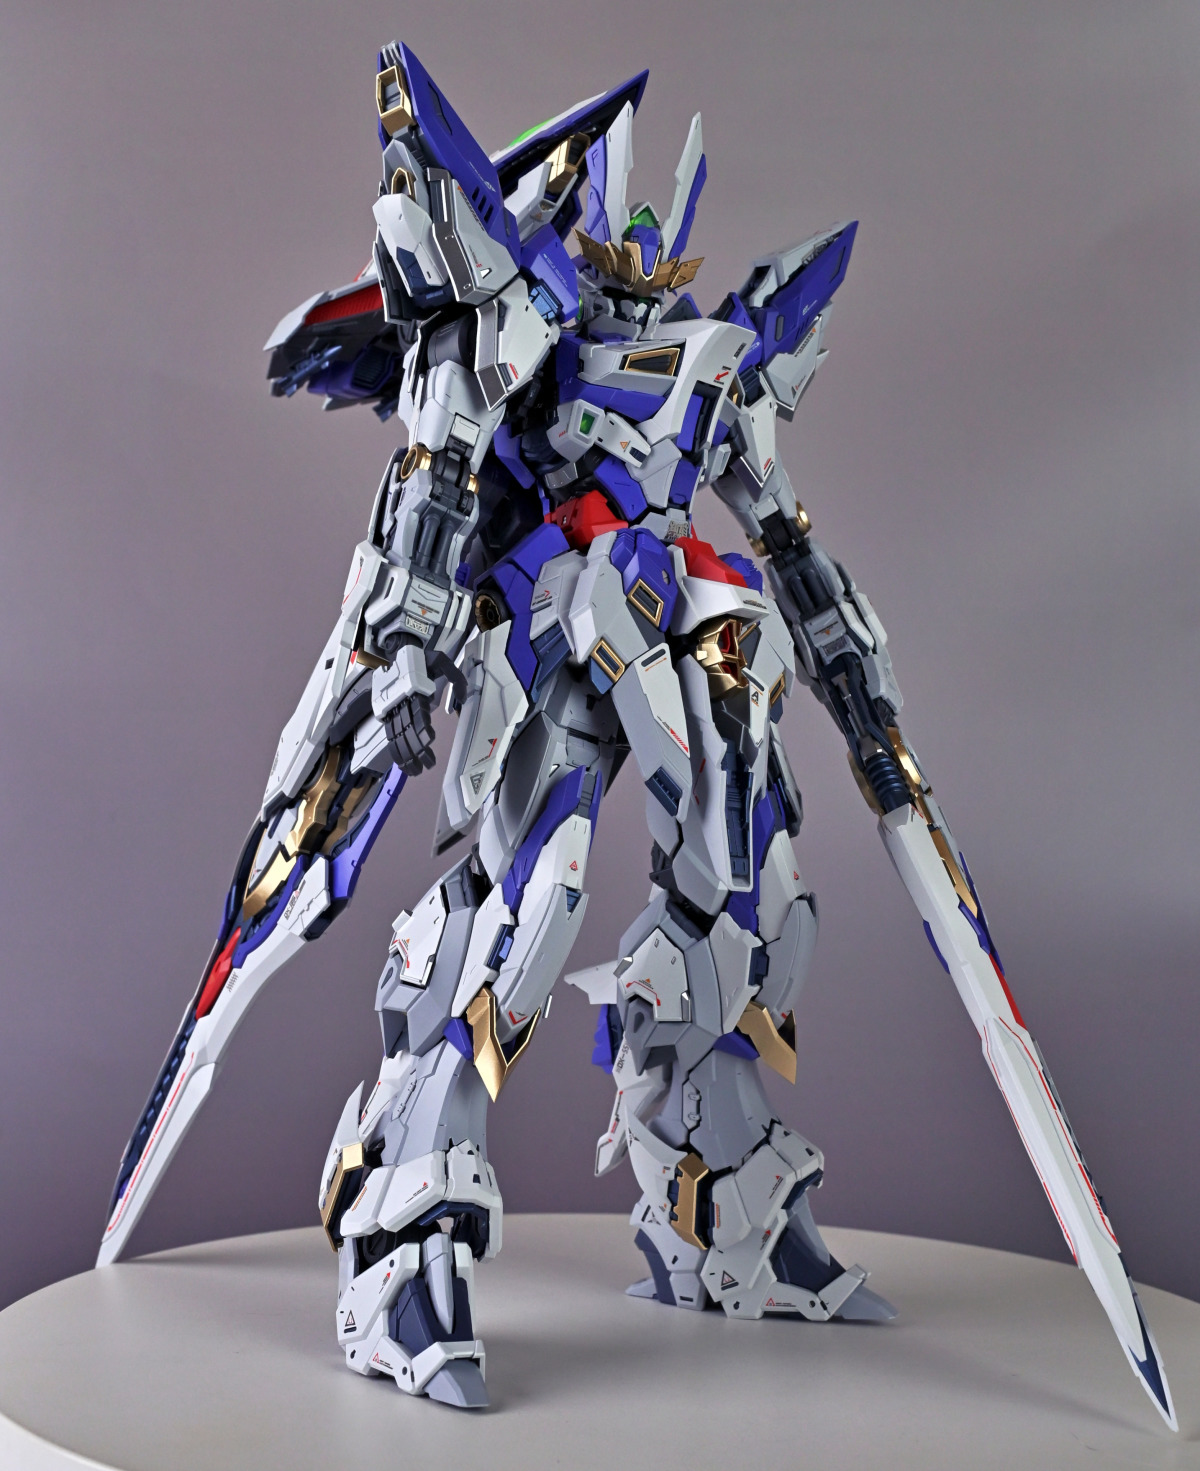
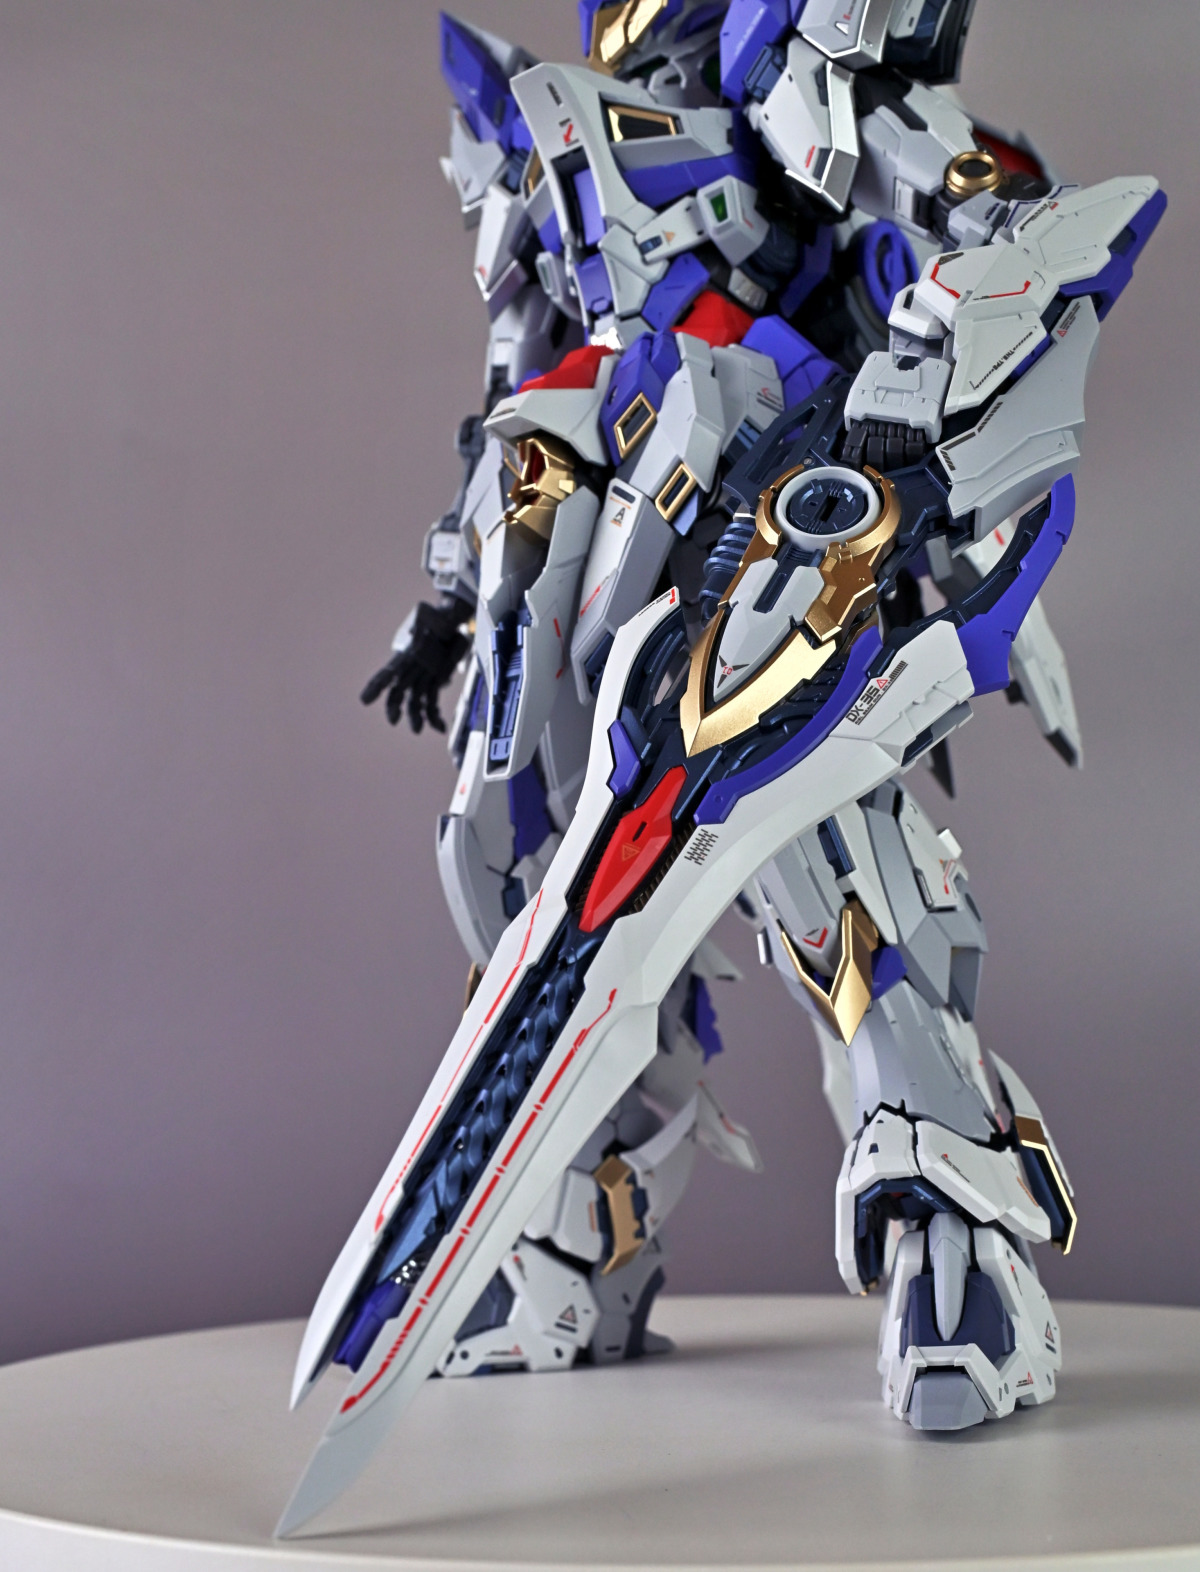
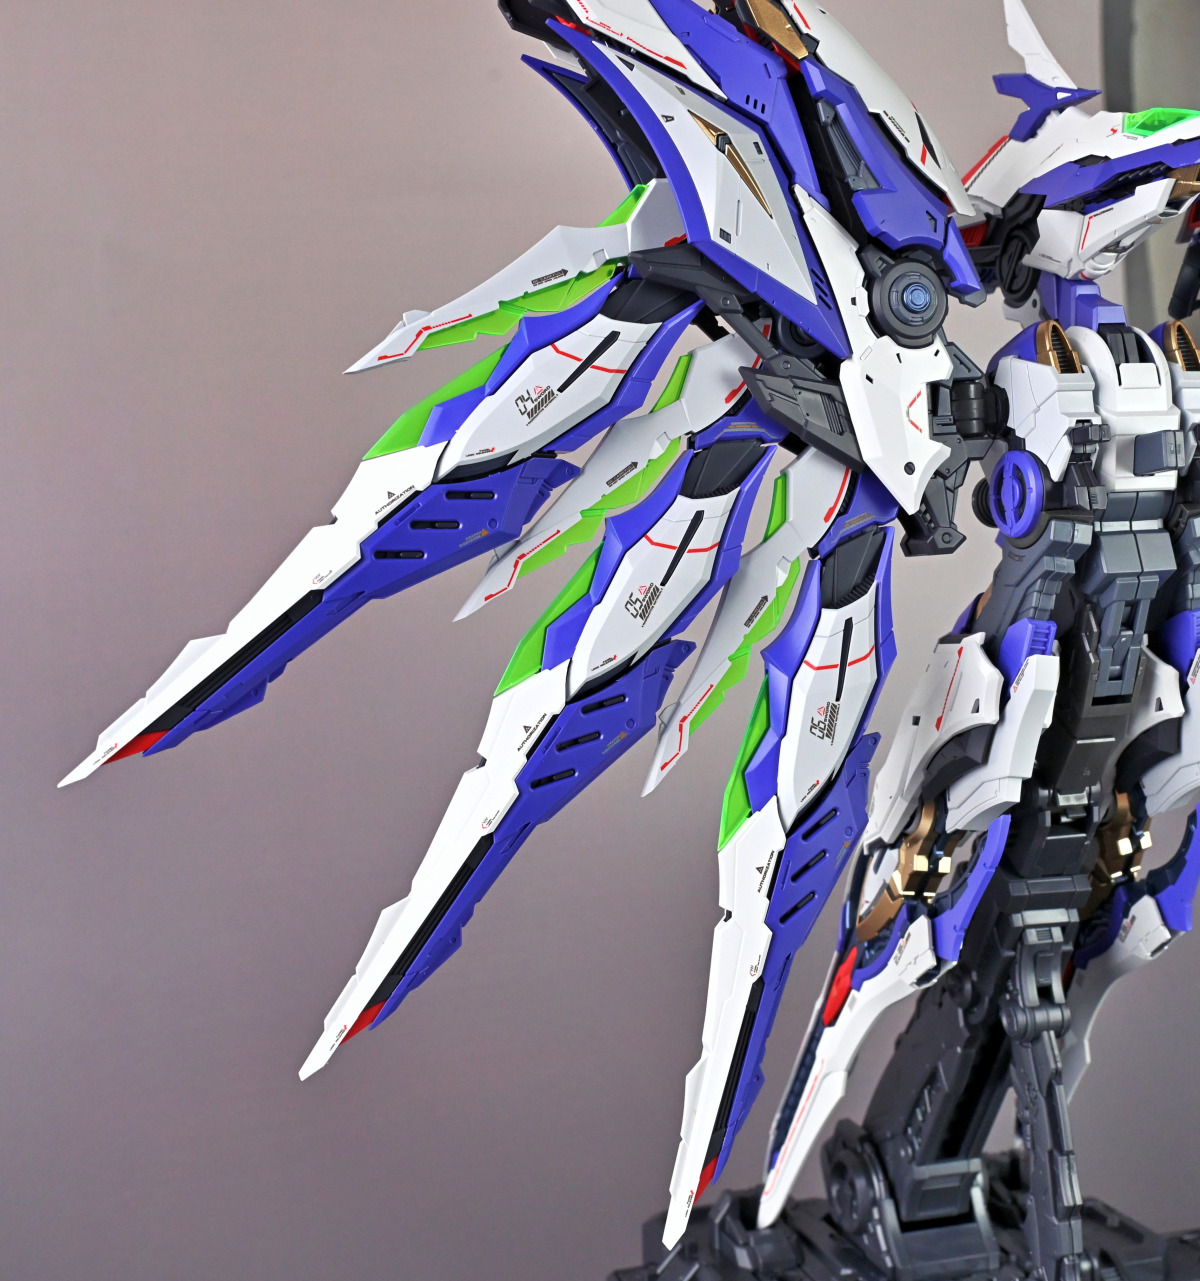
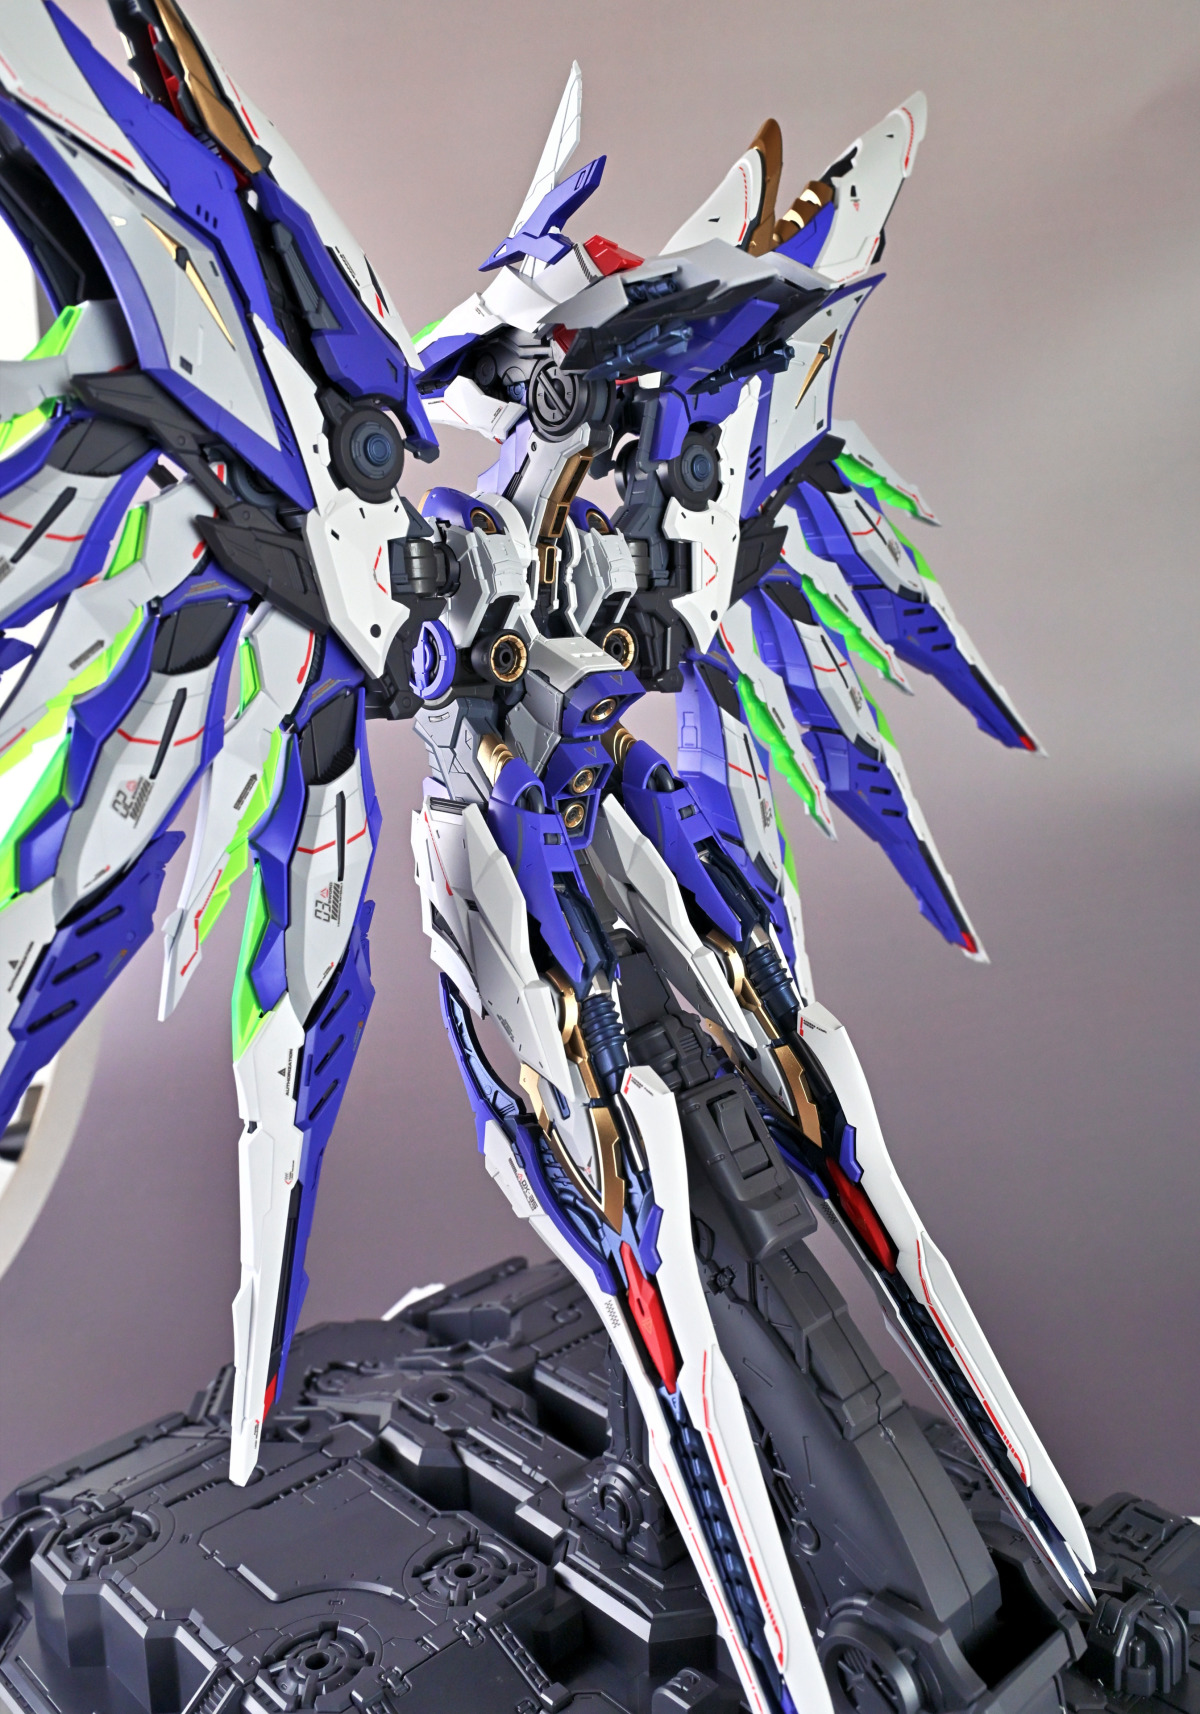
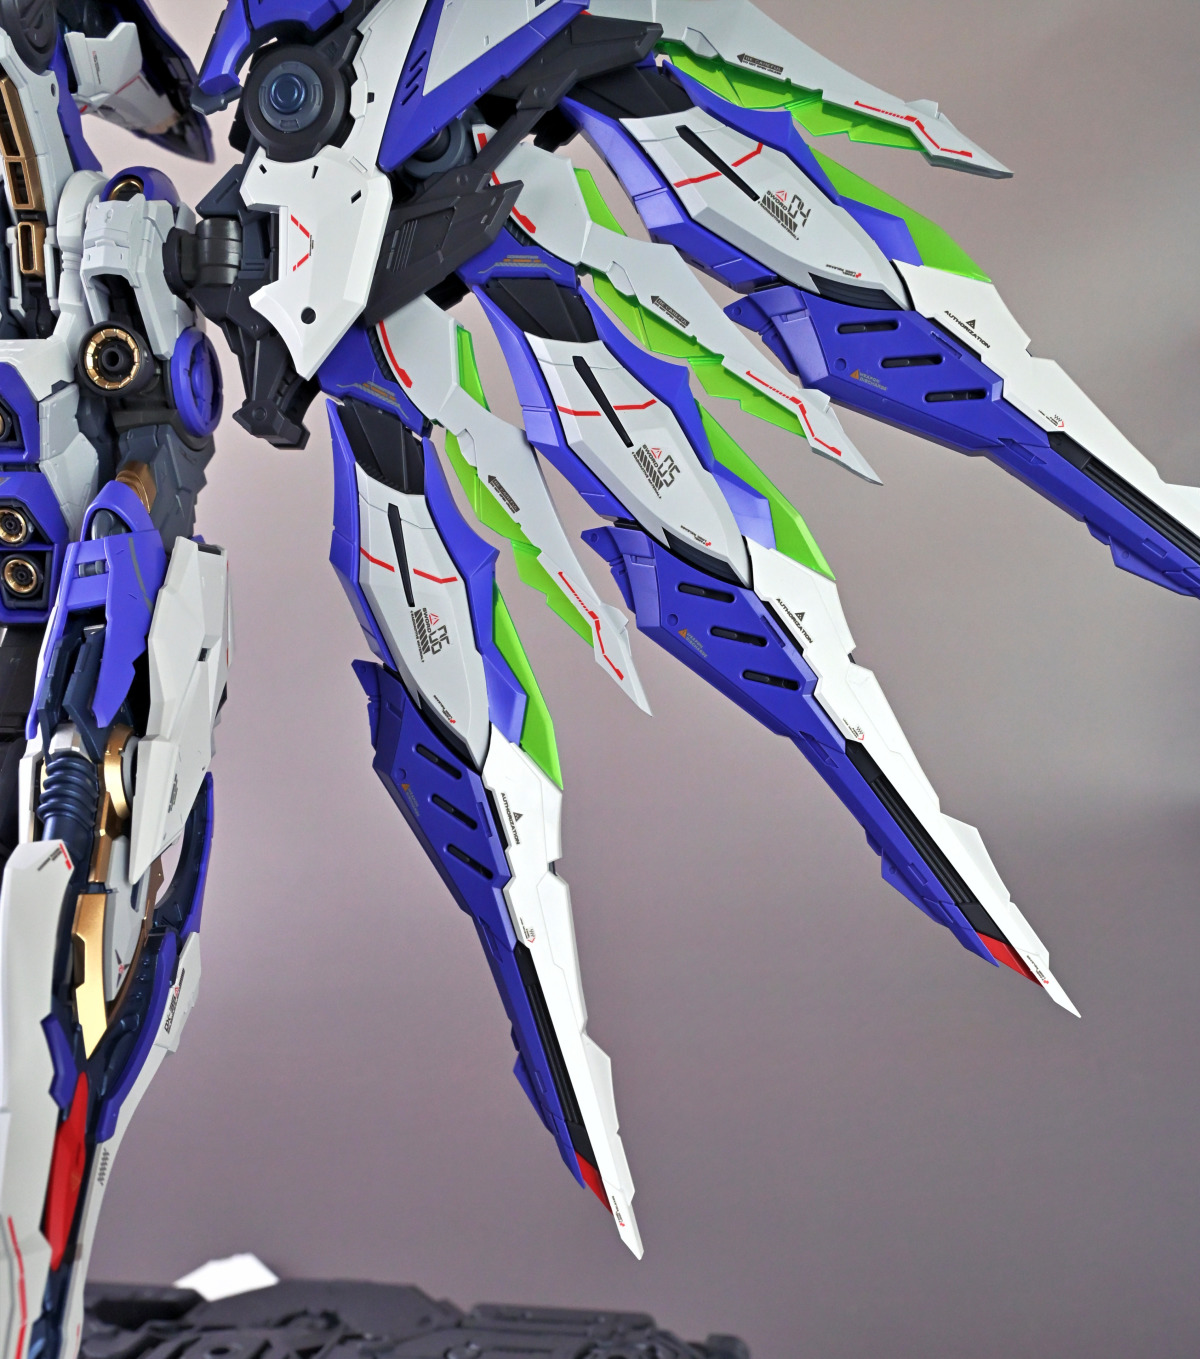
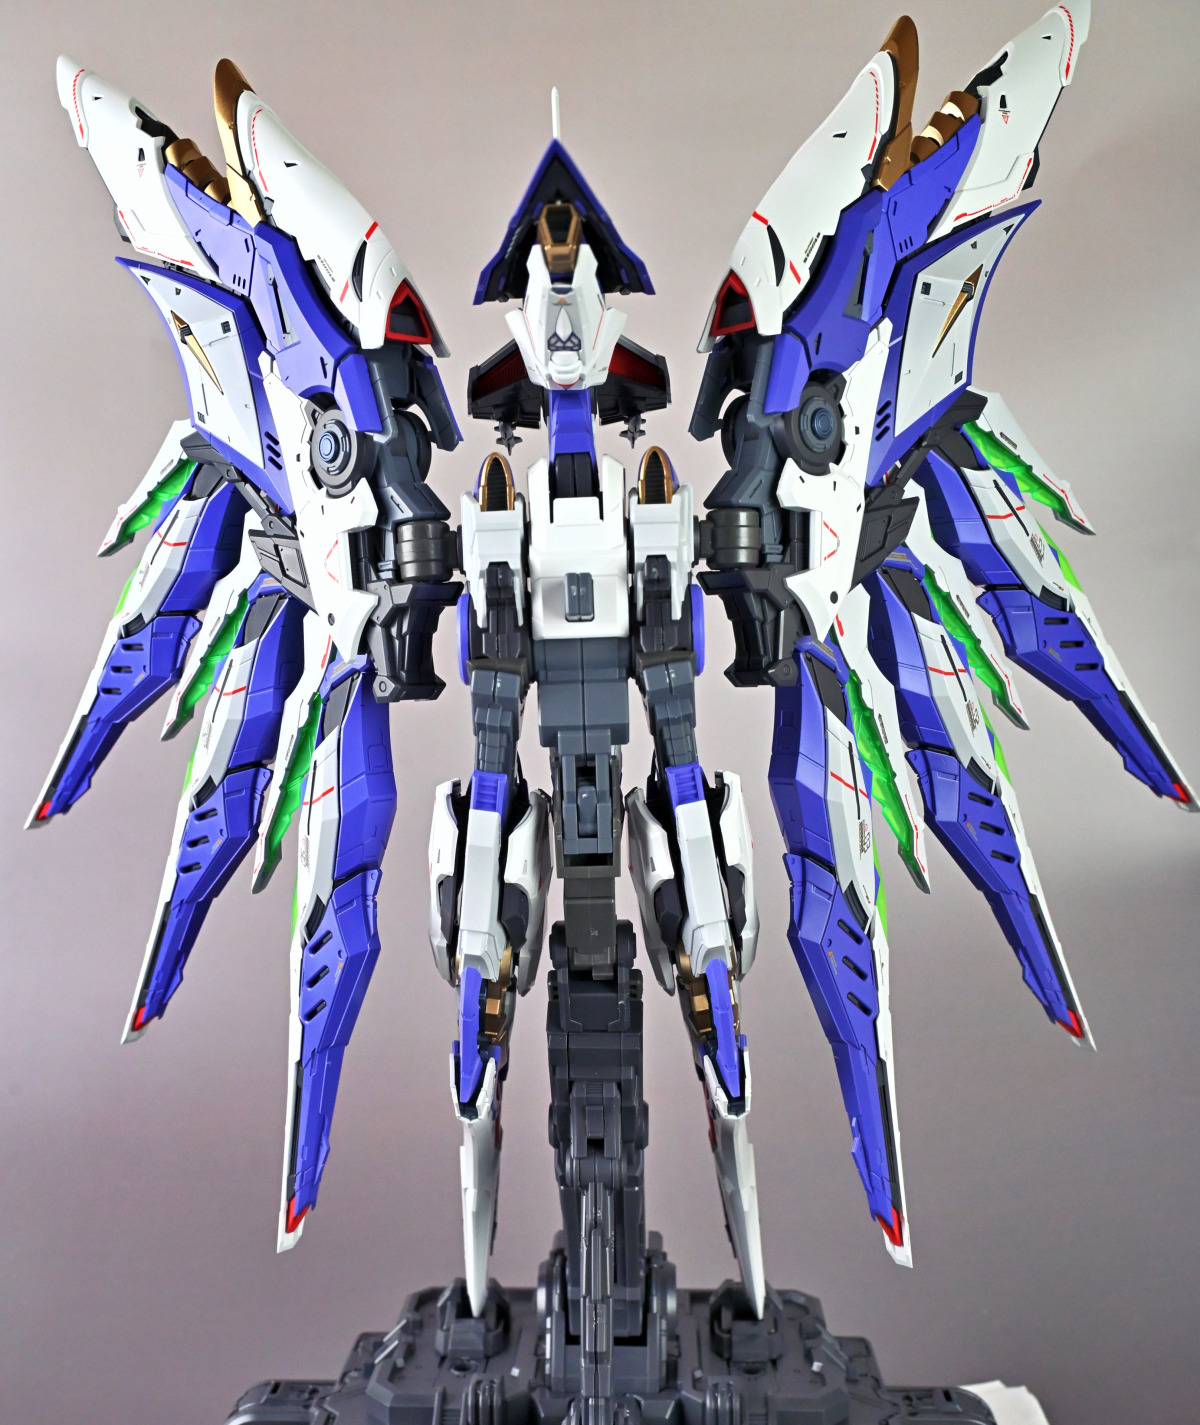
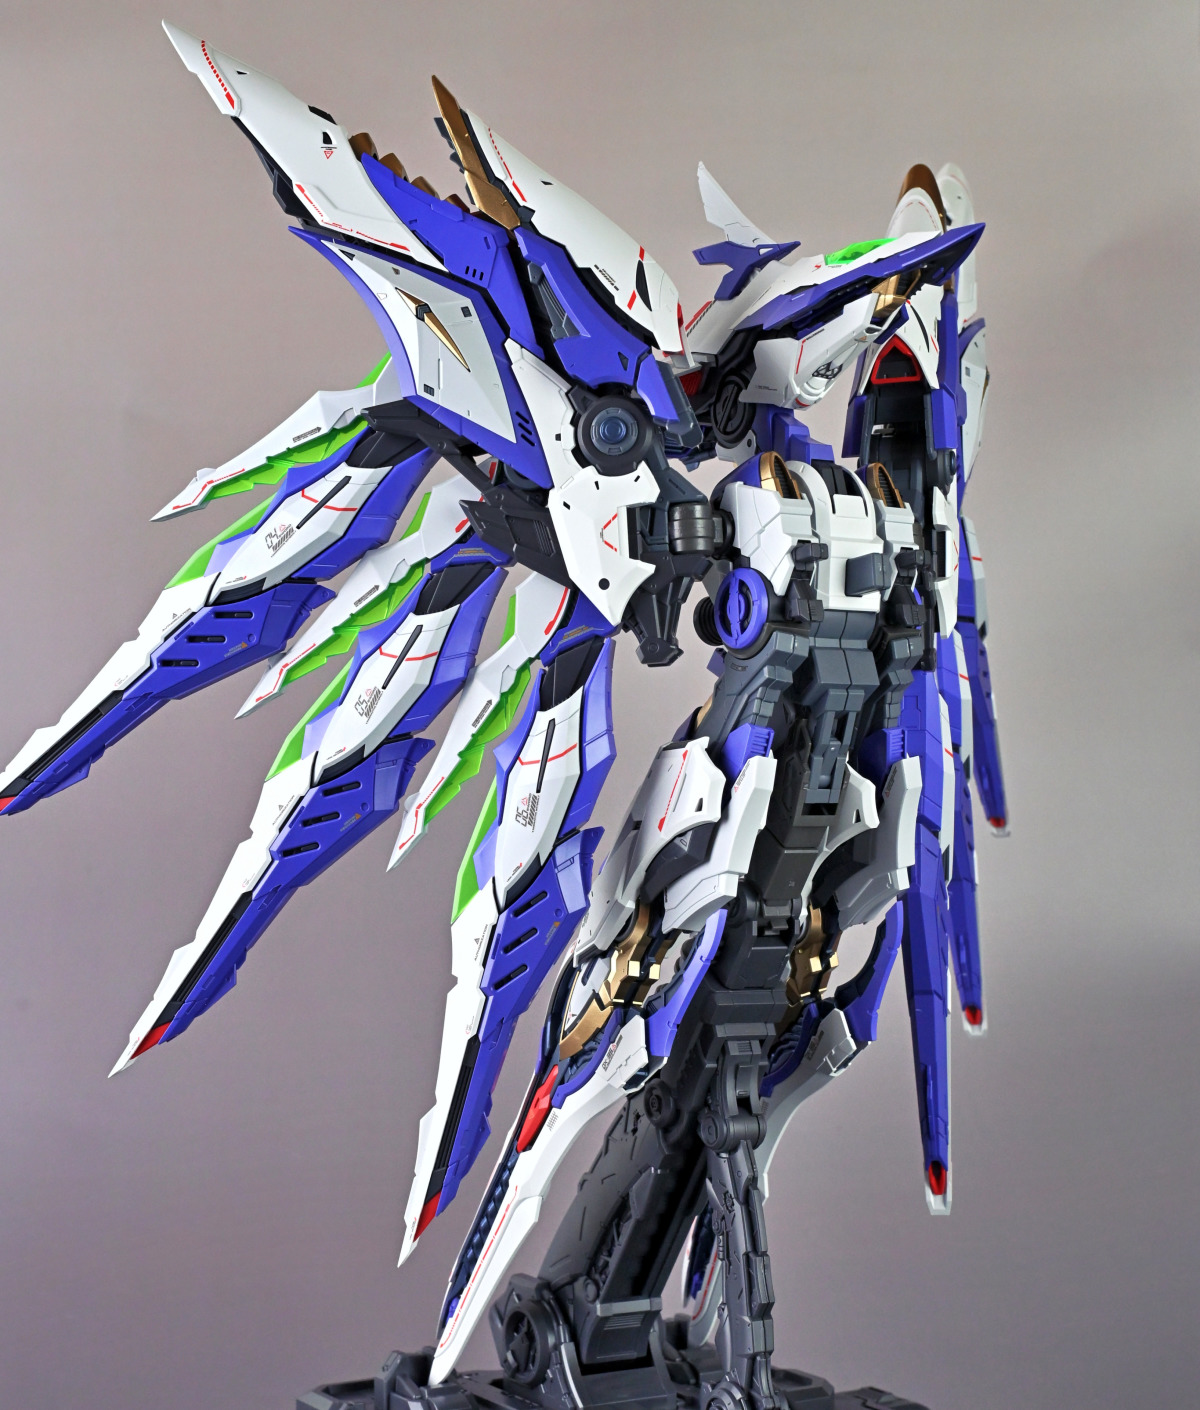
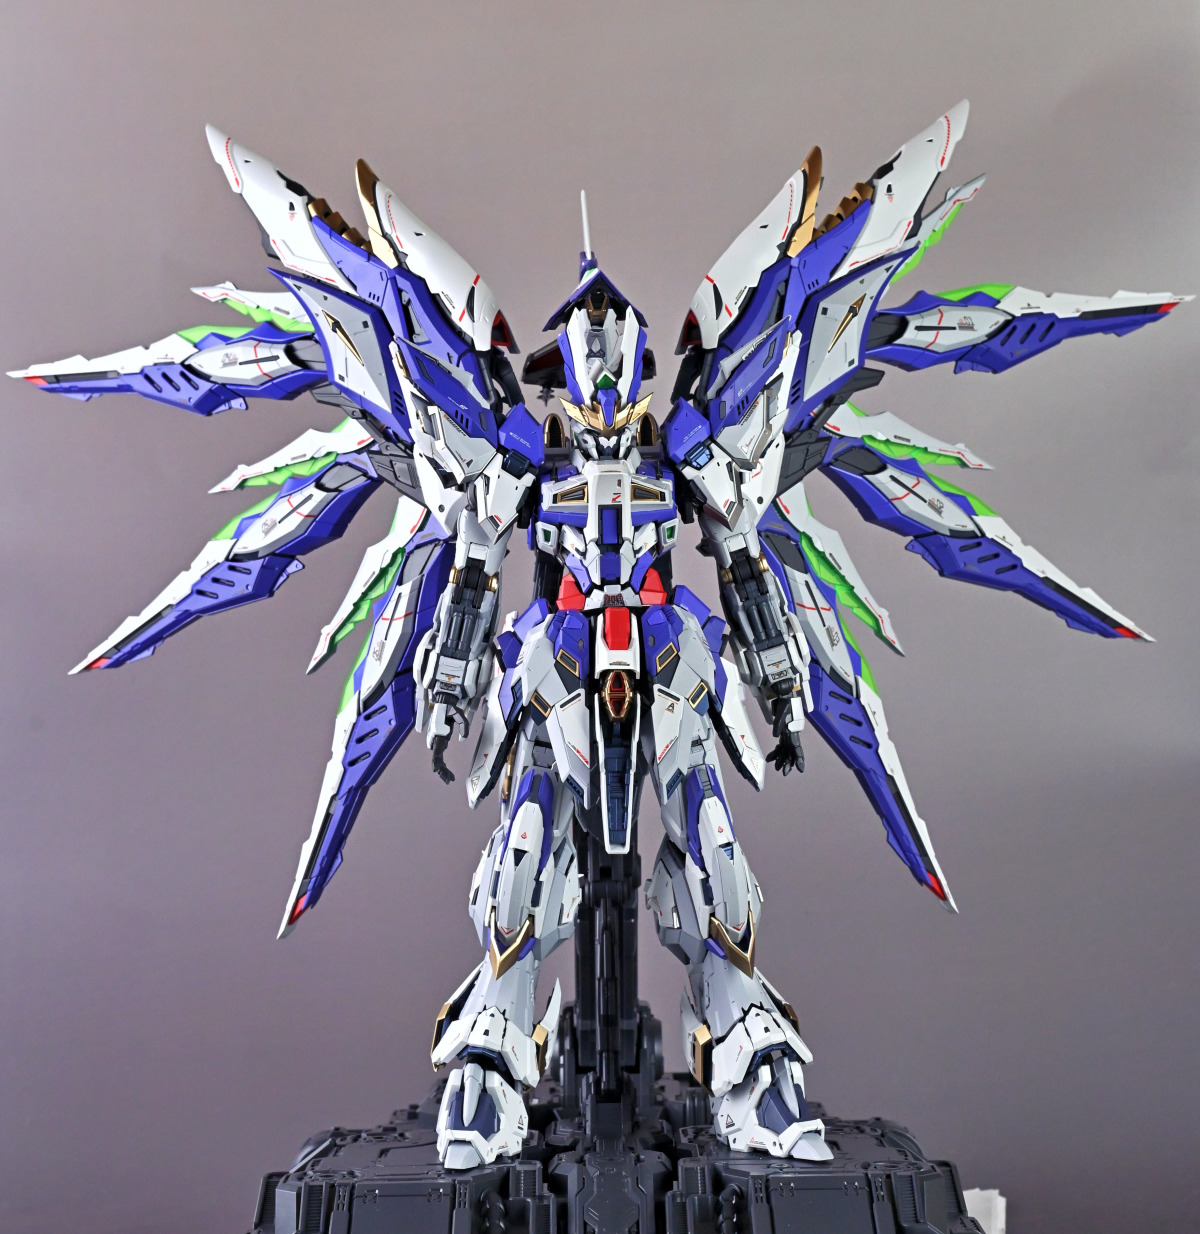
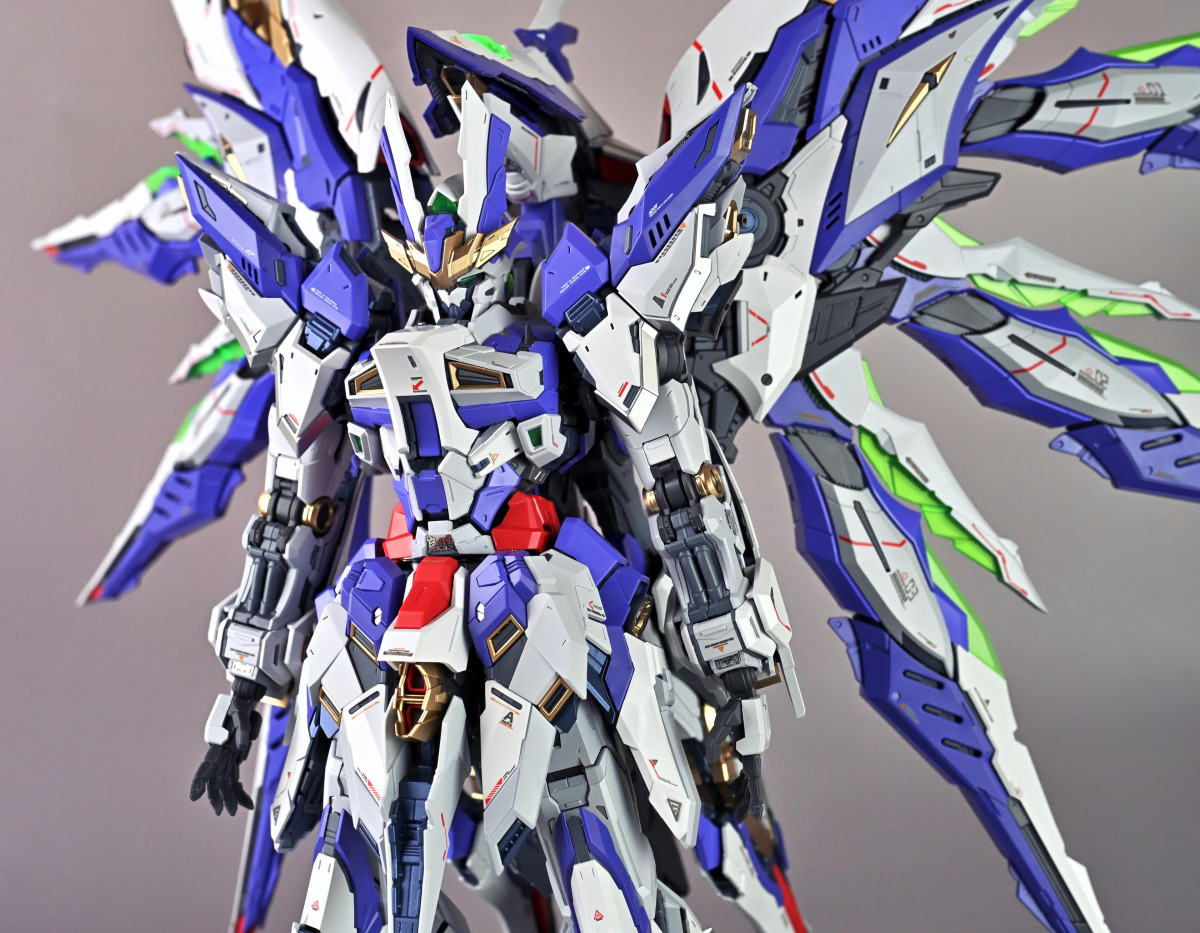
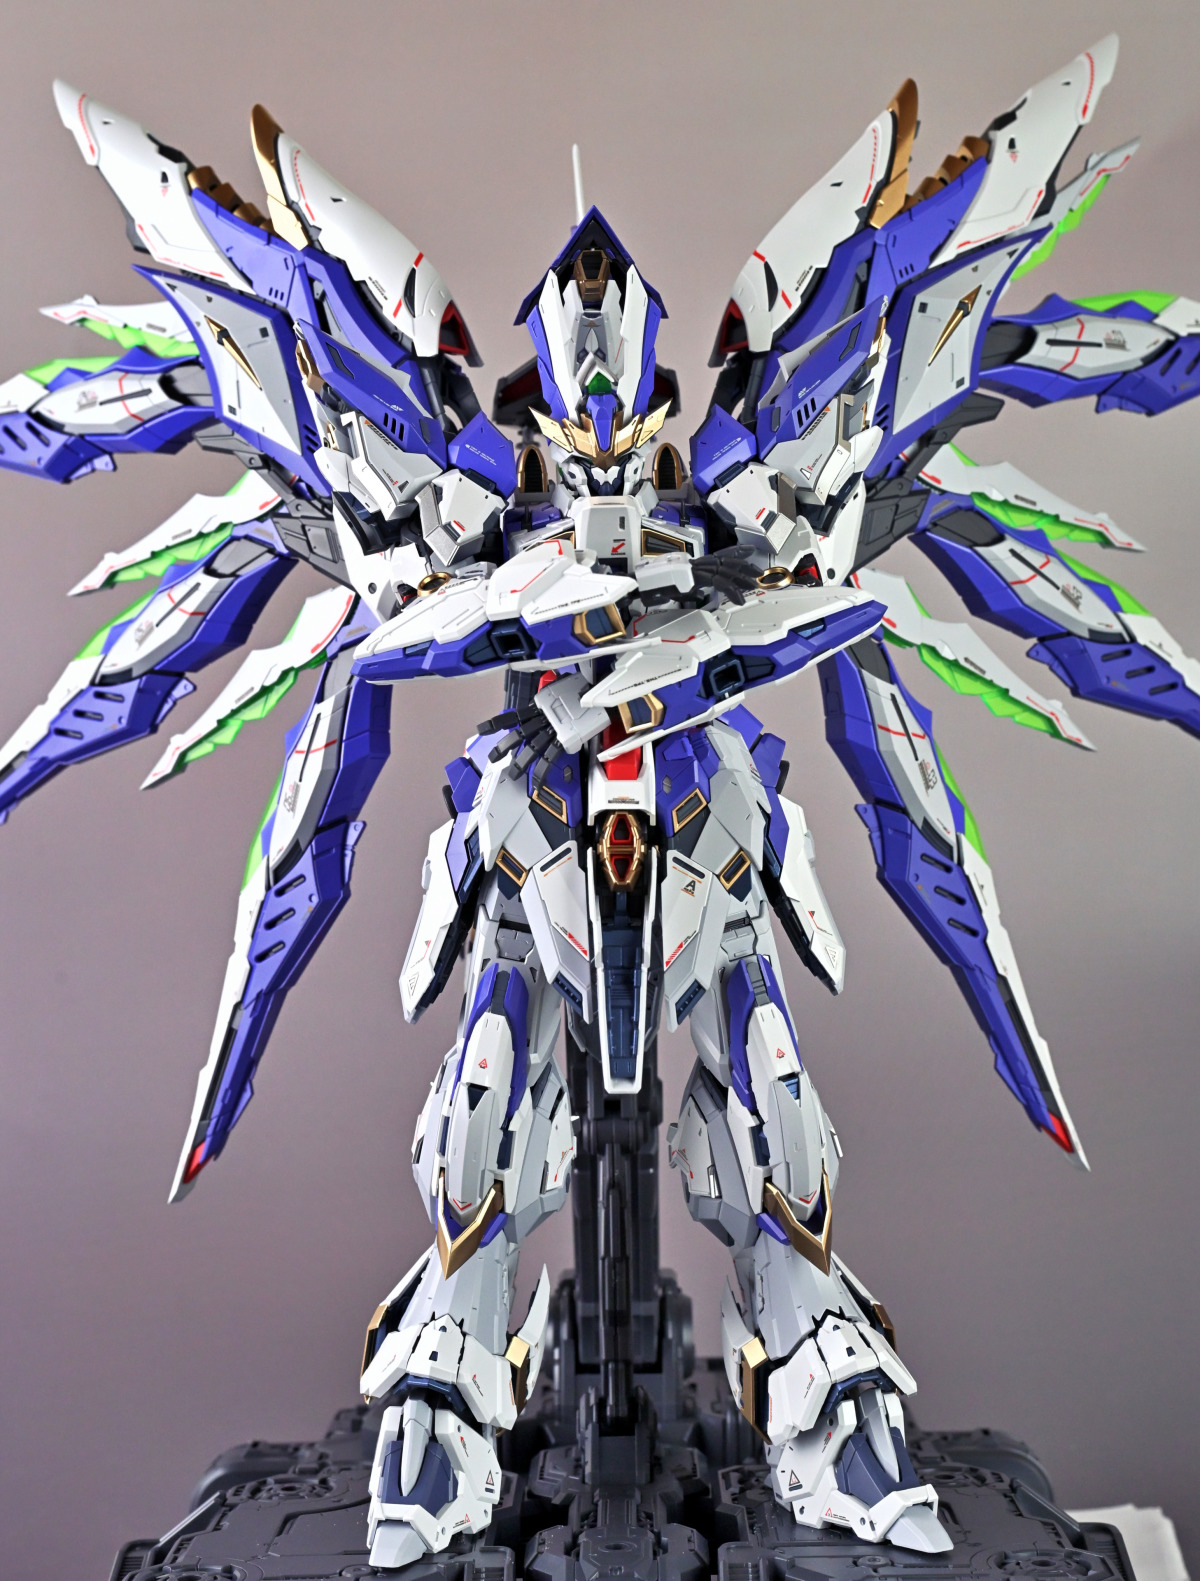
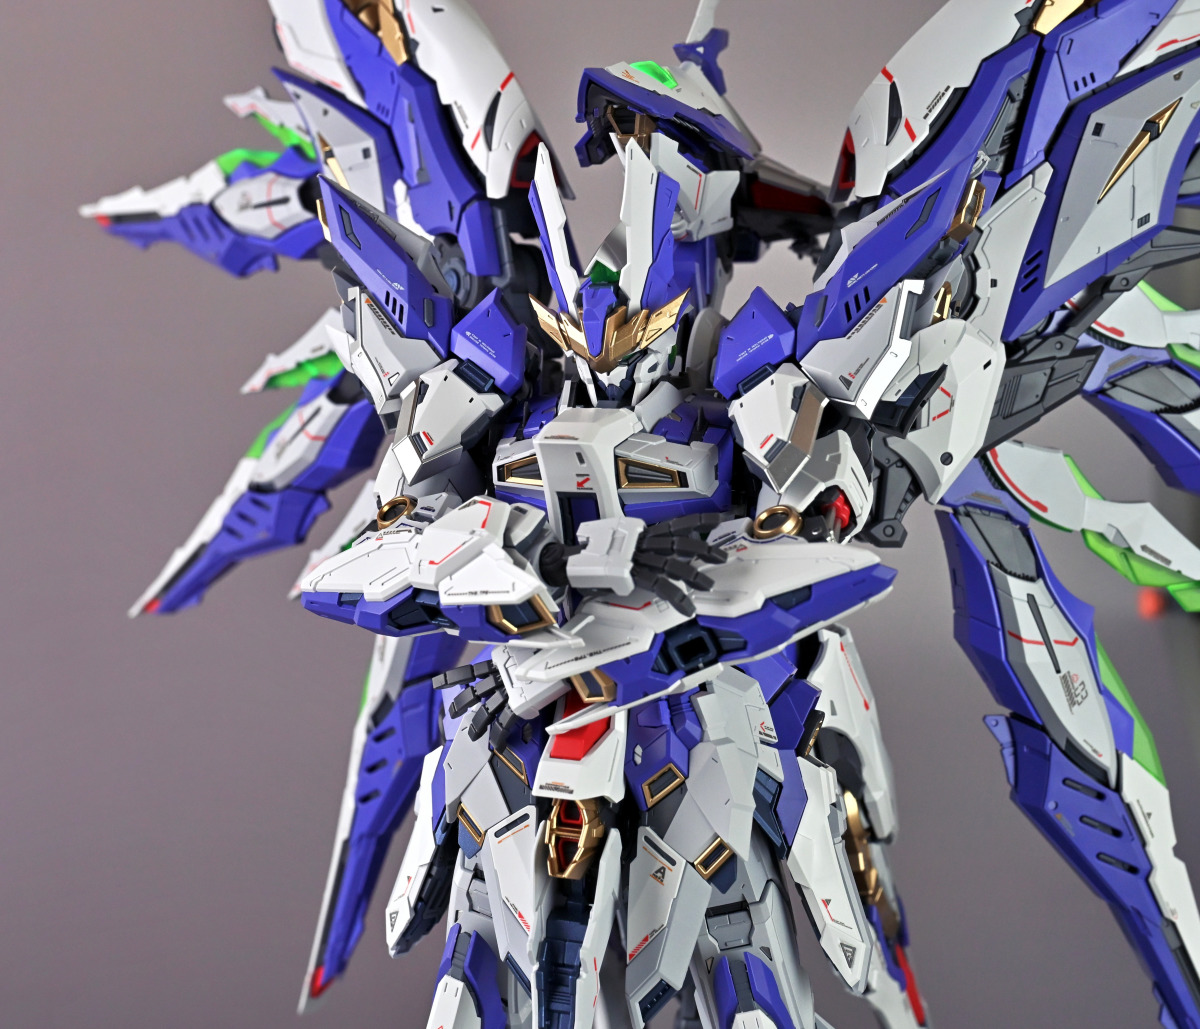
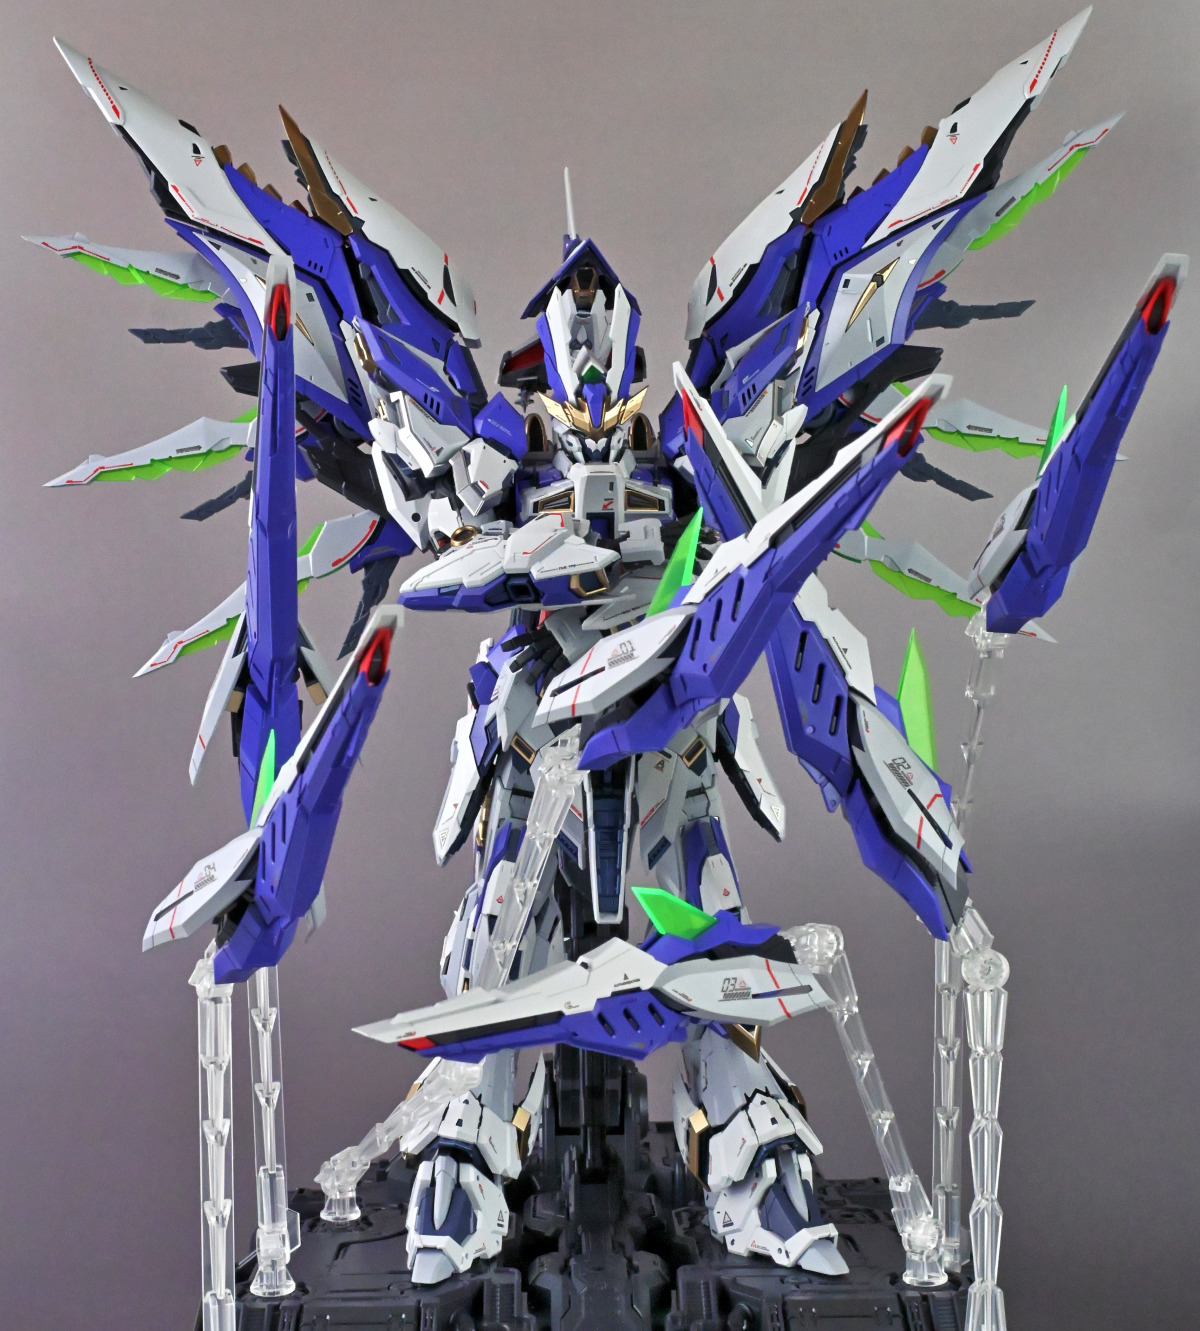
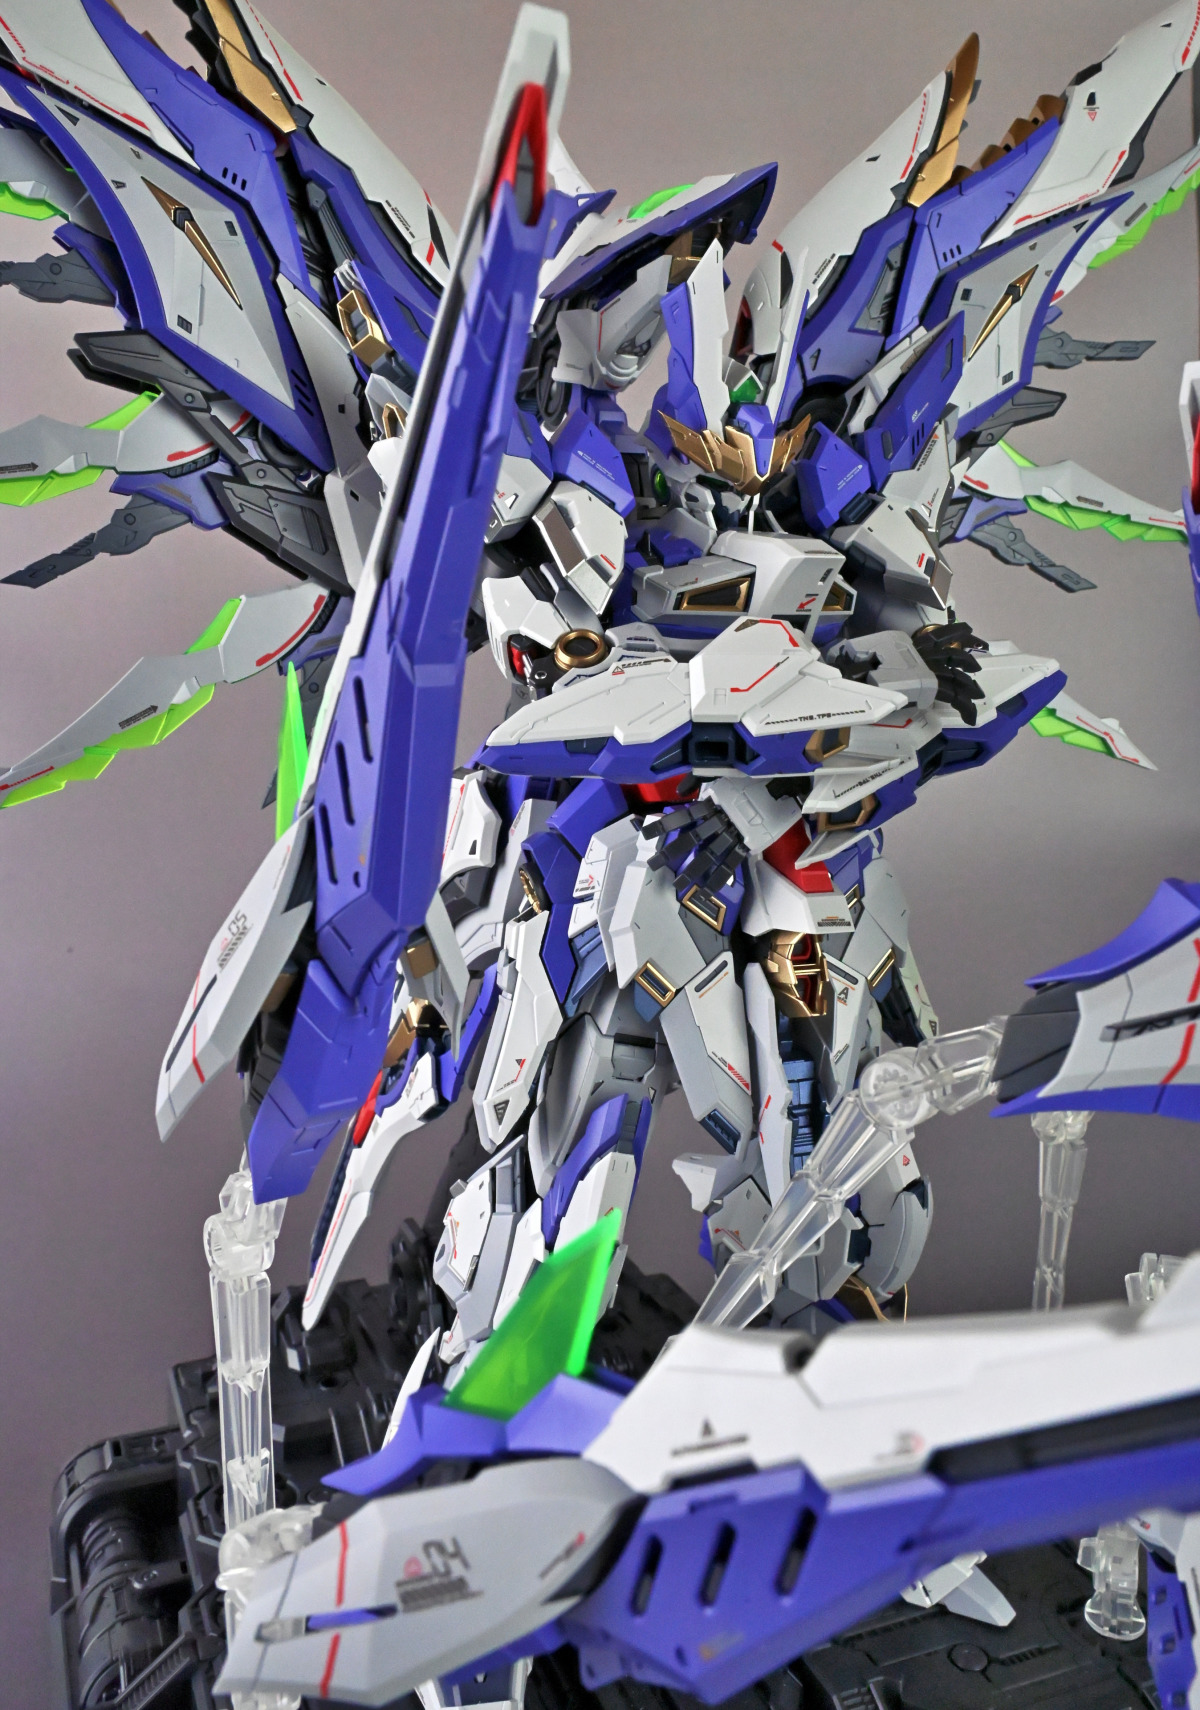
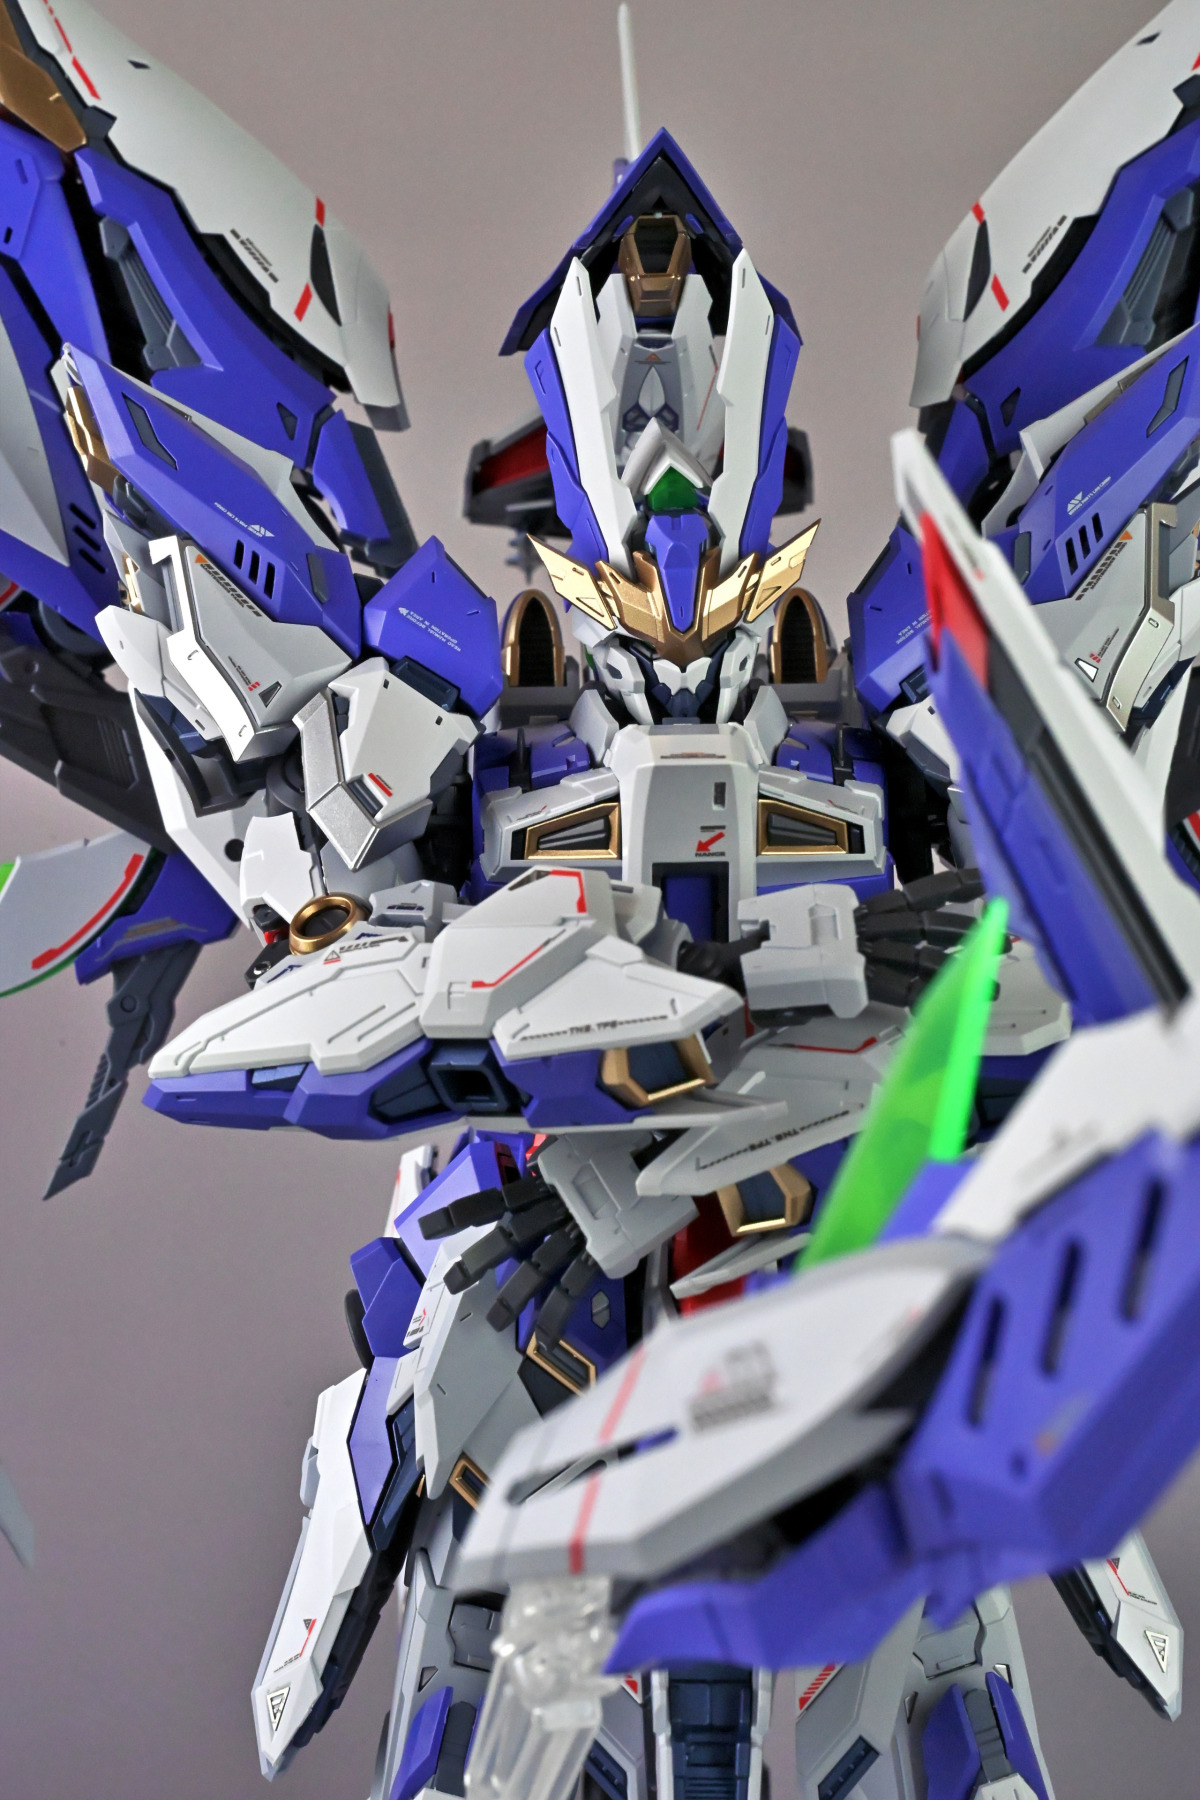
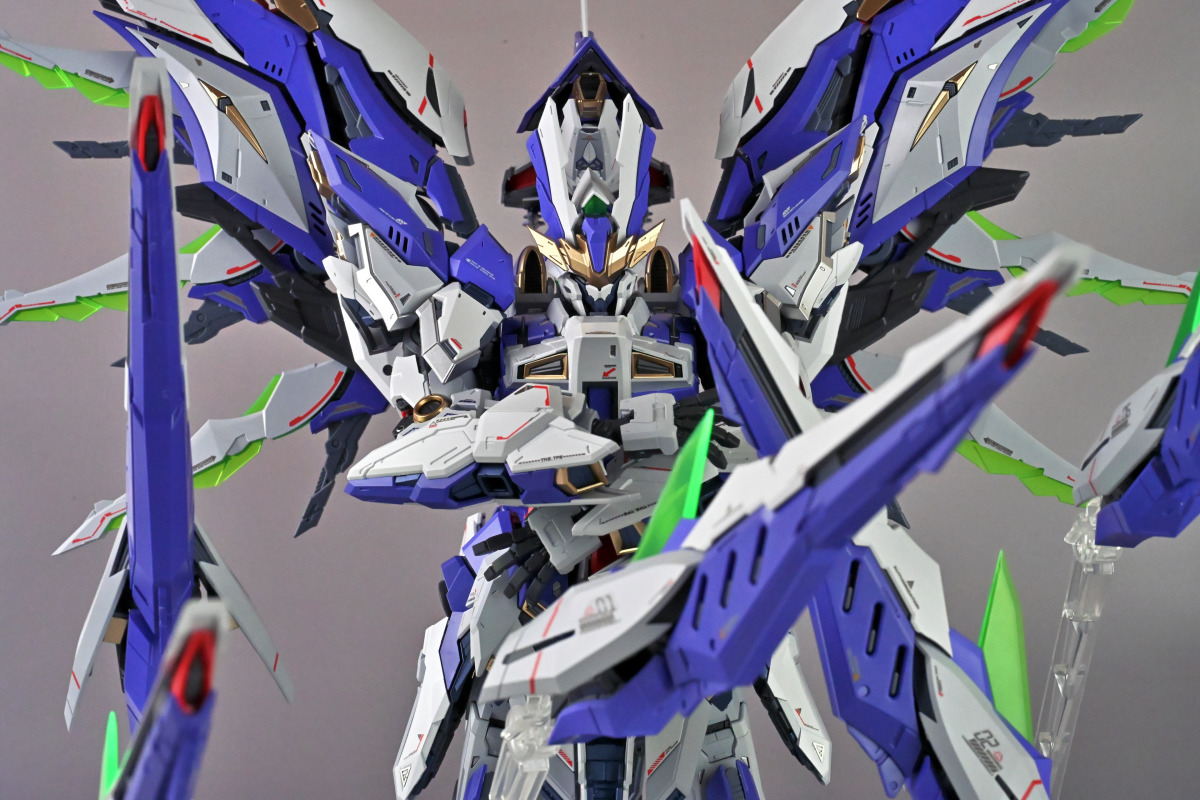
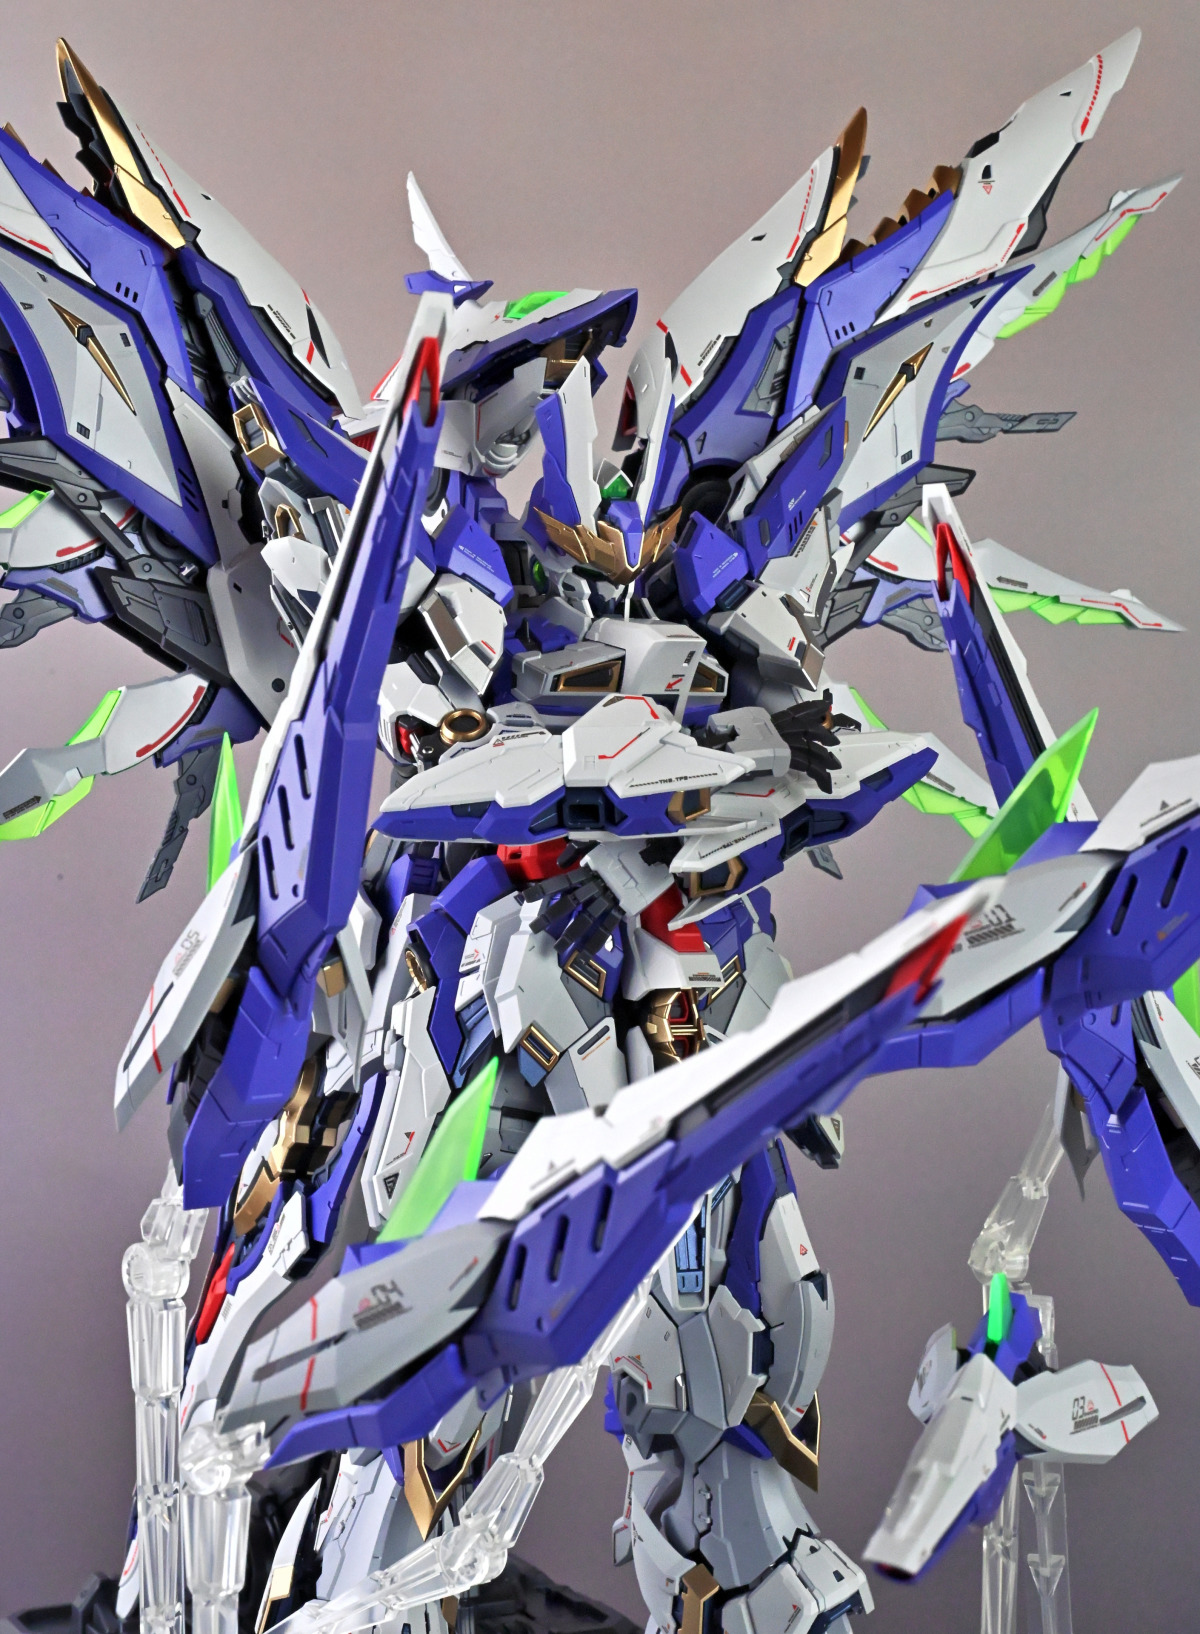
That's all for this share. For articulation, you can refer to the introduction in the video. The Sky Defender is truly a "space killer" in every sense of the word. It looks awesome even in a static pose. However, I still prefer the Nemesis. One small complaint is that for such a large scale, it's disappointing they didn't include fully articulated hands. I've been building too many sci-fi kits lately, so the next project will be a mecha musume that I need to rush!