
The ν Gundam isn't just for show!

After a five-year wait, the long-anticipated PGU heavyweight new release (and at five kilograms, it's seriously heavy!) was finally brought home in 2026, just in time for the New Year!
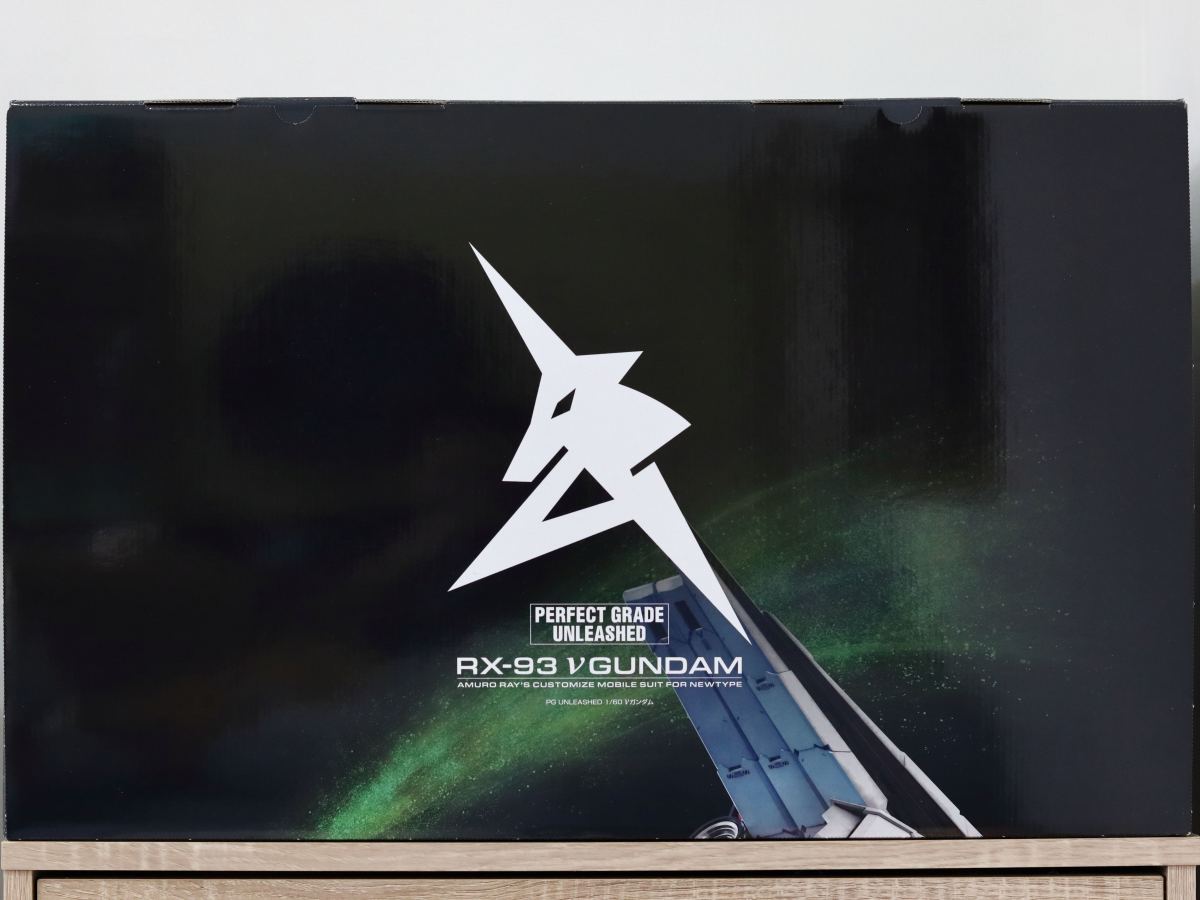
Developed and designed with Amuro's participation, and serving as the final ace mobile suit for the Londo Bell task force, its sky-high price was certainly daunting when the release was first announced. However, fueled by the nostalgia from last year's GQuuuuuuX Episode 11, which revisited "Char's Counterattack," I had to bite the bullet and buy it—a truly painful but necessary purchase!

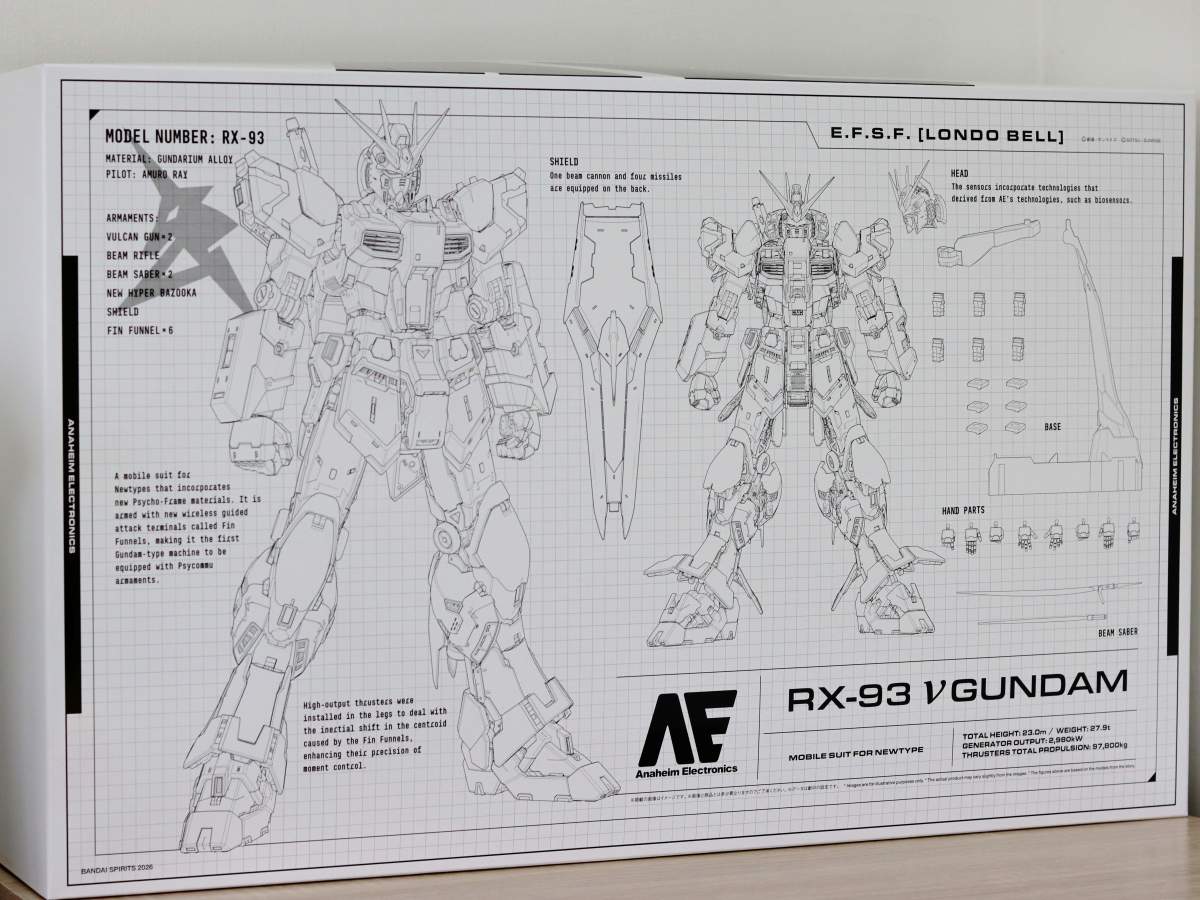
Laying out the massive box pieces one by one is the only way to reveal the full, epic panorama of the box art.

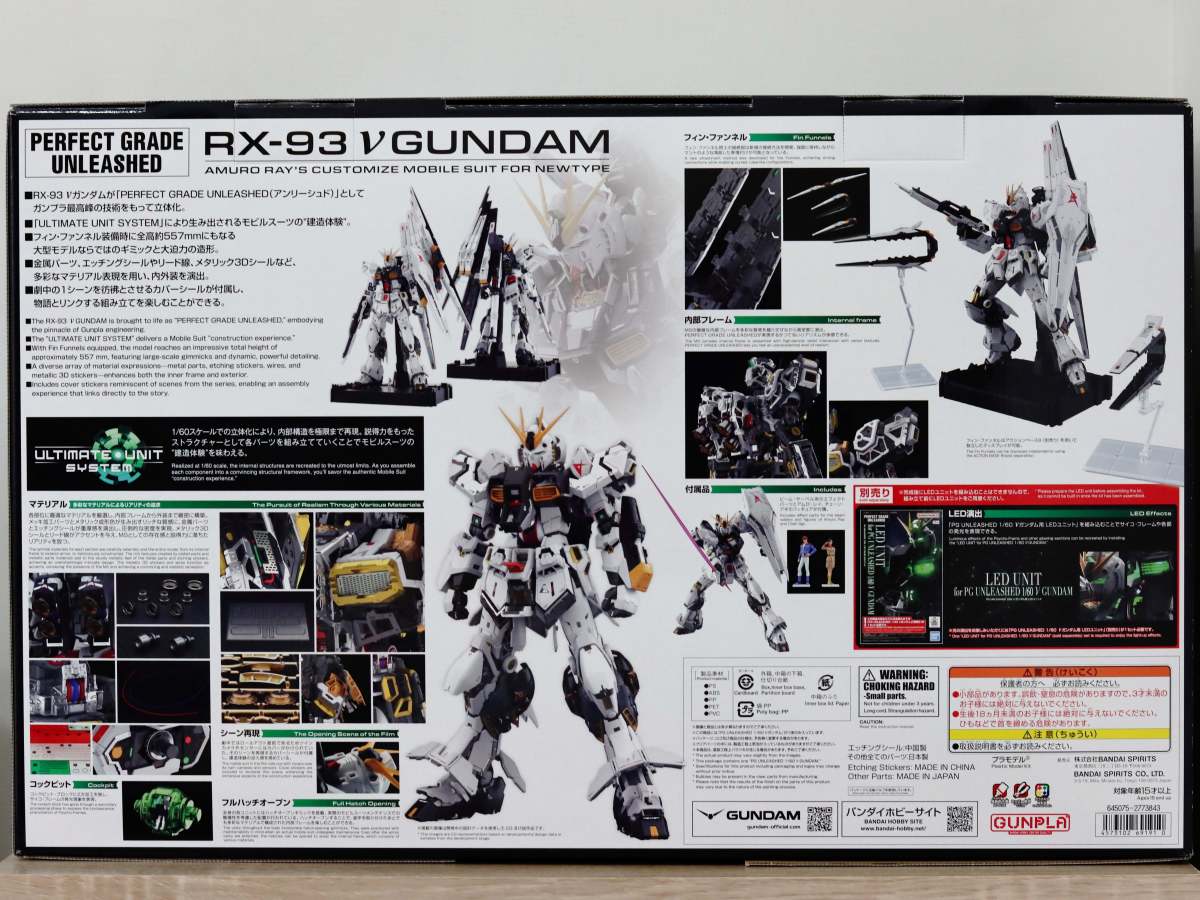
The back highlights the various eye-catching features all over the PGU ν (Nu) Gundam, proving it's not just for show.
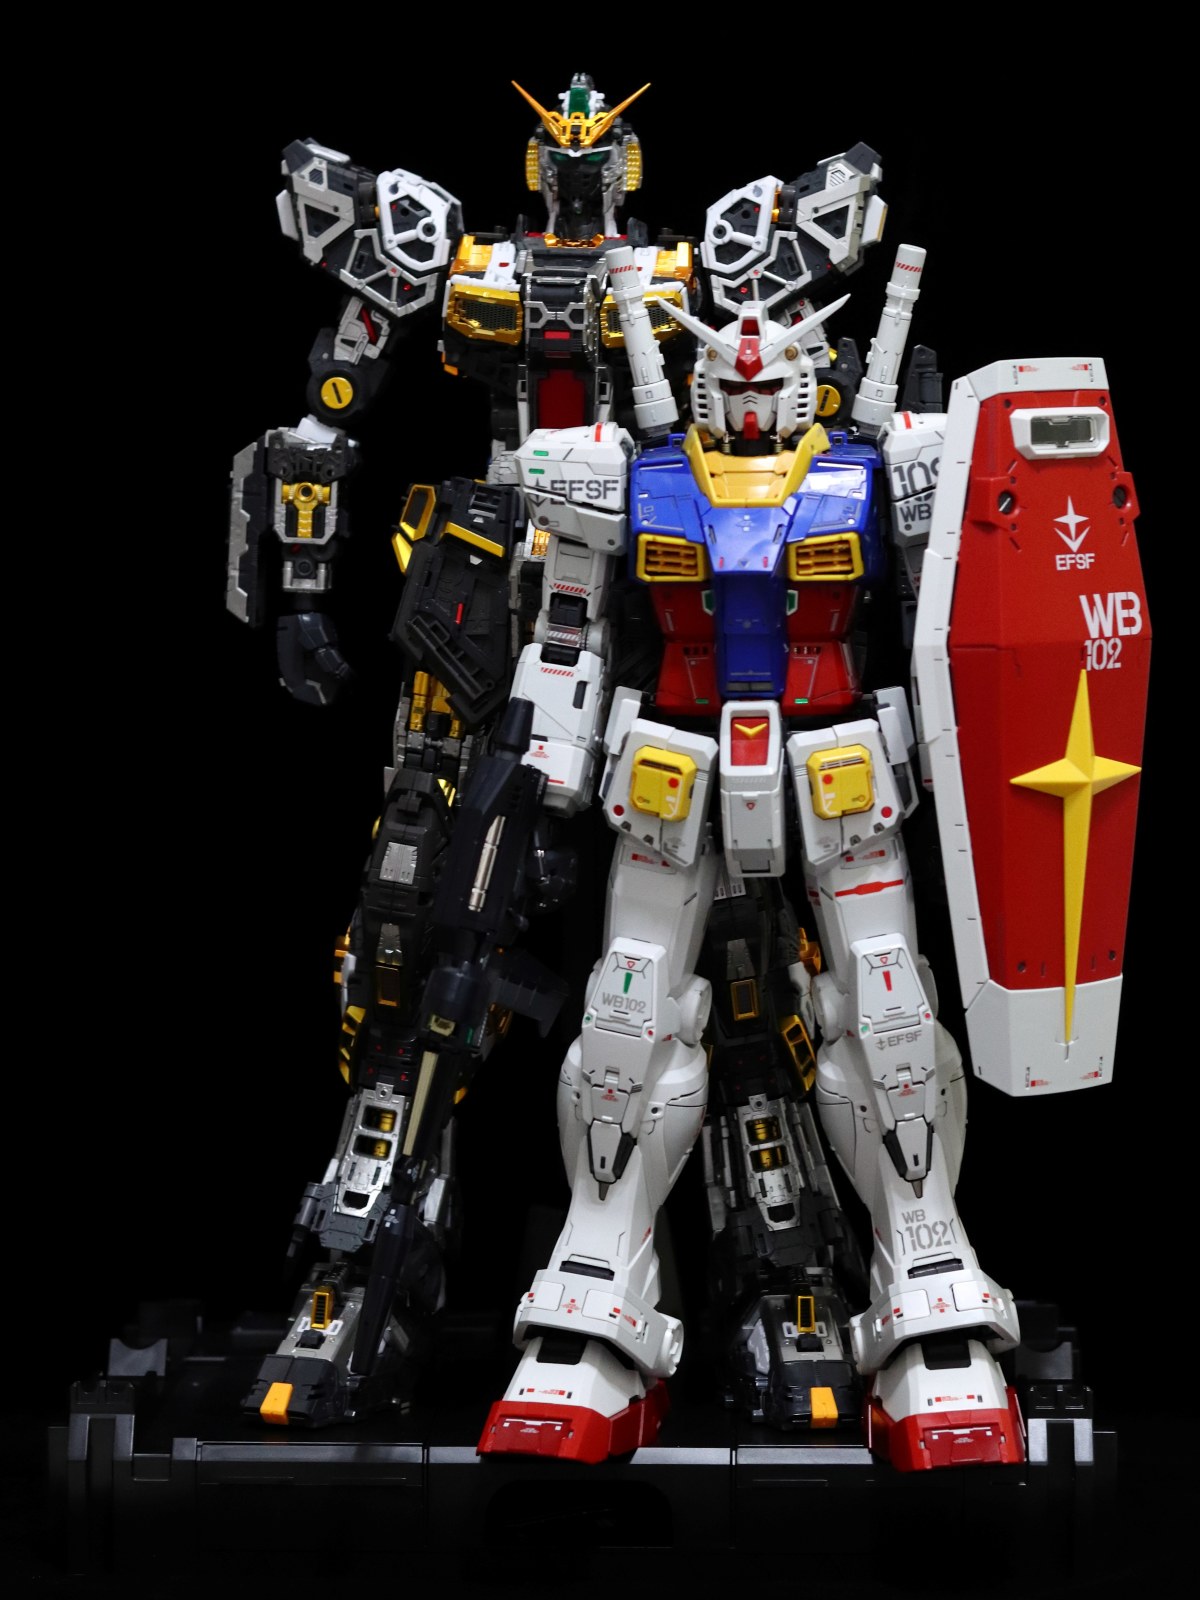
Not counting the length of its signature Fin Funnels on the back, the main body alone stands nearly 40cm tall. Compared to the RG scale original Gundam, it's more than enough to showcase the awe-inspiring presence of this final personal machine.

After a Herculean effort, I finally managed to unpack the three hefty boxes of runners inside, which can be arranged to form the Anaheim Electronics logo.

The instruction manual is as thick as a furniture catalog. Compared to its predecessor, the RX-78-2, this one uses line-art blueprints to depict the mobile suit's details, complete with a bright red "CONFIDENTIAL" stamp emblazoned on the cover, which is presented as being from the Von Braun lunar factory. The design styles of the two are strikingly different.
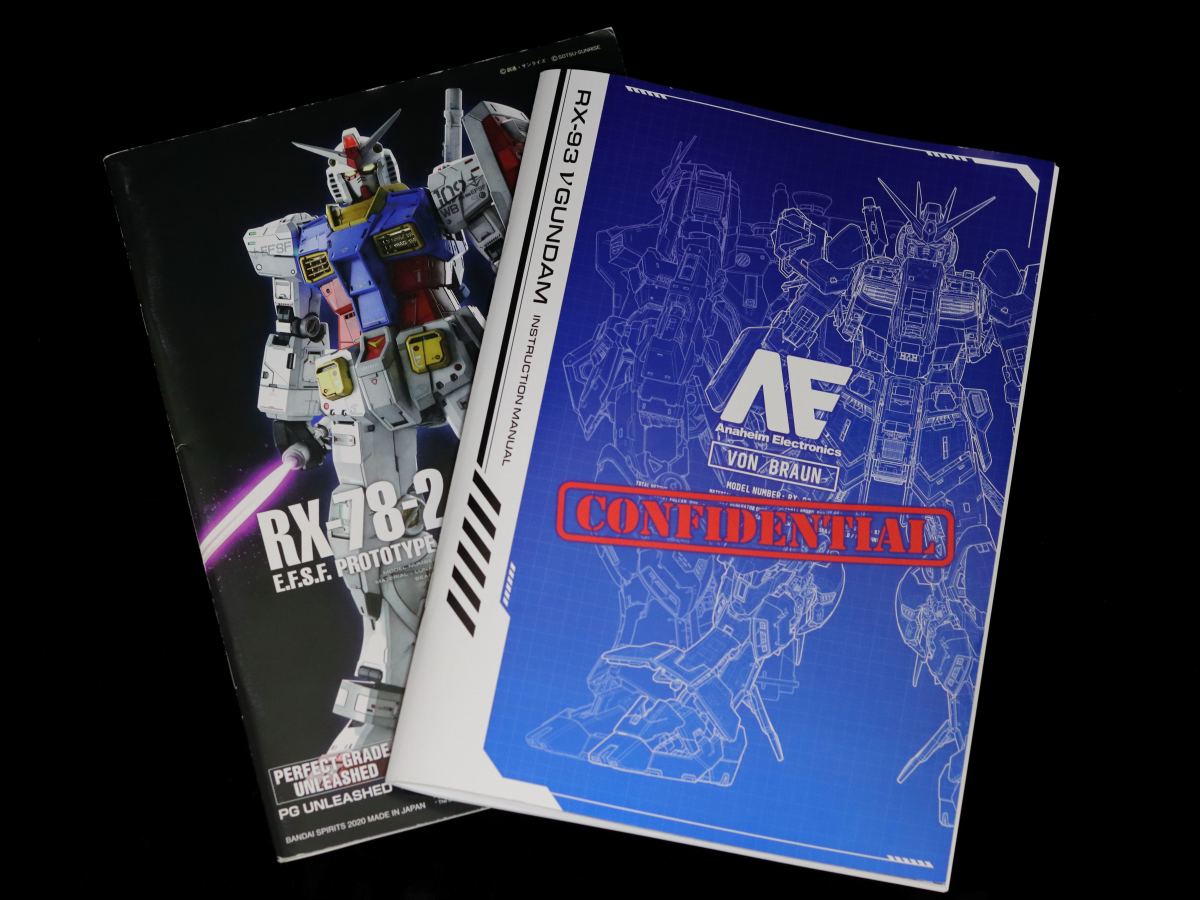
However, flipping it over, the meeting of the first and final mobile suits seems to echo the inescapable Möbius strip of their fates.

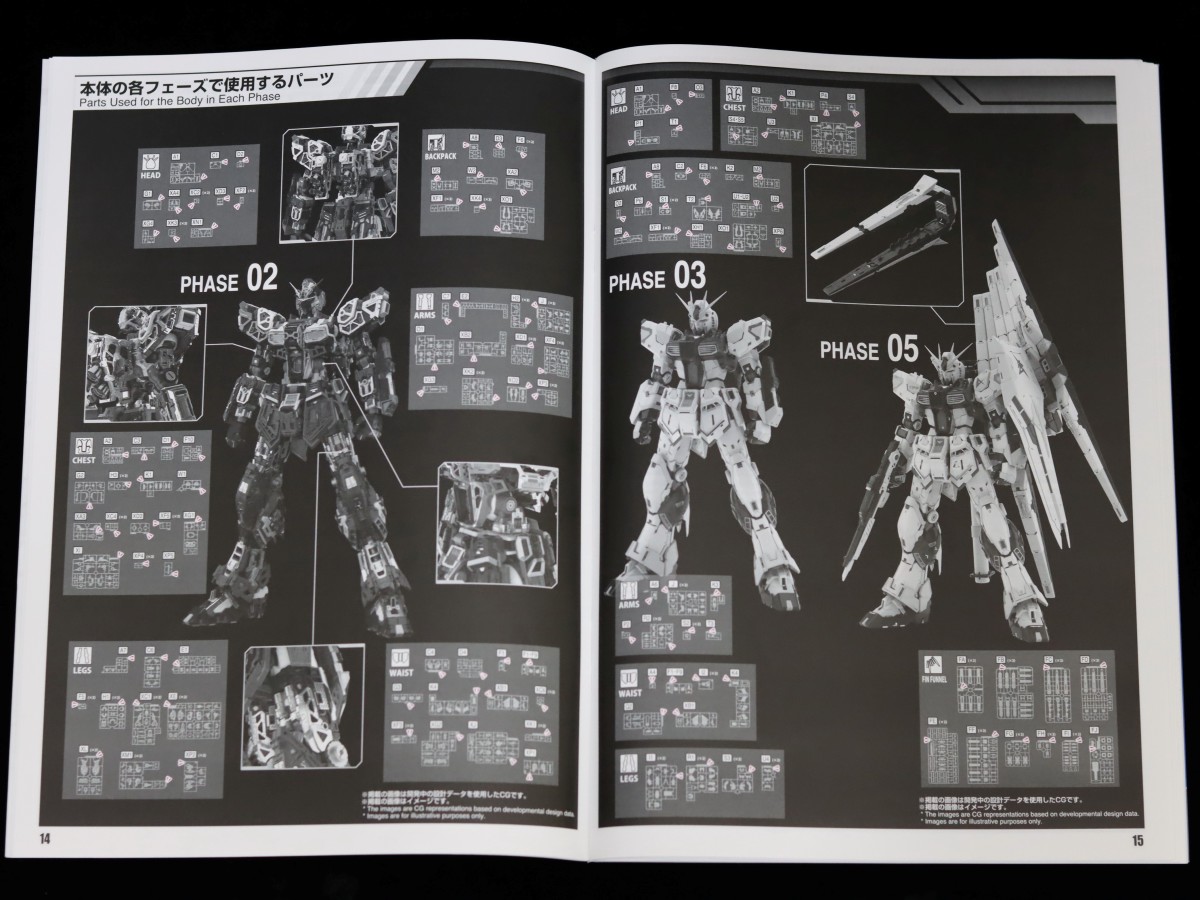
The manual divides the assembly process into distinct phases. Due to the immense workload of the PGU ν Gundam, this review will first cover the experience of building Phase 02, the inner frame. The construction of the outer armor and armaments will be shared in a separate article after the painting is complete.
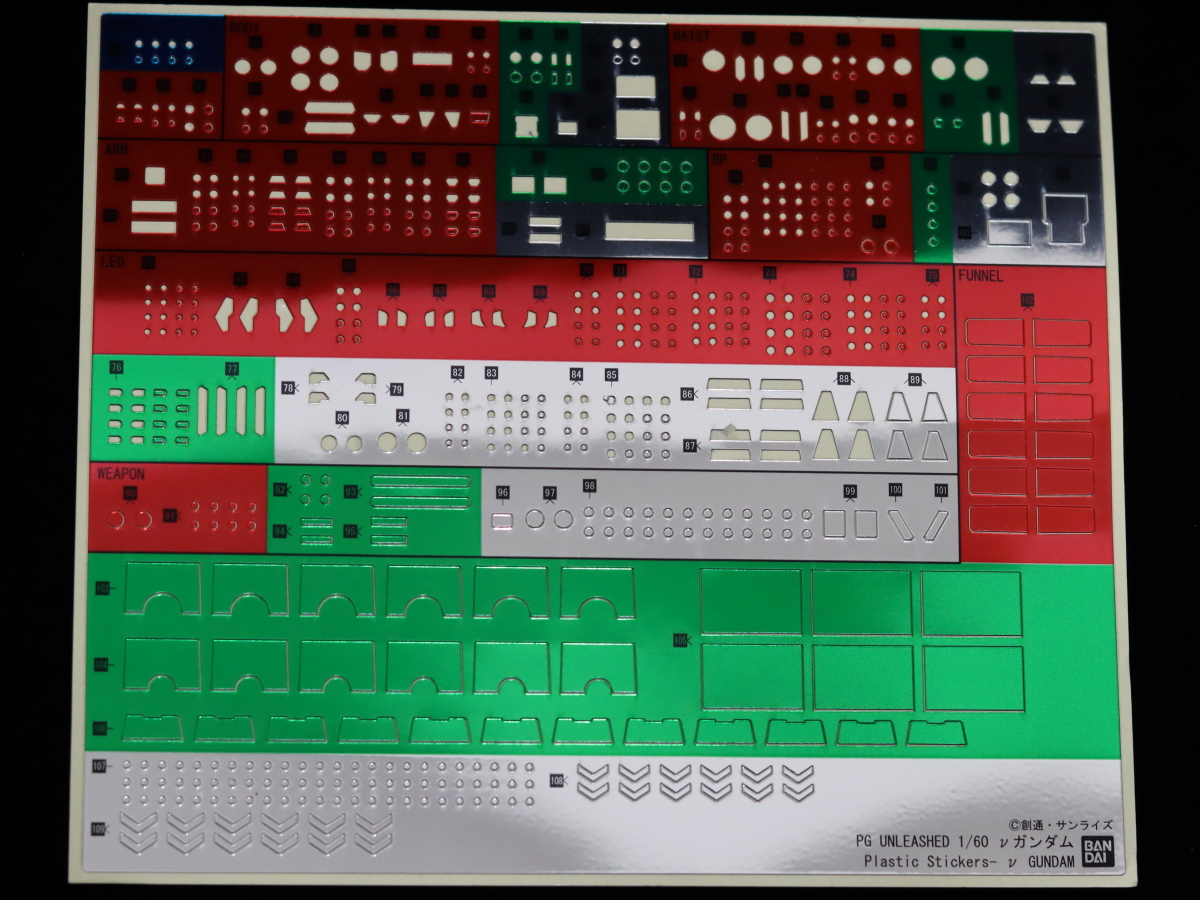
This kit includes a larger sheet of 3D metallic stickers. Based on my personal experience, for some of the tiny decals that are practically the size of sand grains, I recommend using the tip of a hobby knife to pick them up and apply them. It's a bit more manageable than using tweezers.
With the simple unboxing report complete, let's talk about the silver parts. Although this model uses the "Realistic Metallic Gloss Injection" technology developed for the MGSD series, the infamous swirl marks on the surface are still unavoidable. Considering that most parts have undergated nubs, I pre-painted a few of the silver runners with metallic paint. The rest were assembled according to the instructions to enjoy the ultimate "pleasure of building." However, even a straight build took dozens of hours of focused work to complete. Below is a multi-angle showcase of the completed inner frame:
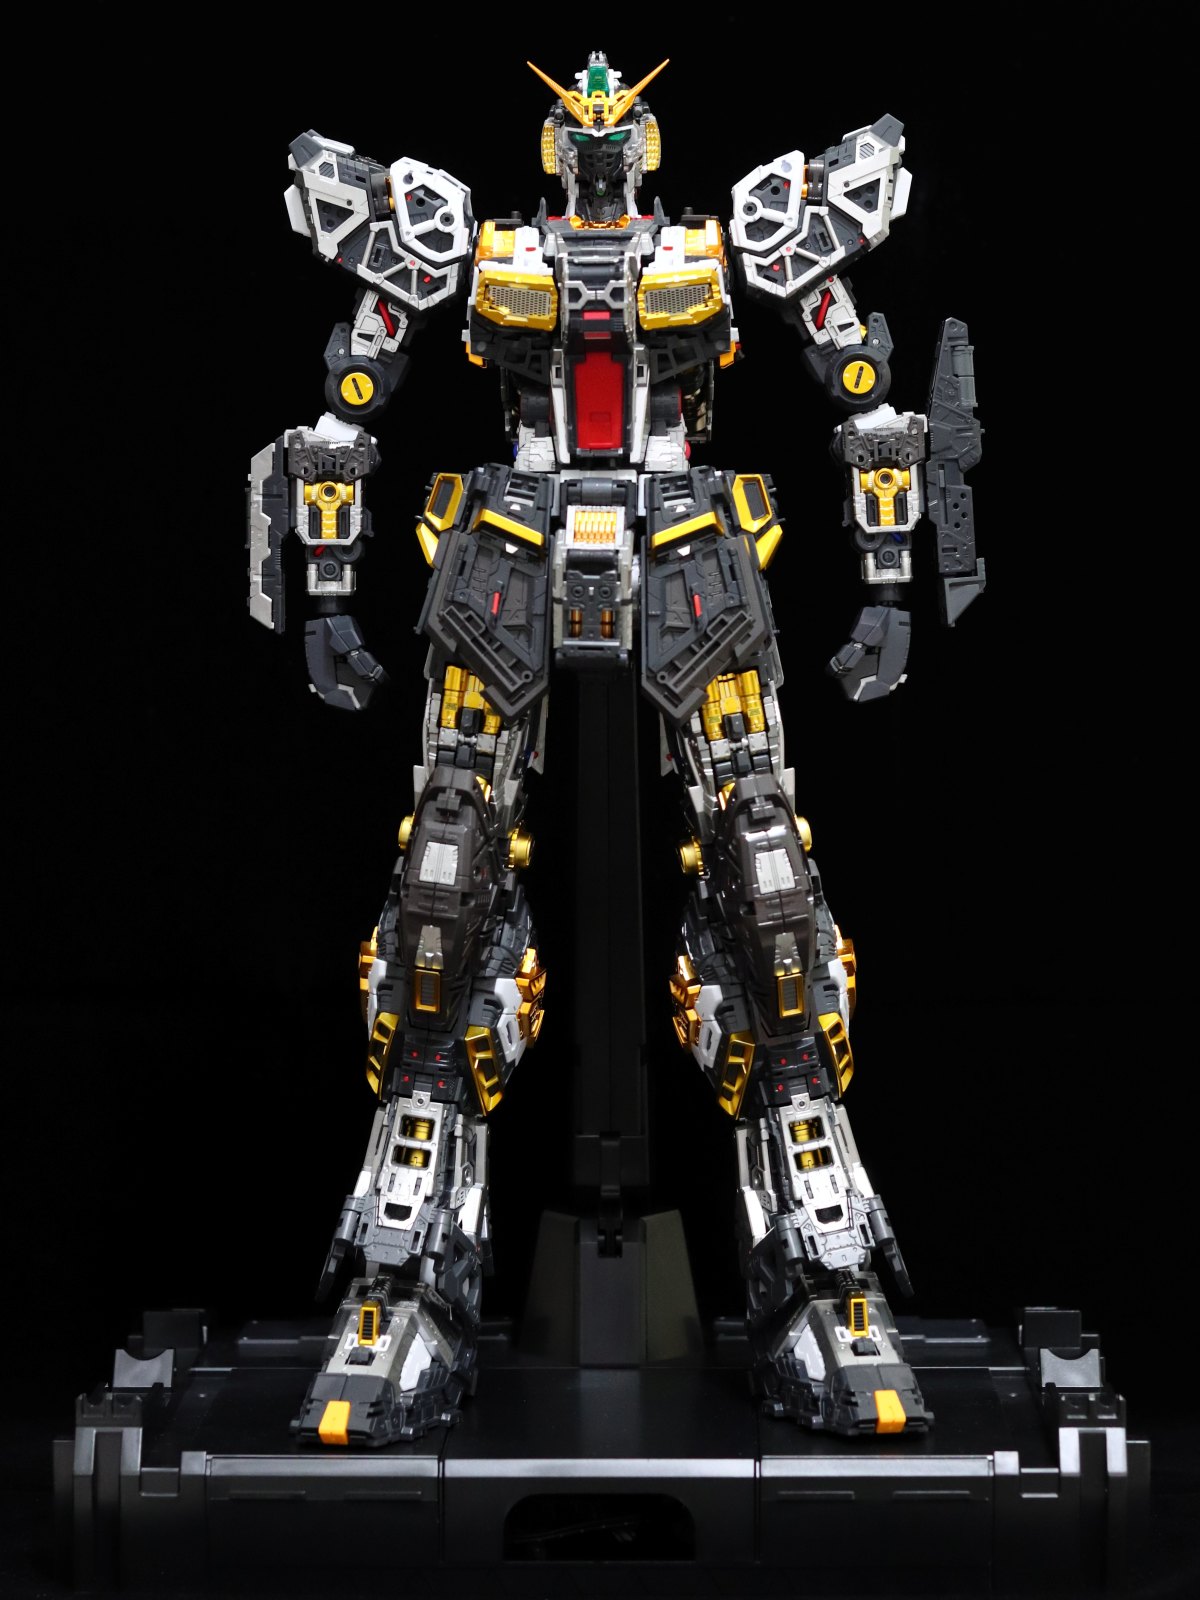
The display base is a reuse of the one from the PG Unicorn. One could say this decade-old design is either too classic or Bandai is cutting too many corners...

(I'll explain the purpose of this wire on the back in a moment.)

When the two PGU brothers stand together, the Nu is indeed quite a bit taller. Of course, this is also reflected in its price, which is several times higher.
The most immediate impression during assembly is the sheer abundance of mechanical detail. Not only are metal parts used for the head Vulcan cannons to add texture, but even the V-fin has an inner frame structure.
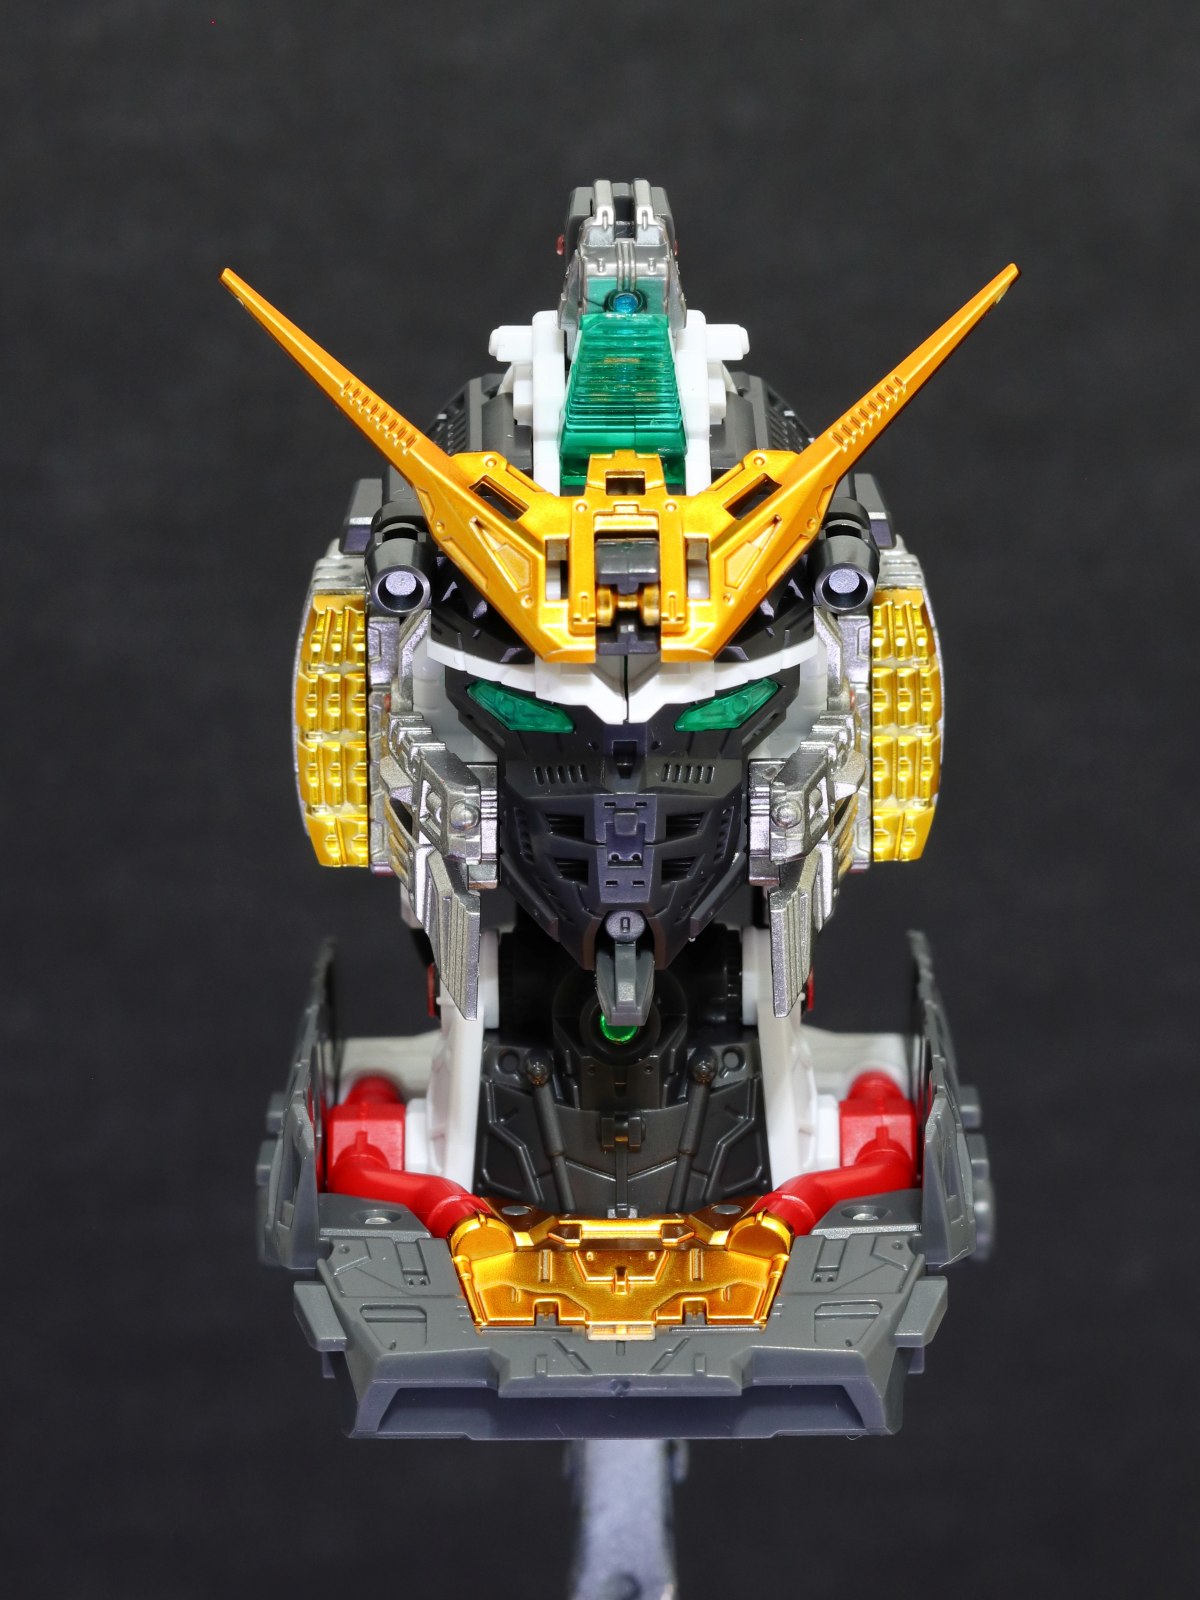
Even under the covered faceplate, there is incredibly rich and detailed wiring sculpted in. It's a real eye-opener; so this is where the molding costs went—on these hidden details. No wonder it commands such a price (haha)~

Three options are provided for the eyes. From left to right: a clear part for use with the LED unit, a pre-painted part for standard display, and a silver part designed to show the inner mechanics under a green clear piece, similar to the MGSD design.
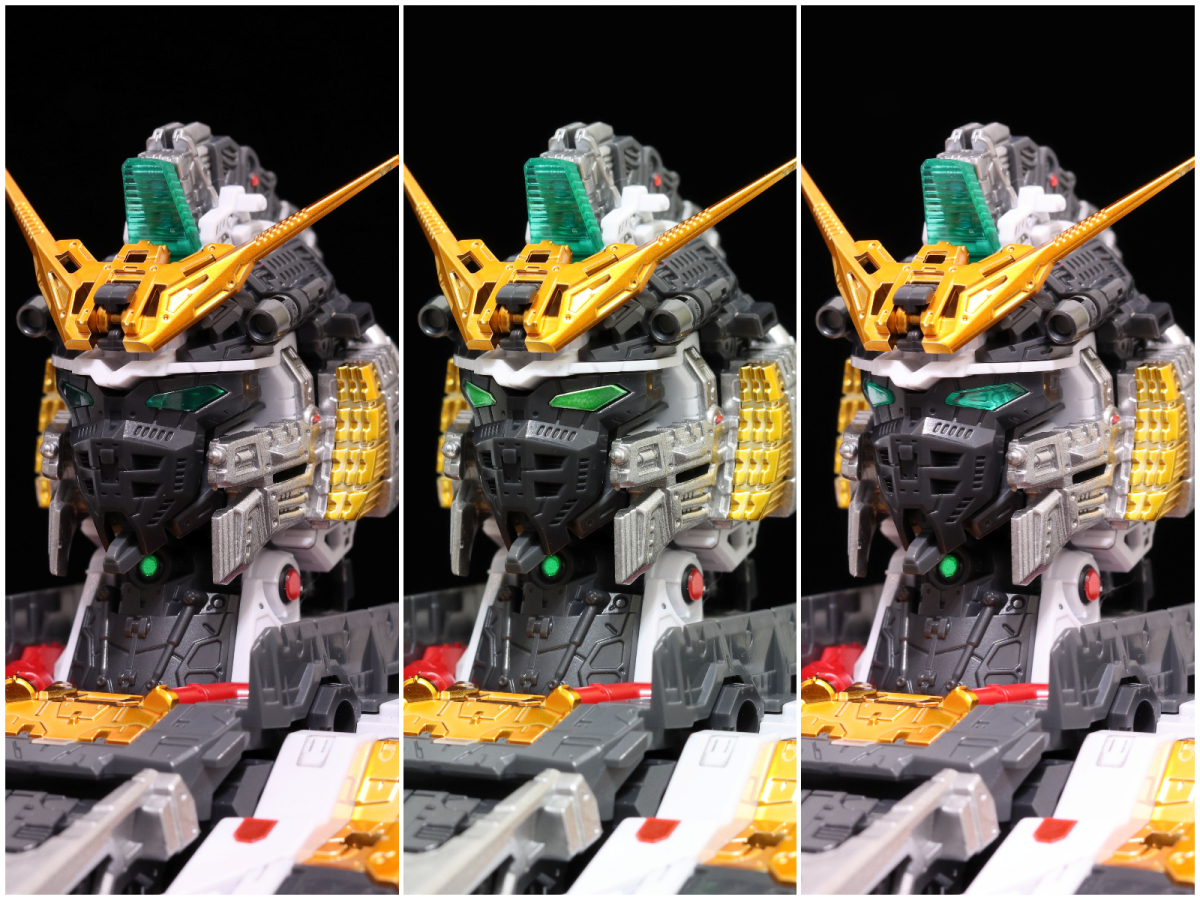
Speaking of the LED unit, let me share a simple DIY trick:
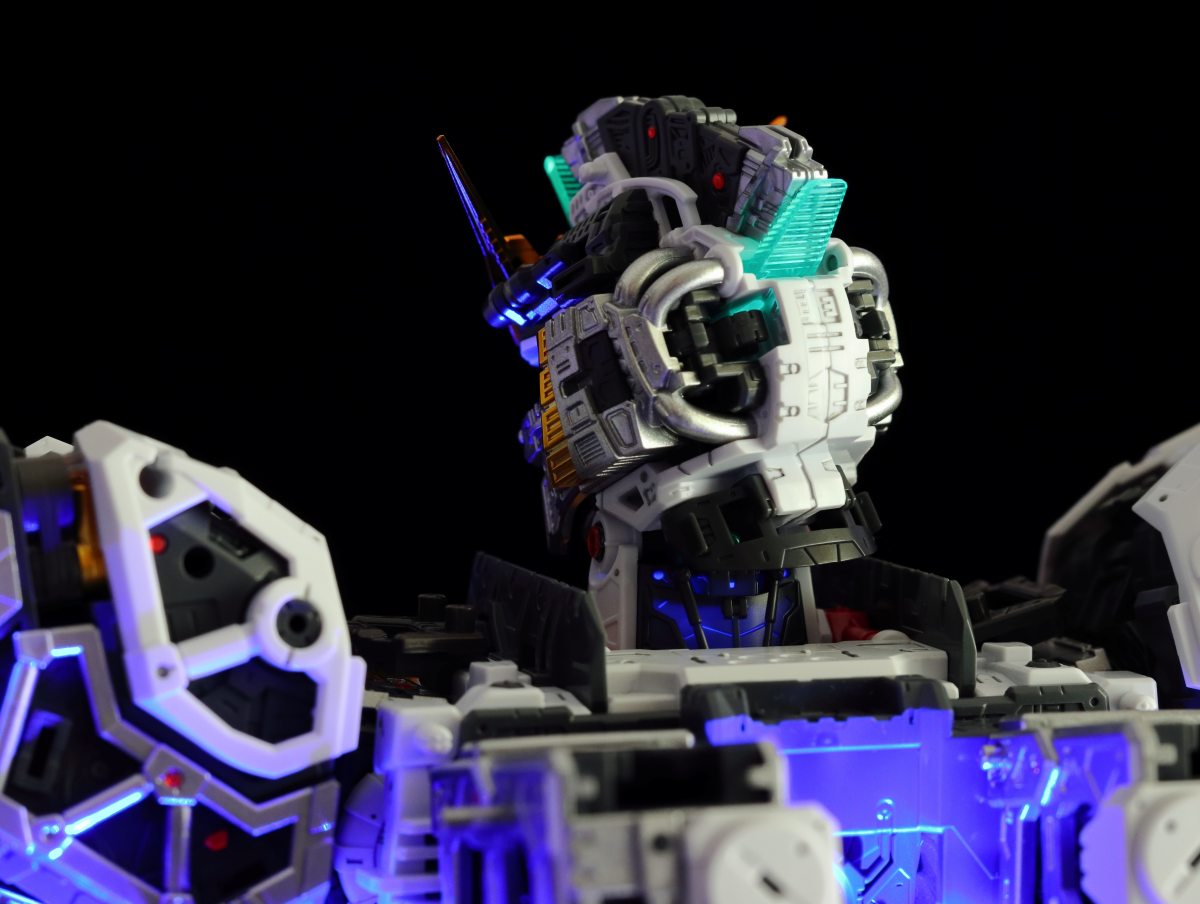
For amateur modelers like me who couldn't get the official LED unit, you don't need any knowledge of circuits or soldering. Just buy a USB-powered copper wire LED strip. If you can, you can even pick an upgraded version that comes with breathing and other flashing effects.
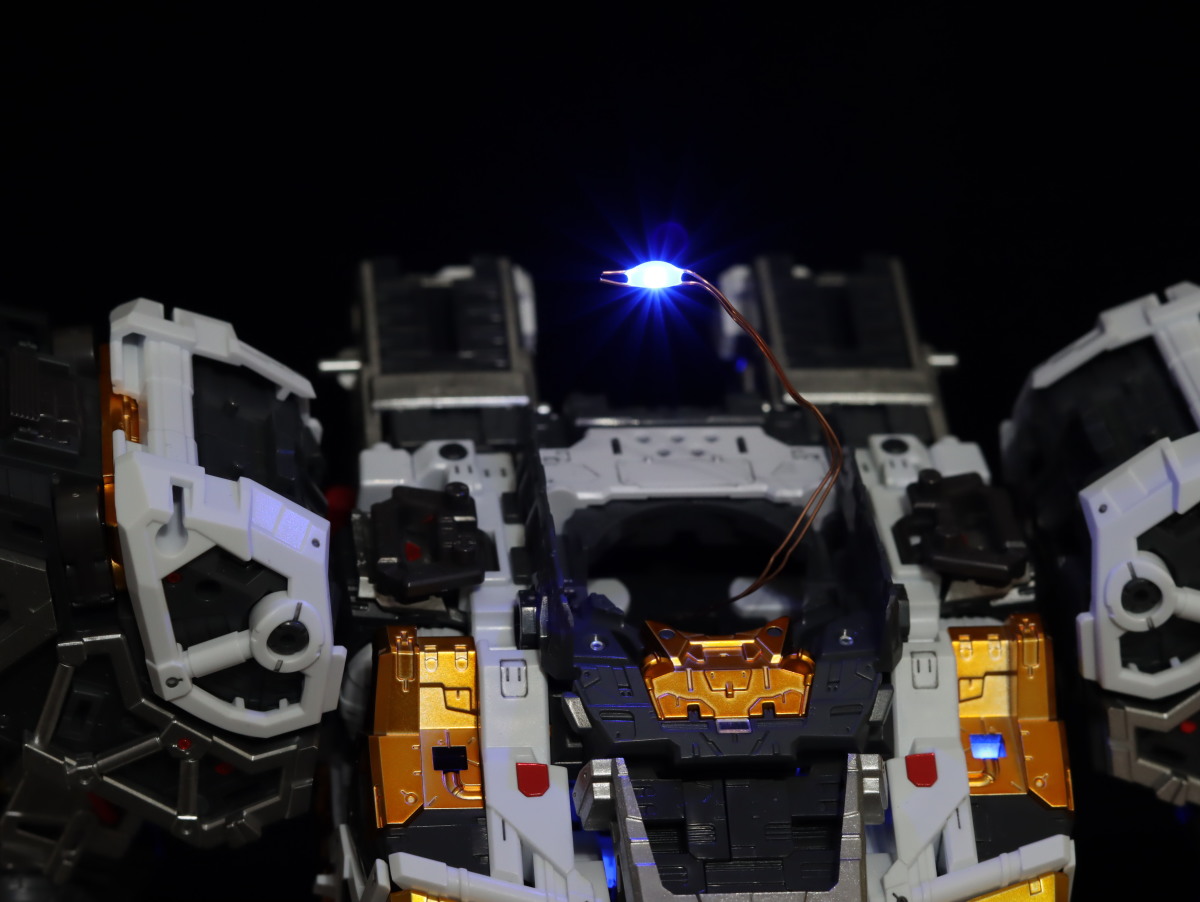
Since the ν Gundam main body only has about five light-up points, mostly concentrated in the torso, it hardly affects articulation. You just need to cut the copper wire light strip to the appropriate length, thread it through, and glue it into the pre-designated spots for the LED unit inside the model. This is an easy and affordable way to light up your Gundam.
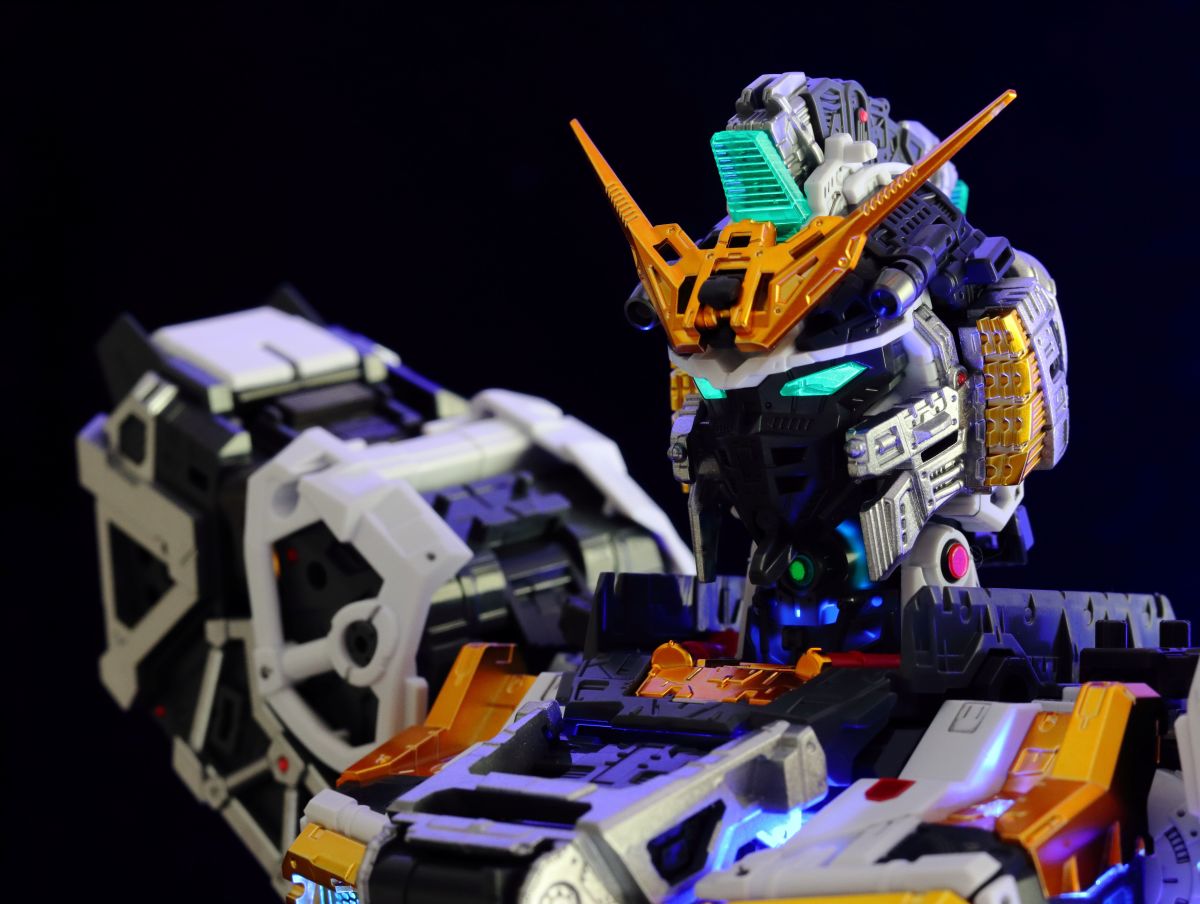
However, I only have a blue light set on hand at the moment. This is just a quick test of the wiring and lighting effect. I'll replace it with a green one later.

Inside the Psycoframe-resonant cockpit, the seated Amuro figure has a rather psychedelic feel.
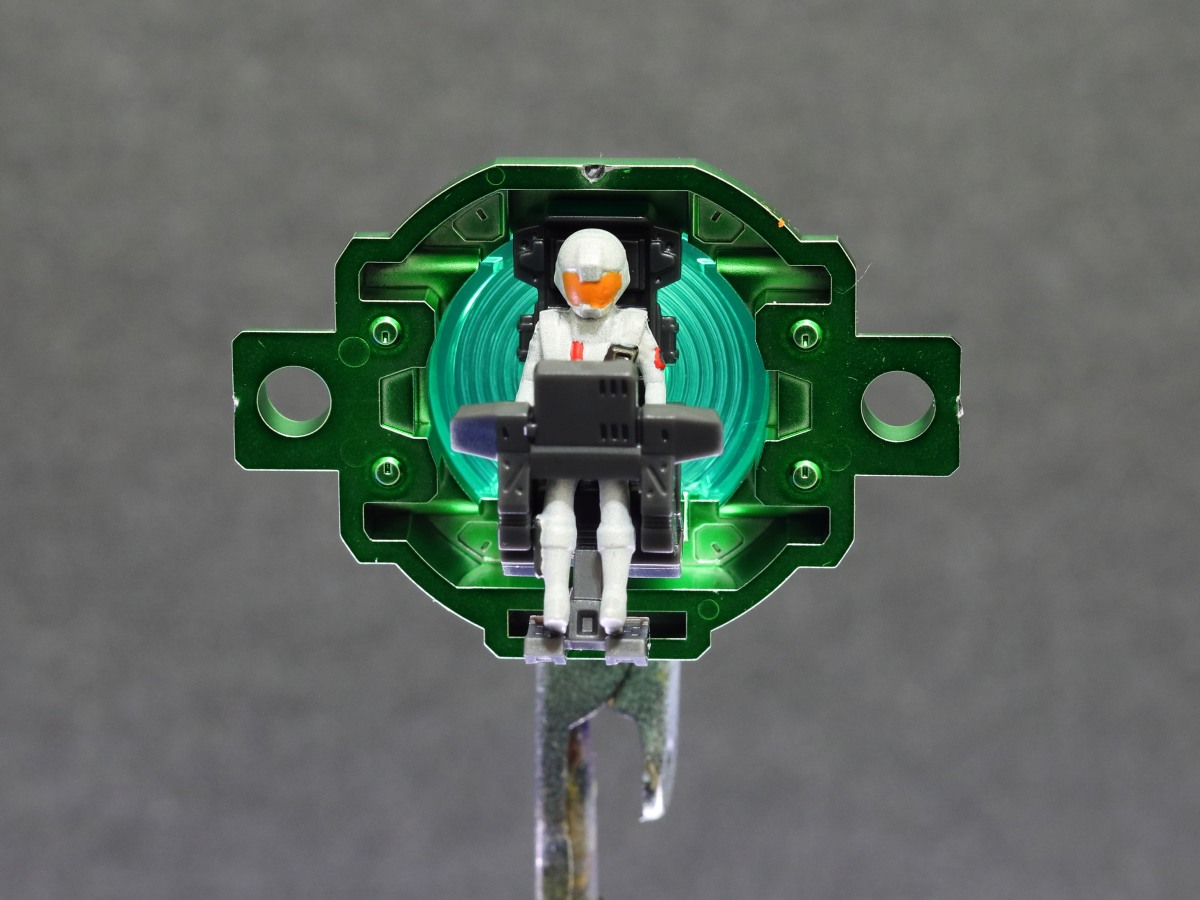
The hemispherical cockpit is installed in the waist and also handles some of the torso's side-bending function. Without the Fin Funnels attached, the joint holds very securely.
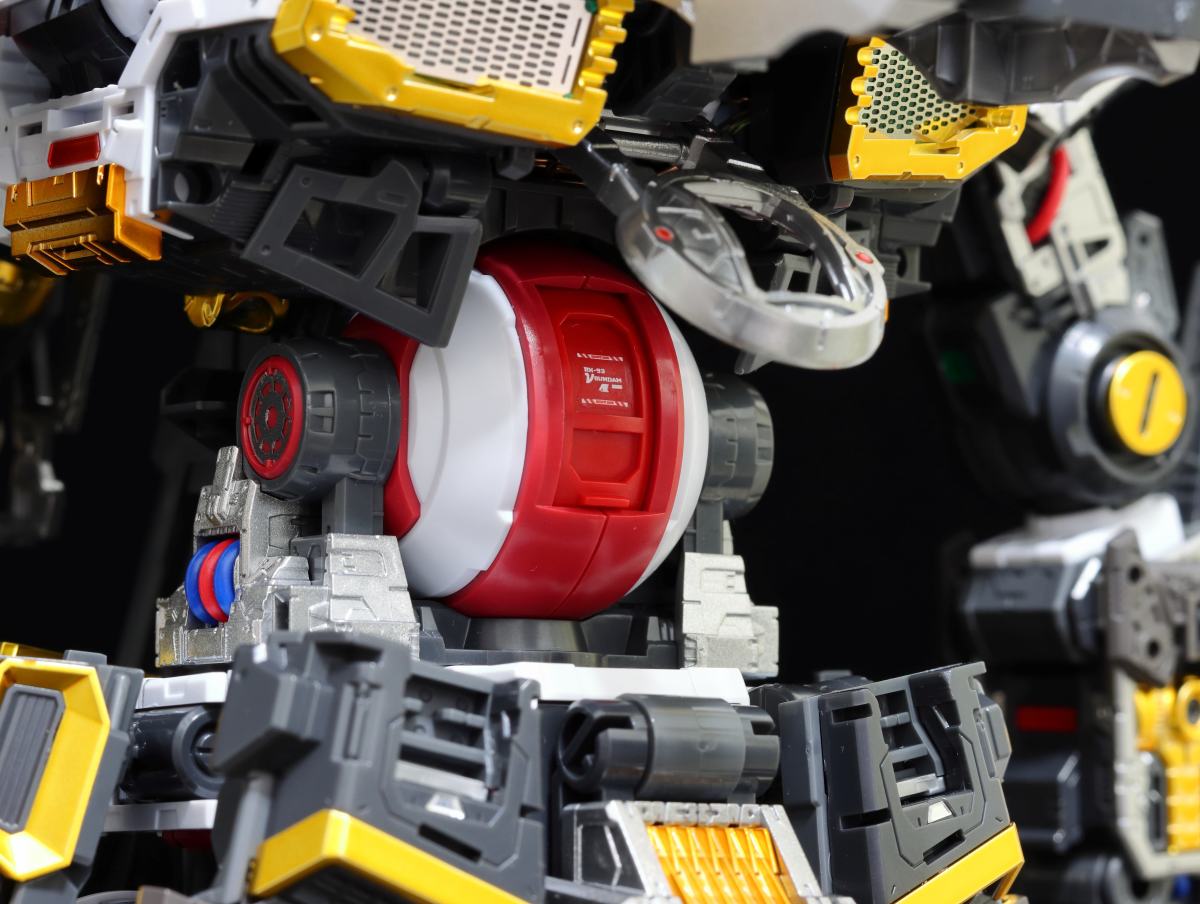
Covered by layers of hatches, it should be a lot safer than Char sitting in the head of the Sazabi (does it make a difference?).
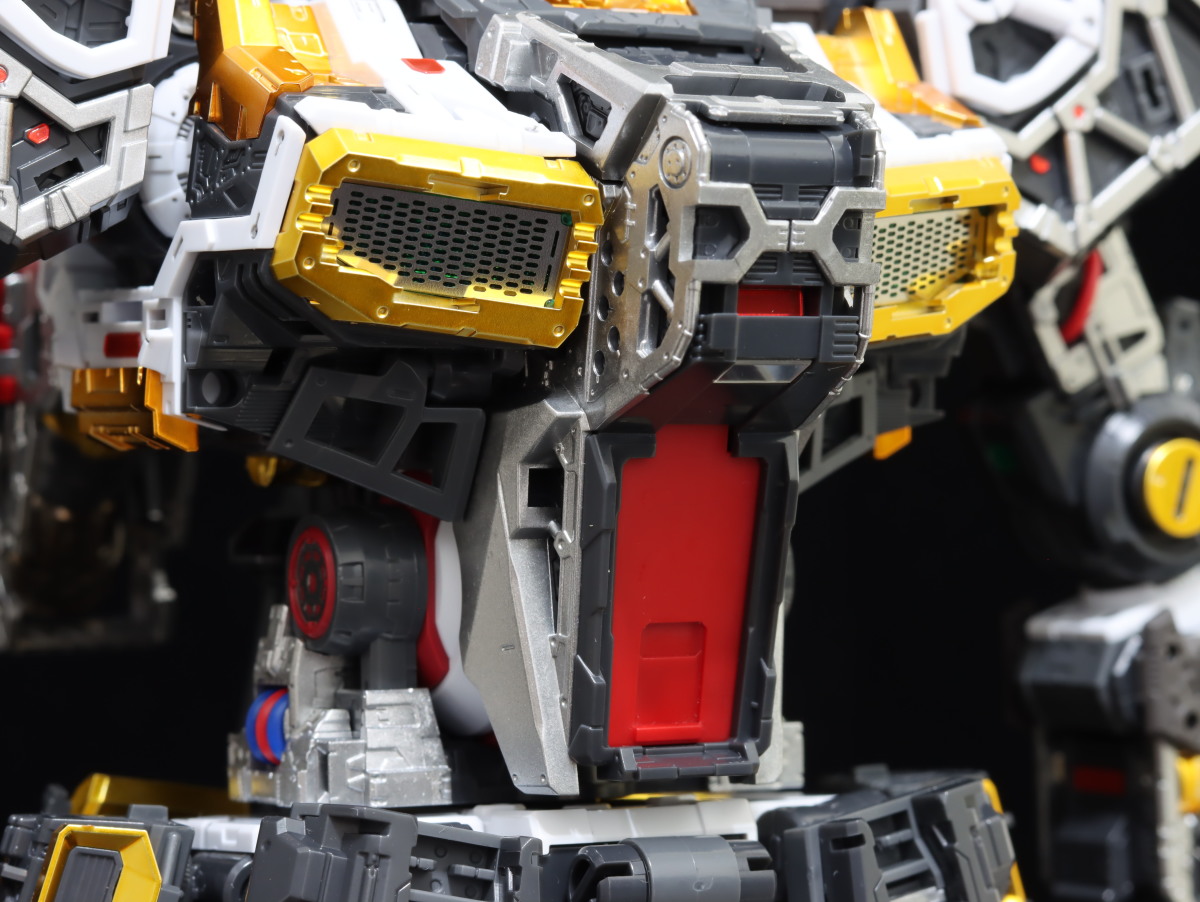
In addition to the use of photo-etched parts, the inclusion of red and blue single-core wires this time takes the realism of the mobile suit to a new level.
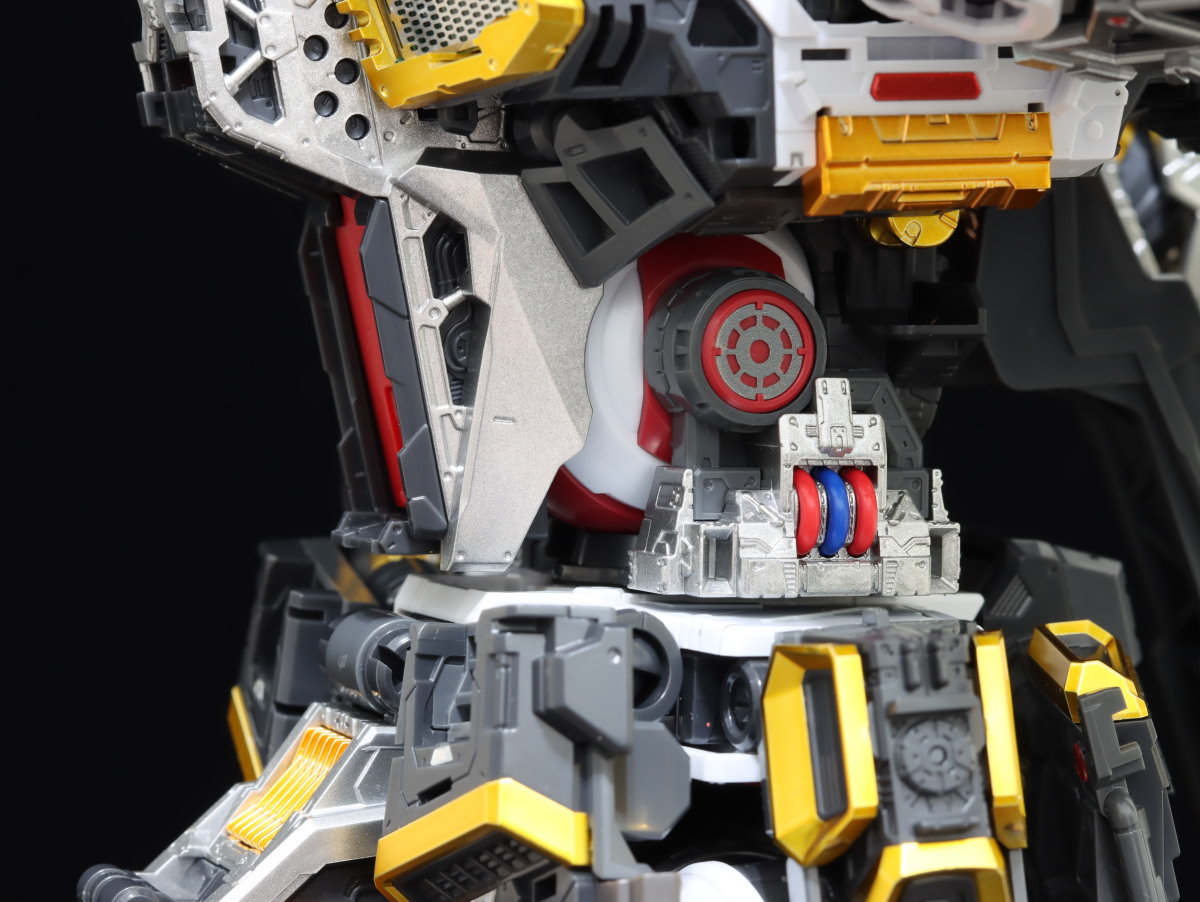
The backpack thrusters forgo a light-guiding mechanism, focusing instead on showcasing more detail in the frame, which complements the metallic thruster bell parts beautifully.
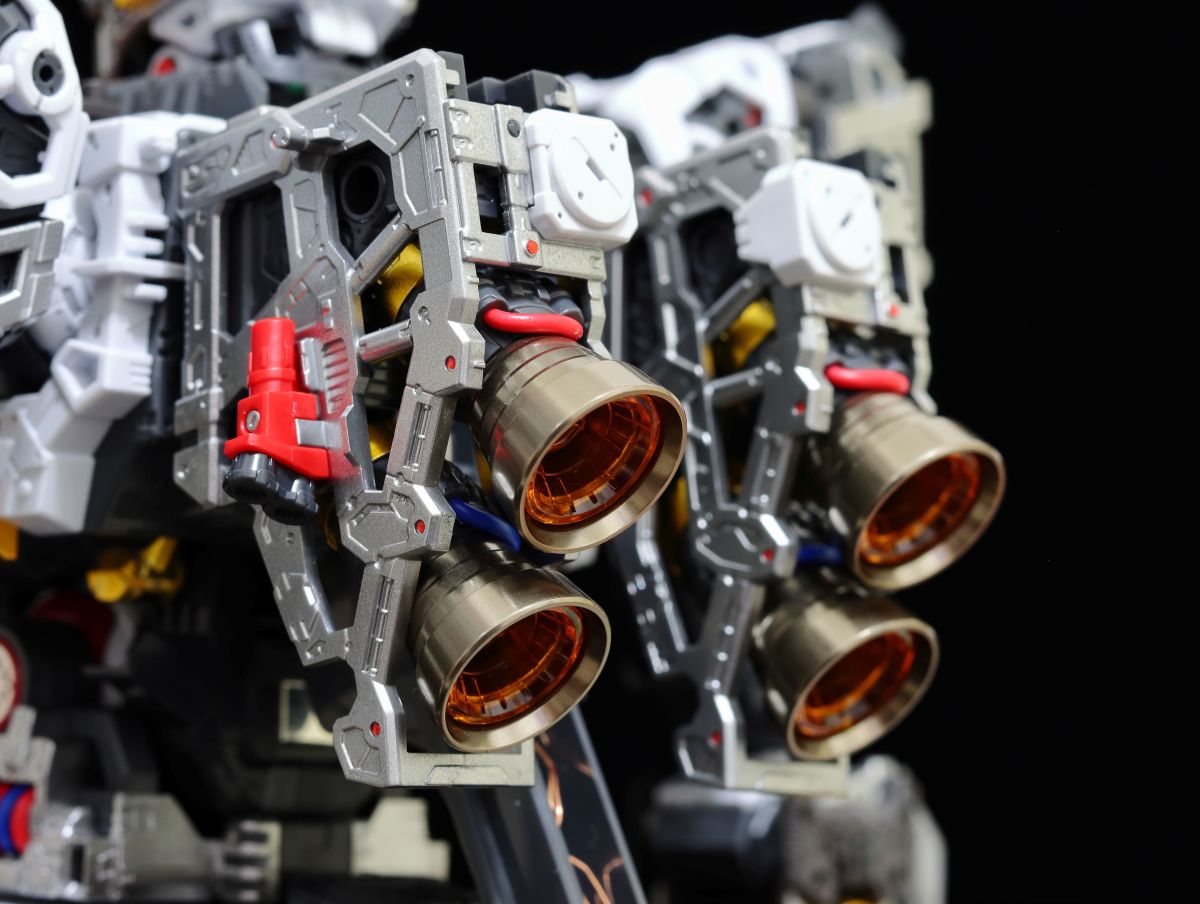
Moving on to the limbs of the upper body, the layered shoulder armor looks incredibly intricate at just a glance.
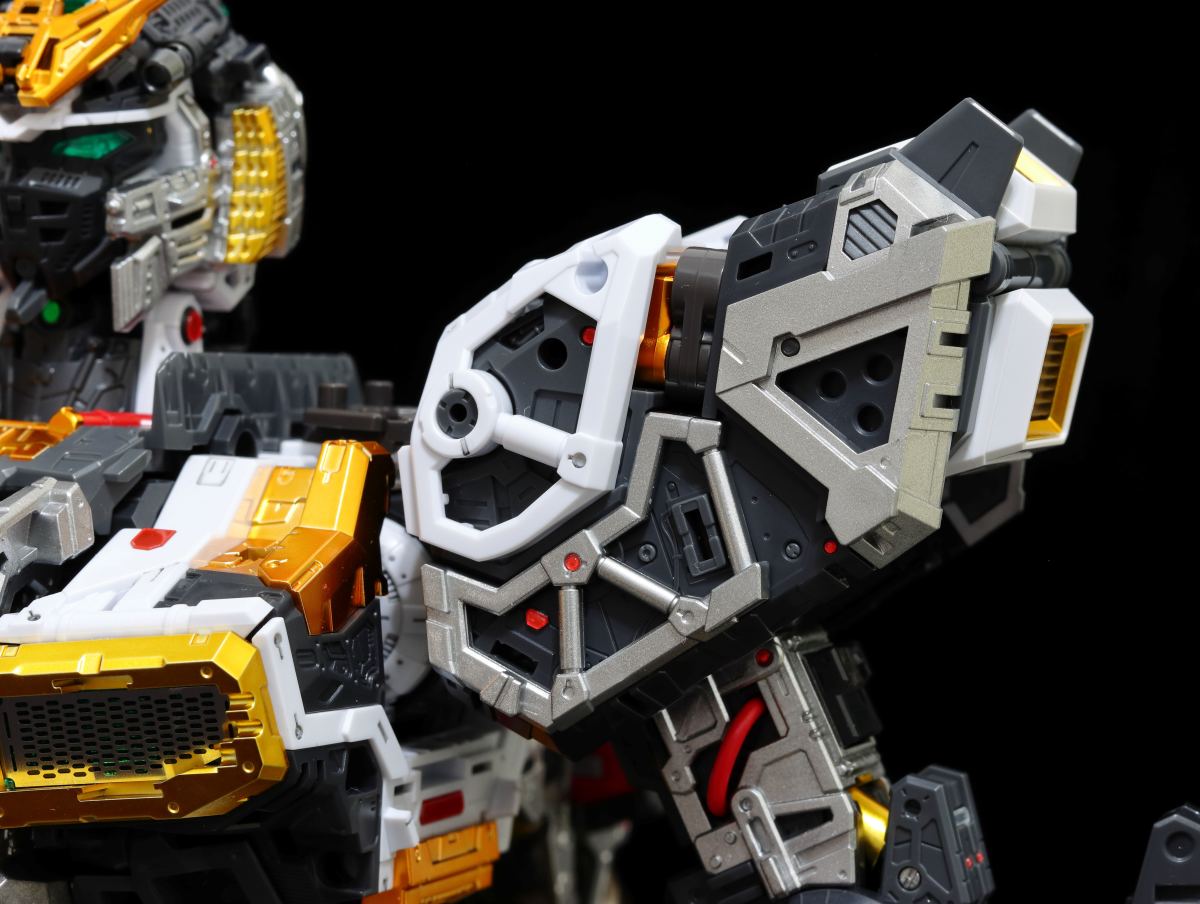
In fact, various sections can open up further in a "hatch open" gimmick, making one eagerly anticipate the effect once the outer armor is attached.
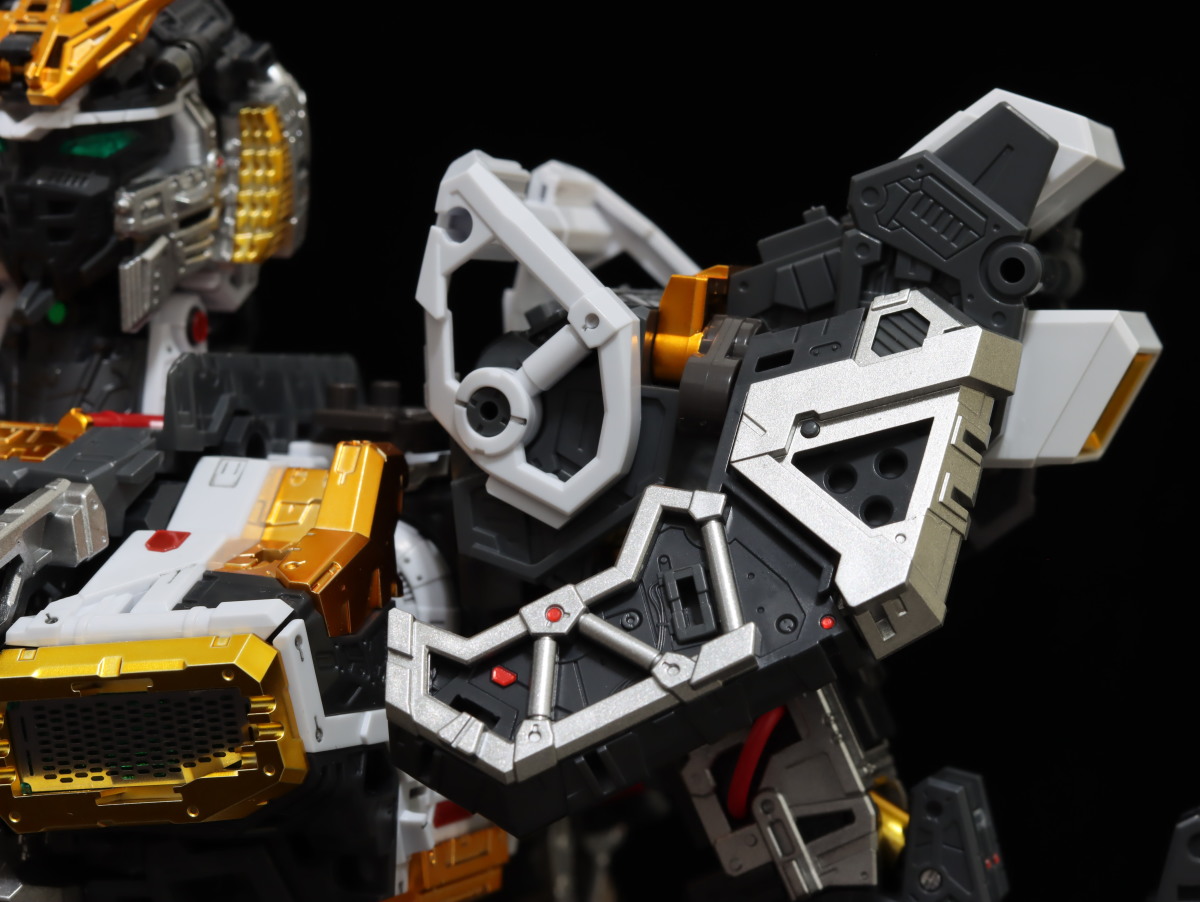
The joints can be extended outward from the torso, providing a wider range of articulation.
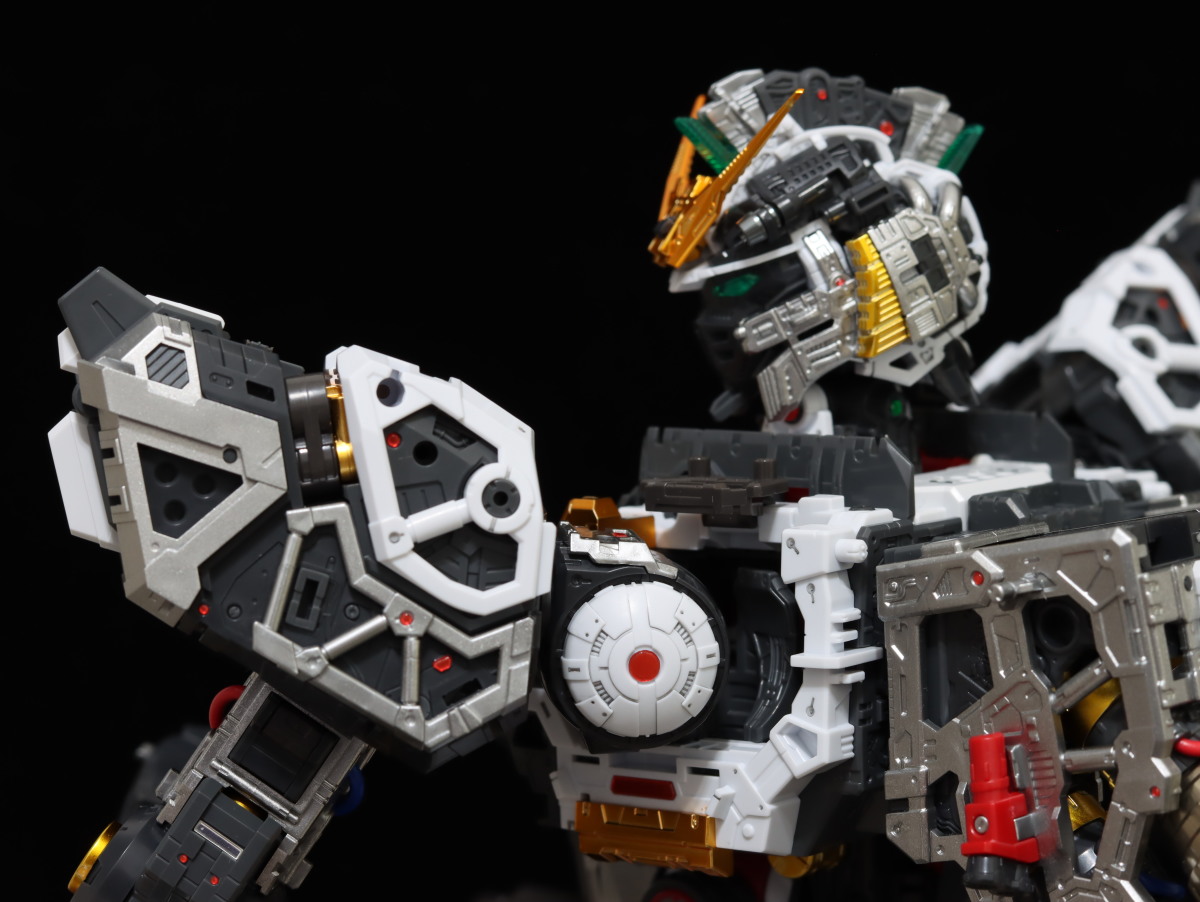
The arm details are just as impressive, with an interplay of gold, silver, gray, and white creating a dazzling sense of depth.
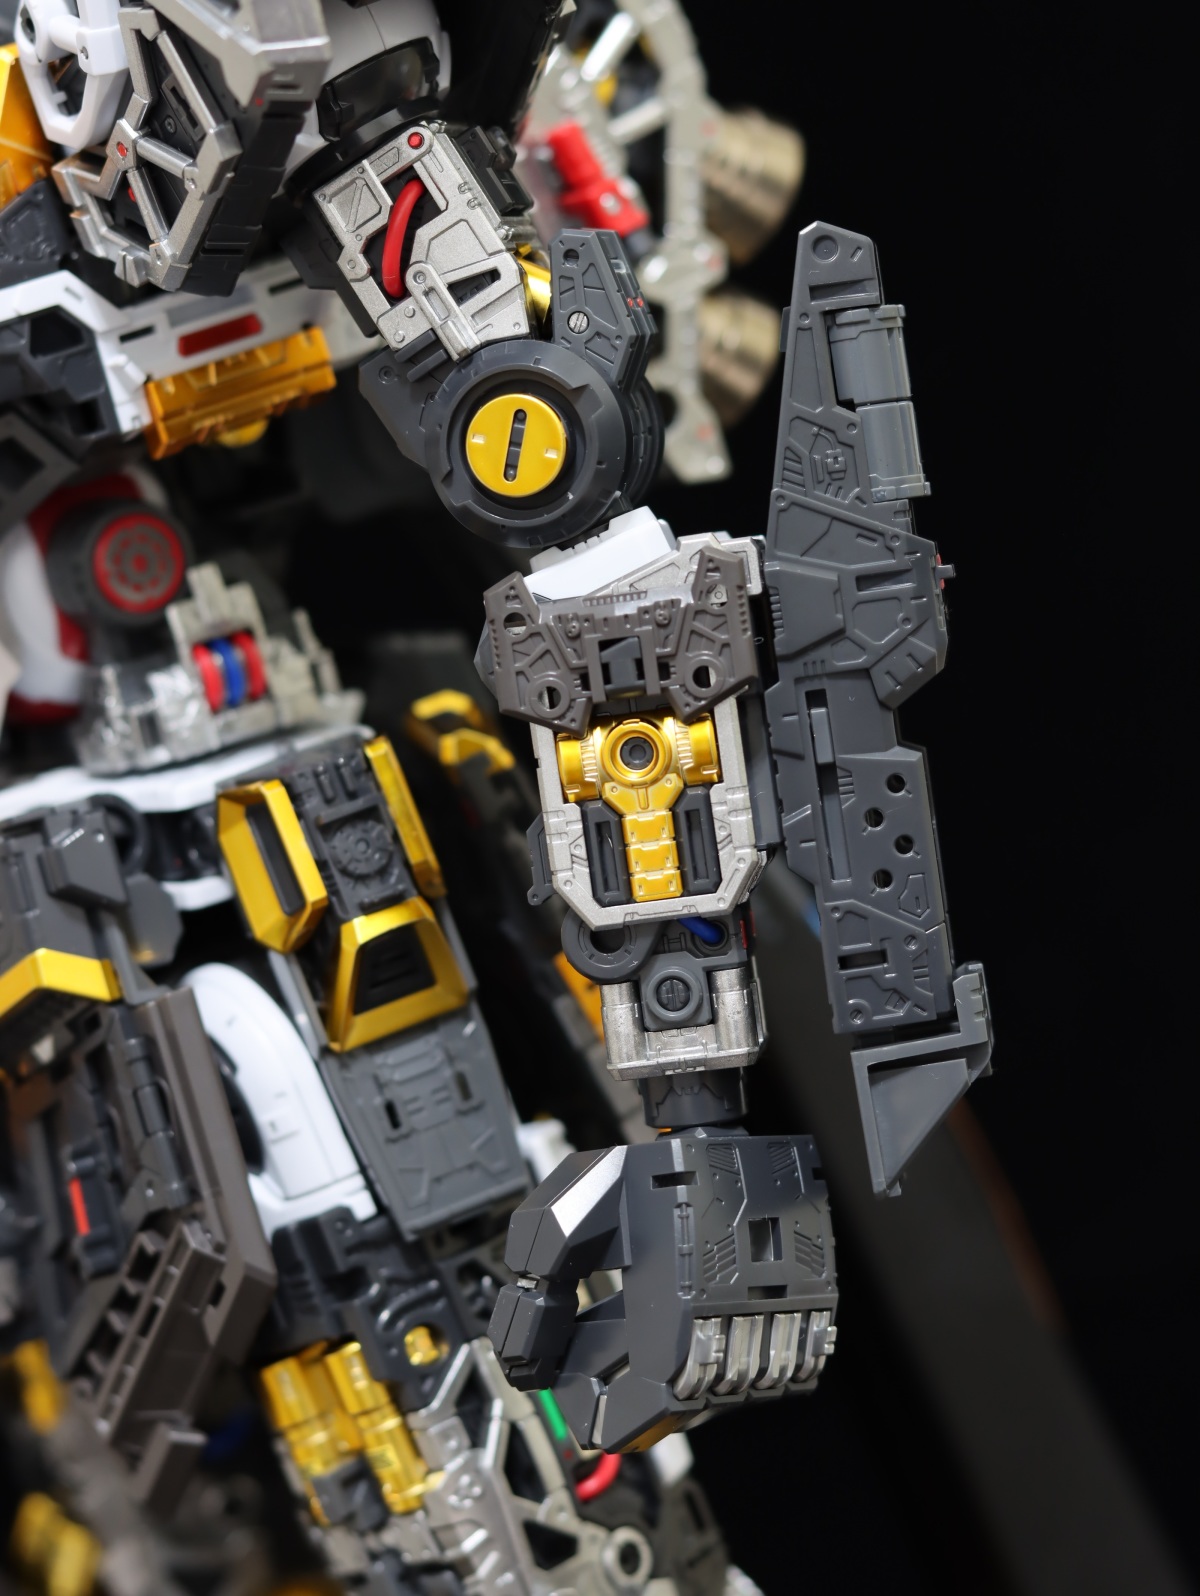
This degree of bend is simply out of this world!
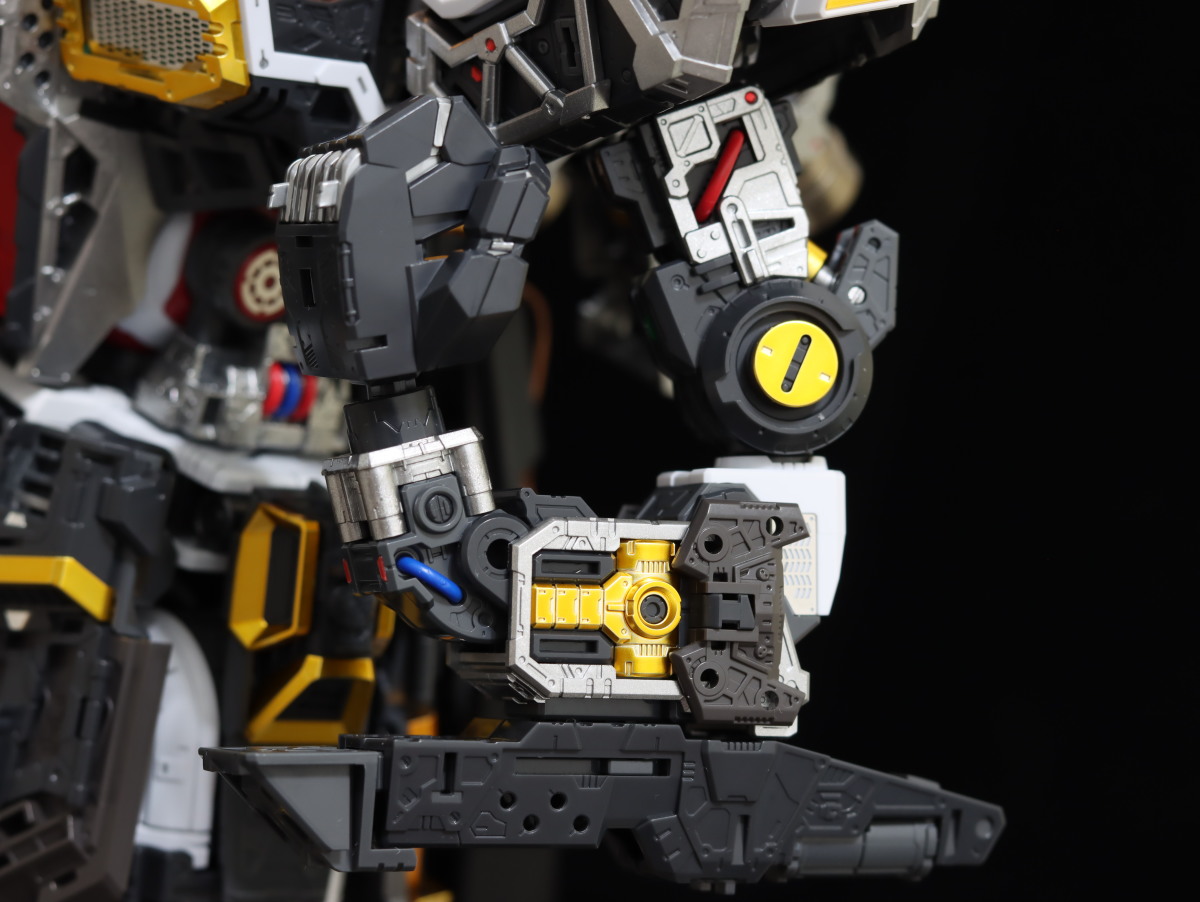
The linked movement of the hydraulic pipes at the back is, of course, a must-have feature!
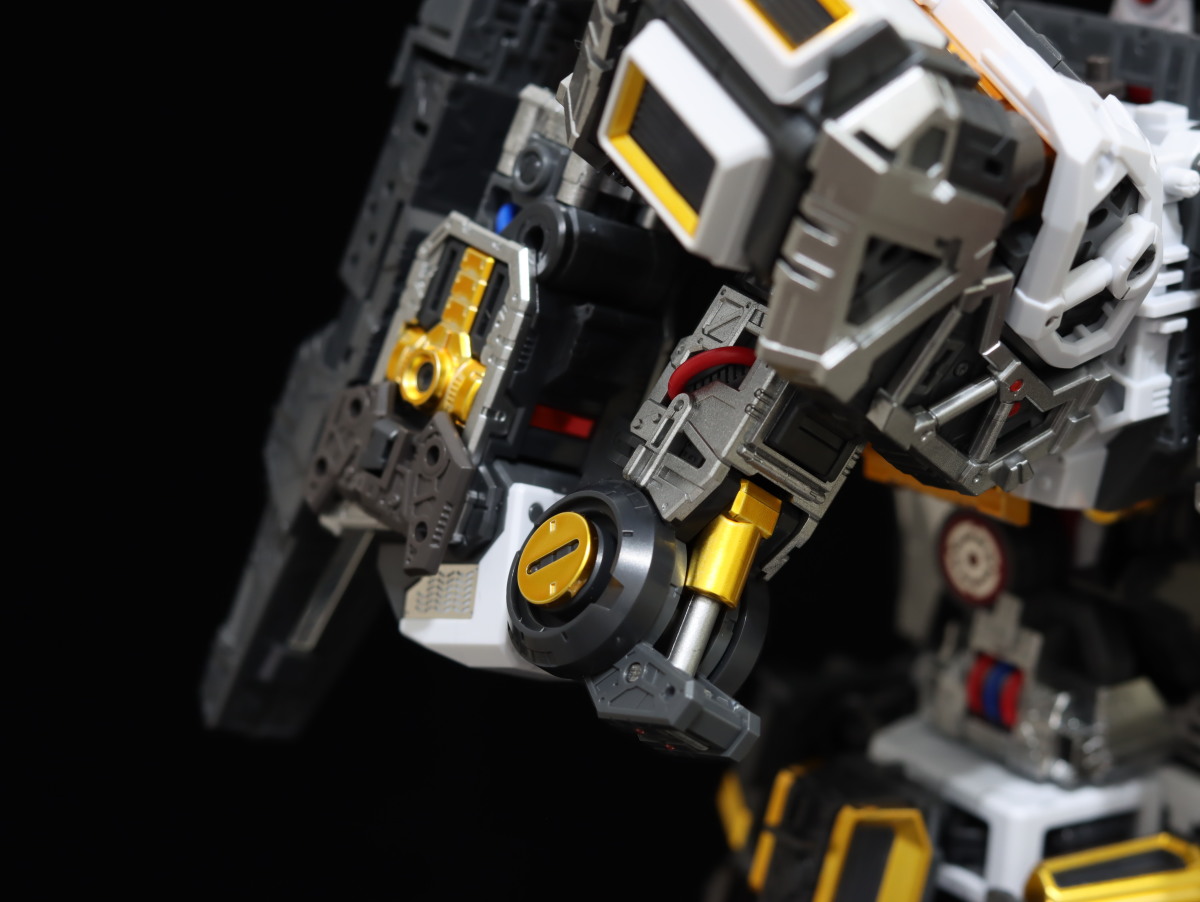
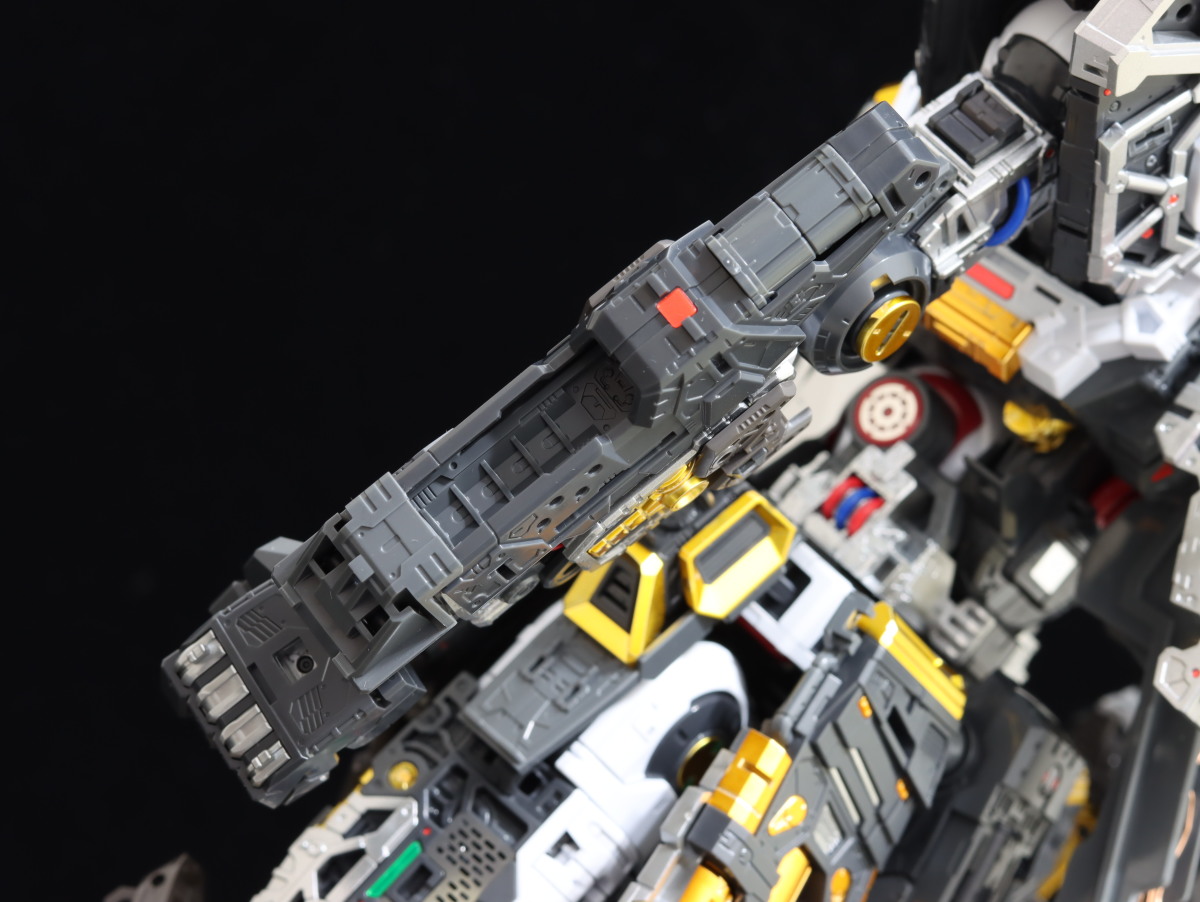
Another characteristic of the ν Gundam is the asymmetrical design of its forearms.
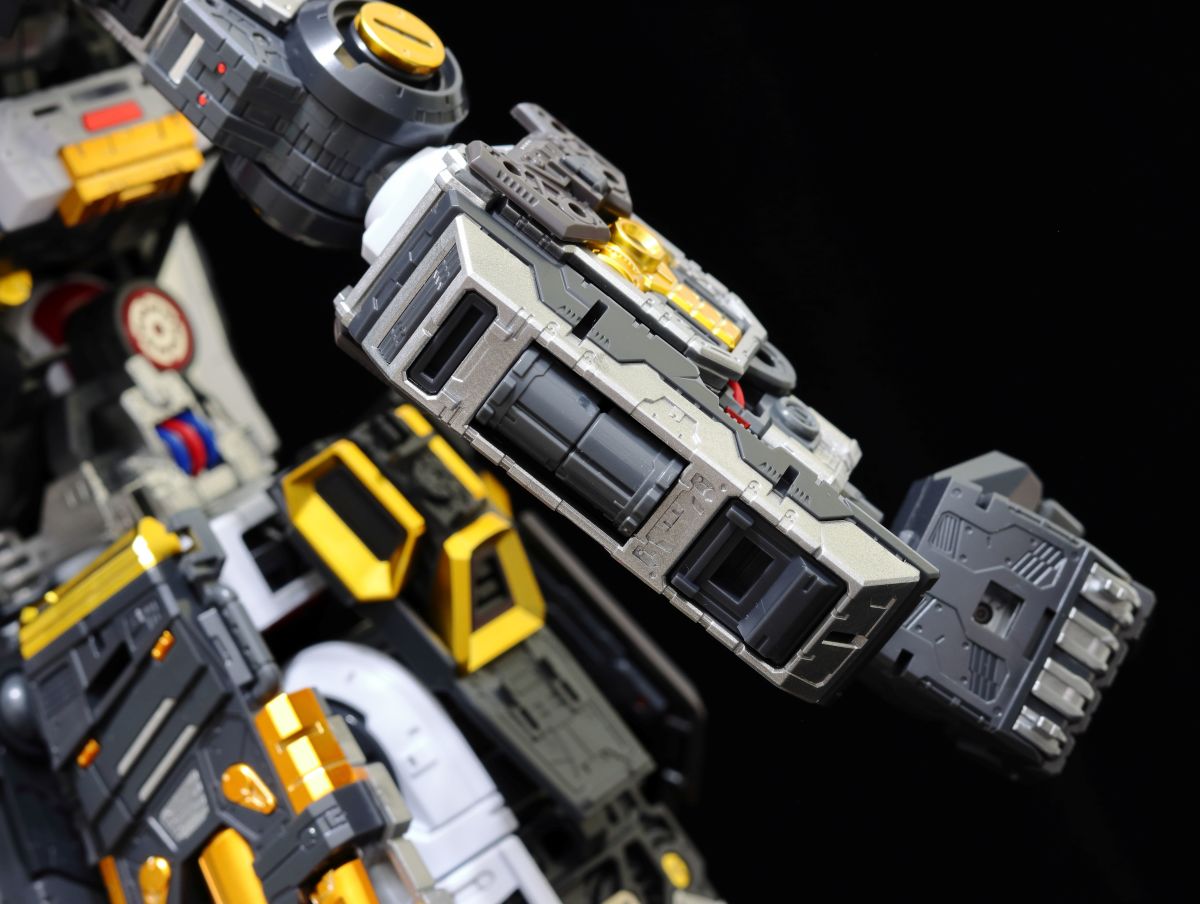
The left arm can be equipped with a beam saber, but the structure is rather basic and lacks any linked mechanism to pop out the hilt.
Continuing on to the lower half!
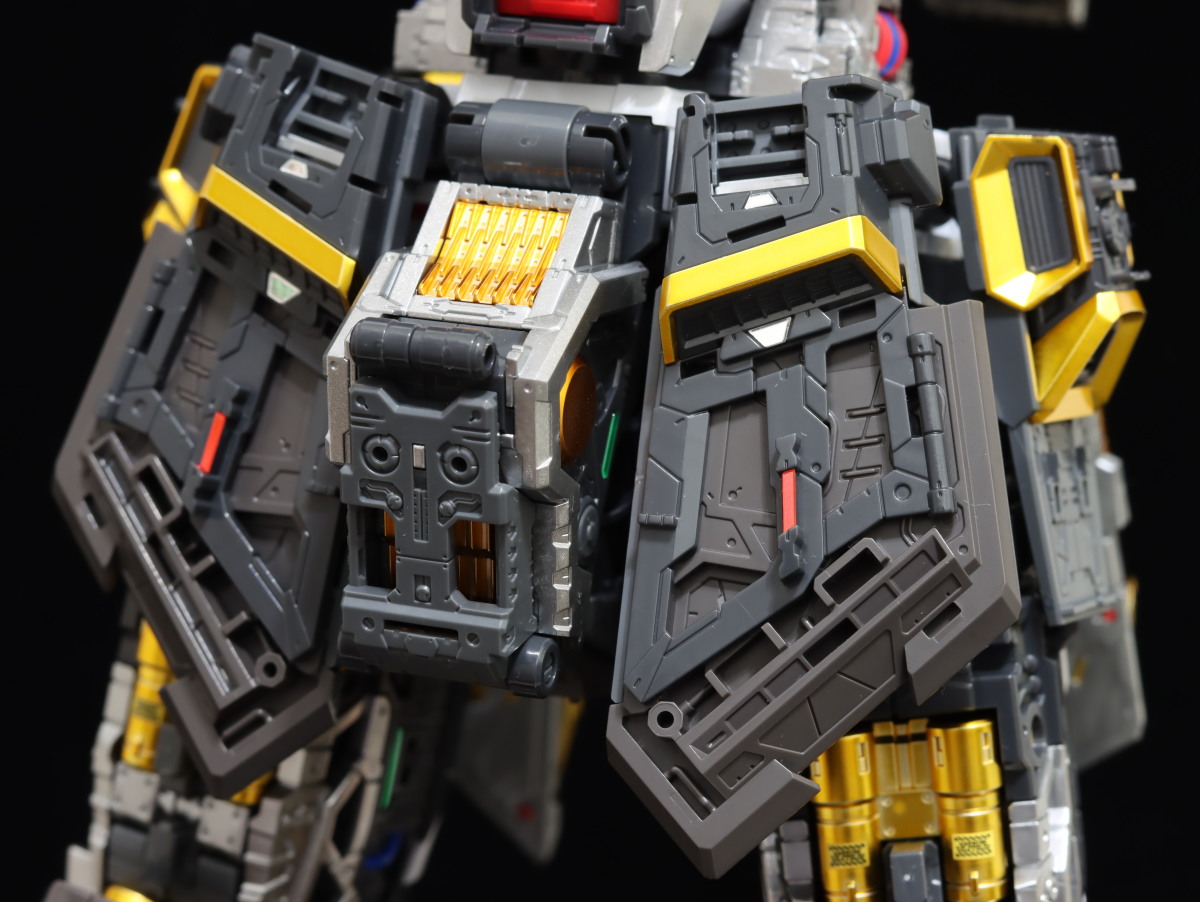
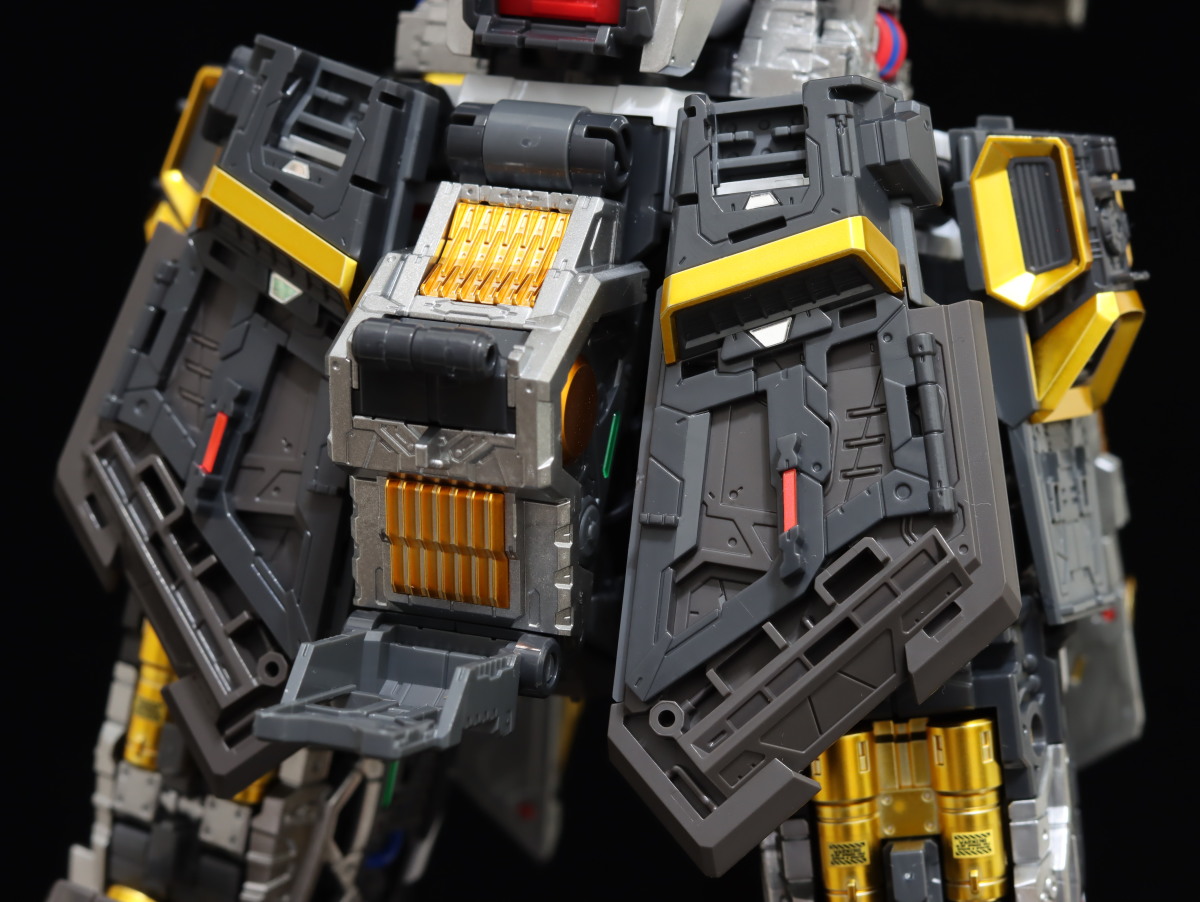
Lifting the crotch armor plate reveals the lattice-like heat dissipation structure inside.
The front skirt armor features gray and brown color separation and can move to the side along with the side skirts to make way for the legs when they are raised. The mysterious port on it is likely paving the way for the HWS equipment...
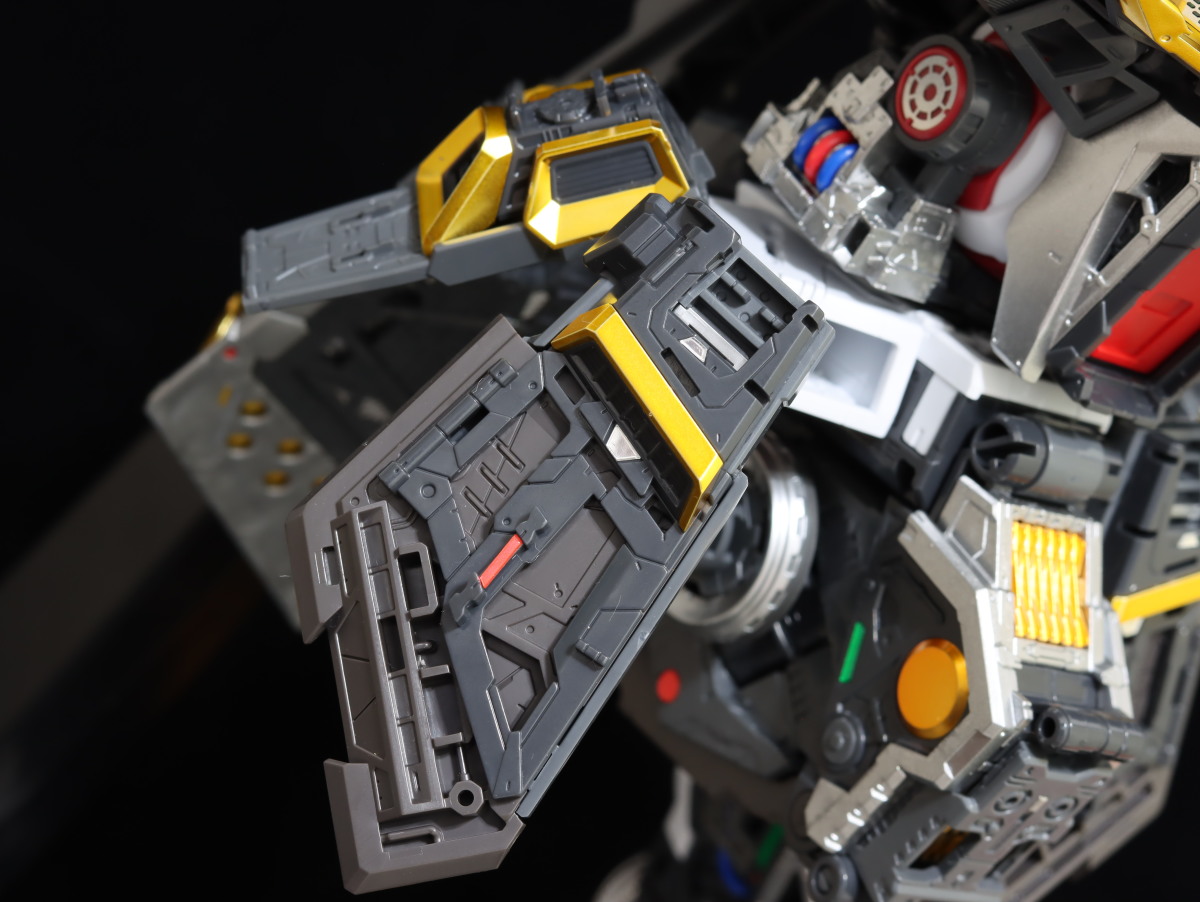
The rear skirt armor is doubly magnificent. The two different shades of plated gold are so eye-catching that it makes you reluctant to cover them with outer armor.
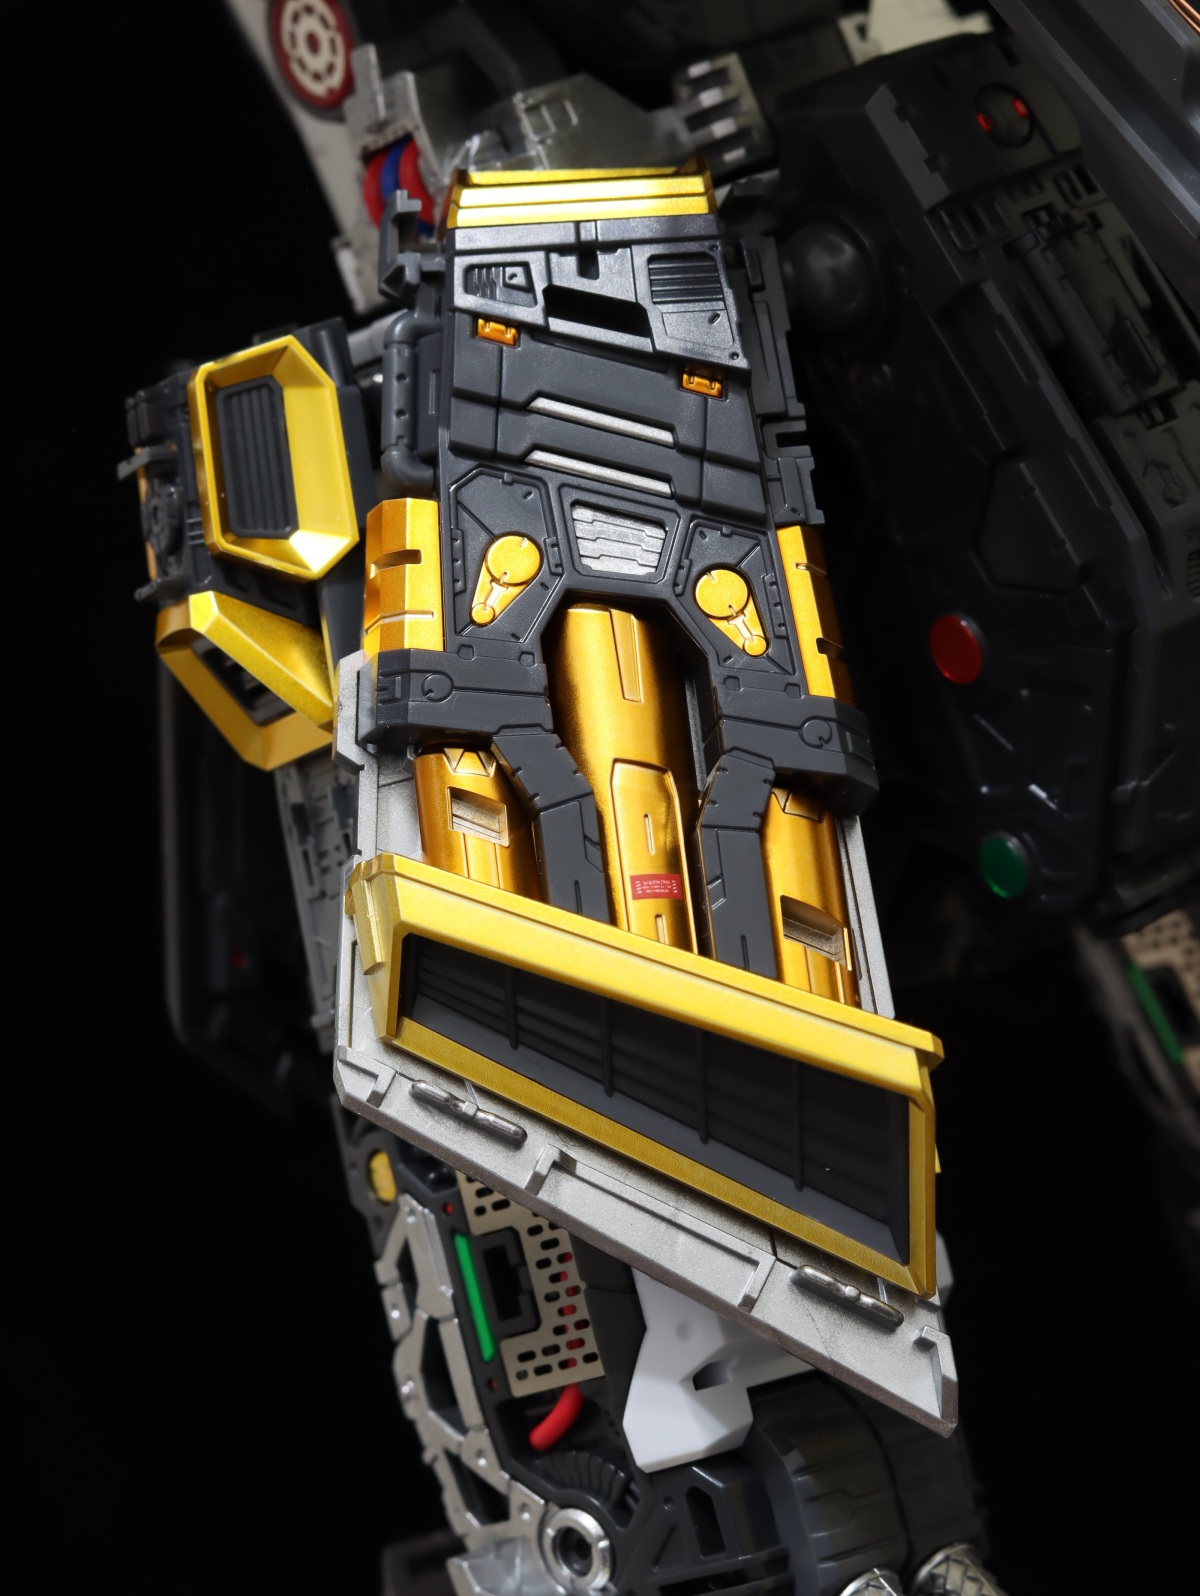
Lifting the skirt armor reveals the hip joint, which is normally in a locked state. Unless the entire crotch joint is bent to unlock the original locking mechanism, it's unlikely to encounter the loose, floppy leg issue that project lead Kentaro Inayoshi demonstrated during the live stream under normal handling conditions.
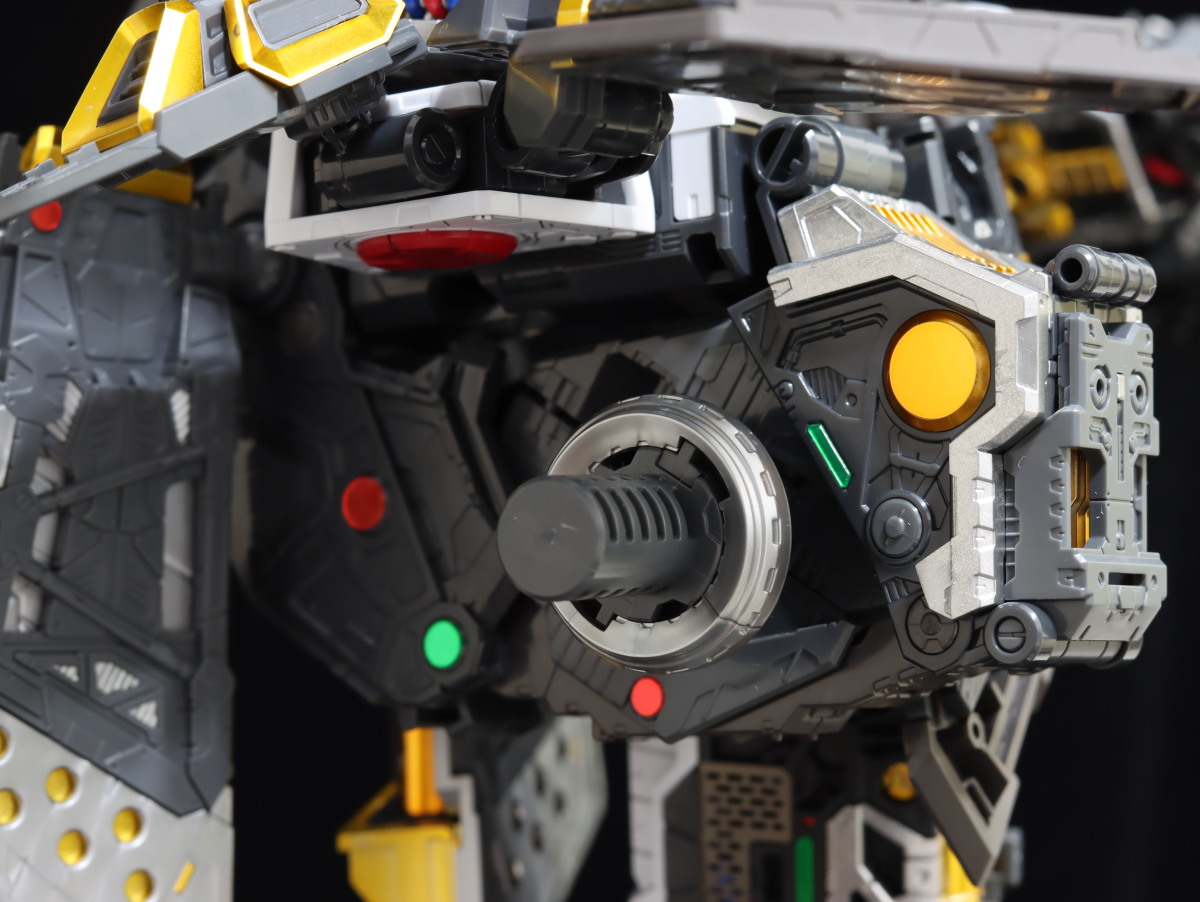
Finally... it's time to savor these magnificent, golden legs!
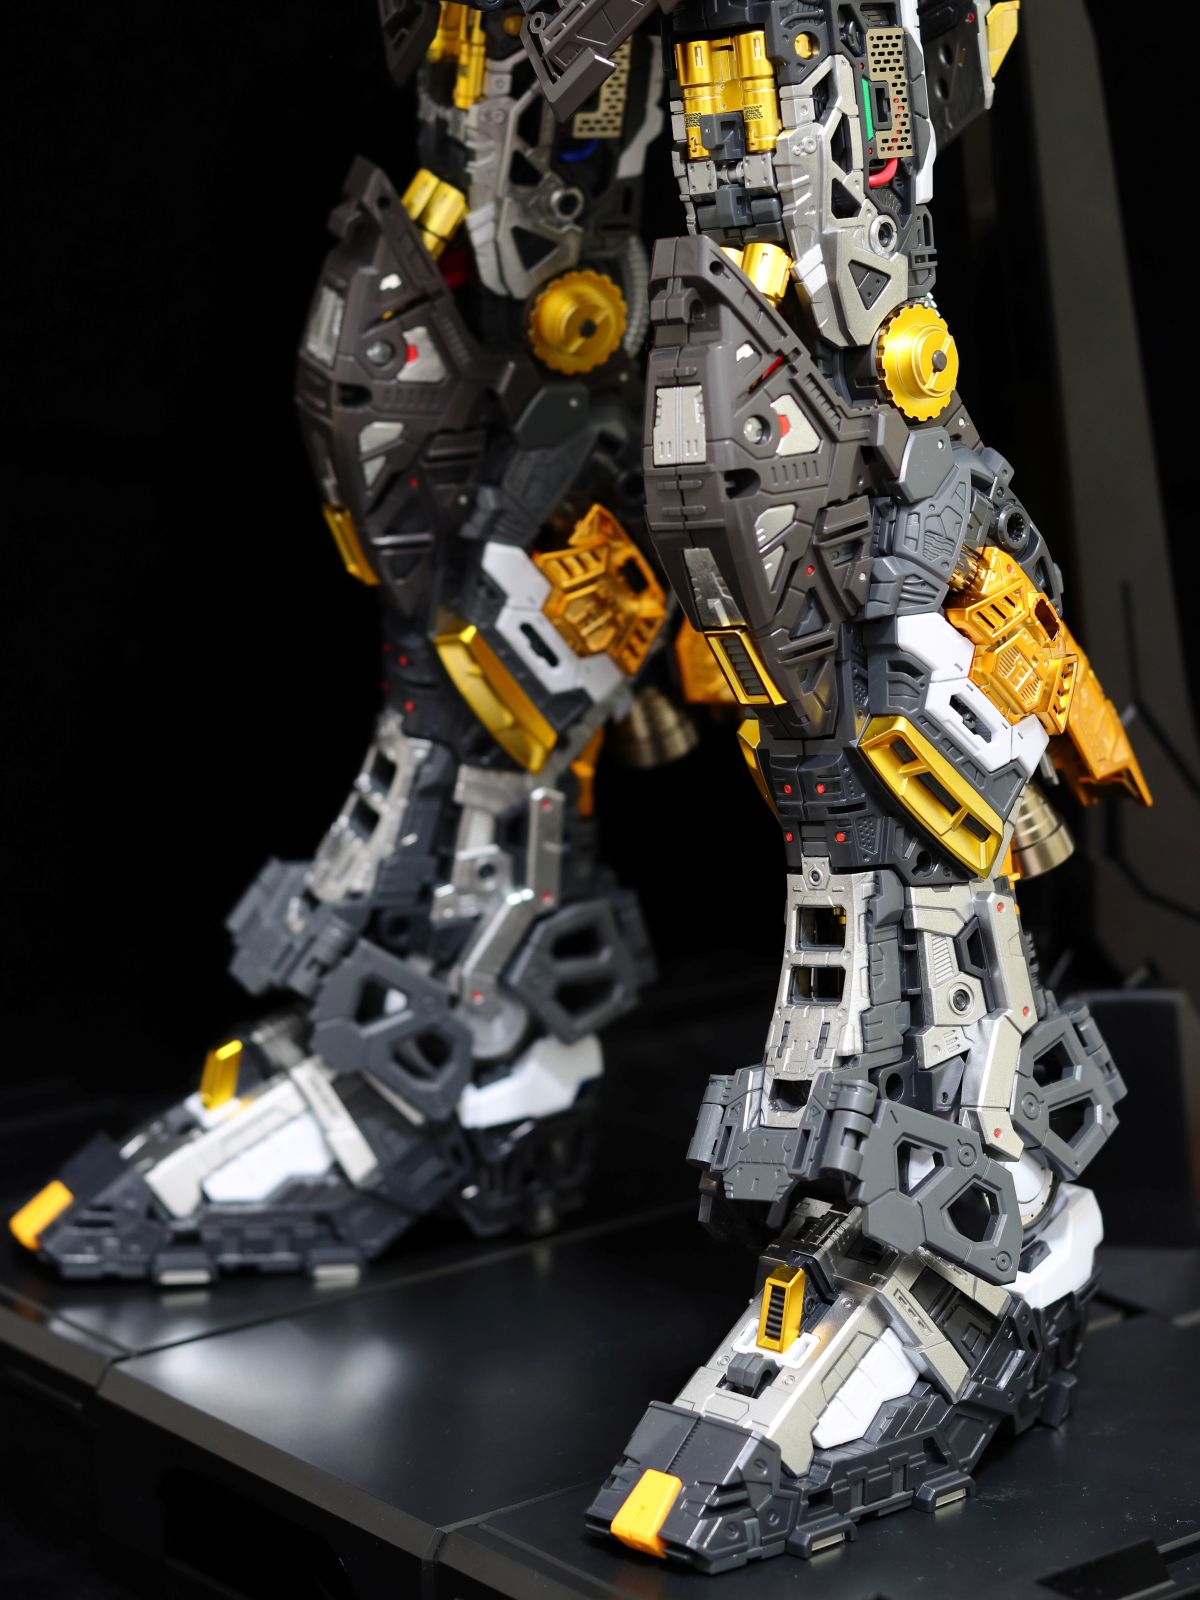
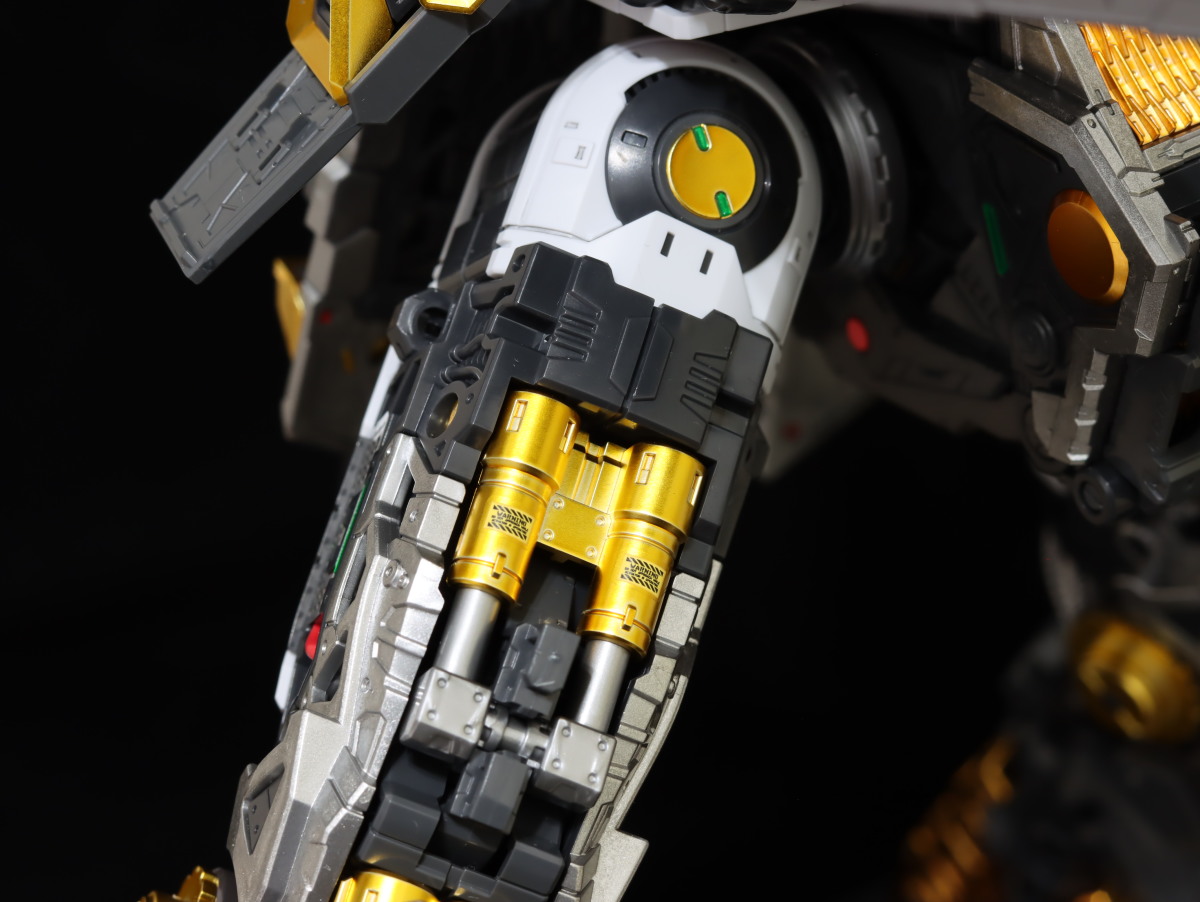
As the leg bends, the internal joints and the thrusters at the back of the calf move in conjunction, fully demonstrating the most spectacular linked gimmick on the entire ν Gundam.
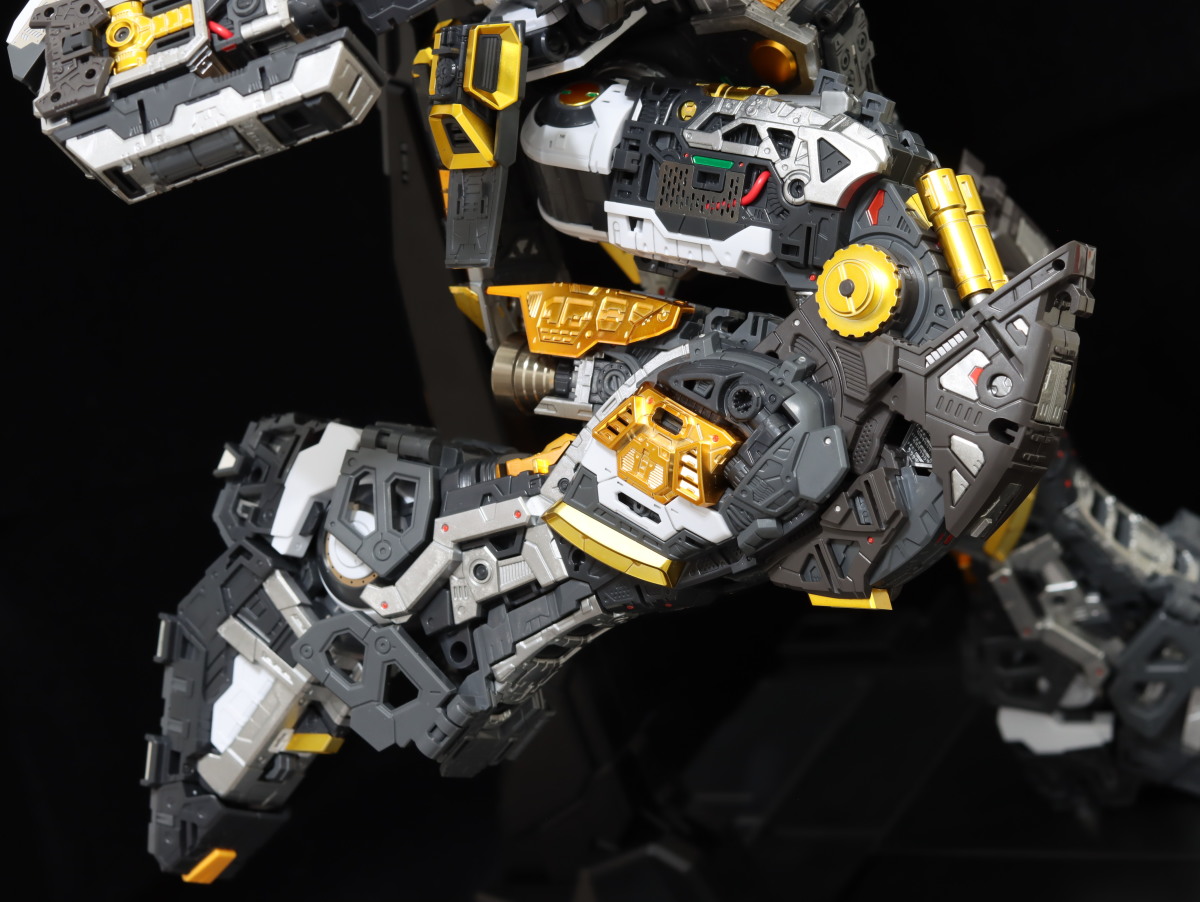
The open-work silver frame, the faint wiring visible beneath the photo-etched parts, the sesame-seed-sized 3D stickers that mimic screw details, and the gleaming gold hydraulic pipes—immersing myself in the construction truly gave me the feeling of building a real MS.
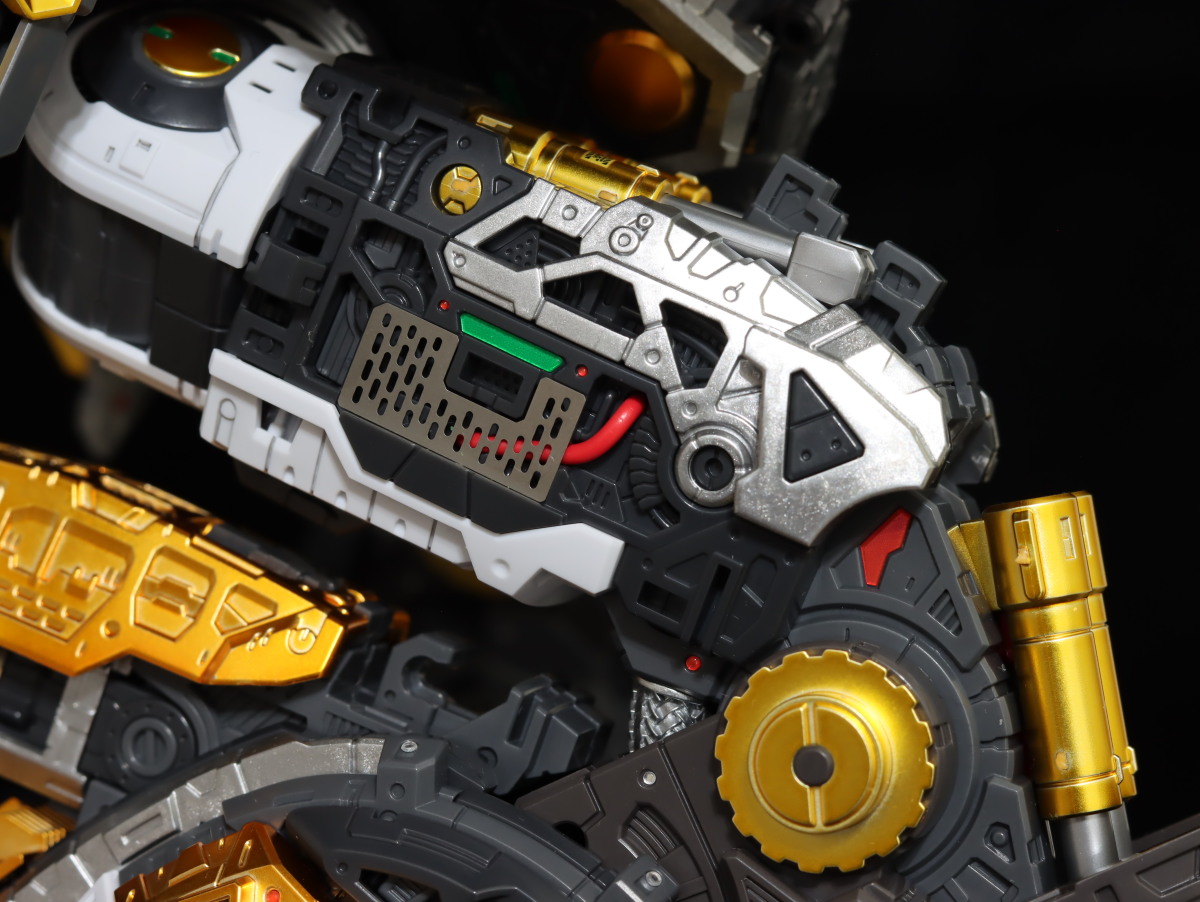
The side-lift joint at the top of the thigh here is quite tight to maintain structural stability. As a result, there have been reports of builders accidentally breaking the leg during handling. I personally used a small amount of Mentholatum or similar petroleum jelly to lubricate the double-ring clasp on part XE20, which made handling much smoother.
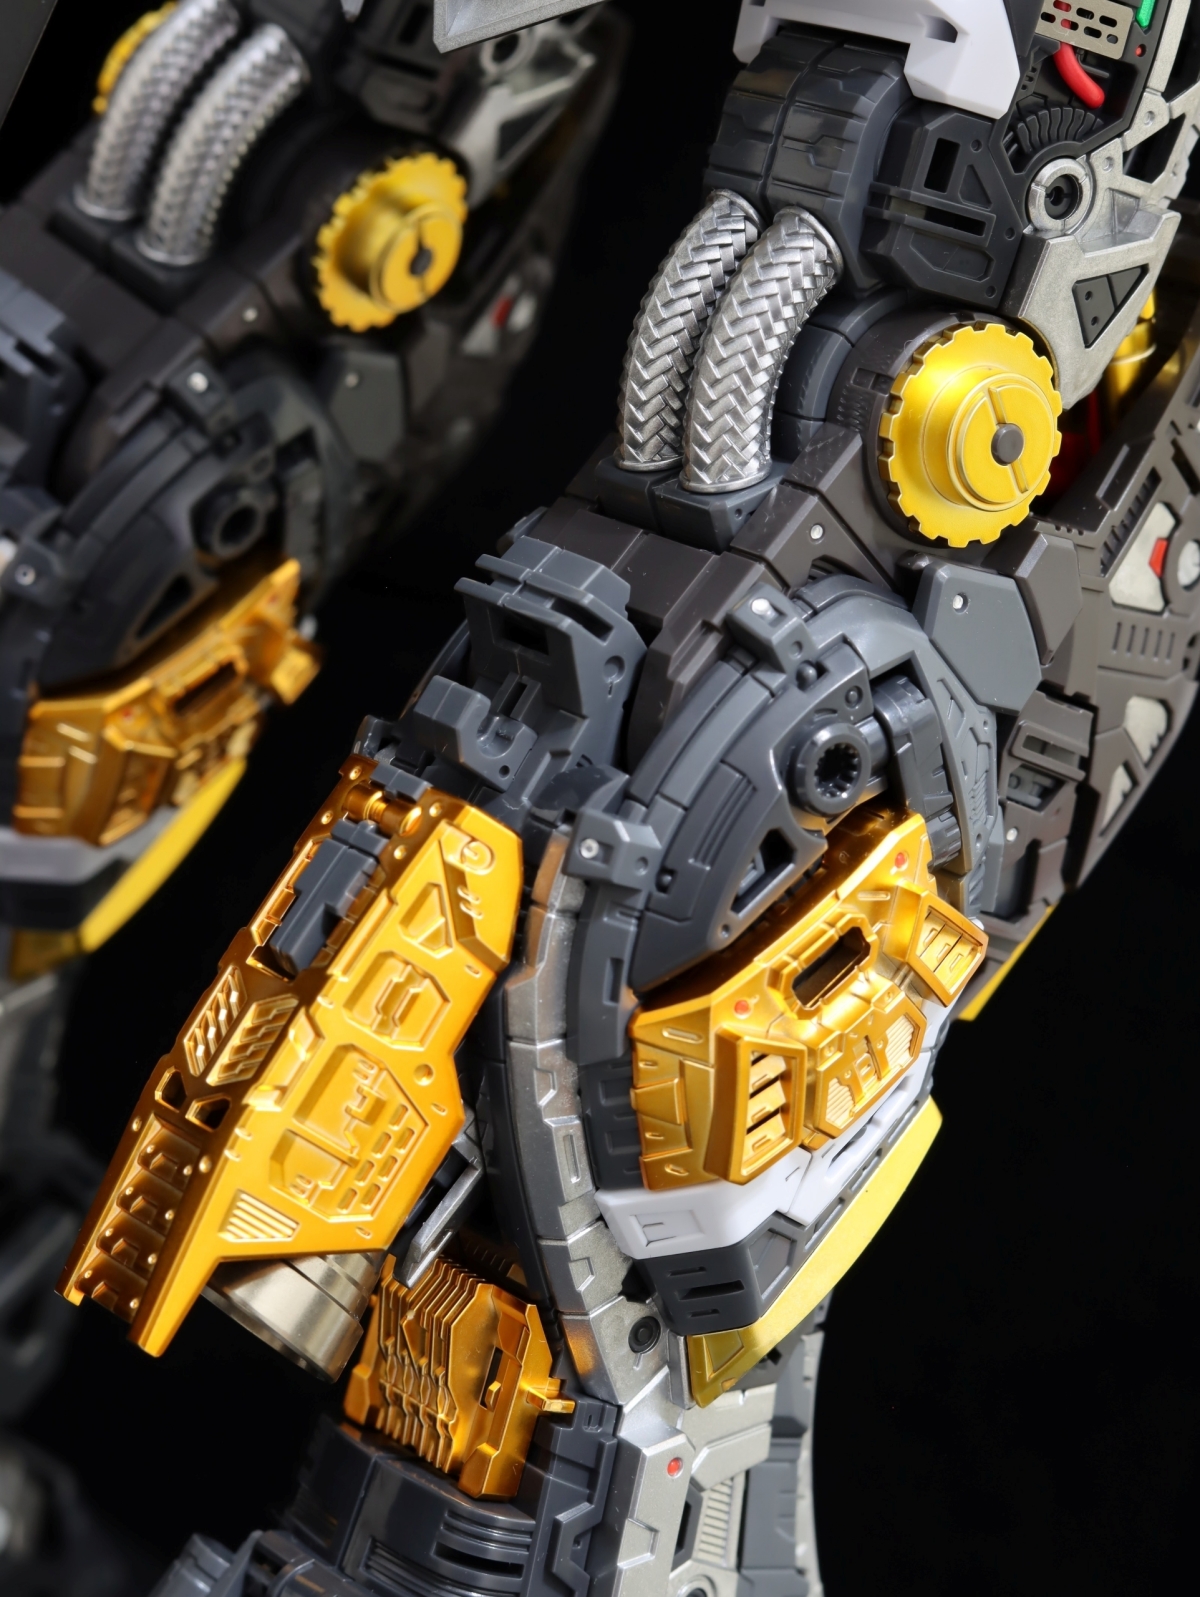
The two thick silver pipes at the back are finally realized as separate parts at the PG grade. I remember having to hand-paint them when I built the RG.
The yellow clear parts inside the thrusters would definitely be an even bigger plus if one had the energy to add lights!
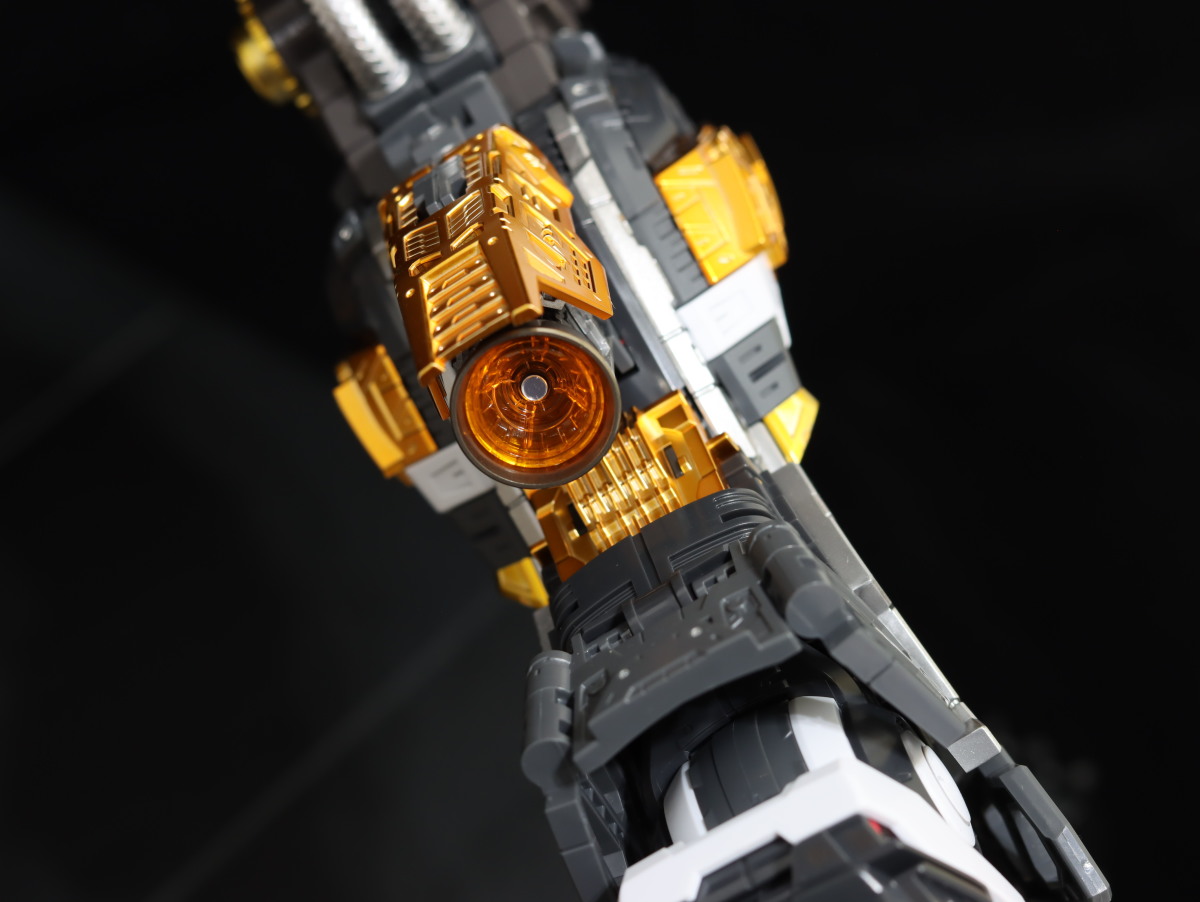
The gold parts on the side of the calf open up to reveal a whole new world inside.
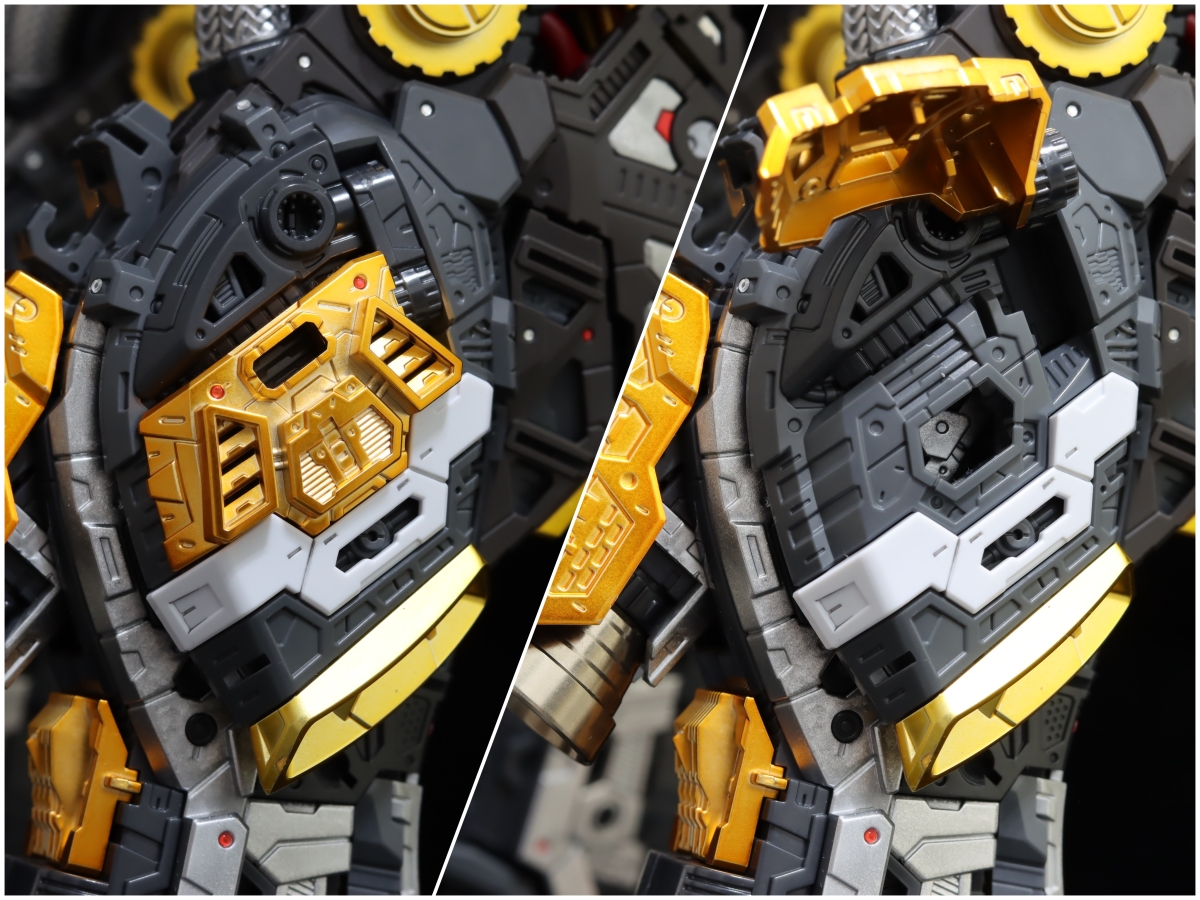
However, what's actually hidden inside is an entire silver frame. It's a real shame that such an exquisite mechanical inner structure can only be seen during the assembly process and is completely covered up afterward.
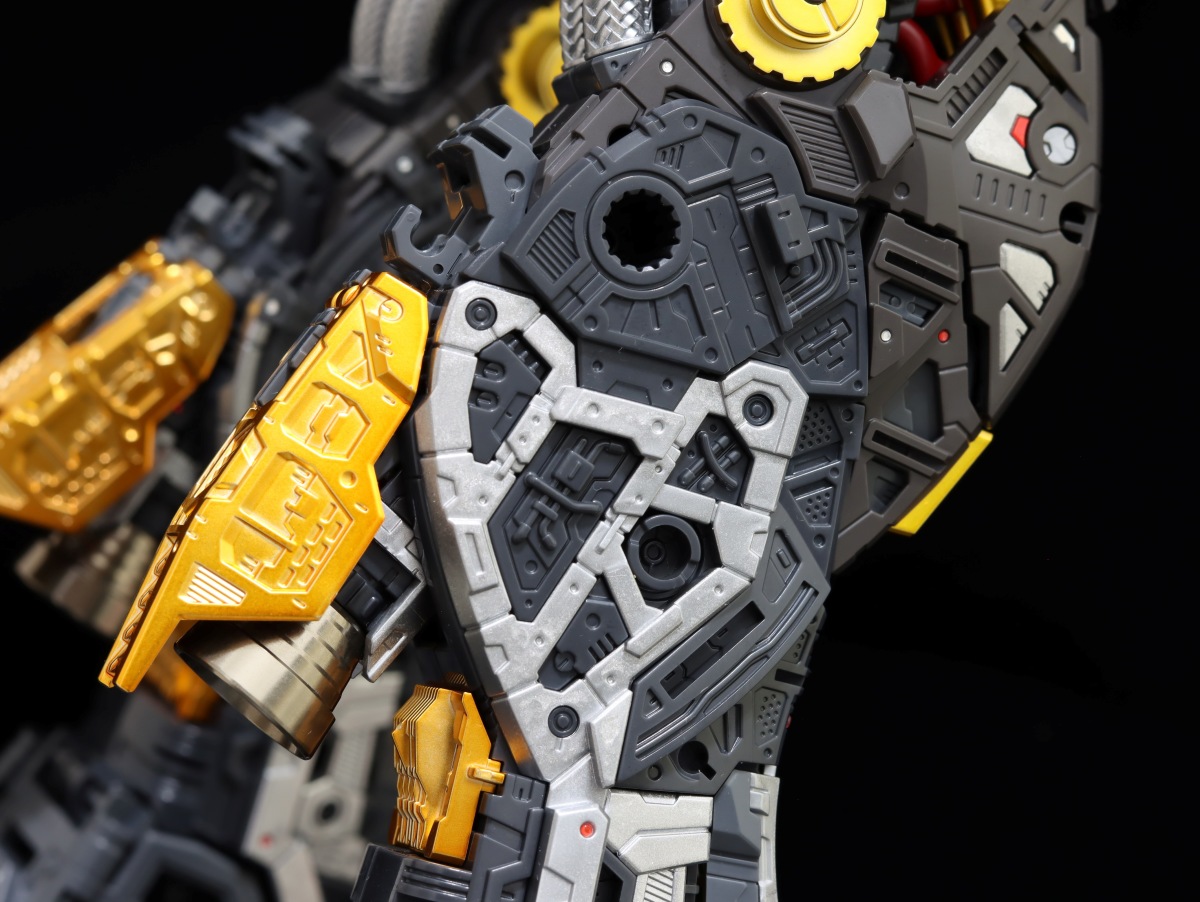
There's a saying: "When God closes a door, he opens a window" (is that how you use it?). Opening the front panel allows you to witness the piston action of the interconnected gold and silver hydraulic pipes; bending the front of the foot also triggers a linked movement at the back.
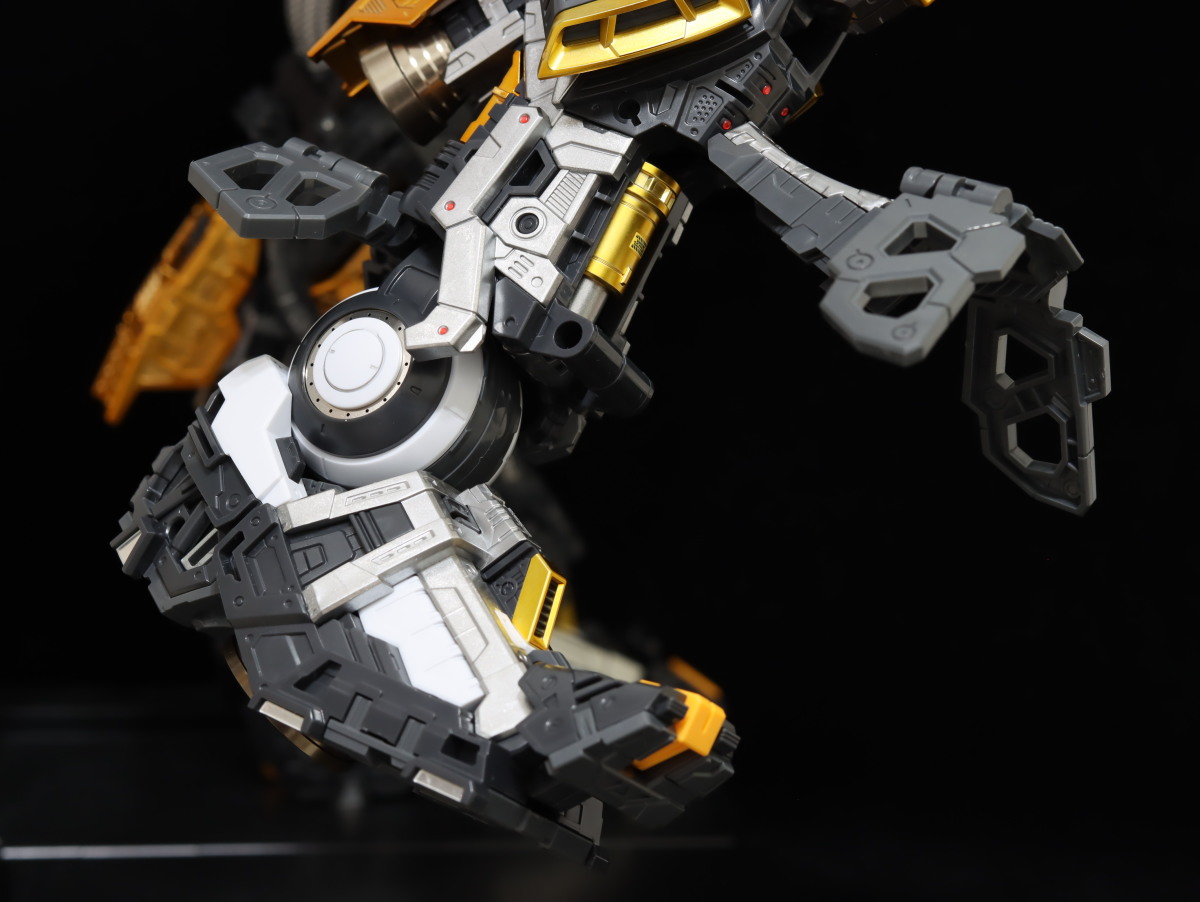
The claw-like stabilizers on the sole of the foot can be flipped down from both the front and back.
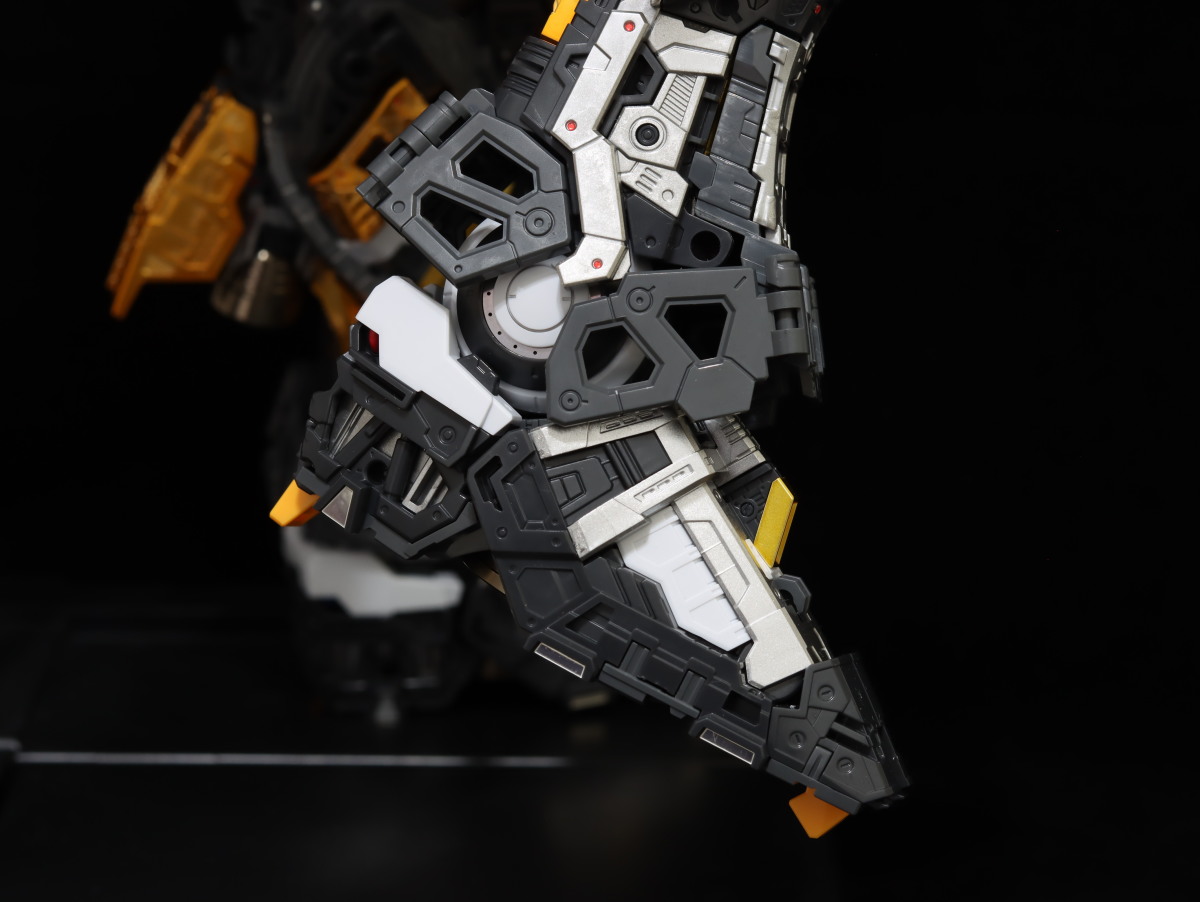
The sole thrusters use metal parts as usual, complementing the clear parts.
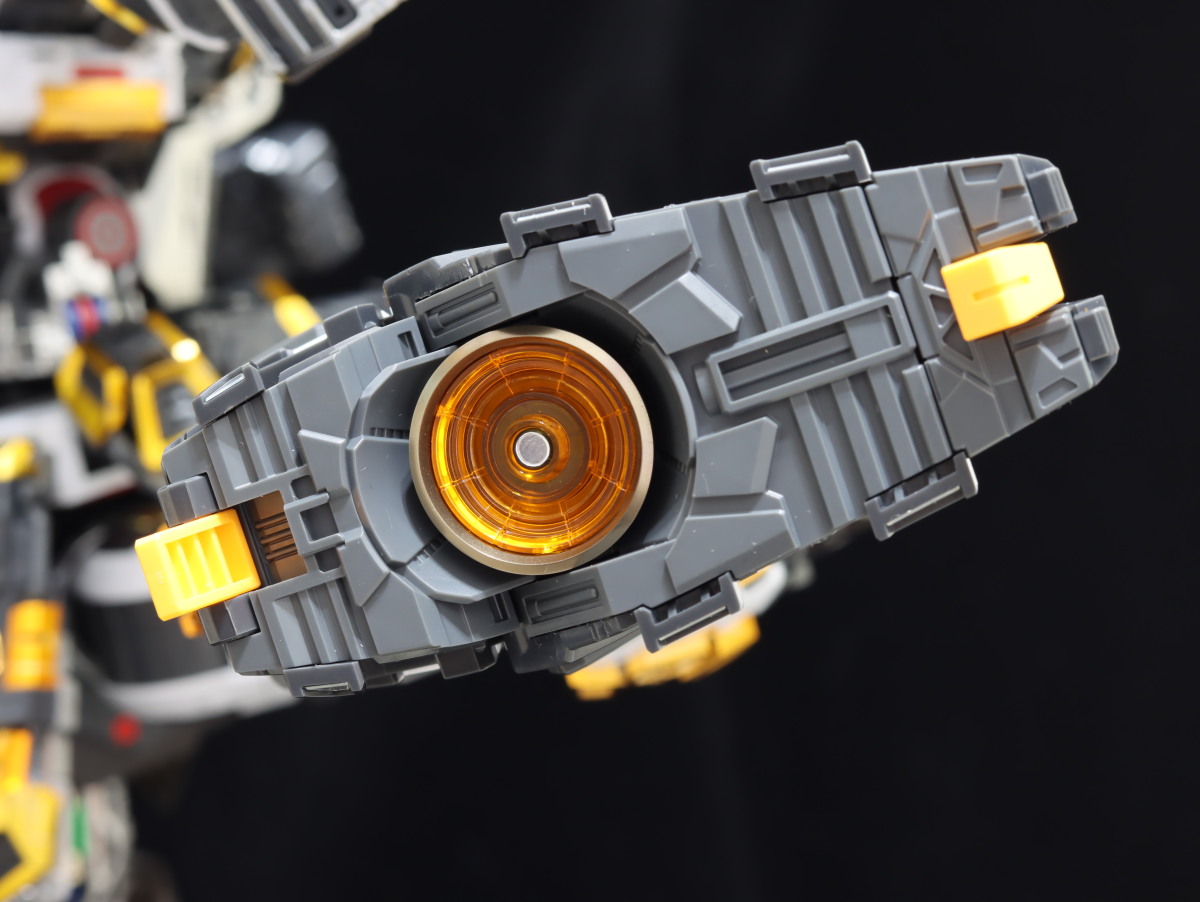
To be able to strike such a cool pose at this massive scale, there's likely no rival to the ν Gundam.

The profound impression I got from building the PGU ν Gundam's frame is its ultimate pursuit of detail, even in places that can't be seen.

This concludes my sharing for now. After exhaustively finishing the frame, I can't believe there's still this huge box of outer armor and weapons. Oh right! I almost forgot the Fin Funnels are also a huge box... Oh my god! I'm trembling just thinking about it~