
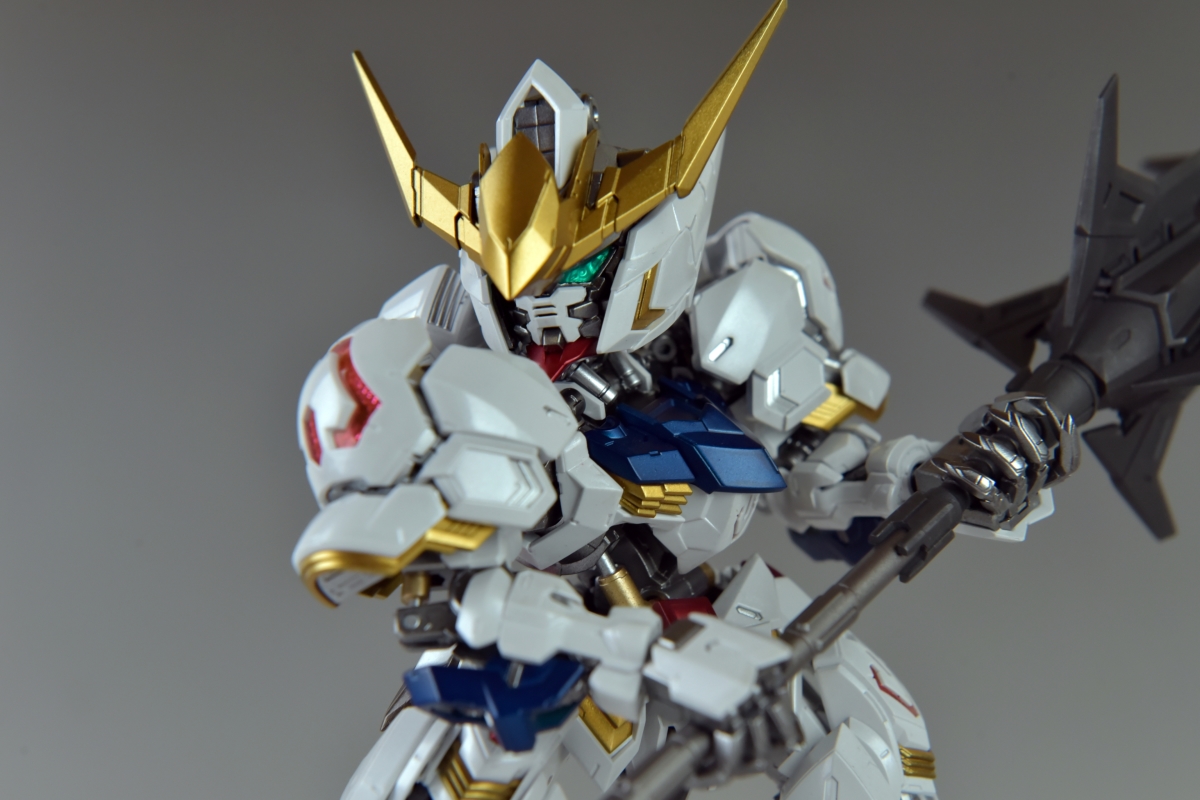

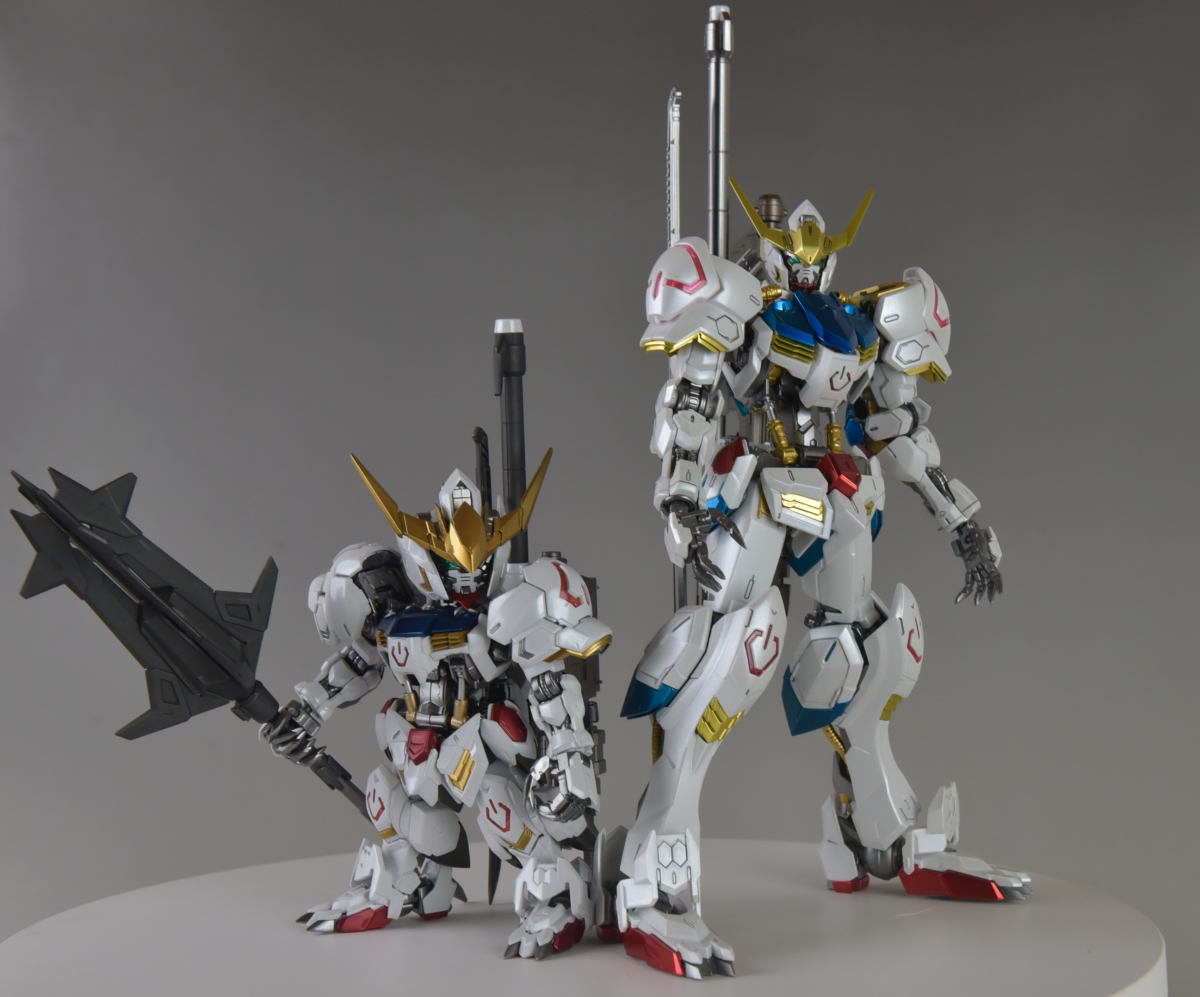
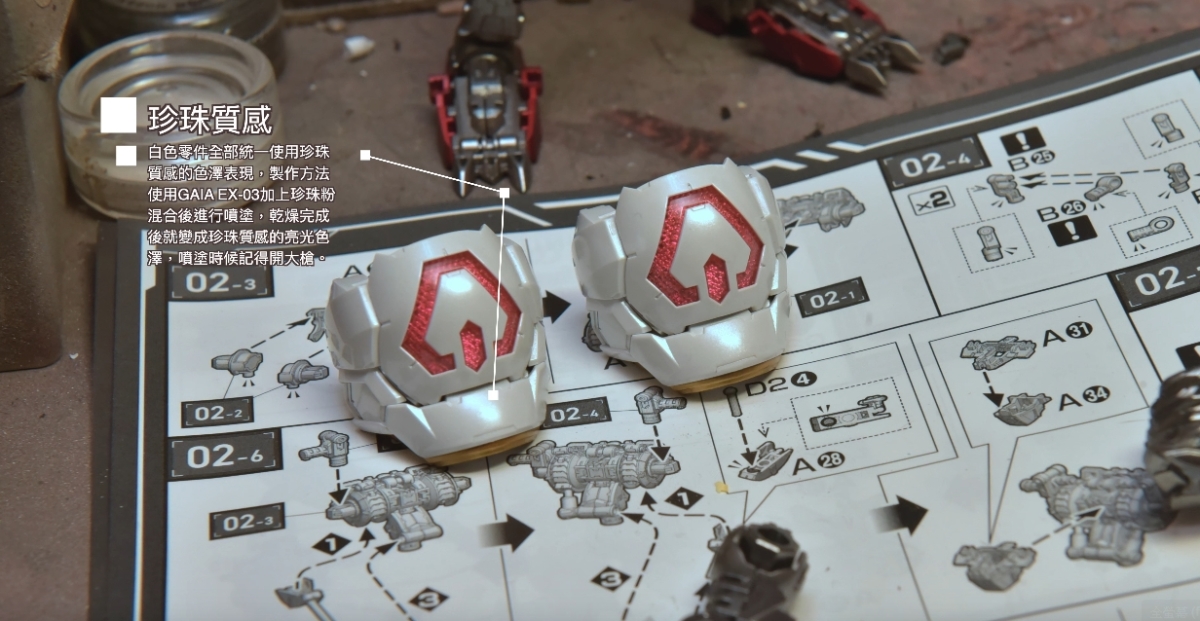
I actually got this kit last year but never had the time to finish it. I recently finally found the time to complete this MGSD Barbatos, and the assembly process was incredibly moving. The design of the inner frame creates extreme articulation, and the level of detail is simply beyond words. After finishing the assembly, I was even more impressed—it truly feels like a milestone achievement! Back in my early days of model building, achieving this kind of SD proportion and articulation would have required extensive modification after modification. Even with heavy mods, it would have been nearly impossible to reach this level of extreme posability in an SD form factor. I skipped the first release in the series, as I'm not a huge fan of SEED XD. Placing it next to the MG version after completion really highlights the differences in detail. For this build, I used a pearl finish spray for the white parts because I was too lazy to paint them. All other parts, except for the white ones, were repainted for my own interpretation. As for the pearl finish on the white parts, I followed my usual method of using GAIA EX-03 mixed with pearl powder to create a lustrous pearl texture. I decided to skip panel lining this time. Below is a simple overview of the build process; I hope you all enjoy it.
▼[MGSD Series] Gundam Barbatos Simple Build: The Articulation of an MG in an SD Form
▼For this project, I used two types of surfacer: GAIA's gray surfacer and GAIA's black surfacer. The purpose of applying a surfacer is not only to check if the model's surface has been sanded smoothly but also to ensure the topcoat adheres more firmly. Therefore, whenever I paint, I always apply a surfacer first.

▼The most prominent feature of the Barbatos is its fully exposed inner frame. Therefore, just like with an MG build, I used metallic paints for this part. The hydraulic pistons were painted with GAIA 010 Gold, while the main frame color is GAIA 125. Although the kit itself has color separation for the silver hydraulic pipes and inner frame details, I repainted all silver parts with GAIA EX-07 for consistency. For the blue parts, I used a metallic matte blue, and for the red parts, a metallic matte red. Both the metallic blue and red have a slightly dark tint because I applied a light coat of clear black at the end.
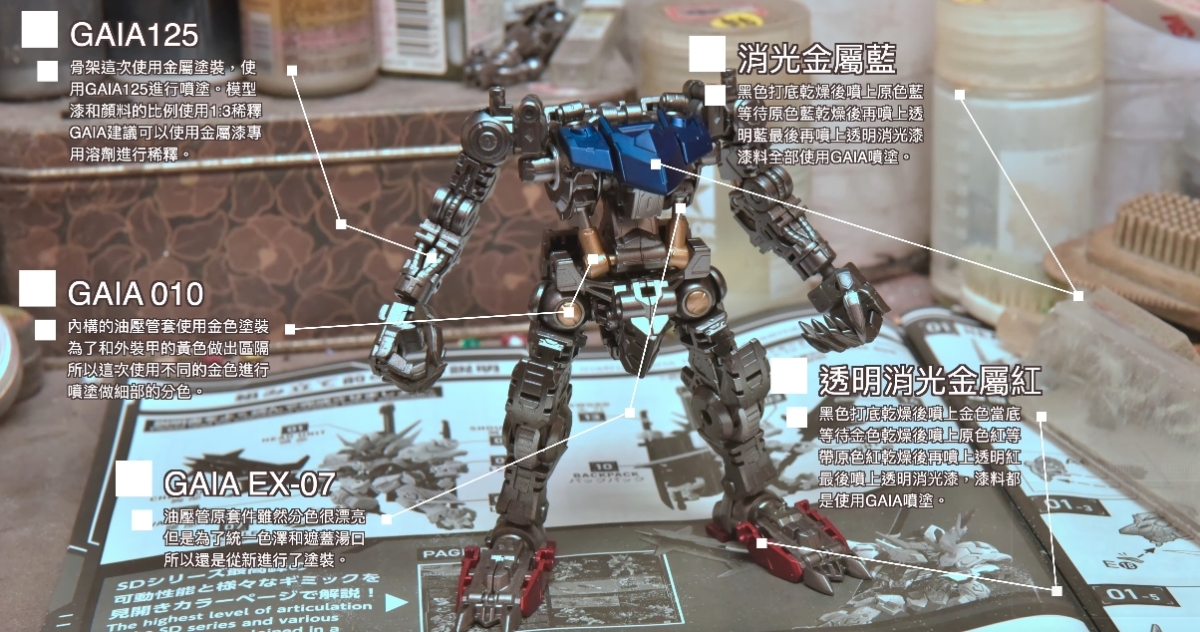
▼Under the light, you can see the metallic blue parts have a matte texture, along with a subtle, dark black undertone.

▼Unlike my previous MG Barbatos build, I used GAIA 133 for all the yellow parts on this MGSD Barbatos. One thing to note before spraying GAIA 133 is the thinning ratio; I recommend a 1:2 ratio. If you thin it too much, you'll find the coverage isn't ideal. Also, it's very important to remember to use a wide spray pattern on your airbrush when applying it.
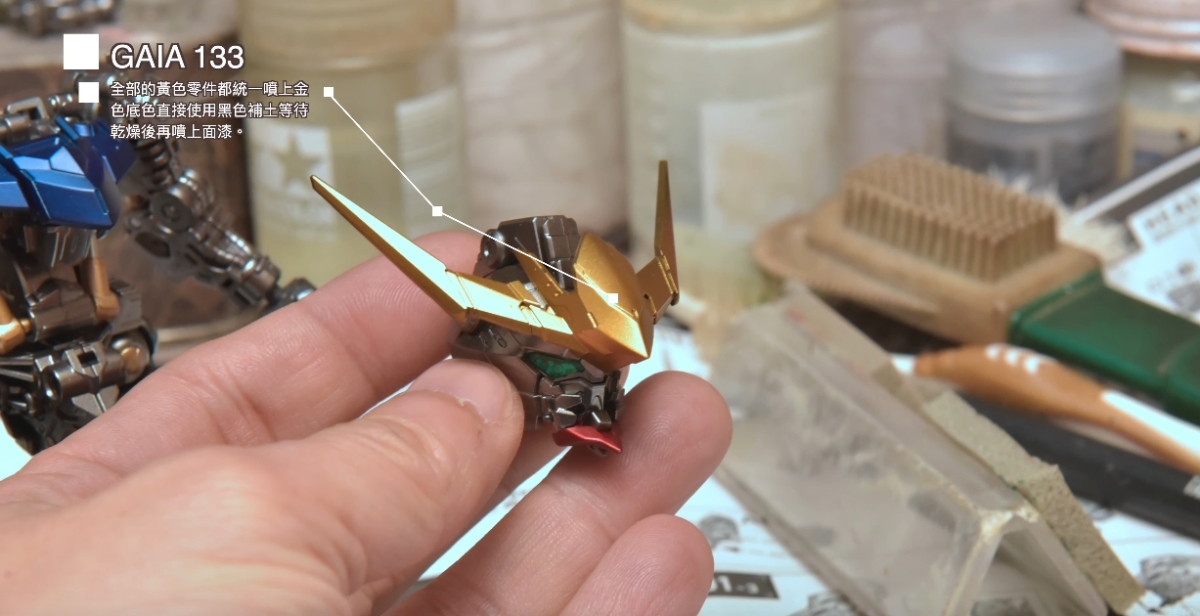
▼The original silver of the kit already has a slight metallic feel, but for a uniform color tone, I repainted everything with GAIA EX-07.
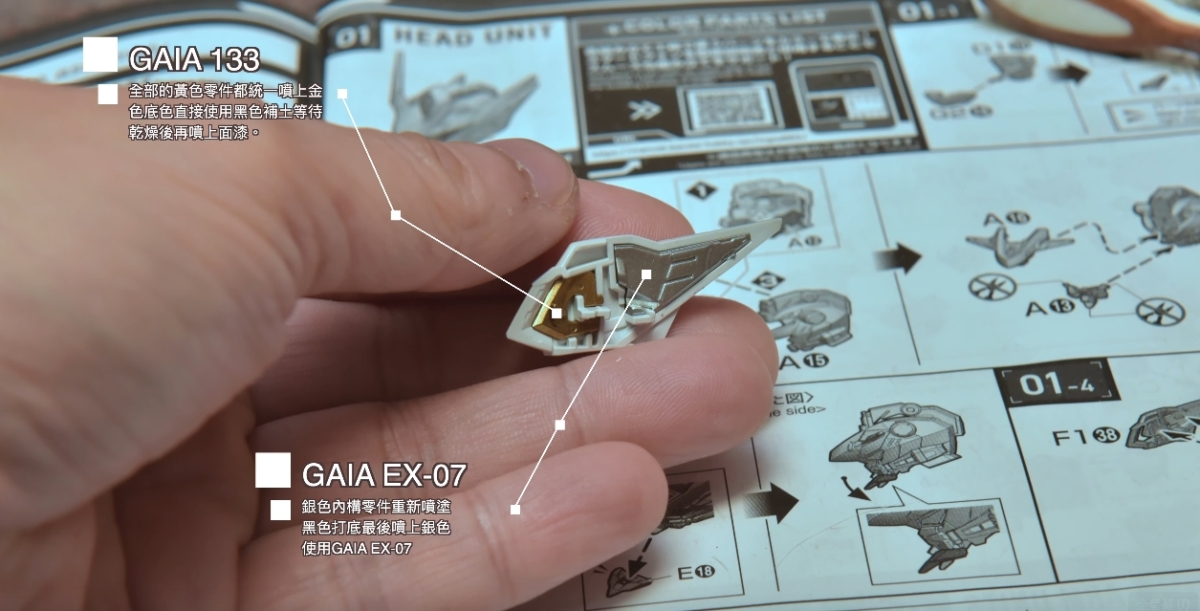
▼A very cool head sculpt.

▼I didn't paint the white parts. Instead, I directly sprayed them with a mix of GAIA EX-03 and pearl powder to give them a lustrous pearl finish. This is a lazy painting method that's perfect for someone like me who dislikes painting white.
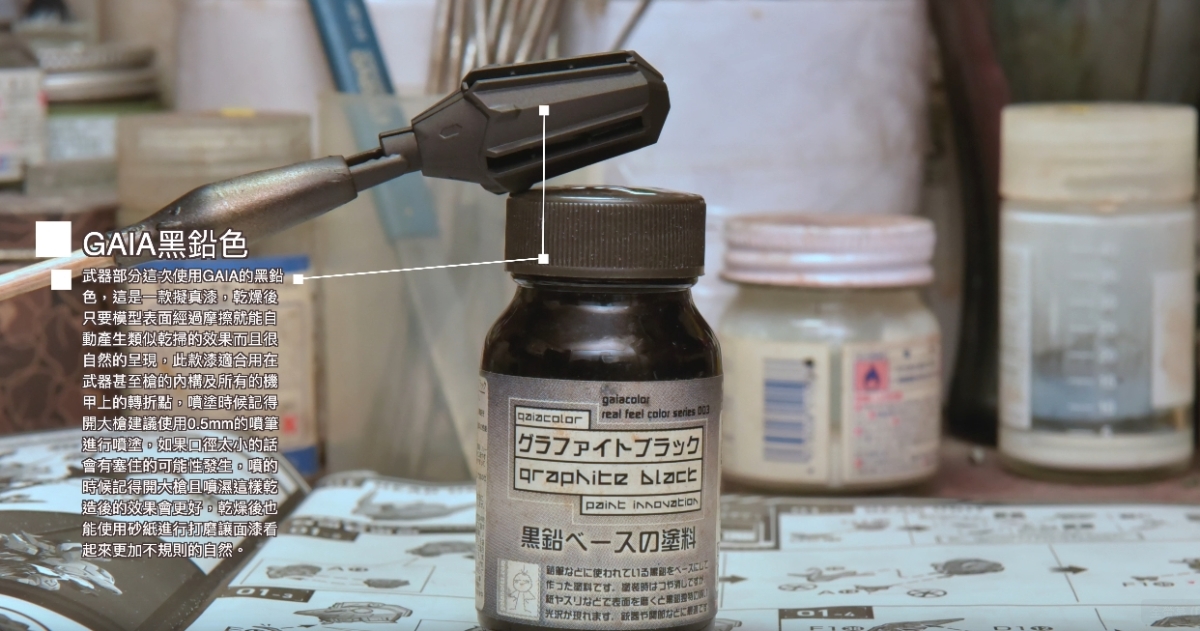
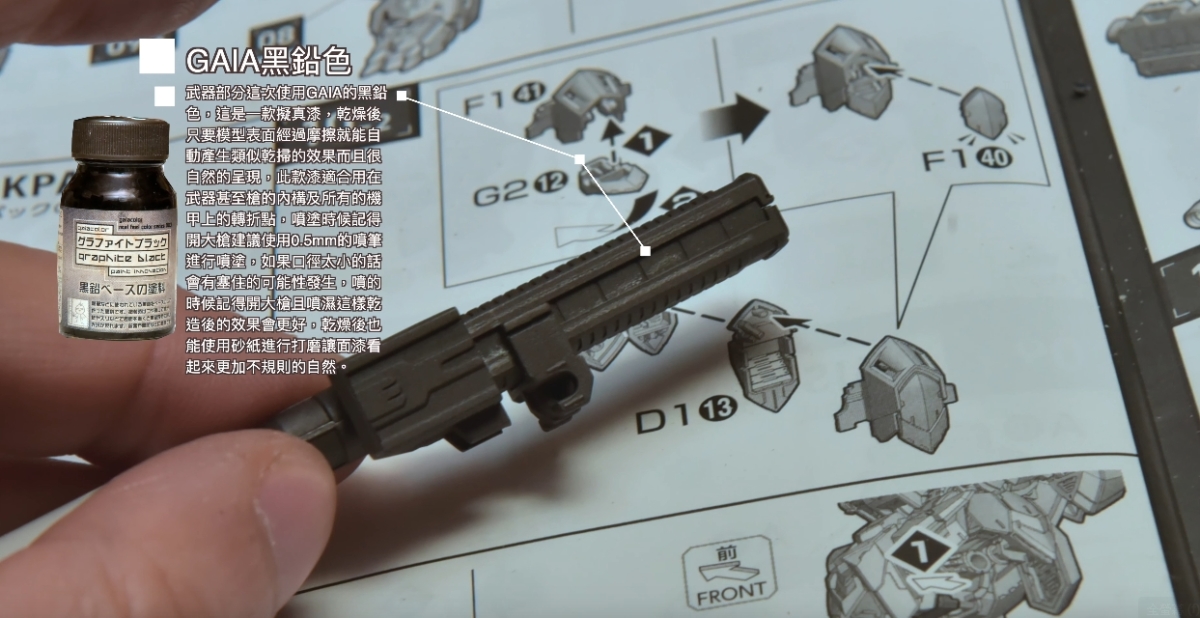
▼All weapons were painted with GAIA's Graphite Black, one of their three "realistic" colors. This Graphite Black has a unique feature: after painting, you can lightly sand the surface with high-grit sandpaper to create natural-looking metal scratches. Alternatively, if you don't want to sand, the natural friction between connecting parts will also create authentic-looking wear and tear... and it looks incredibly natural! Graphite Black is best used on firearms or at the joints of mechanical parts. However, there are some details to be aware of when using this paint. A thinning ratio of 1:3 is sufficient. I recommend using an airbrush with a 0.5mm nozzle for application because the graphite particles are very, very, very coarse. Using a finer airbrush risks clogging, even with the paint flow set to maximum. If you thin it too much, the effect will be lost. Another crucial point is that when applying this paint, you must use a wide spray pattern and apply it wet. After it dries, there's no need to apply any clear coat. This allows the natural friction between parts to create scratches. If you want a more pronounced effect, you can use high-grit sandpaper to create more weathering.
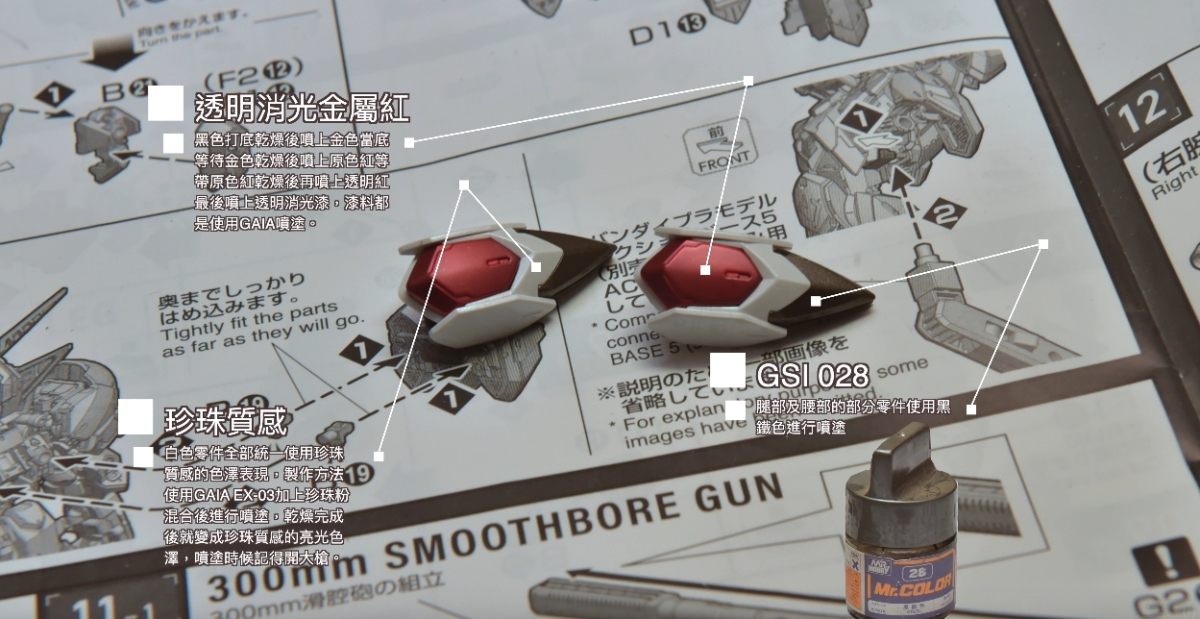
▼The method for the metallic matte red is the same as for the metallic matte blue. Some parts on the sides of the thighs and waist were painted with Mr. Color 028 (Steel) to create color separation from the other metallic parts.
▼I think the weapon mounting system on the backpack is better than the MG's. In terms of both stability and the mounting method itself, I personally feel it completely surpasses the MG version. The main reason is that the MGSD provides an extra support arm for mounting the weapons, unlike the MG which uses a direct clip-on method. At least it doesn't fall off every time you move it, like the MG does.
- Backpack in closed, normal mode

- Backpack open

- Connector arm extended

▼So cool! And it even has articulated hands!!


▼Here's the effect created by friction between parts after the Graphite Black paint has dried. It might not be very obvious in the picture below, so I rubbed it a few more times.
▼The effect is much more noticeable in this picture. The sliding of the rail causes friction on the gun's body, revealing silver scratches.

▼A cannon I really like; I especially love its folding storage mechanism.

▼Cannon deployed.

▼Graphite Black is really great; it's perfect for these kinds of physical ammunition weapons.

▼Cannon + Mace + Long Sword = A Man's Romance = Violent Aesthetics

▼The awesome MGSD Barbatos.

That concludes this simple build showcase; I hope you all enjoyed it. It's been a long time since I've painted like this, and holding the airbrush again has rekindled that joy of painting. As I get older, I have less time for building and tend to look for outdoor activities to spend with my wife and family, like taking my hawk out for a flight on weekends. Consequently, most of my builds are straight builds, or I buy pre-finished die-cast toys. Even so, when I come across a mobile suit and design that I really love, I still get the urge to paint it. Below are some studio shots to share with everyone.
▼Studio Shots


