
Foreword:
Hello everyone, before I knew it, it's already been 4 months since my last post. I hope I haven't been forgotten by everyone yet =w=|||
You can view my previous works and more photos here:
And you can review my previous article here:
【Toy People Chris Lu Submission】MG 1/100 Amazing Exia MB.ver Build Showcase
What I'm sharing with you this time is my entry for the '2016 GBWC Global Cup Competition,' a goal I set for myself this year. Despite the numerous daily commitments, the build was completed in under two months. I even arrived at the venue just an hour before the submission deadline, and remarkably, the model was submitted even though it wasn't fully completed! My mindset was: 'Having committed to participating, I must submit it, regardless of the progress.' Predictably, it didn't win, but I did fulfill my personal commitment. So, for those with limited time, perhaps the motto should be 'submit what you've completed' (Big mistake!!! Please make sure to complete it properly before submitting! (つД⊂))
Project Introduction:
I still vividly remember the excitement and surprise I felt when my parents gave me my first toy, an original SD Gundam, as a child. Perhaps because of that, I've had a special fondness for Gundam models ever since. Even now, having become a father myself, I still thoroughly enjoy the process of assembly and the sense of accomplishment that comes with completing a project. What I cherish most is crafting my own unique Gunpla, a creation that is truly one-of-a-kind.
After watching 'Gundam Build Fighters,' I was deeply moved, particularly by the 'Amazing' series models used by the 'Third Generation Meijin Kawaguchi' in the show. This inspired a thought: if Meijin Kawaguchi were to interpret the widely popular classic mobile suit, the 'Wing Gundam,' in the anime, how would it be presented? From this concept, the 'Amazing Wing Gundam Zero' was born.
As usual, for those who might find my lengthy ramblings tedious, I've decided to start with a half-finished image from the middle of the production process. If you're interested in the general build process and more photos, please continue reading:

Build Process:
The genesis of this build was a birthday gift: this MG Wing Gundam Zero (Endless Waltz version) kit, combined with a spare W-series kit for parts, thus commencing this extensive project:
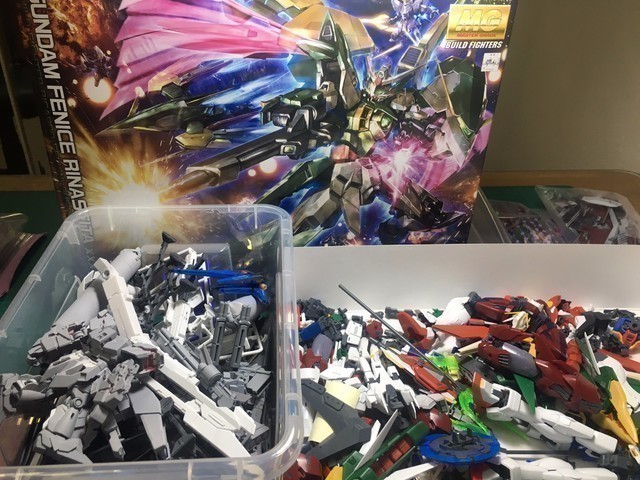
The protagonist for this modification makes its appearance. As usual, I quickly dry-assembled it first.
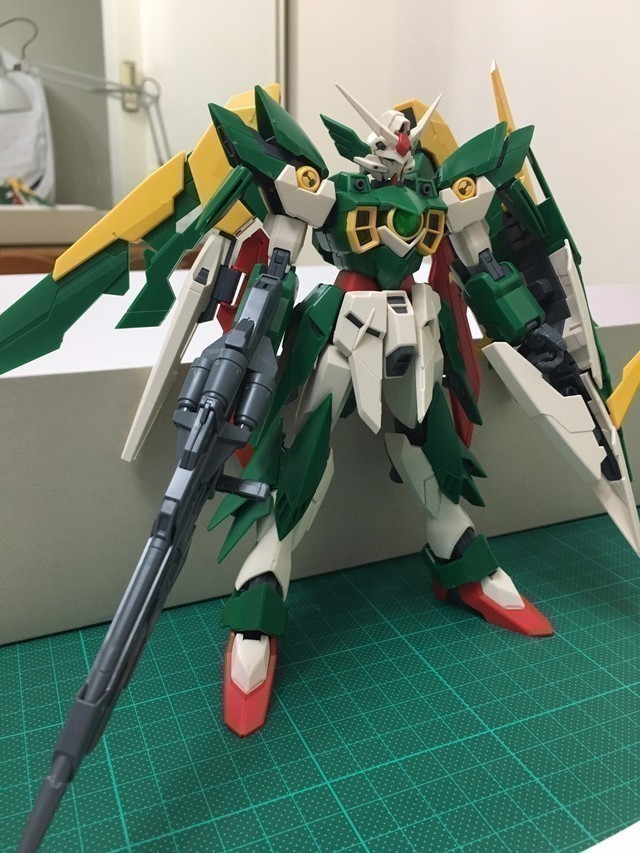
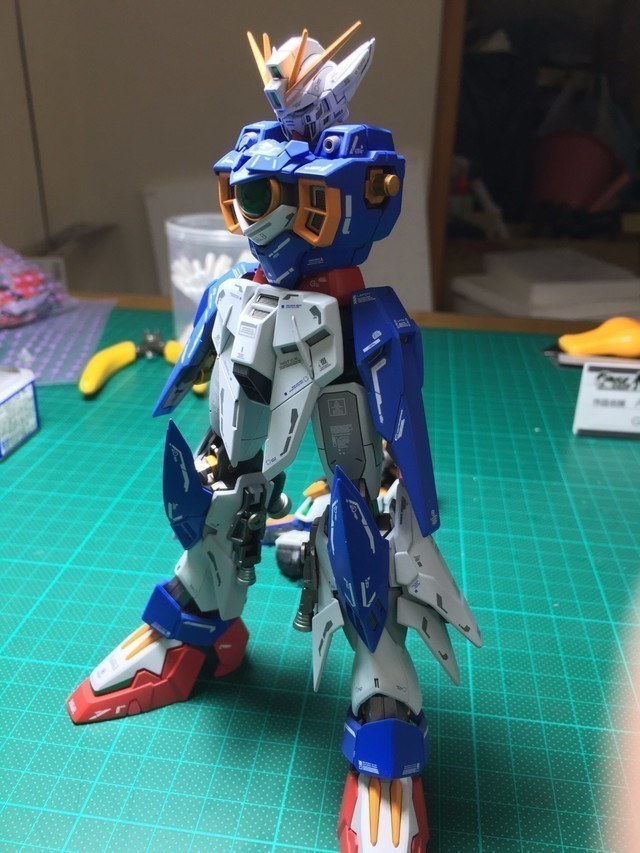
The initial prototype underwent many changes. The original Wing Gundam's body and limbs were a bit too slender and thin. Considering the overall balance, it was finally decided to use Gundam Epyon and other components for its 'surgery.' For the hands, they were temporarily replaced with Bandai's HD 1/100 modeling hands to first establish the overall body proportion, and then proceed with detailed adjustments.
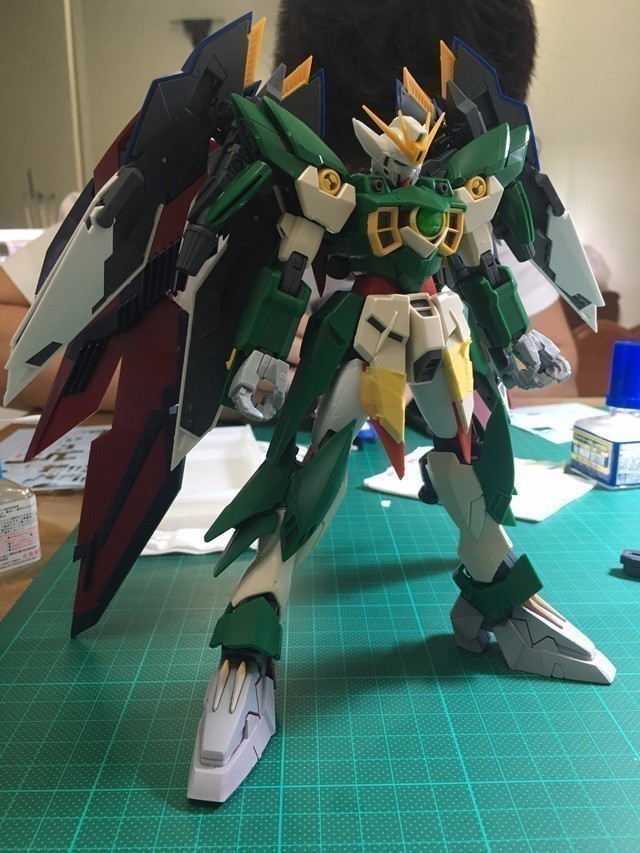
Many friends often ask me how to start when they want to perform 'heightening surgery' or other proportional changes on their Gundams. In addition to the well-known basics like modifying joints or stacking plastic sheets to create height differences, I personally believe that effectively using 'spare parts' as an aid can achieve twice the result with half the effort. Players who are interested but feel they don't have advanced modification skills might want to try starting with simple assembly. You can gain a lot of fun and experience from it.
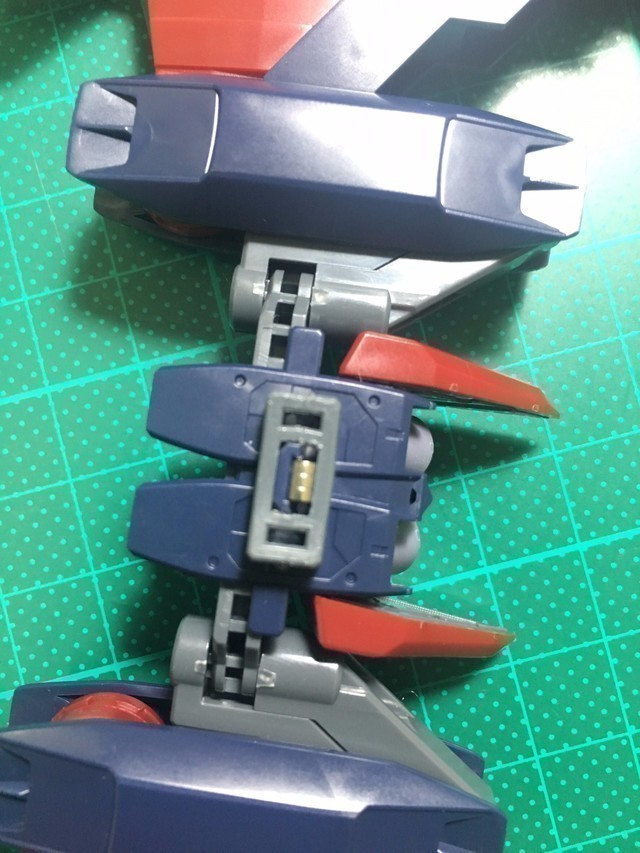
After generally deciding on a four-wing design, the connection points of the Epyon backpack were first modified to allow it to be assembled with the Wing Zero's backpack. The Wing Zero's backpack interface was also slightly widened to ensure a tighter fit.
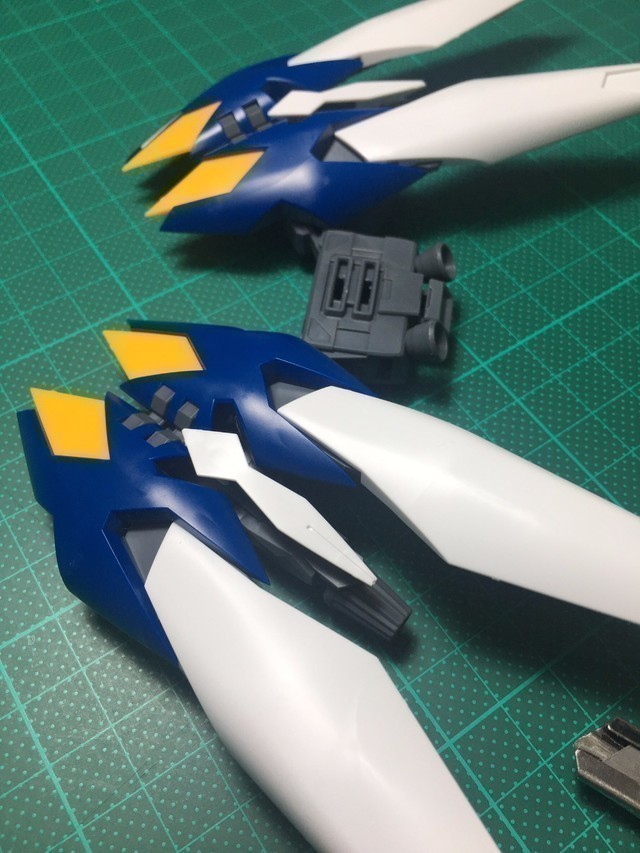
The original Wing Zero rifle was simply too small; it lacked any sense of awe. Searching through my parts bin, I found a spare MEGA Particle Cannon from a previously purchased Red Zeta Gundam to serve as a prototype. This one's definitely bigger, right?!
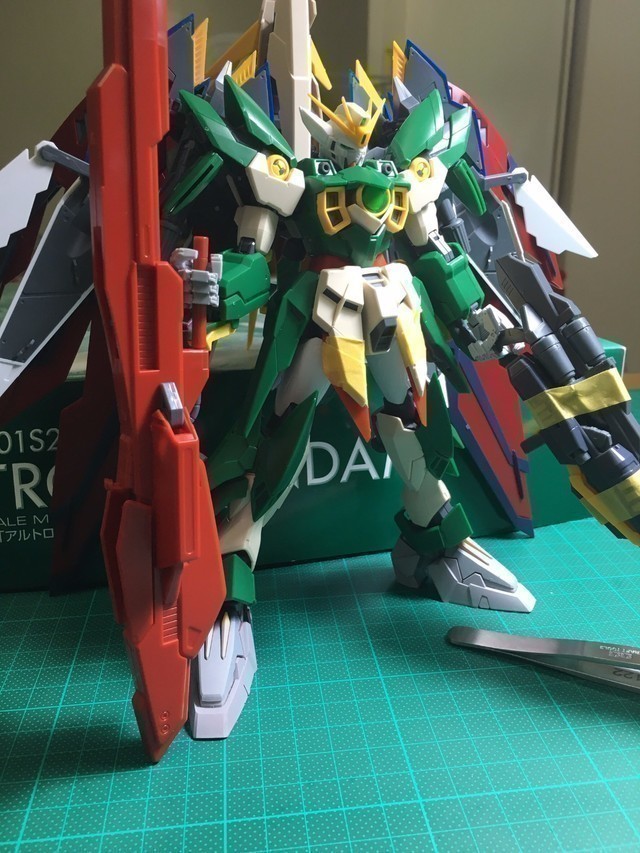
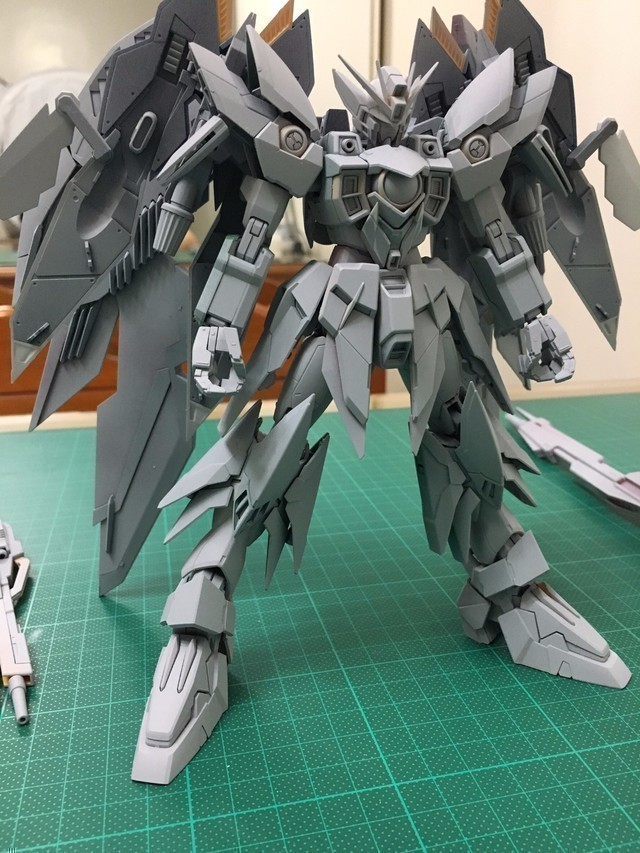
Once the general direction of the modification was determined, a thin layer of gray primer was sprayed for inspection and to unify the color tone, identifying areas that needed modification in terms of overall shape and proportion.
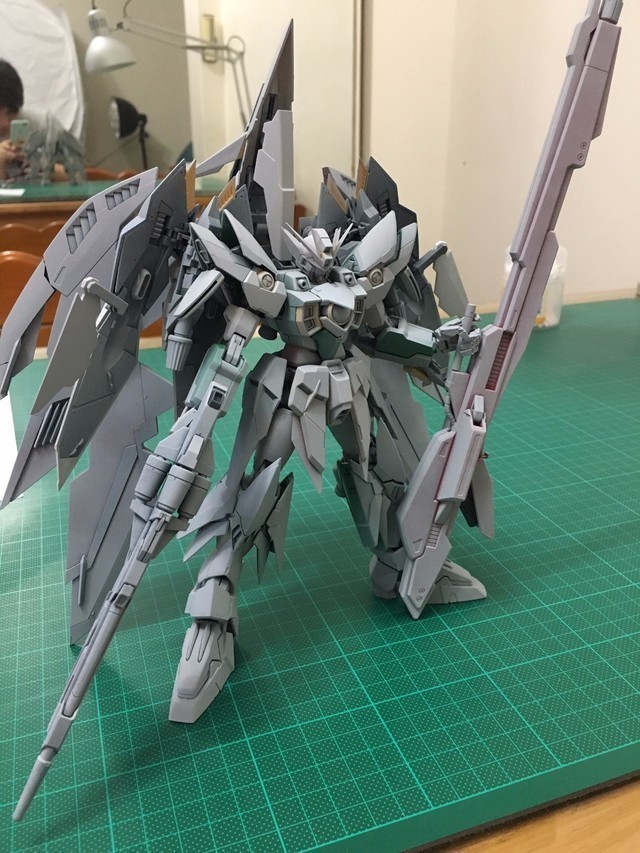
After major disassembly, detailed modifications began. The plan is to create four sets of styled and articulated hands for easy weapon swapping.
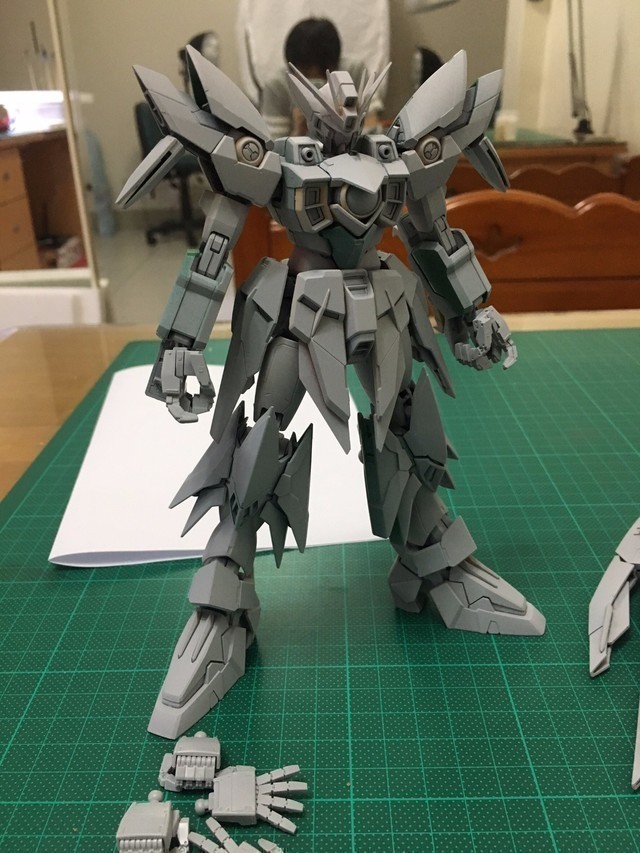
Initial modifications were made to the backpack's connection points and the height difference of the wings to better suit the body. Additionally, the internal structure of the Wing Zero's wings, which originally consisted of only a large single piece and felt a bit monotonous, was enhanced by adding small HD parts and several plastic sheets to simply create a heat vent design.
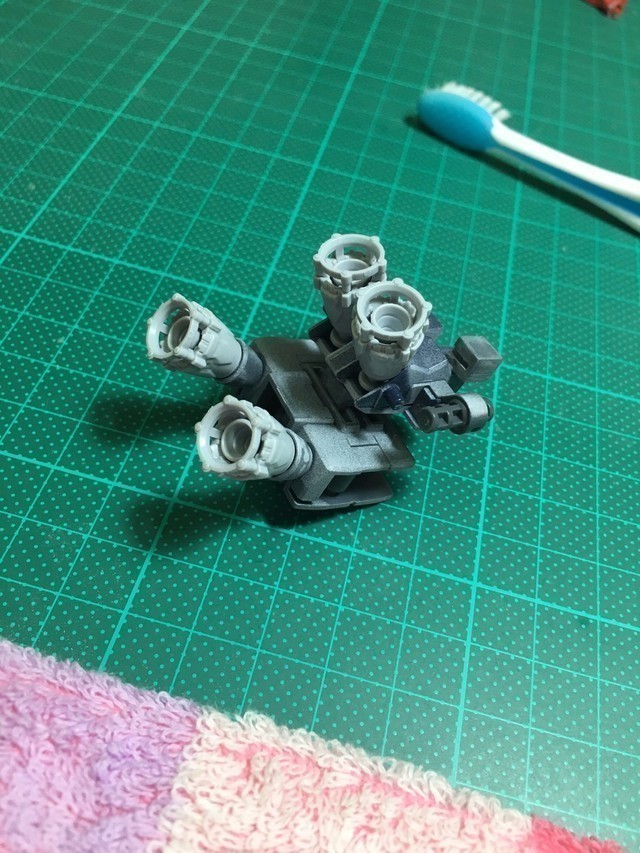
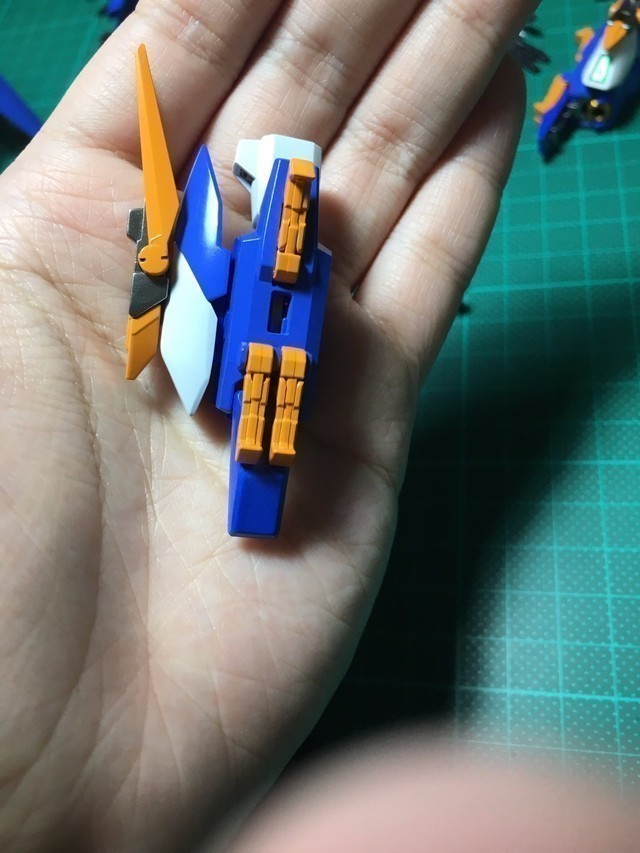
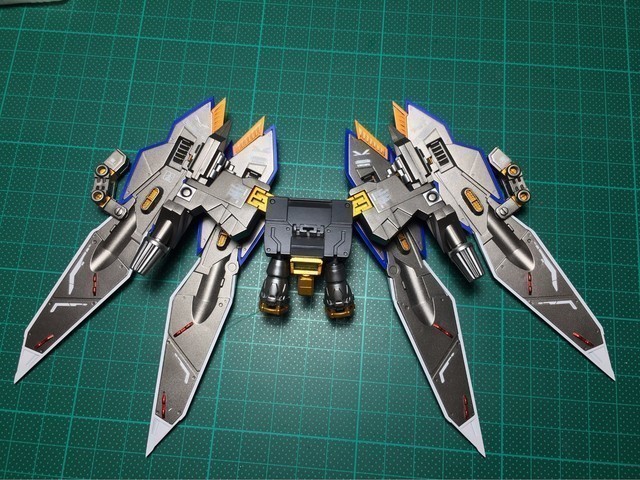
The original four thrusters were too small, and it was clear they wouldn't provide enough power for four wings. These were modified into large, two-stage thrusters.
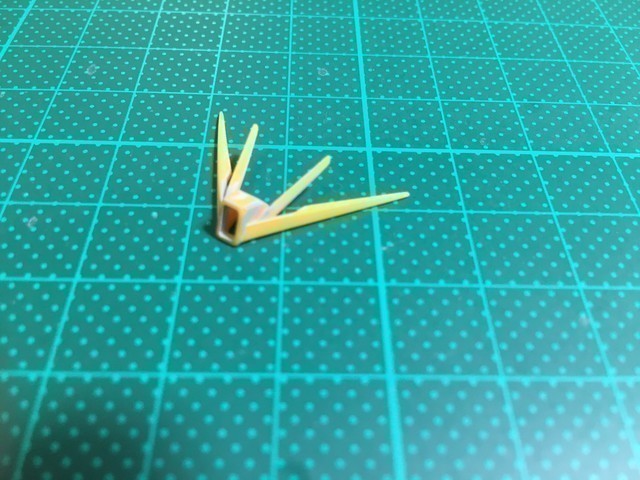
Basic antenna sharpening, with a few patient steps, can lead to a significant leap in the finished product's effect. Here, the plan is to mask and paint it to create the impression that it's composed of two separate parts.
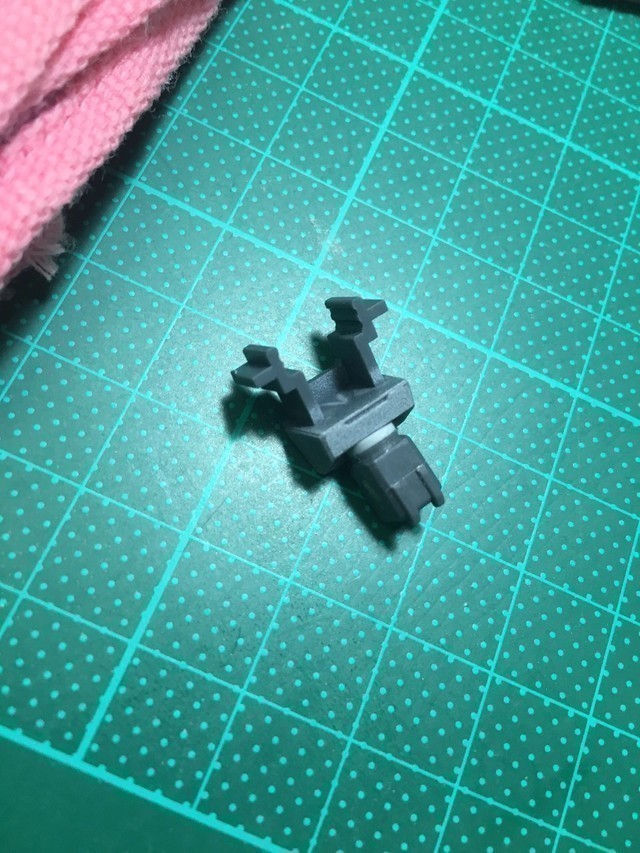
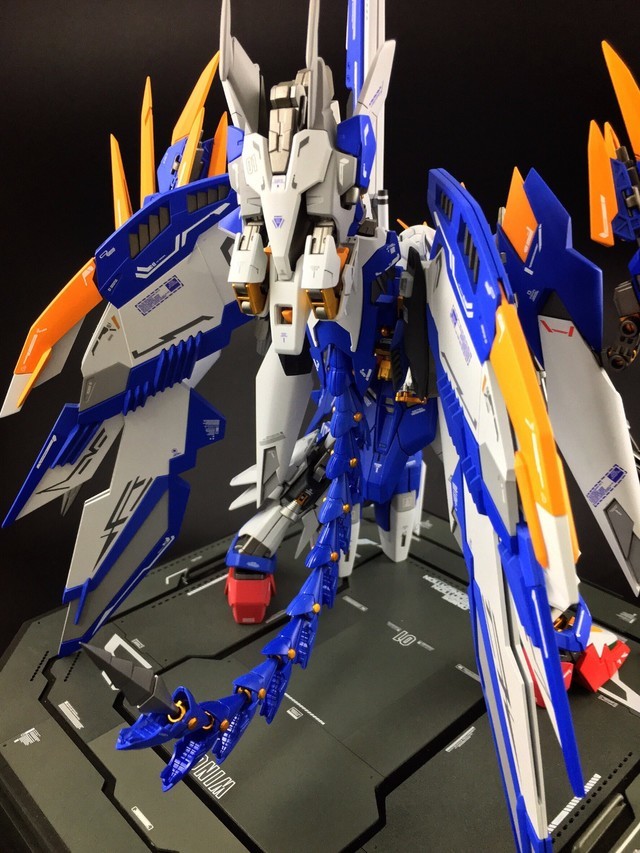
The components at the bottom of the backpack were modified to allow combination with the Epyon's Heat Rod, aiming to create a dragon's tail design here.
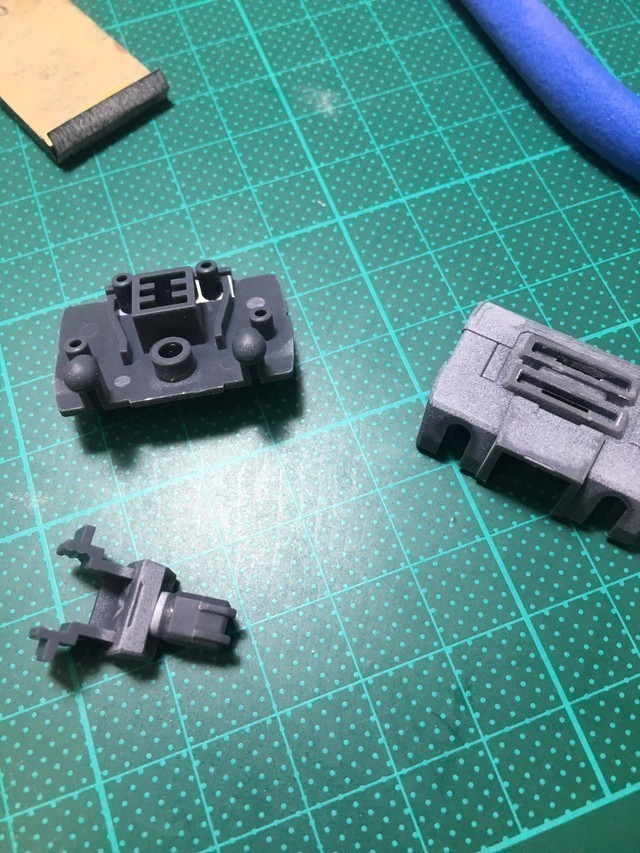
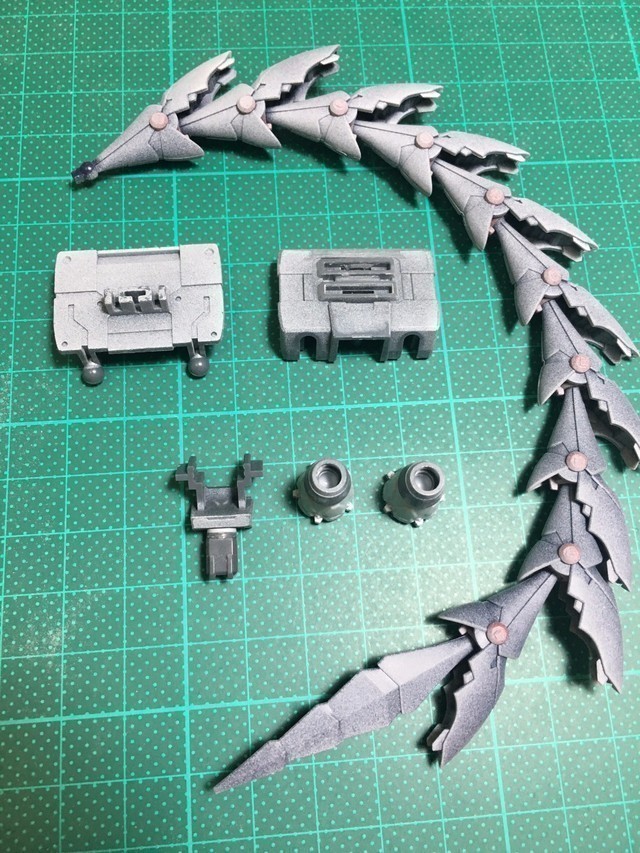
First, the parts are initially disassembled and categorized, then we proceed with the subsequent detailed modifications.
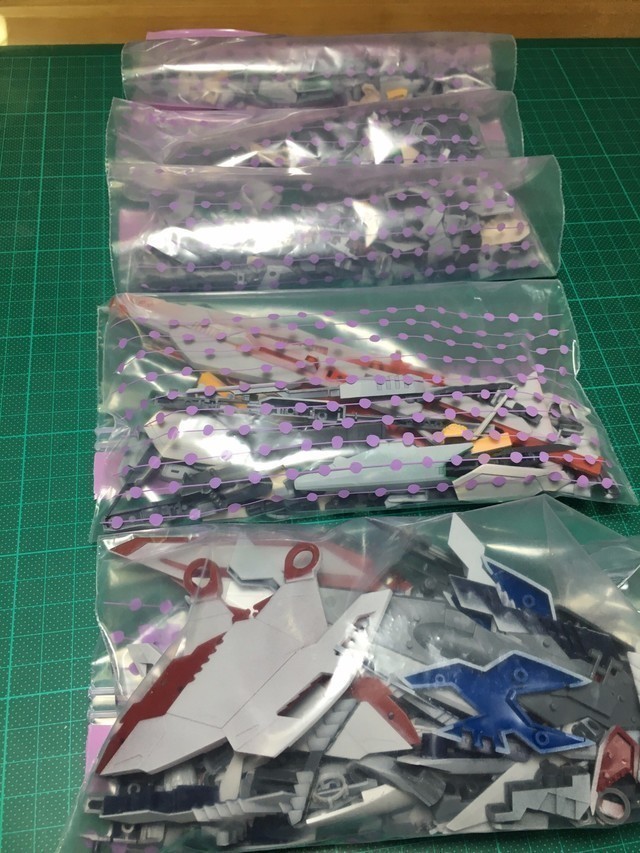
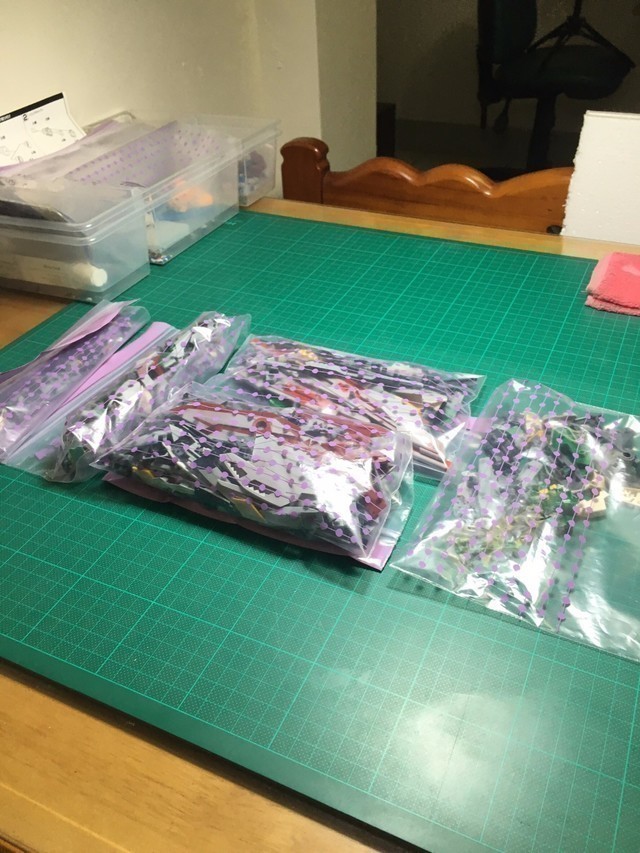
Initial sanding. Here, we've subtly incorporated HG Build Fighters parts, specifically the Mega Particle Cannon from the Hyakushiki.
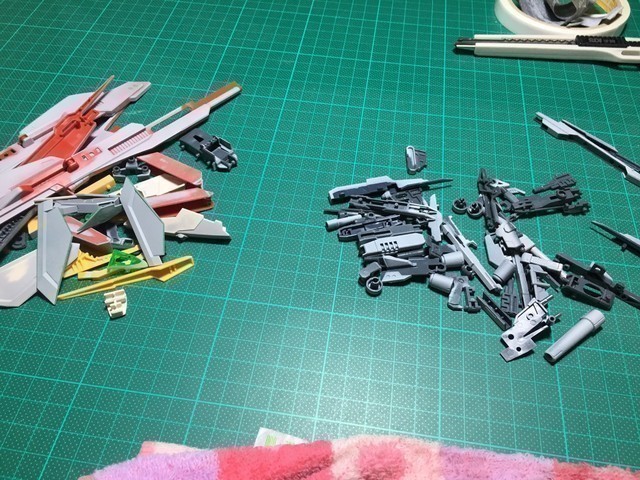
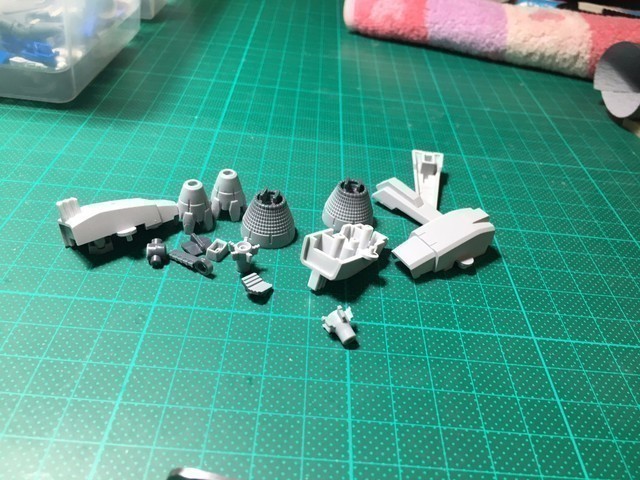
The lower arm has been given additional detailing. To facilitate disassembly, the central ring buckle was implanted using a pinning method, making subsequent painting and modifications easier.
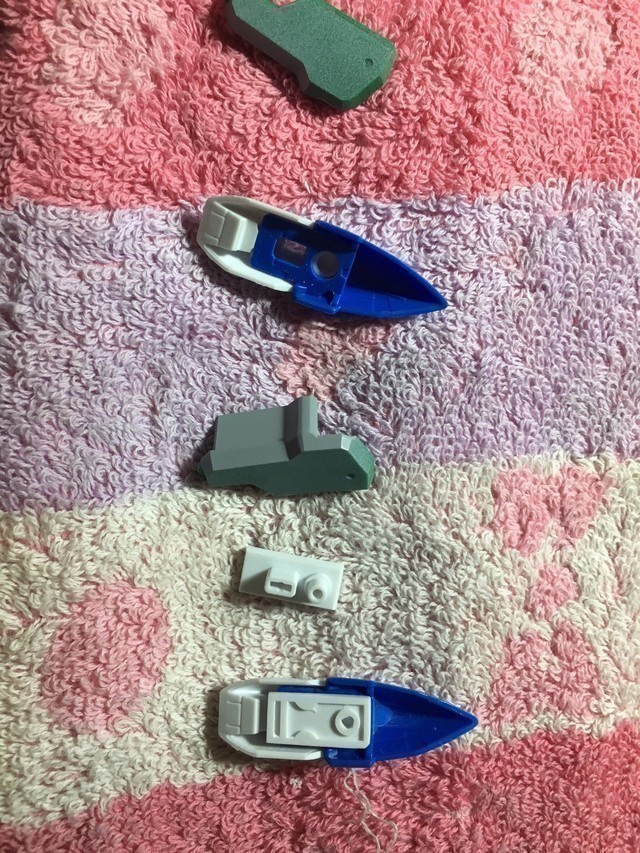
The hand armor modifications are complete.
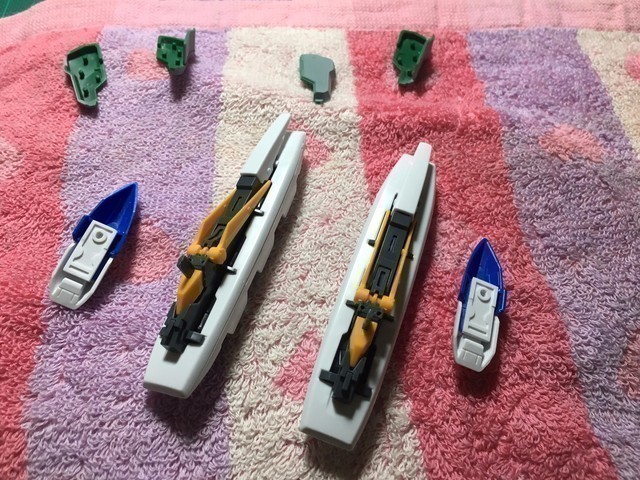
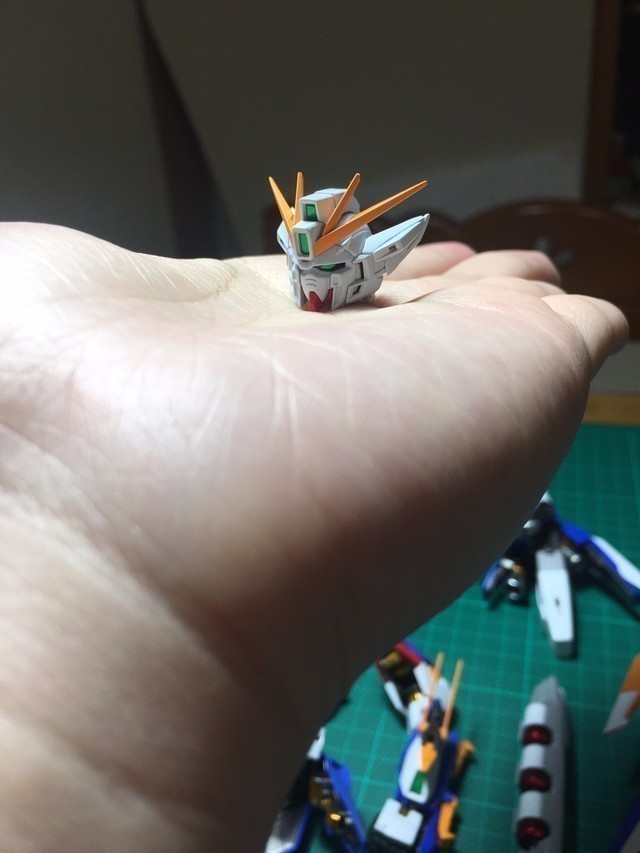
Head - The ears have been enhanced with additional detailing to make them less monotonous.
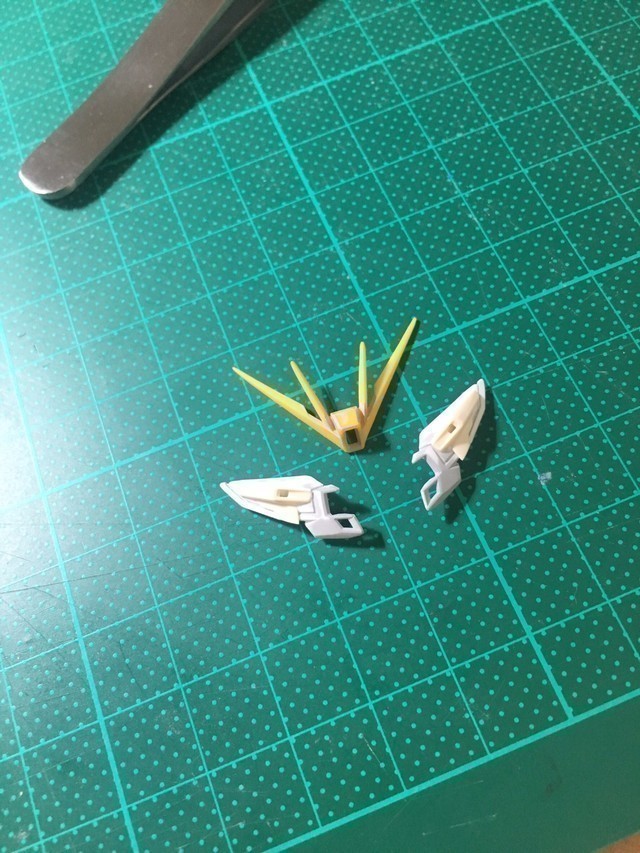
The original shoulders, which connected to the large cape attachment, interfered with the arms. Here, they have been modified into small nozzle shapes to increase articulation.
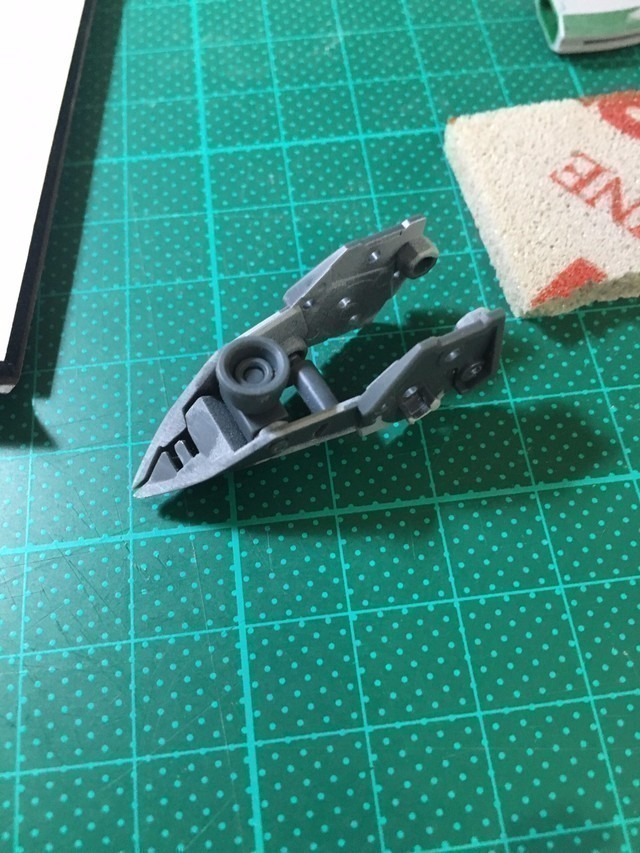
The waist has been raised by approximately 0.3mm. Using plastic sheets, a rough shape was first sketched with a pencil and then stacked.
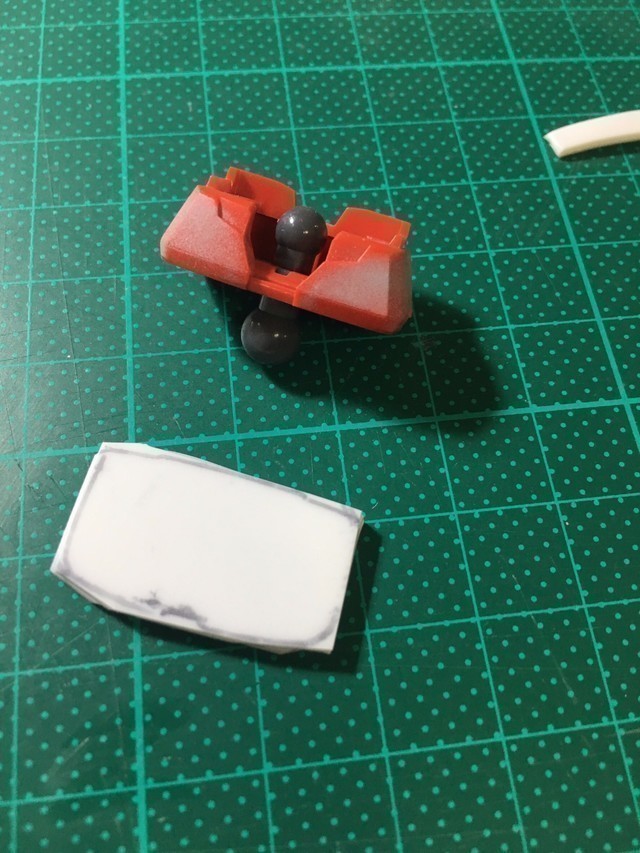
It was joined using a seamless bonding method.
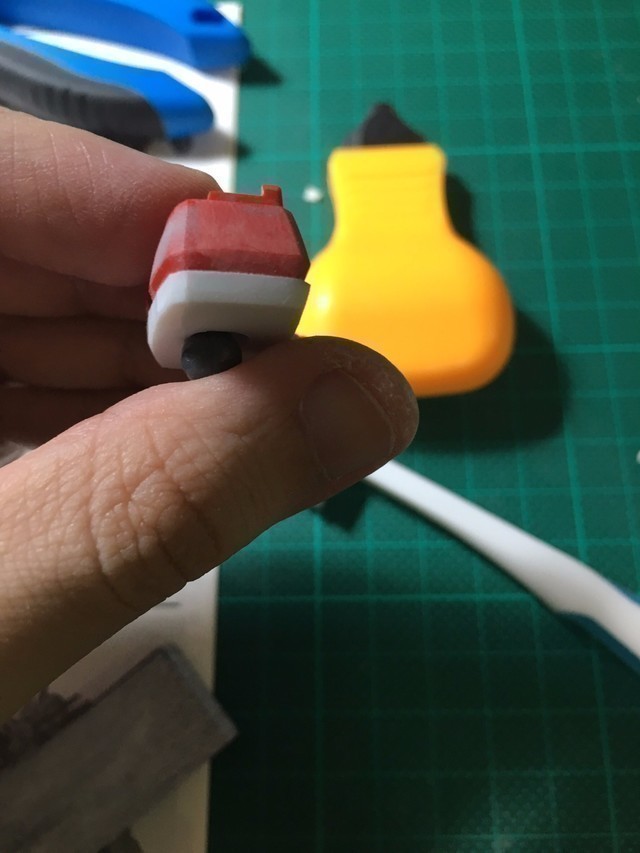
After allowing it to dry completely, it can be sanded to match the original waistline, completing the process.
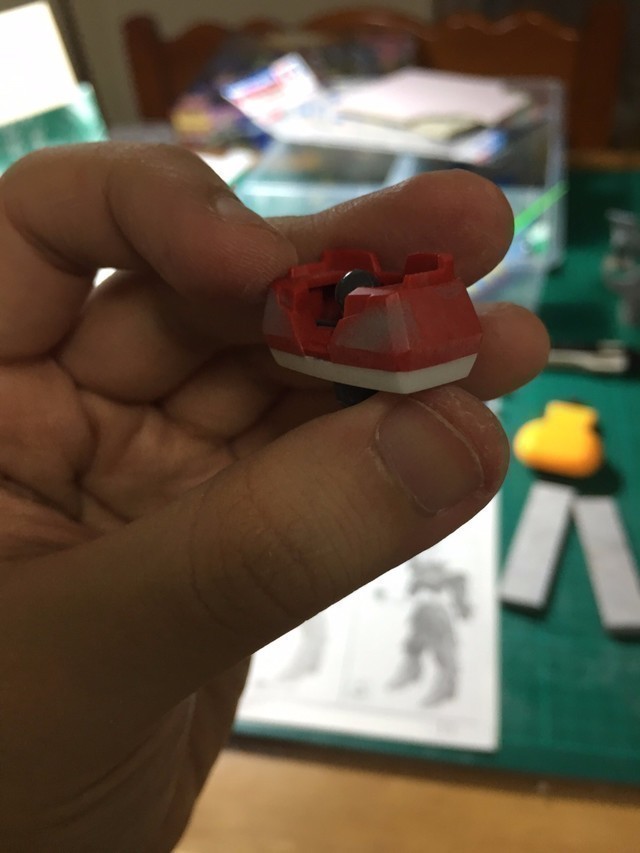
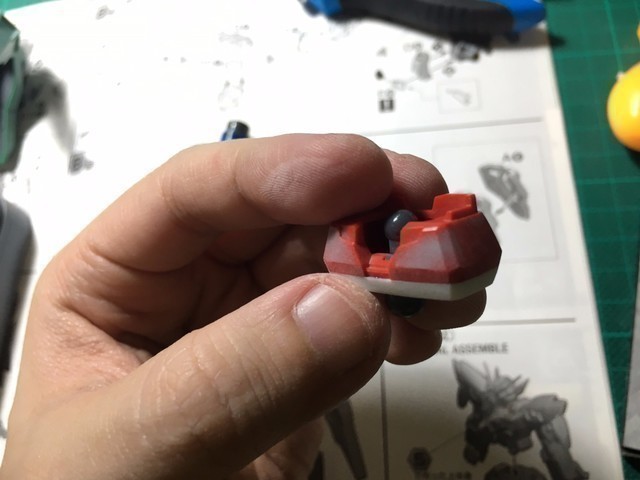
As promised, a collection of hands for interchangeable use.
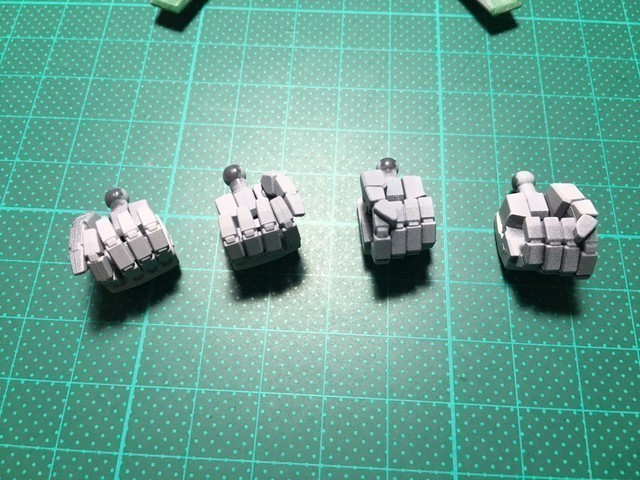
During the sanding and refinement stage, we won't specifically mention the most basic gate marks; all unwanted mold lines and basic tip sharpening must be meticulously addressed.
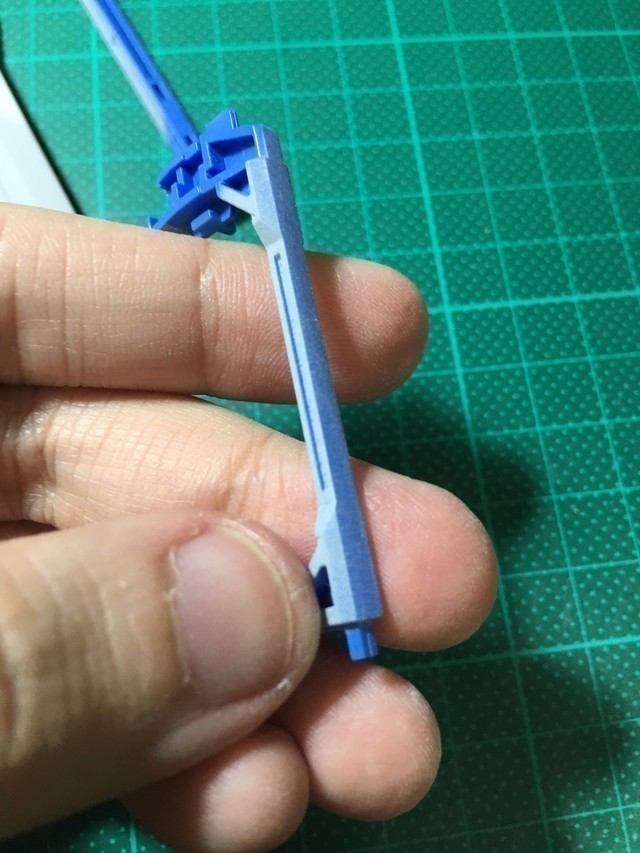
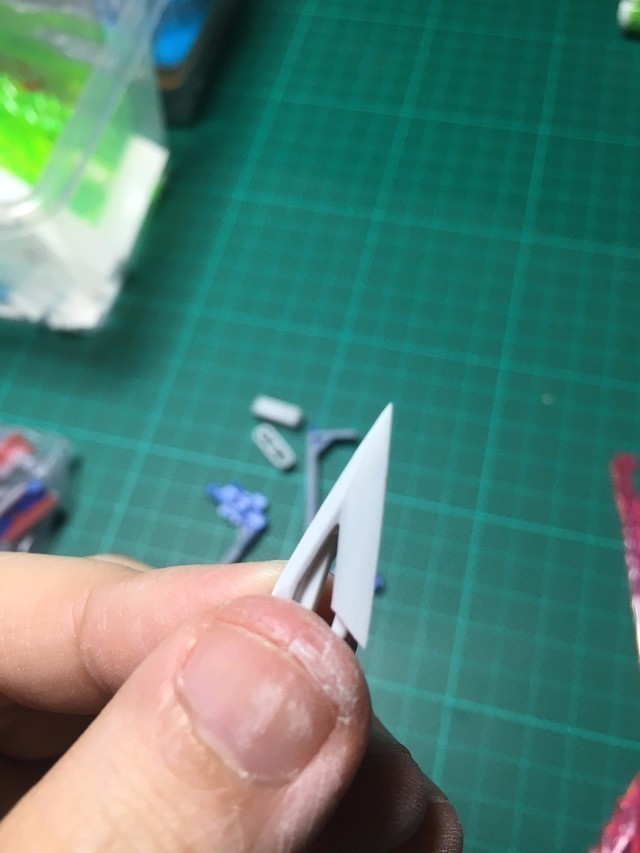
Next, we continue with the modifications to the MEGA Particle Cannon, which is slowly taking shape.
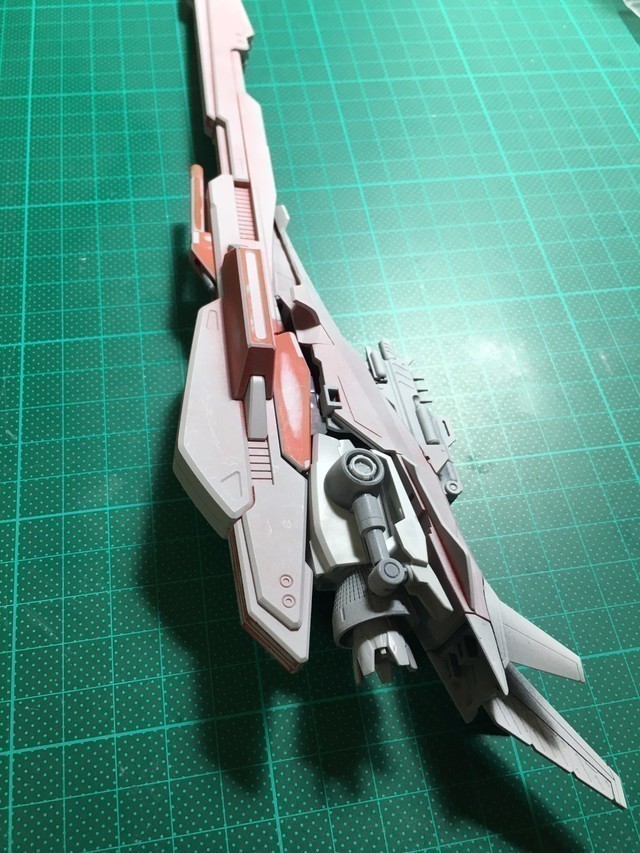
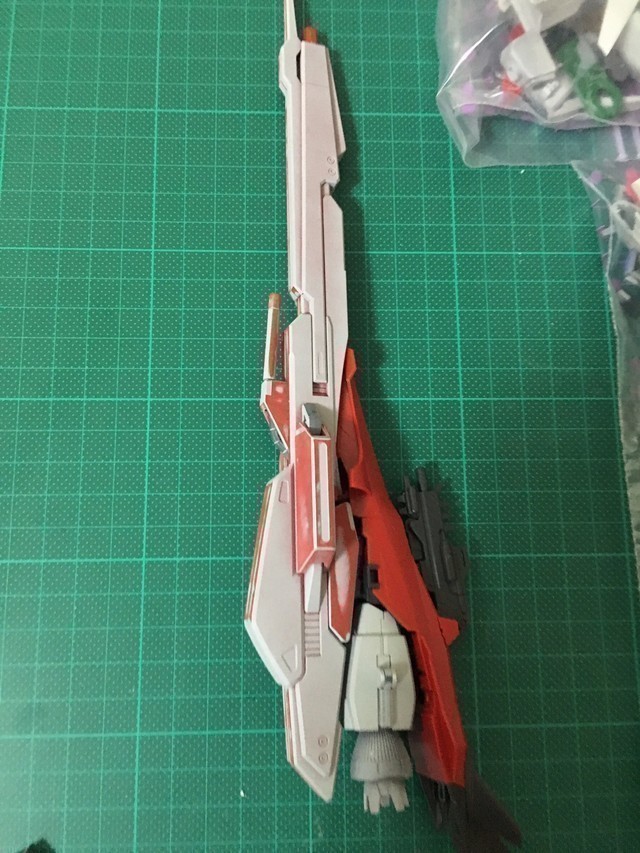
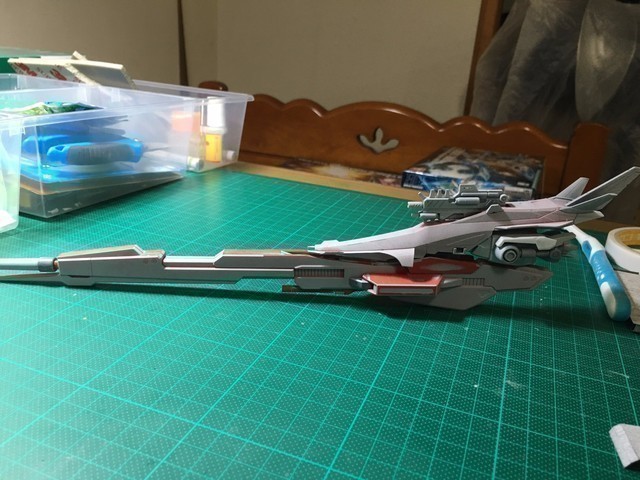
The dragon head and thrusters have also emerged.
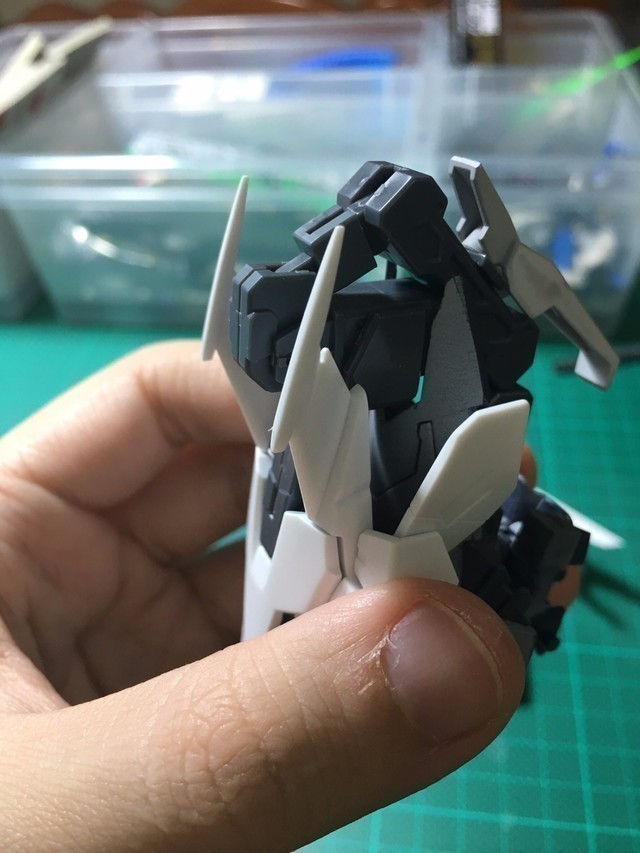
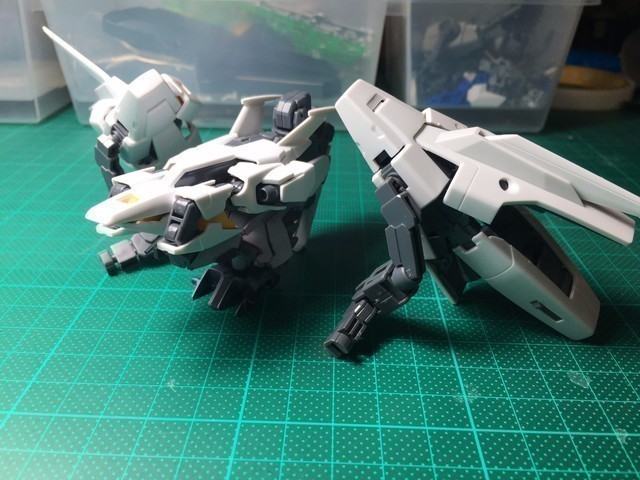
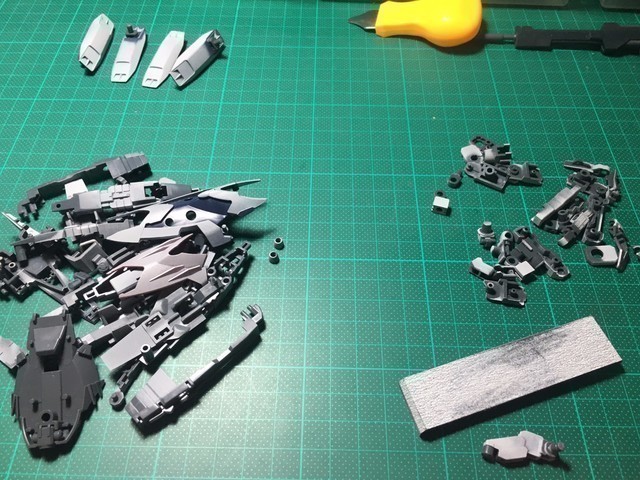
The lengthy sanding process continues.
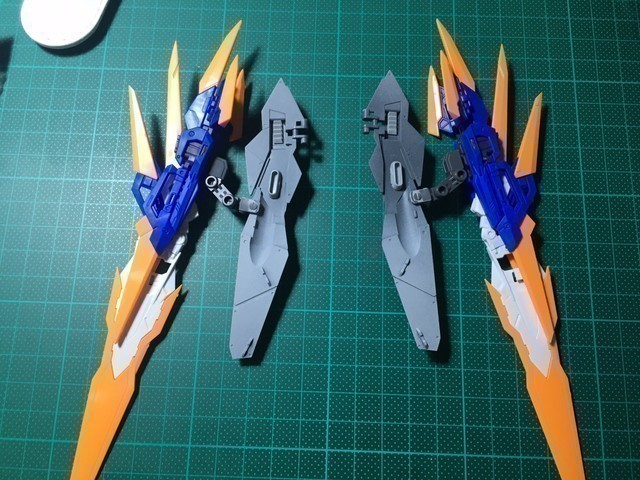
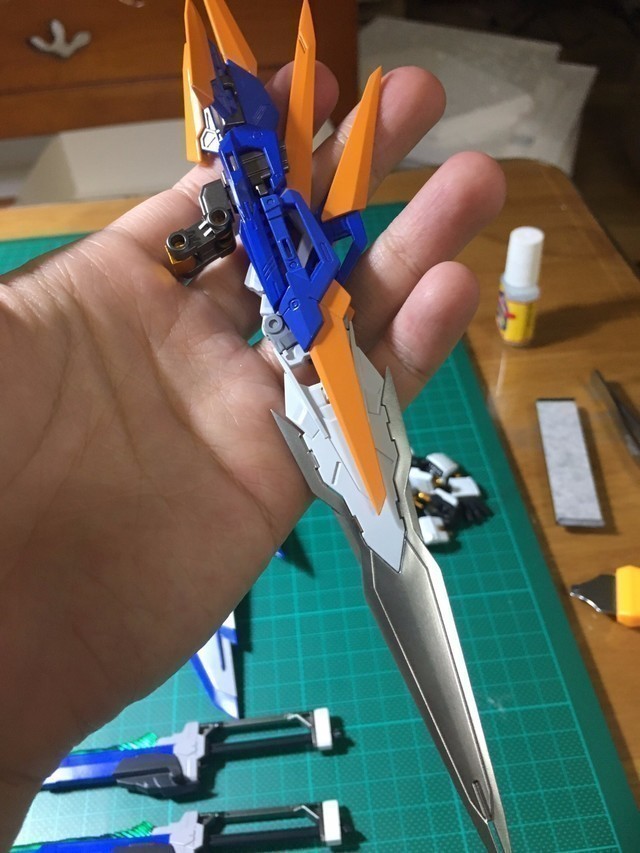
Feeling that it still lacked a sense of awe, we brought out two pairs of 12 swords from the Blue Frame D type, combining them to extend the wings. We also added modified articulated joints for the wings' attachment, allowing a clearer view of some of the internal structures added to the wings.
The shoulder-mounted Vulcan cannons had their caliber slightly enlarged, then adorned with metal modification parts.
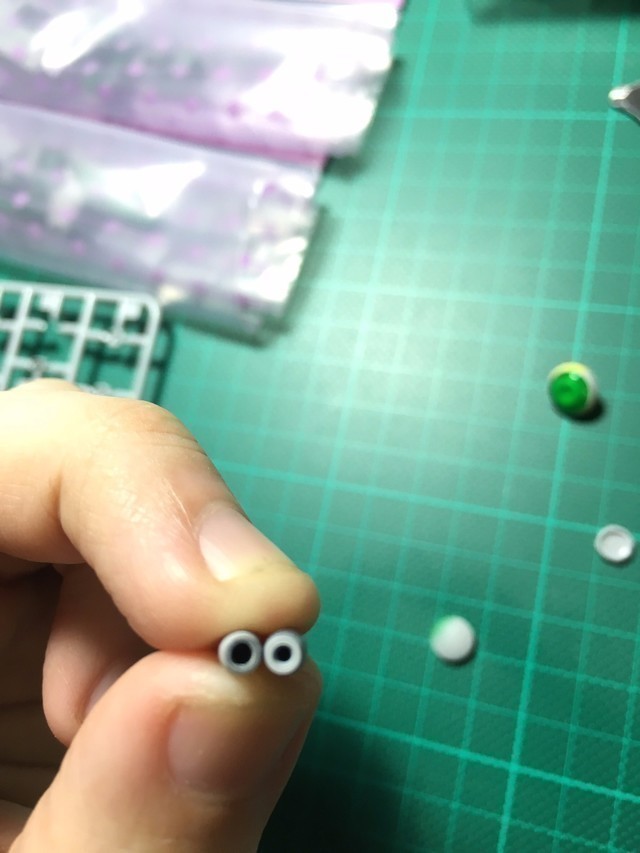
The transparent internal structure of the chest was too simplistic, so HD parts were used to enhance its design.
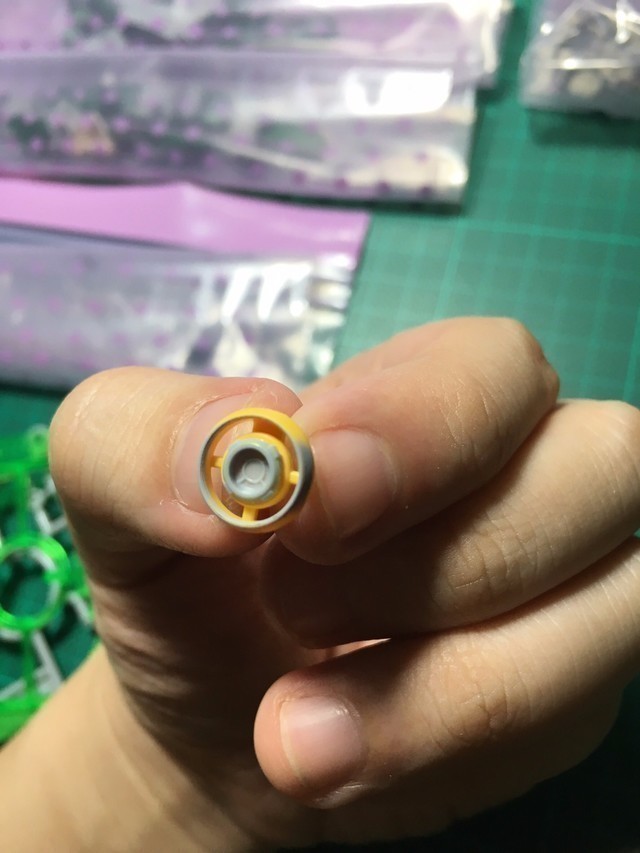
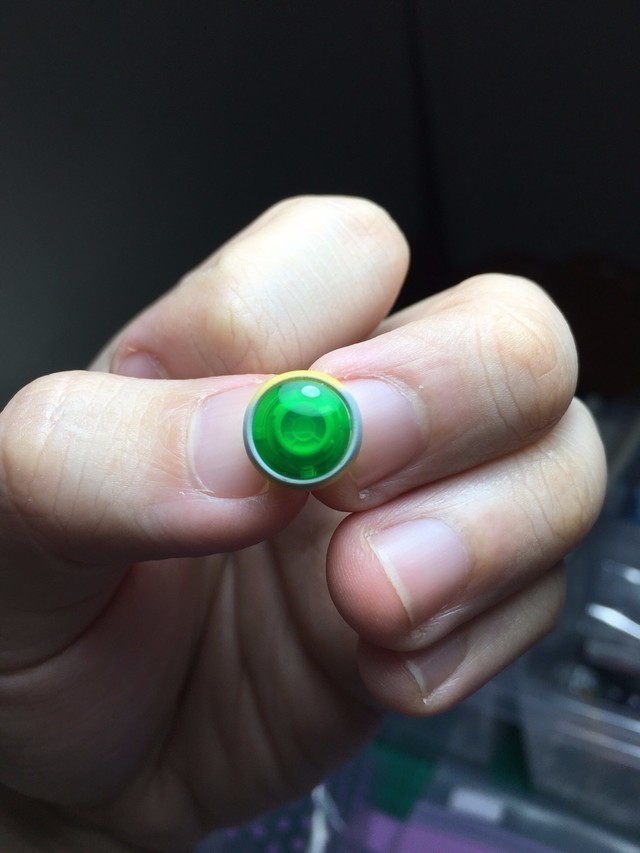
After covering it with the transparent parts, it now boasts significantly more depth and layering.
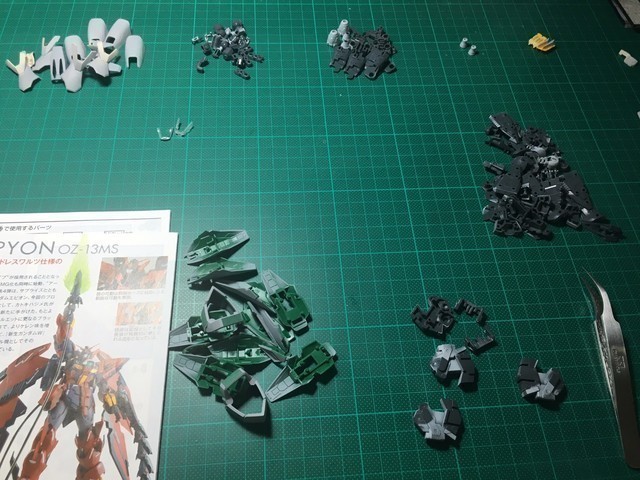
After disassembling the remaining parts, basic sanding and further detailed modifications were carried out.
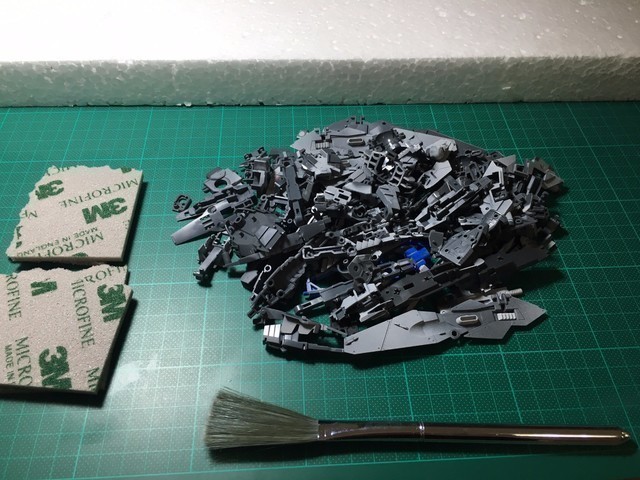
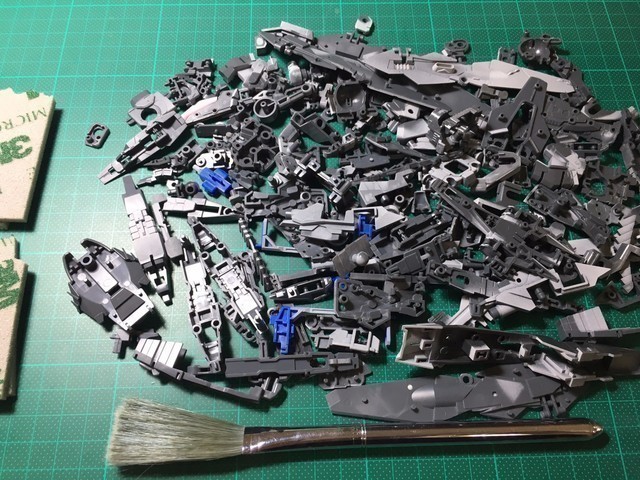
Where areas appeared too monotonous, additional detailing and plastic sheets were incorporated.
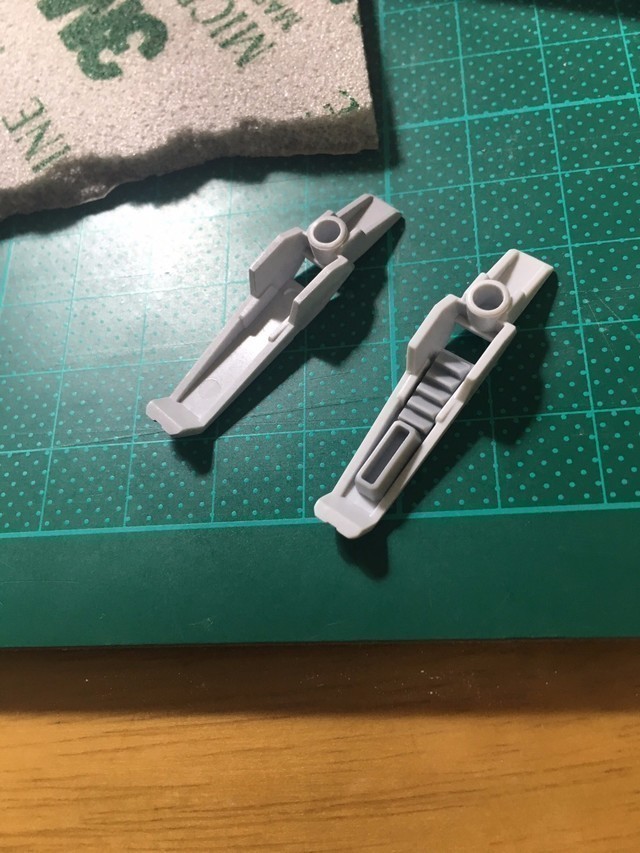
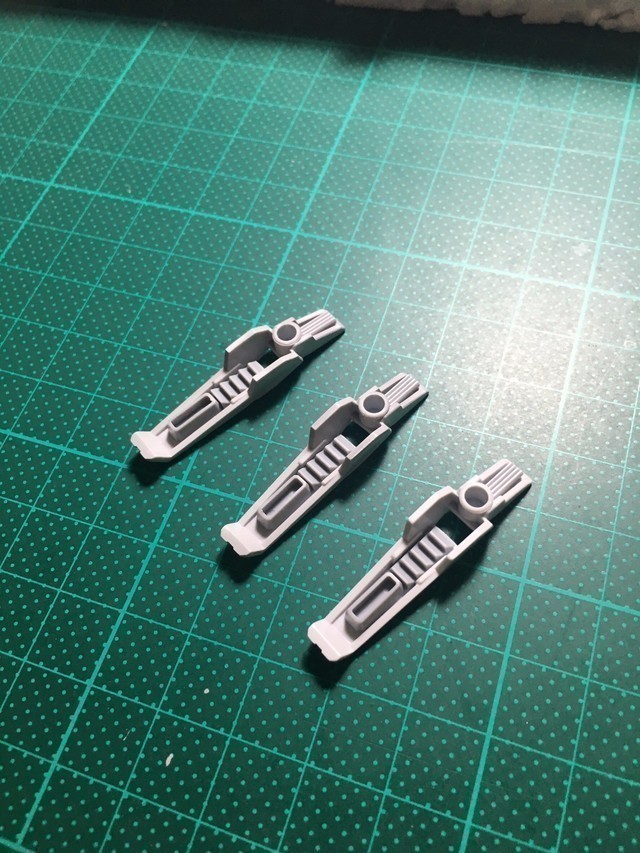
The same part had to be replicated three times.
With the major modifications complete, it was time to begin color separation and prepare the parts for painting by mounting them on skewers.
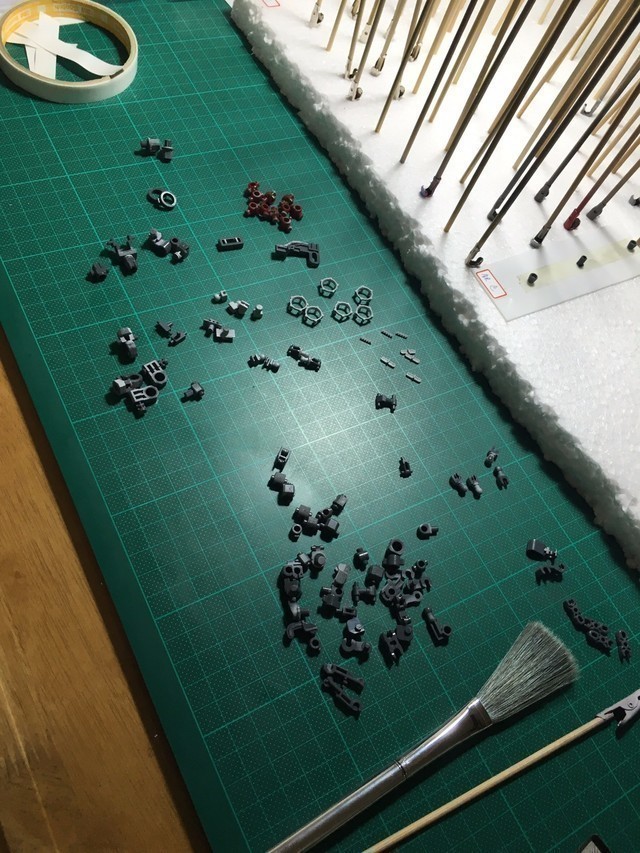
Before mounting on skewers, each part's surface was meticulously prepped with 3M ultra-fine sponge sandpaper to ensure a consistent finish, facilitating smooth and even paint application. This step is arguably the most tedious part of model building for me.
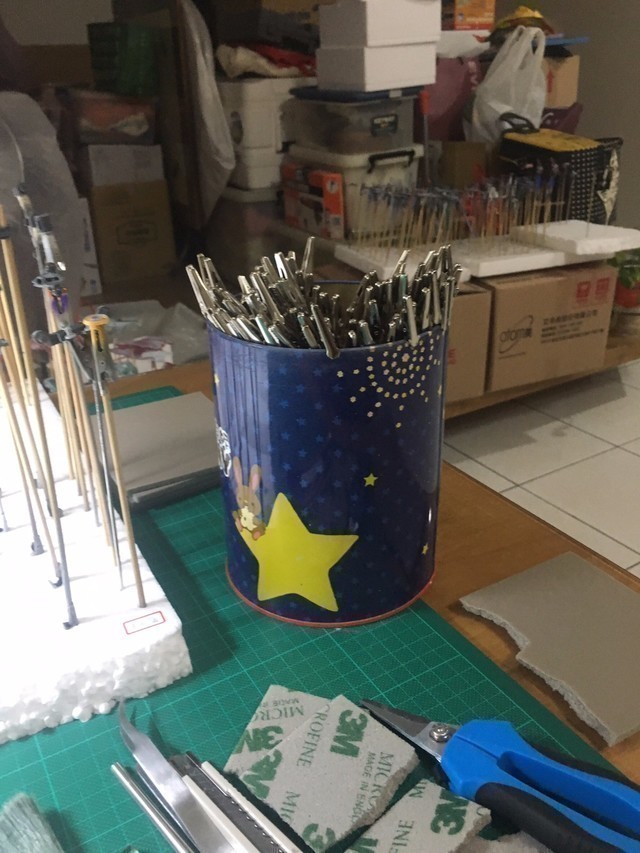
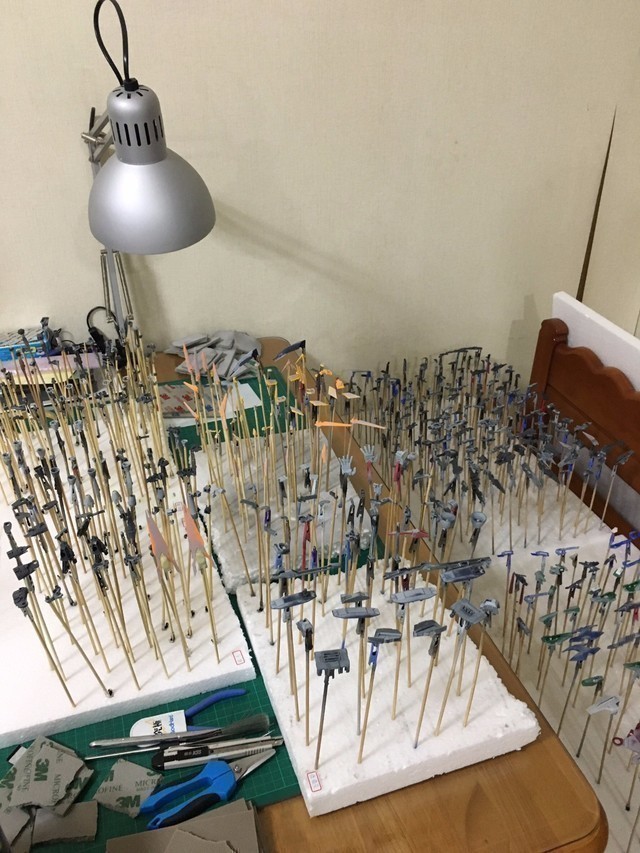
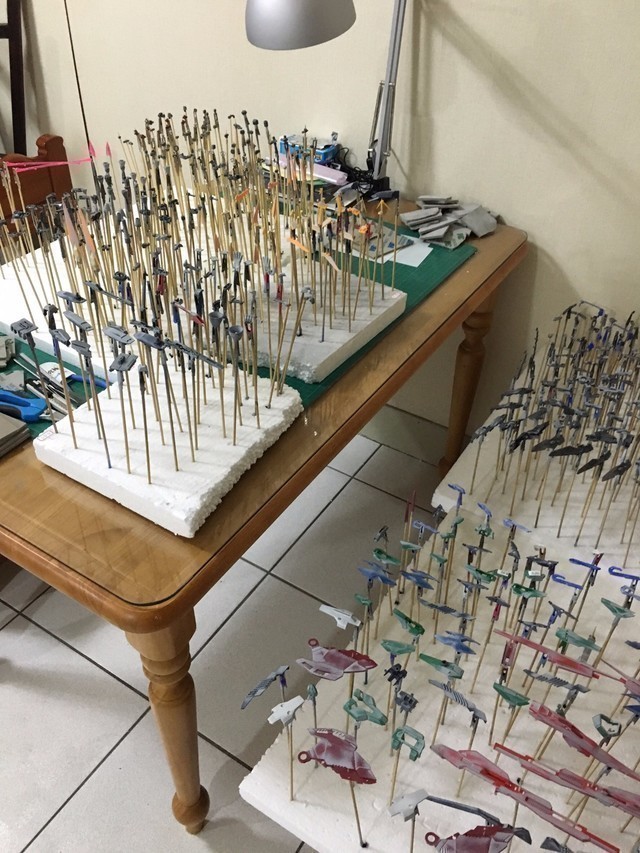
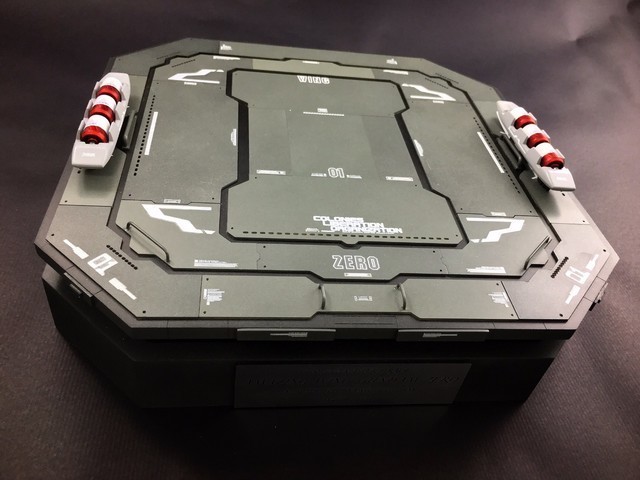
Having spent several days immersed in the purgatory of sanding and the inferno of skewering, once the parts were mounted, I decided to tackle the base first. After all, for a competition, having a base makes it feel more legitimate, right? (Haha)
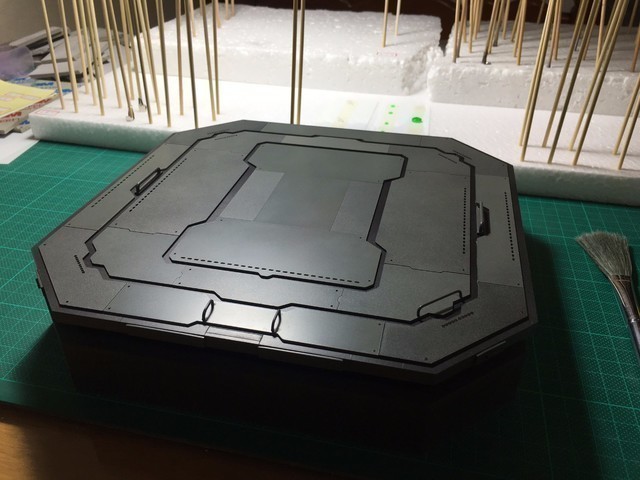
I took a break to get some fresh air and picked up some acrylic sheets for the base. The base itself isn't directly related to the main theme, so there's no detailed process to show. Please just take a quick look.
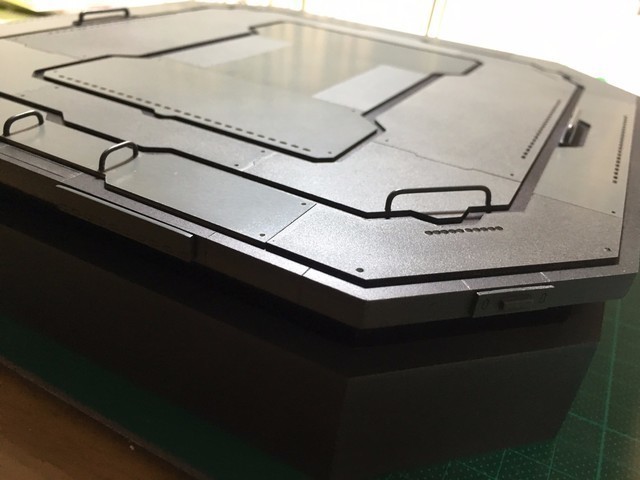
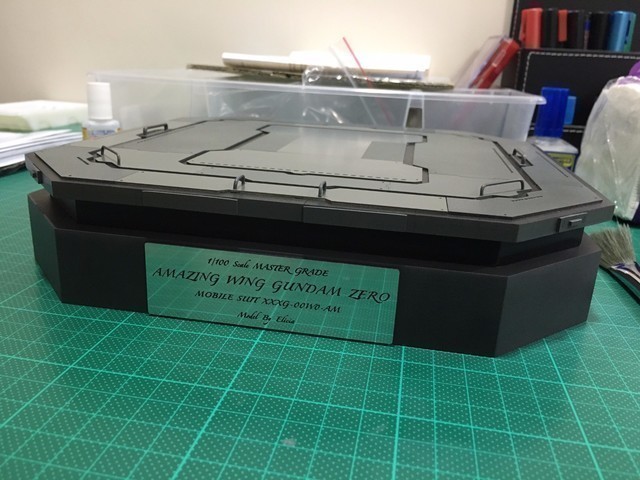
Due to the extremely tight and rushed production schedule, I didn't document the putty and primer stages. Let's jump straight to some of the more crucial aspects.
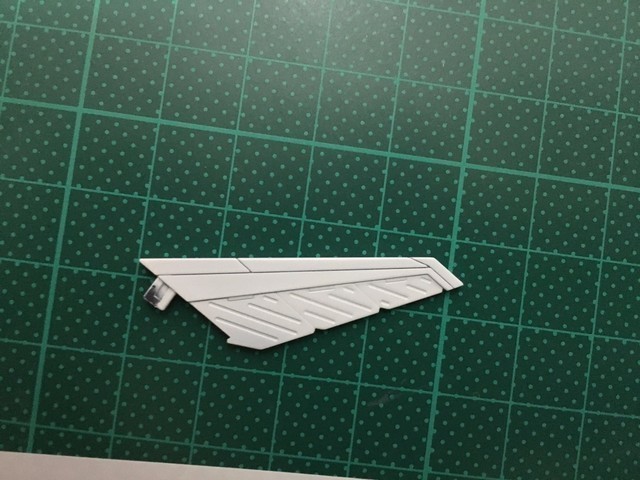
As the project adopts a clean aesthetic, masking was applied to some of the more monotonous or larger parts, utilizing different colors to create a sense of depth and layering.
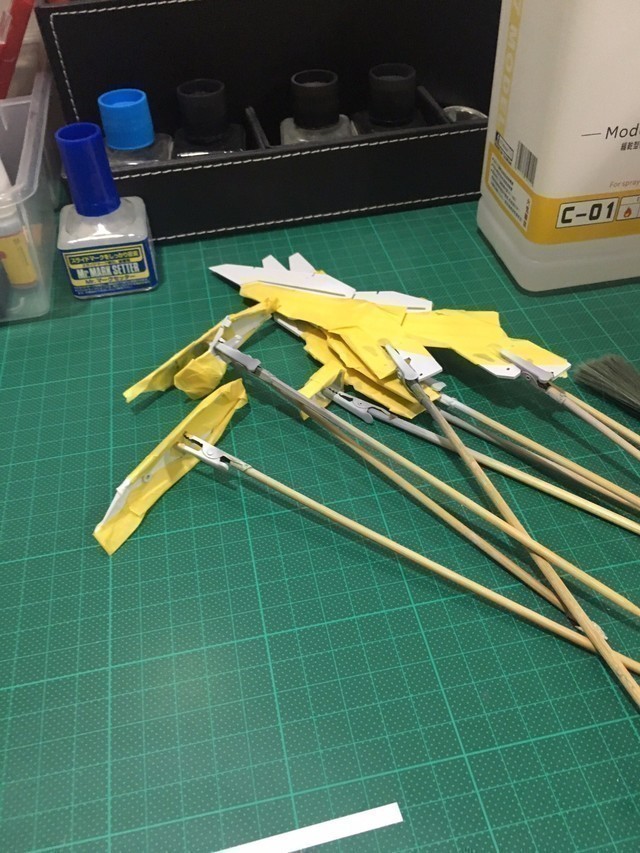
Small details are often overlooked, yet they are precisely what can create the most stunning impact when executed thoroughly.
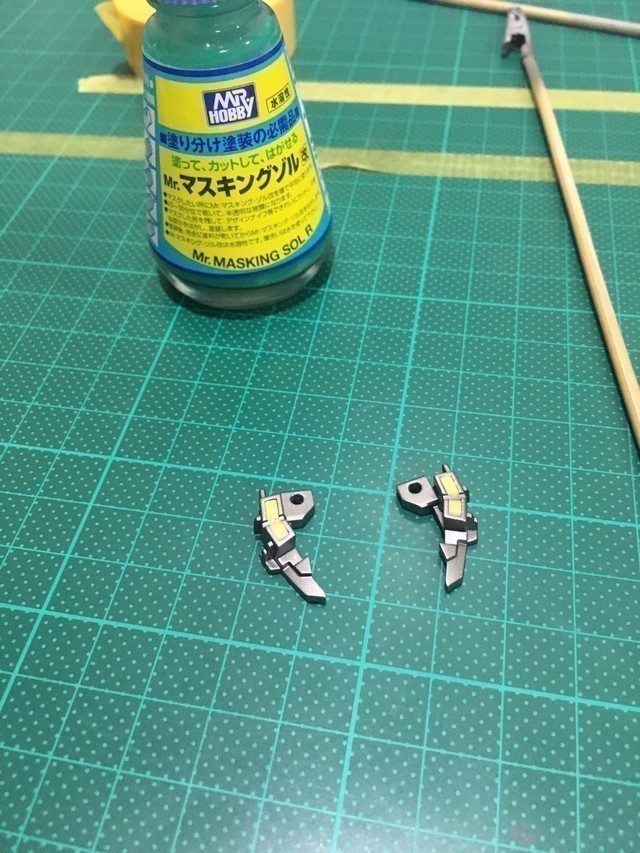
The parts progressively began their journey into the spray booth for treatment.
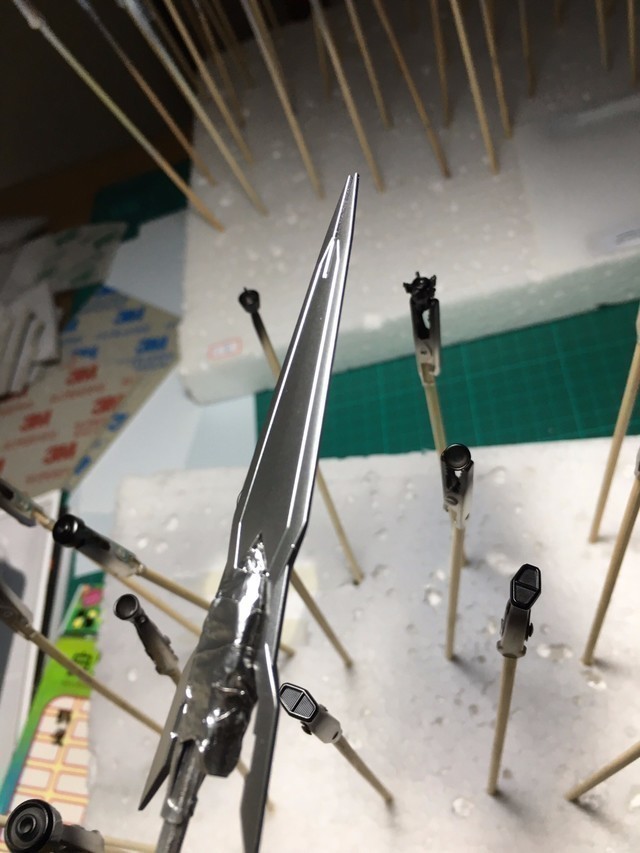
A quick snapshot of some completed sections in between: the white, light gray, two shades of red, orange-yellow, silver, and gunmetal colors have been finished.
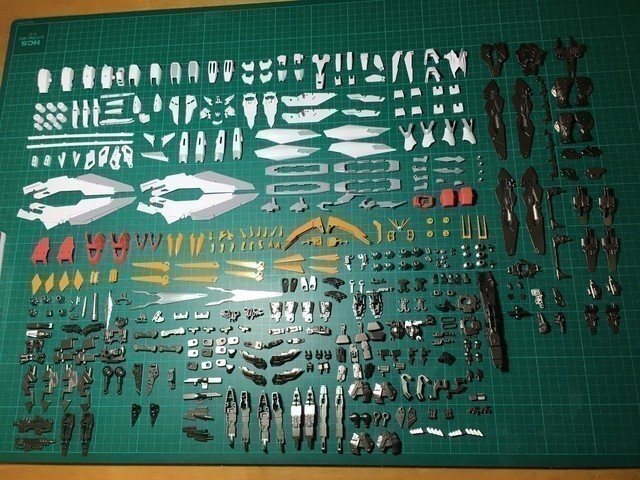
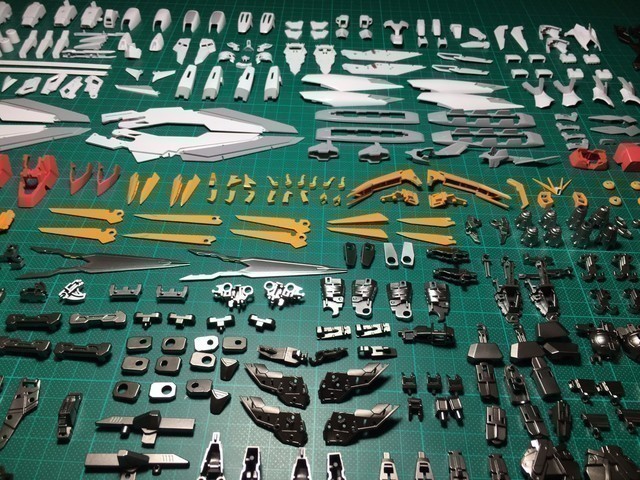
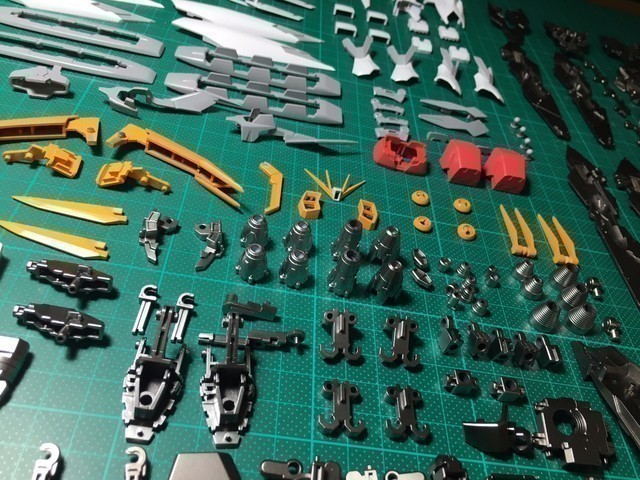
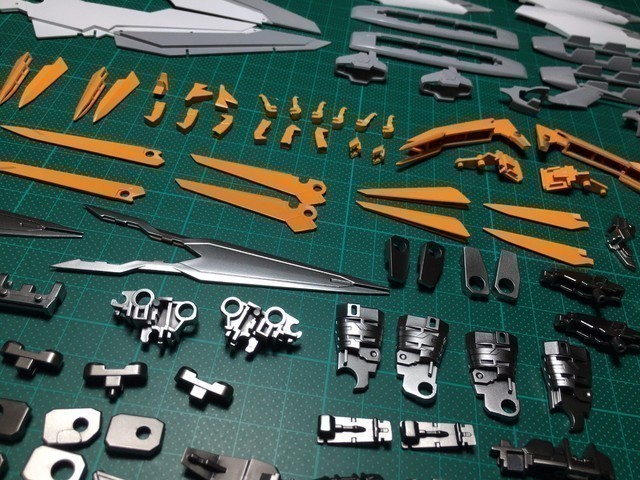
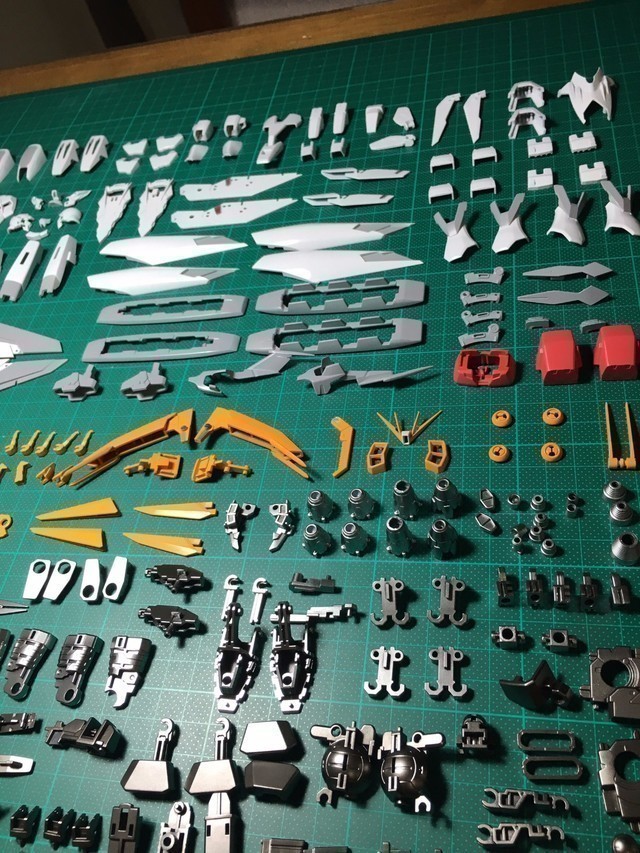
Continuing with the tedious masking, the wing's design elements are planned to be accented with metallic red.
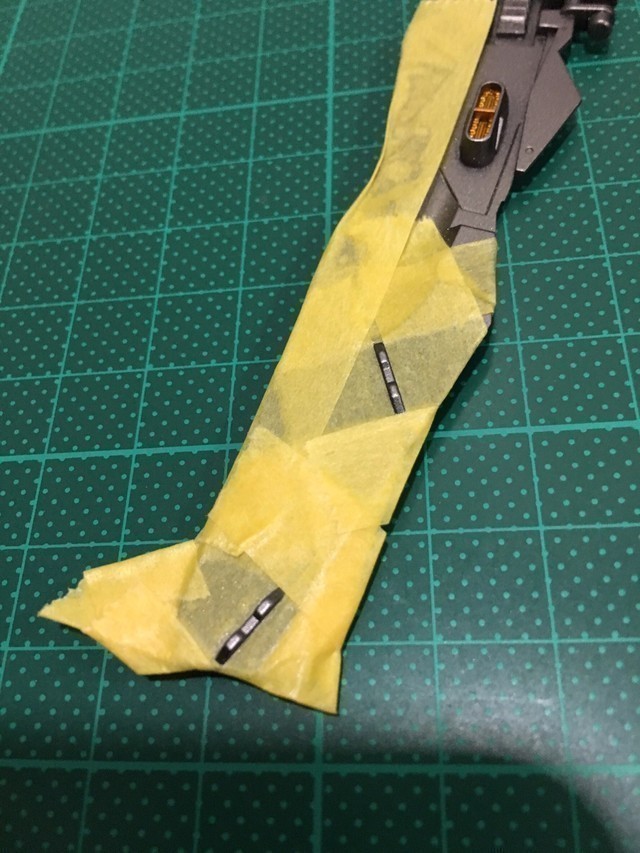
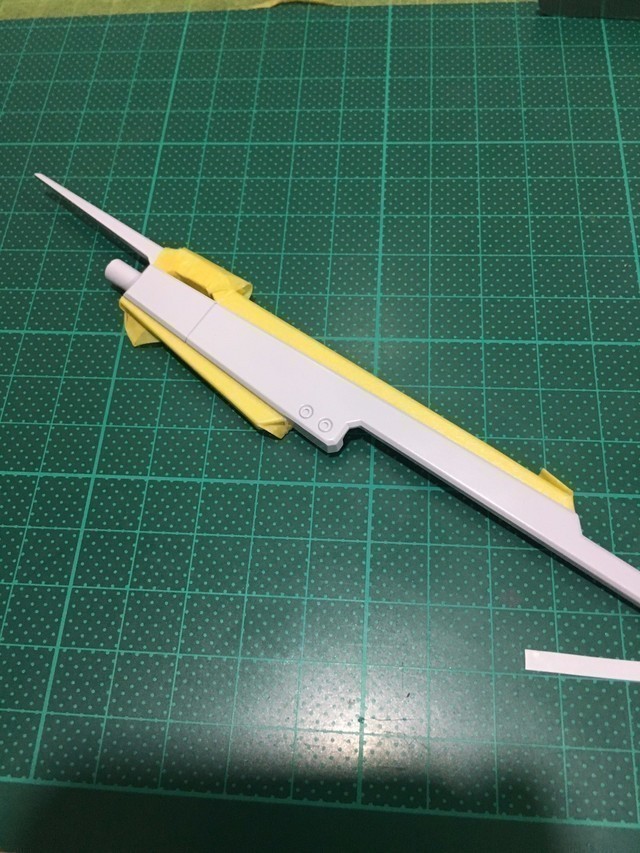
Some parts completed later, casually photographed. Please forgive me for not having many photo records or detailed descriptions, as I recall being in a complete rush at this point due to an approaching deadline XD
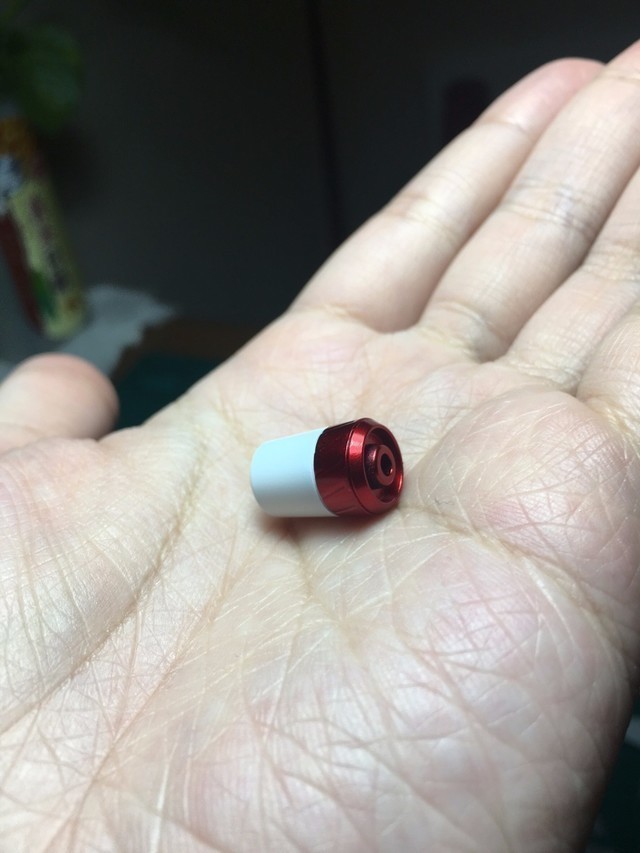
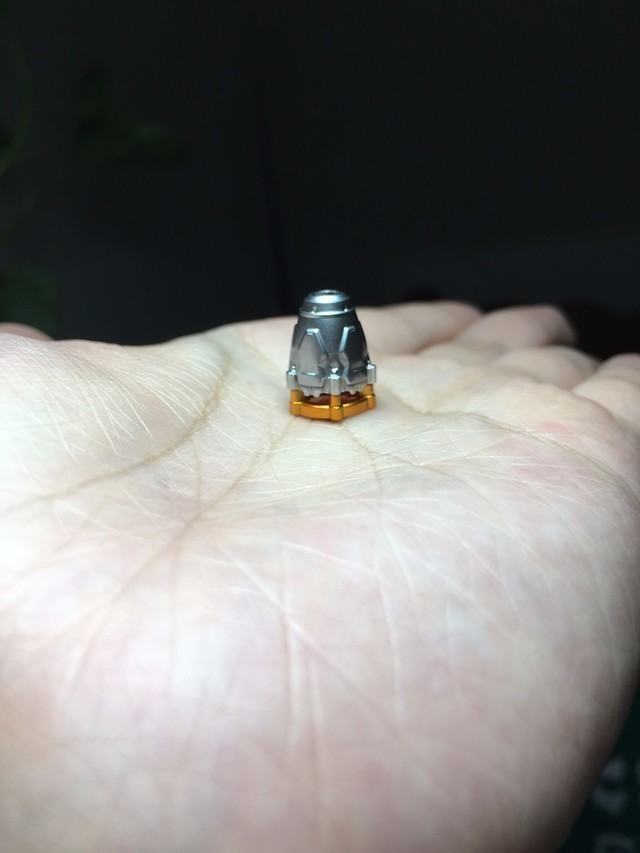
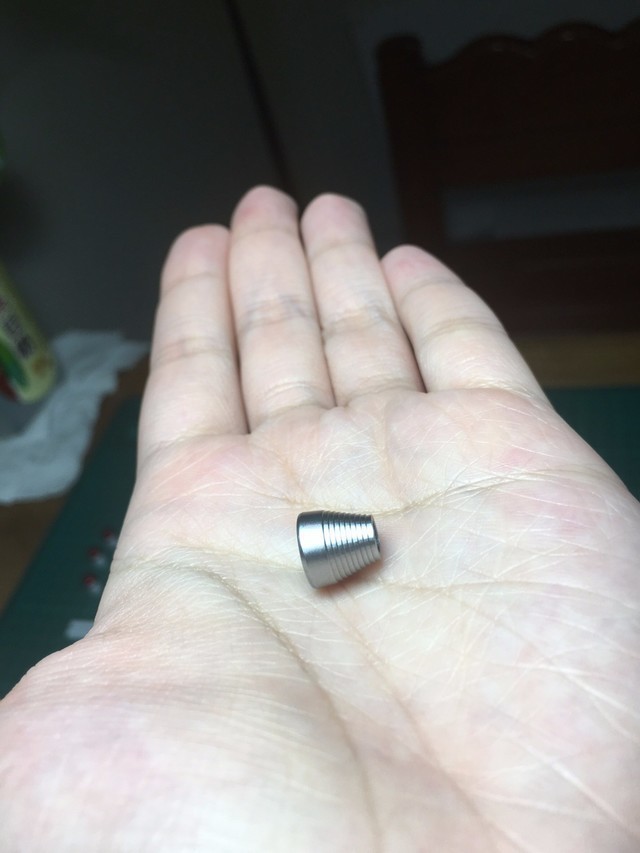
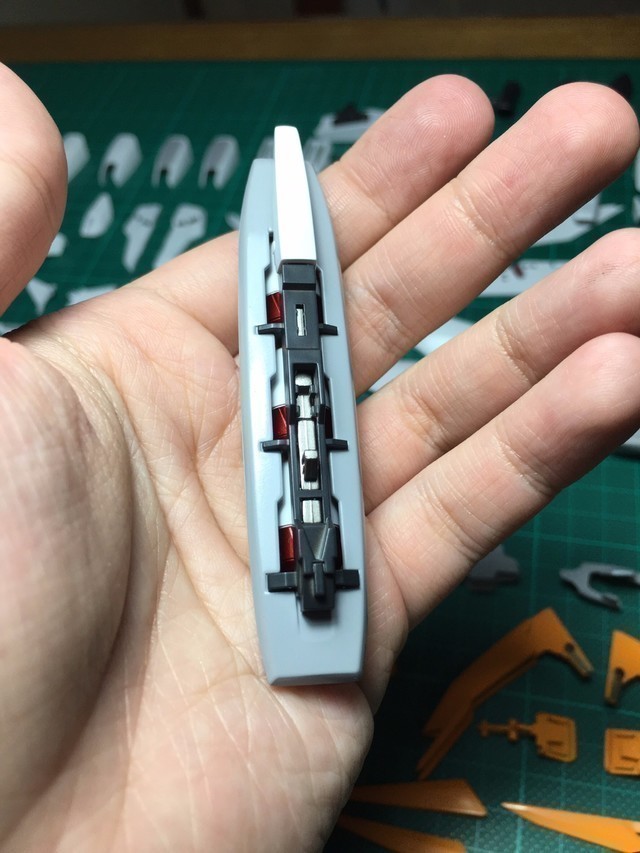
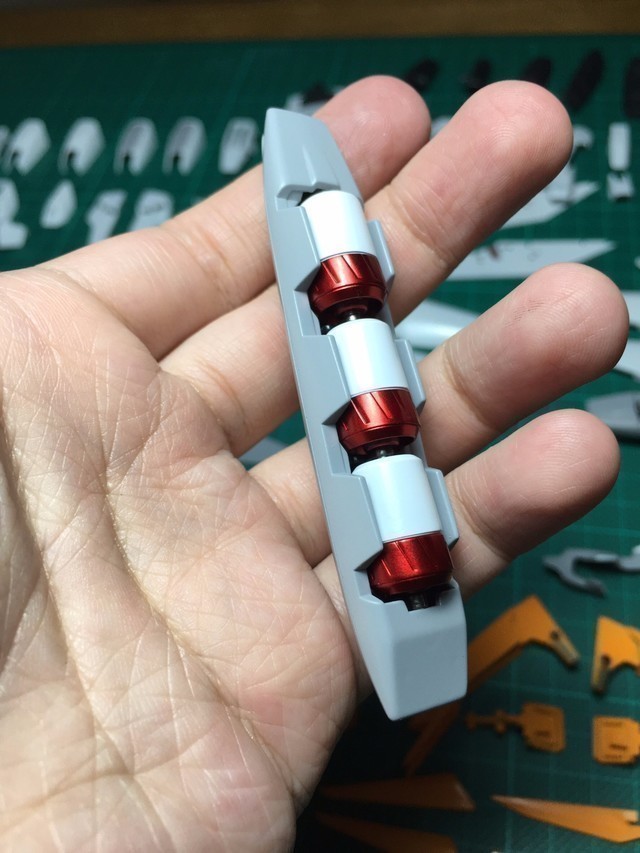
Two shades of blue masking completed.
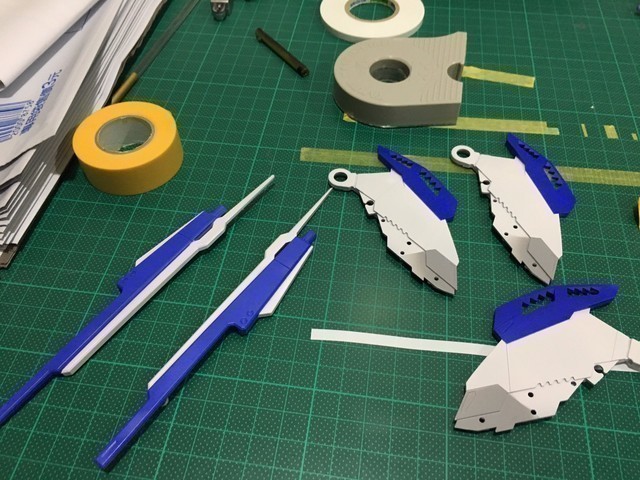
After mixing gray and brown panel lining fluid and gradually applying all the panel lines, a preliminary assembly was done. There are no photo records of the panel lining process, so please refer directly to the images.
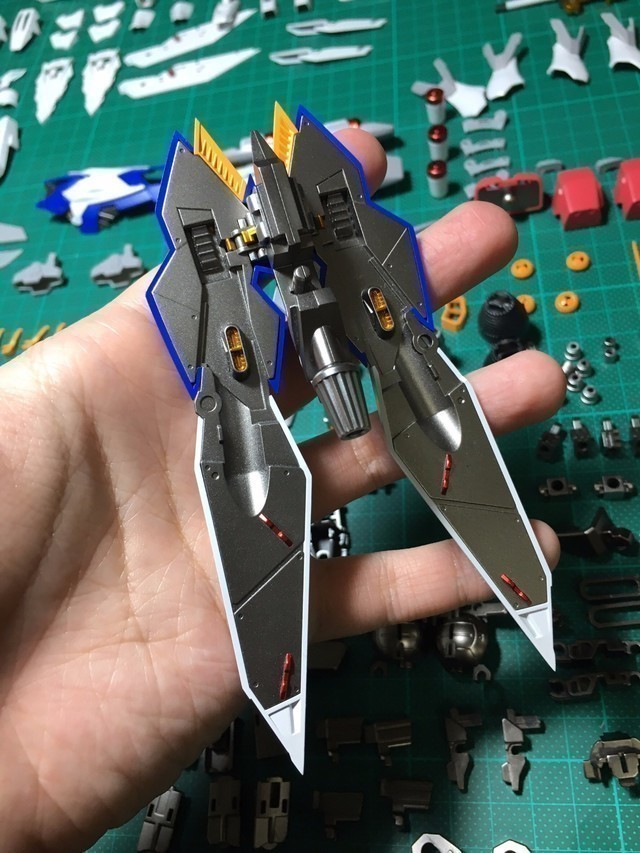
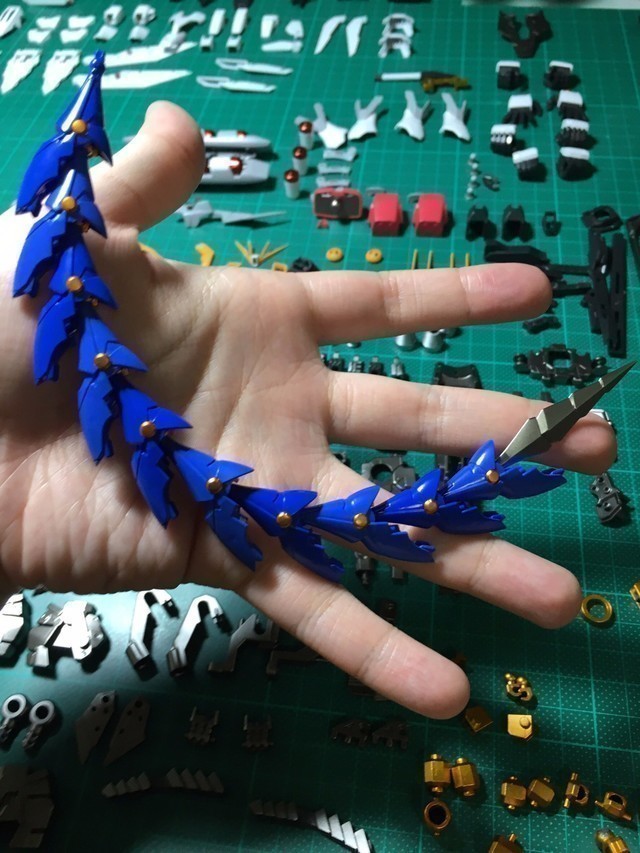
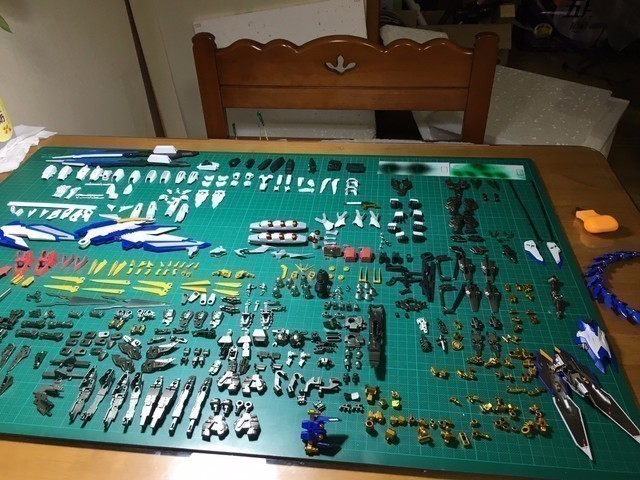
Overall completion, preparing for decal application.
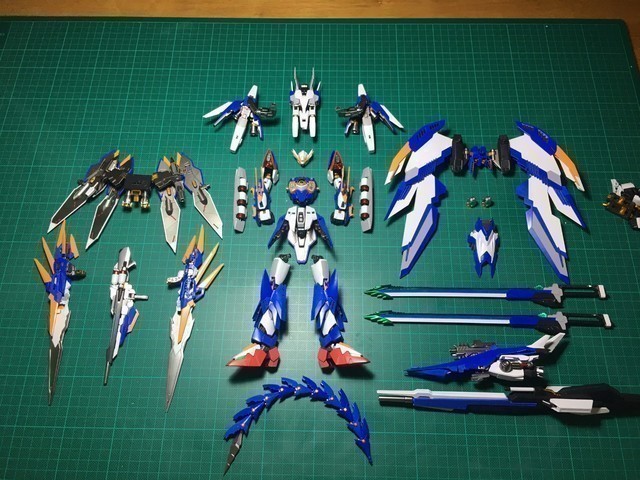
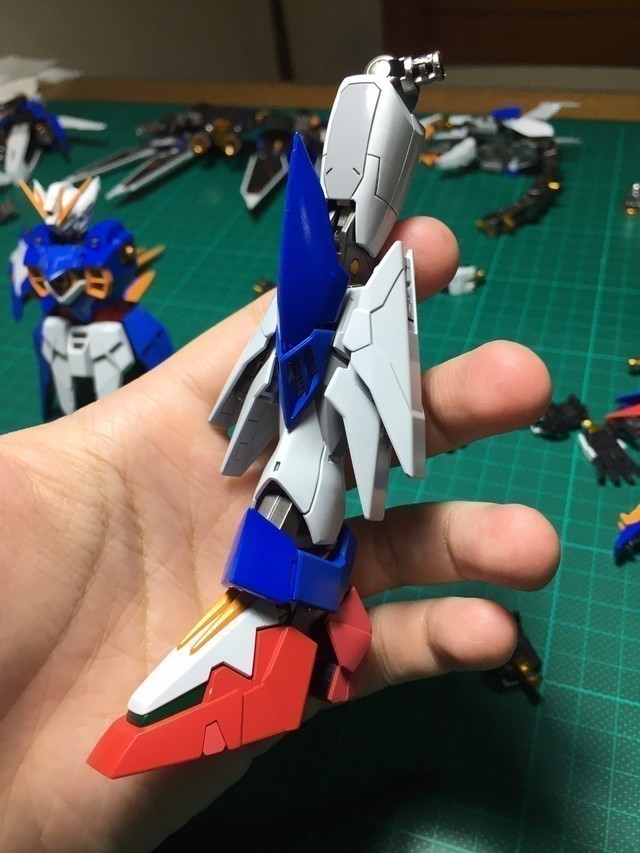
A brief record of the completed individual parts.
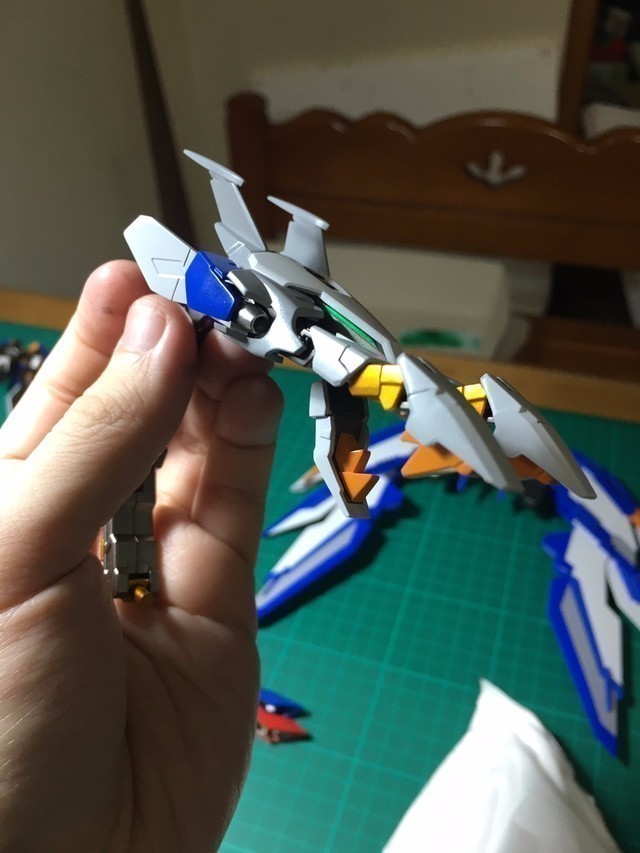
Decal application process record
Head & Upper Body:
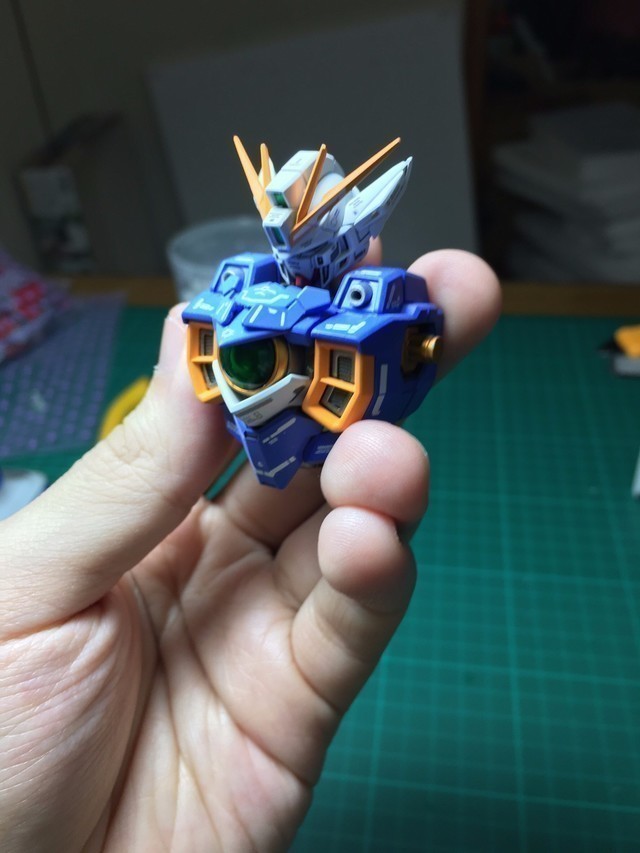
Arms:
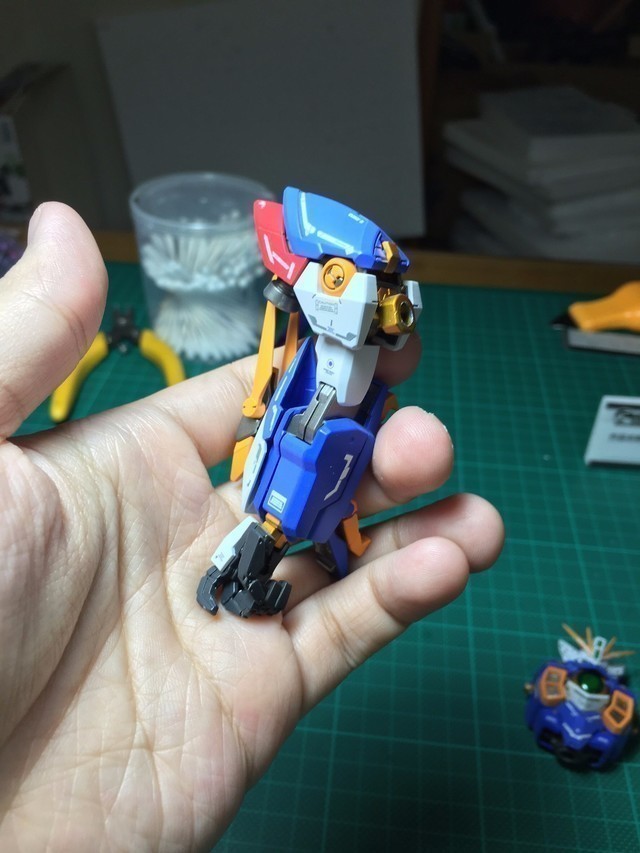
Lower Body:
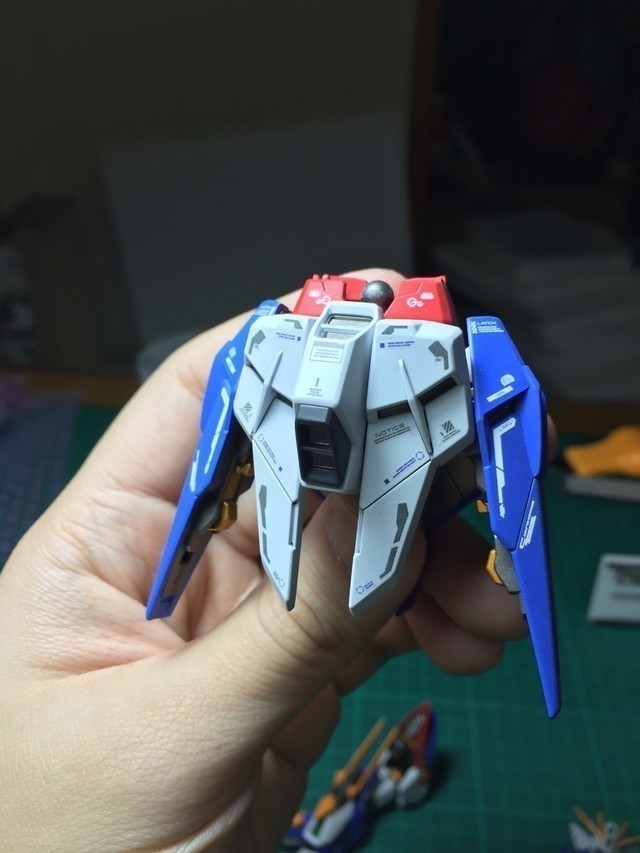
Legs:
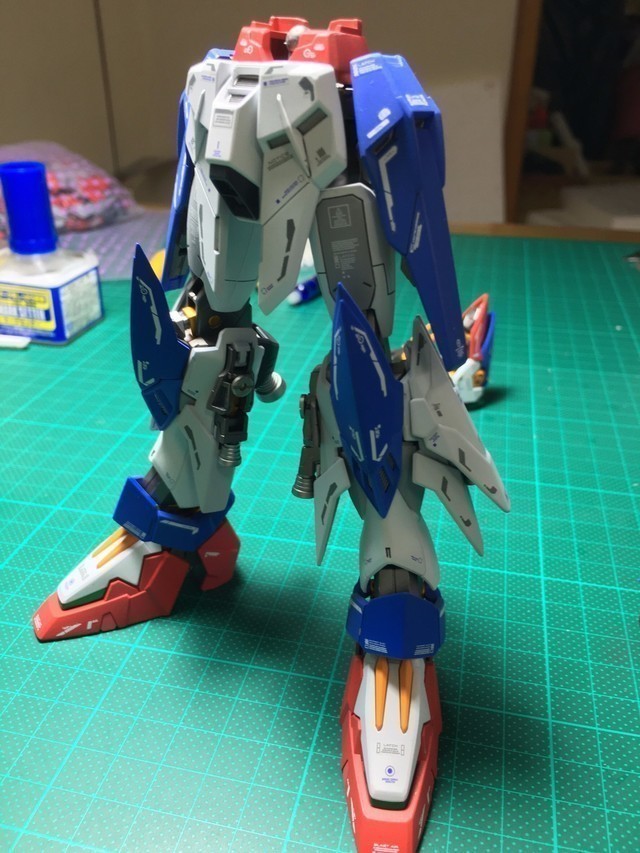
Assembled:
Wings & Armaments:
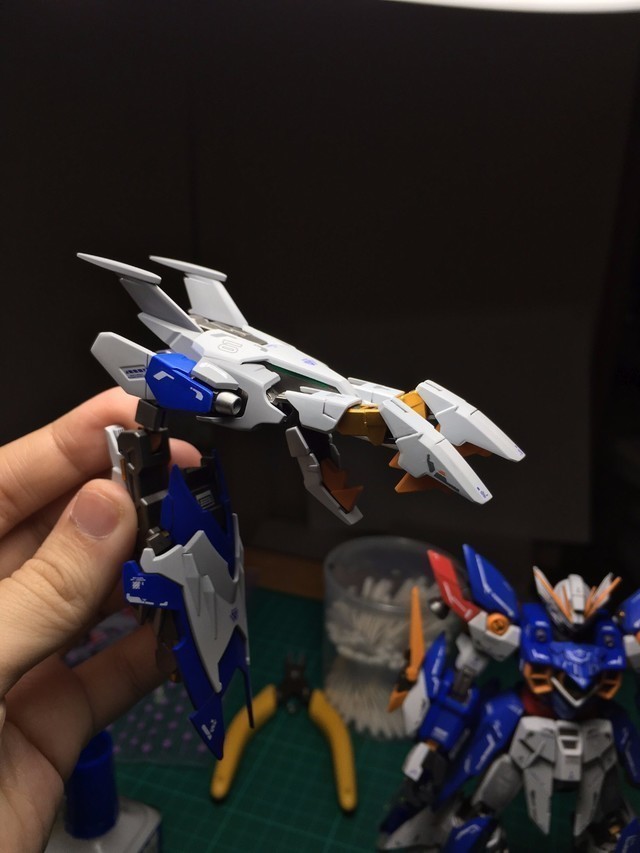
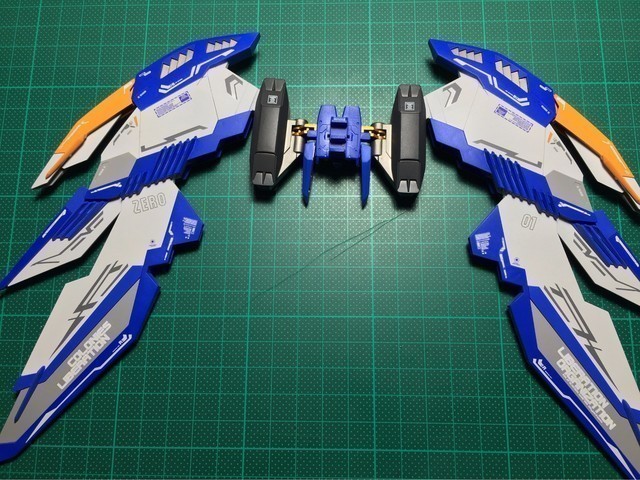
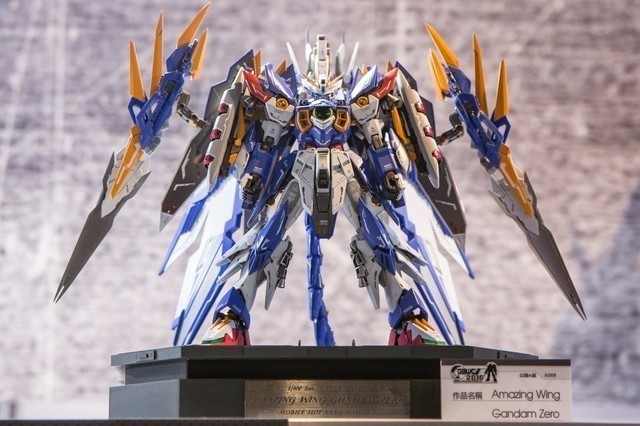
Actually, I remember by this point I was already running out of time to submit, so I just brought the half-finished product to collect a participation prize. Everyone, please don't follow my example... make sure to manage your time well to complete your work OAO!!
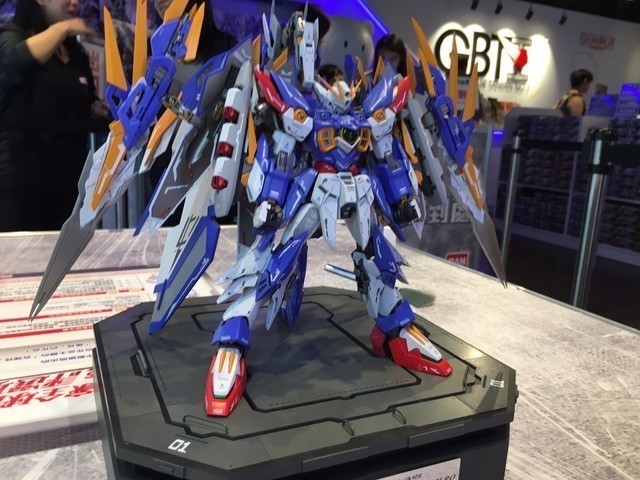
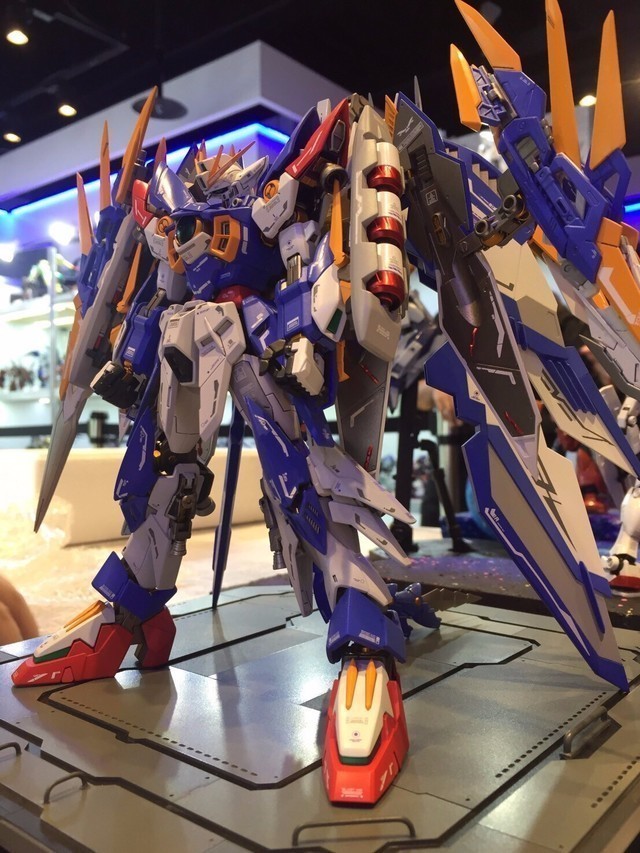
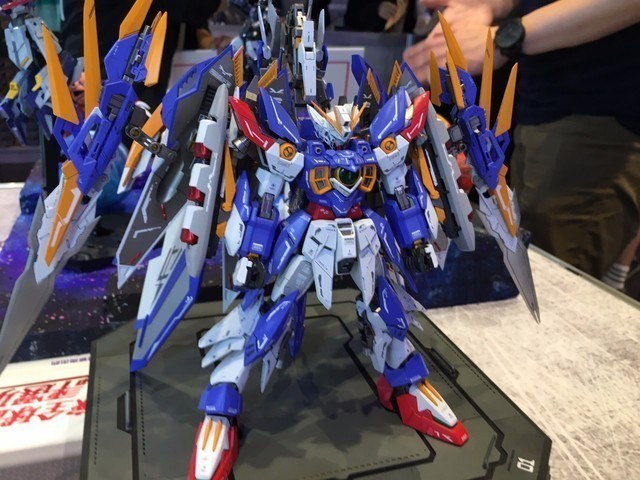
A few days after returning home, I found someone had helped post photos online. Although, I feel a bit guilty about how they turned out... OAO||
A special thanks here to fellow enthusiast: Mr. Cai Si-xian, for helping me take such beautiful photos. Many thanks =w=/
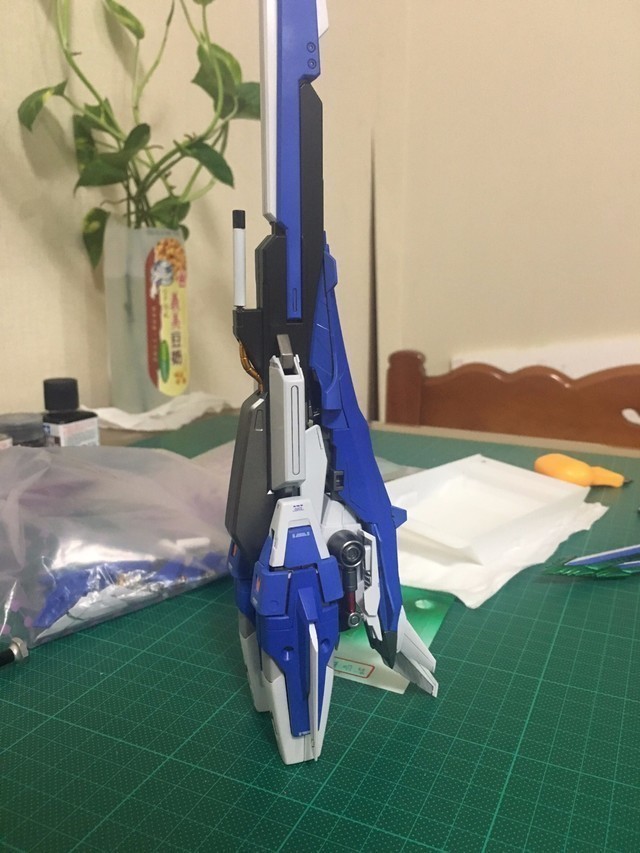
During the exhibition period, I quickly went home to finish the parts I could still work on.
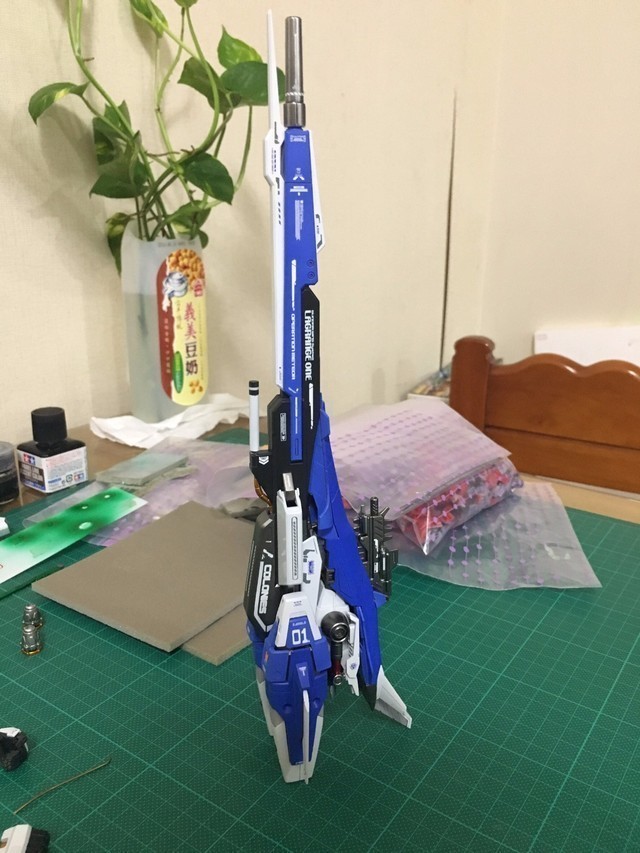
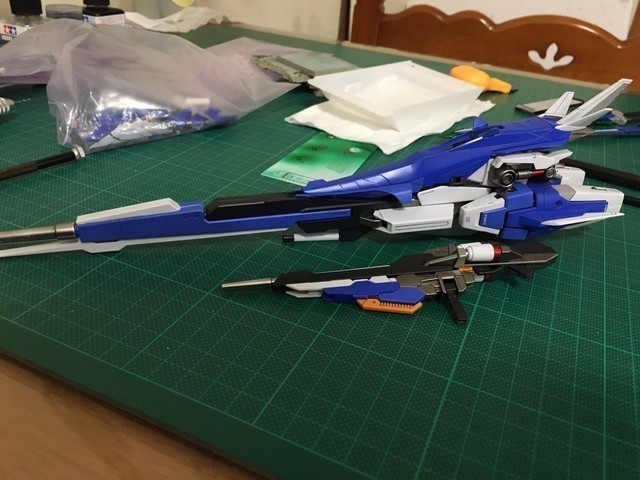
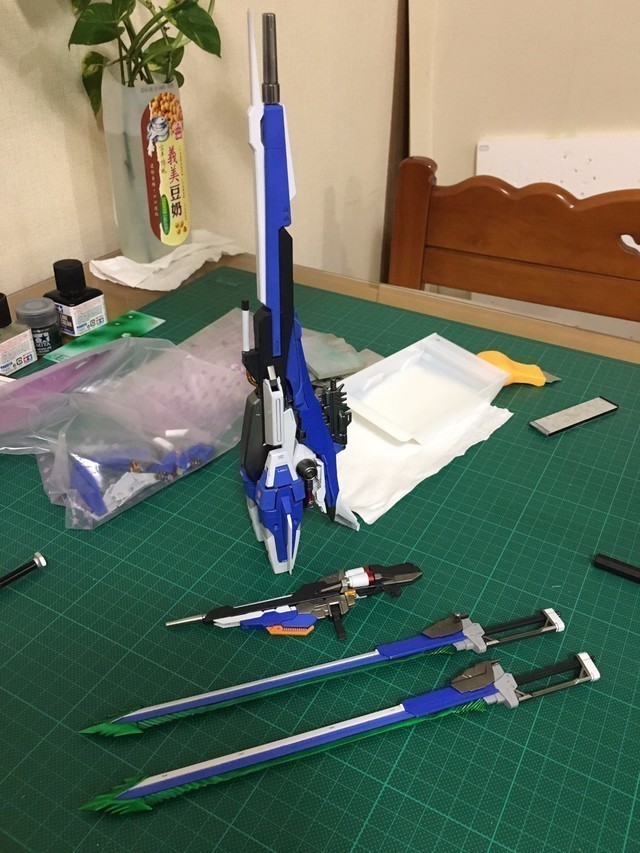
2016/8/28 - On Sunday, I retrieved the work. Honestly, look at it, if you don't say anything and I don't say anything, no one would know I didn't finish it, right!? =w=|| (Silence!)
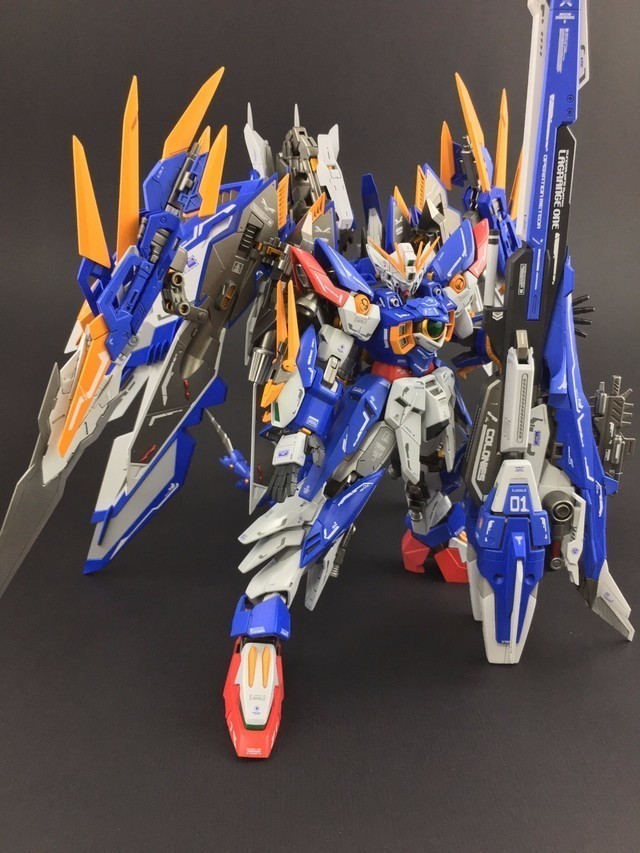
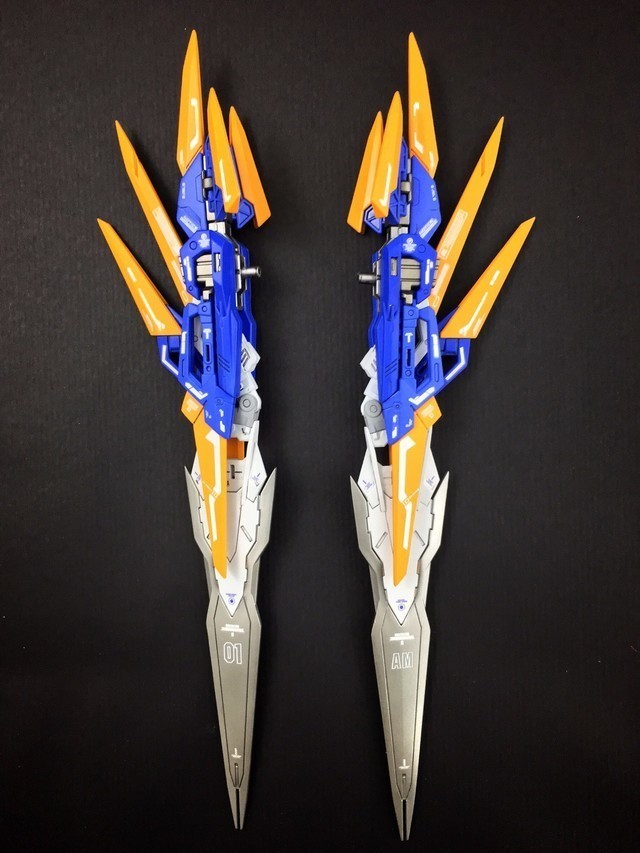
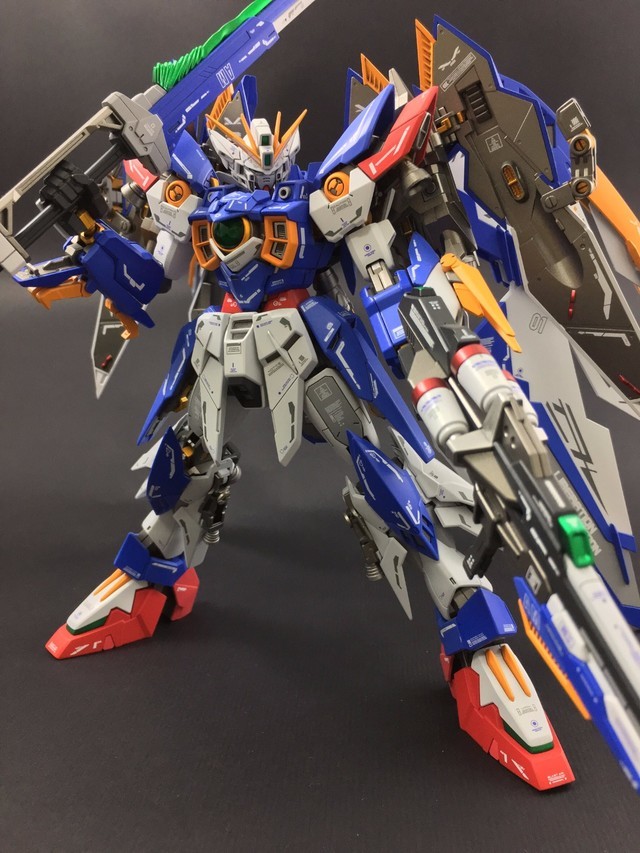
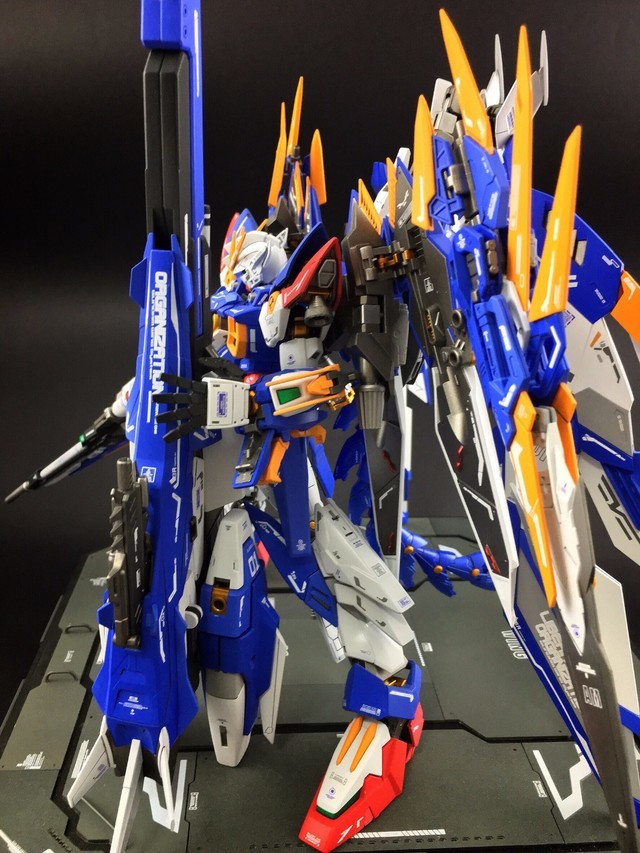
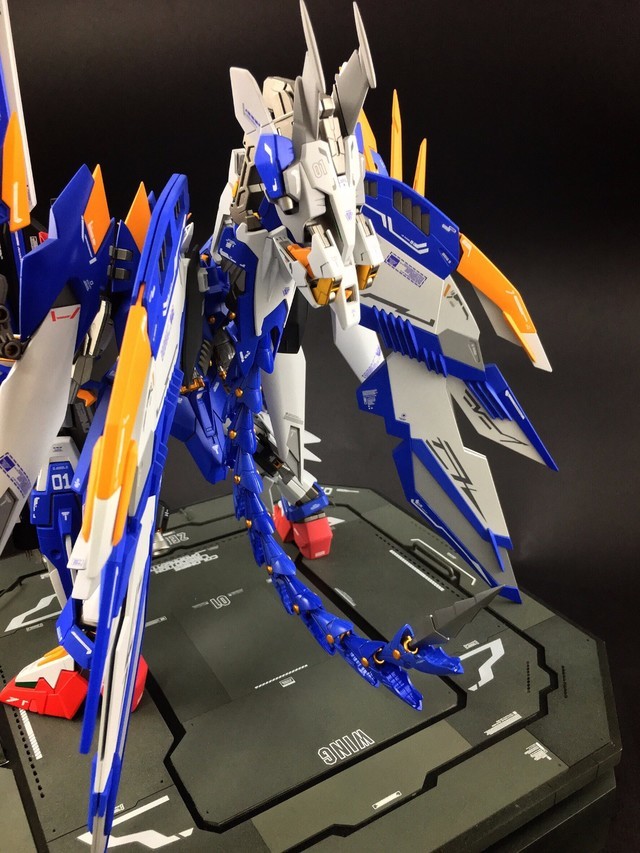
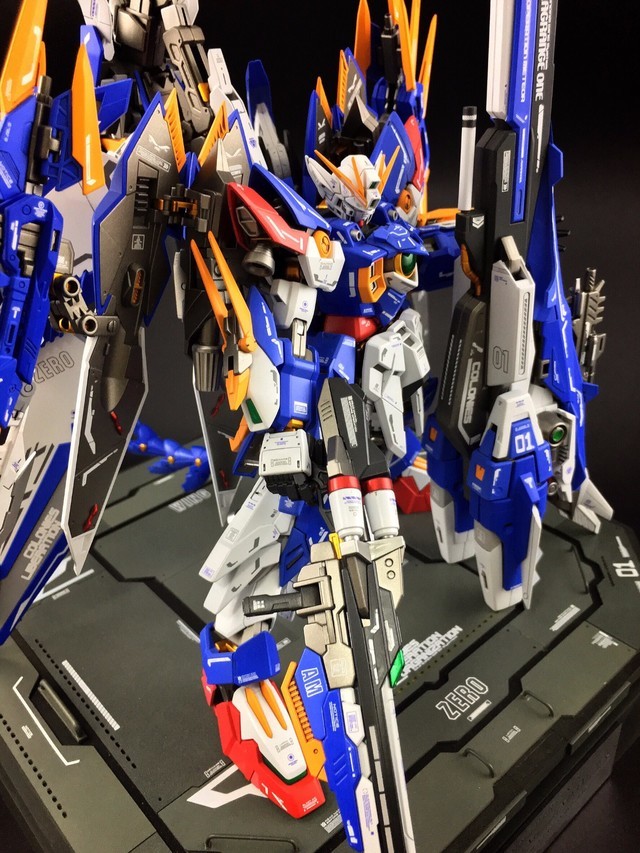
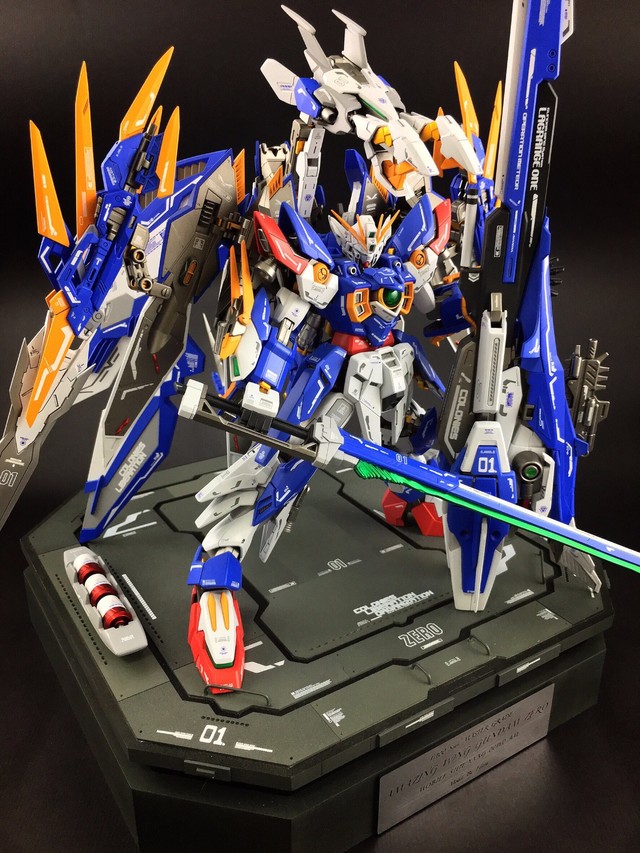
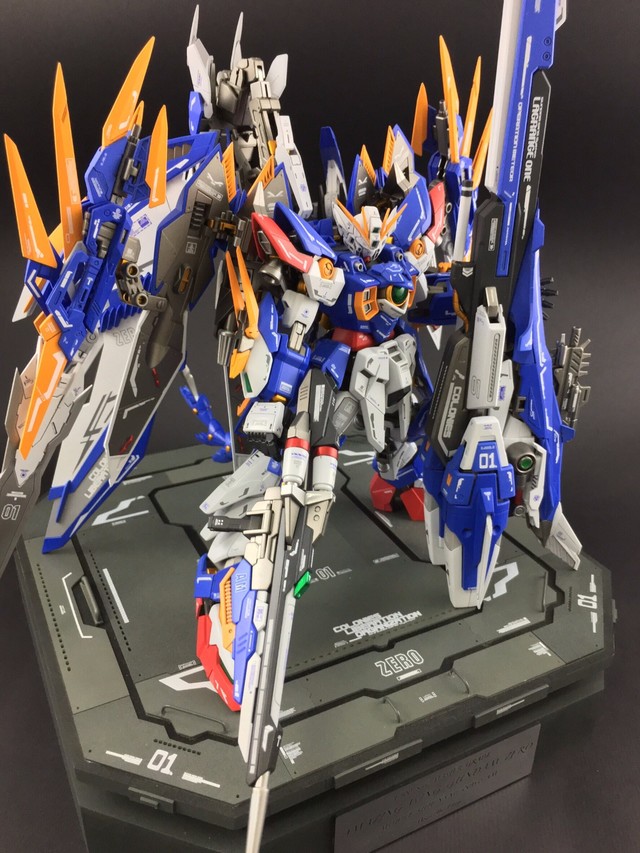
As I've mentioned repeatedly, due to the rushed process, not only was I unable to complete it on time, but even the progress records aren't very comprehensive (I promise I'll diligently record everything next time OAO||). In any case, utilizing this weekend and the evenings after the children went to sleep, I finally completed it. In terms of armaments, besides the D-type blade and MEGA Particle Cannon, for mobility, it is naturally also equipped with a standard beam rifle and a ship-slicing sword (!?), and is now ready for studio photography.
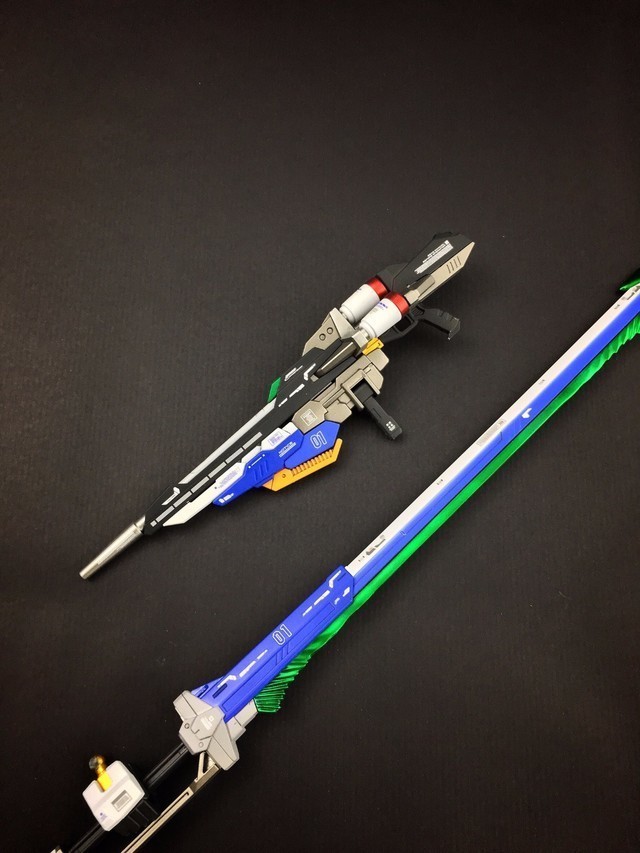
Studio Shots:
As before, all photos below were taken with a mobile phone and are not professionally shot. The background is black full-sheet pastel paper bought from a stationery store, and all uploaded image files have been compressed, so please forgive any lack of image quality. I won't elaborate further below; please enjoy the photos directly =w=
P.S. I really wish I could buy a good camera to take photos for you all, otherwise, I can't capture the true quality of the work OAO!!
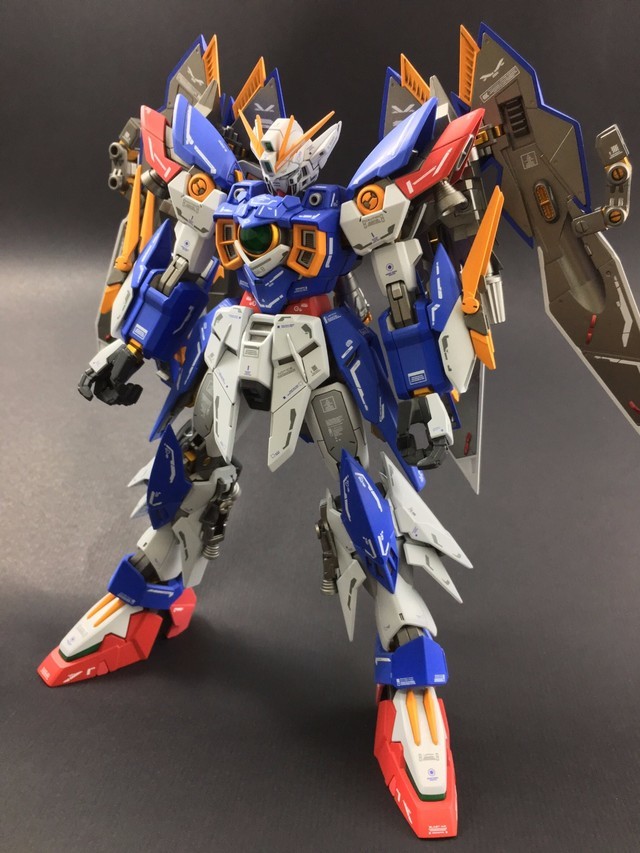
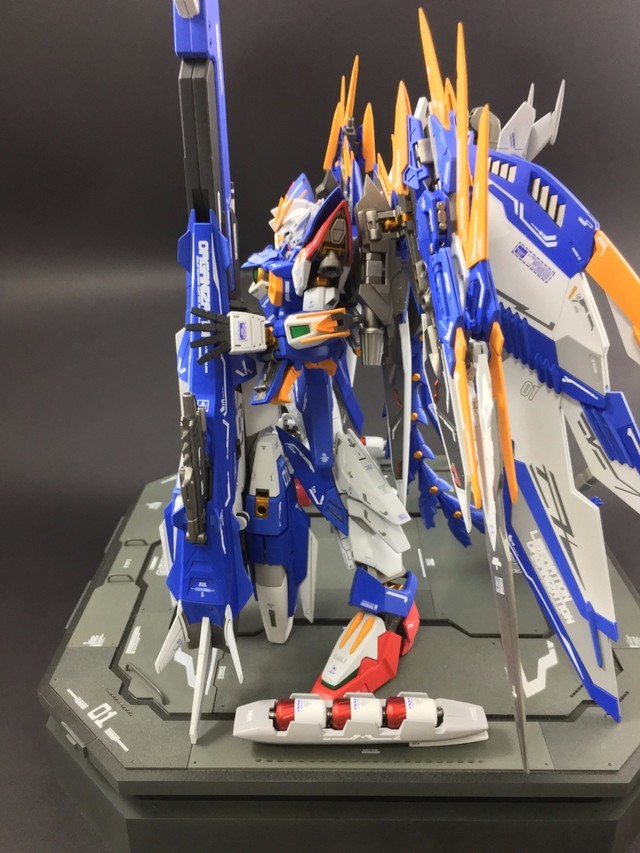
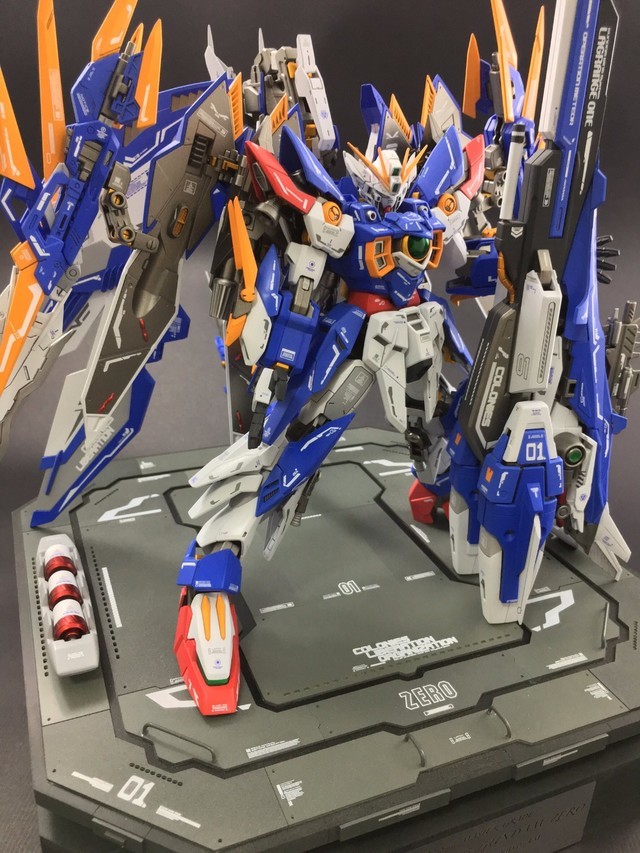
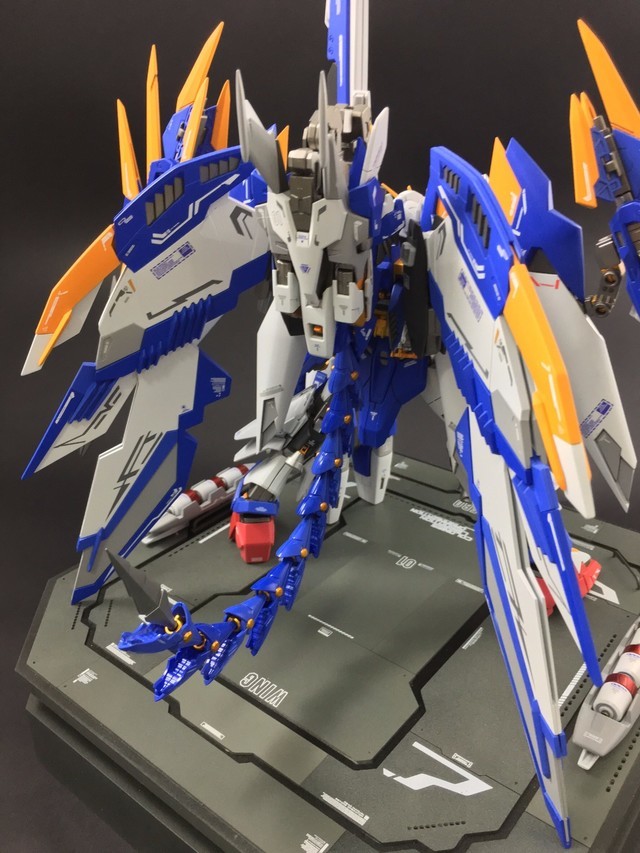
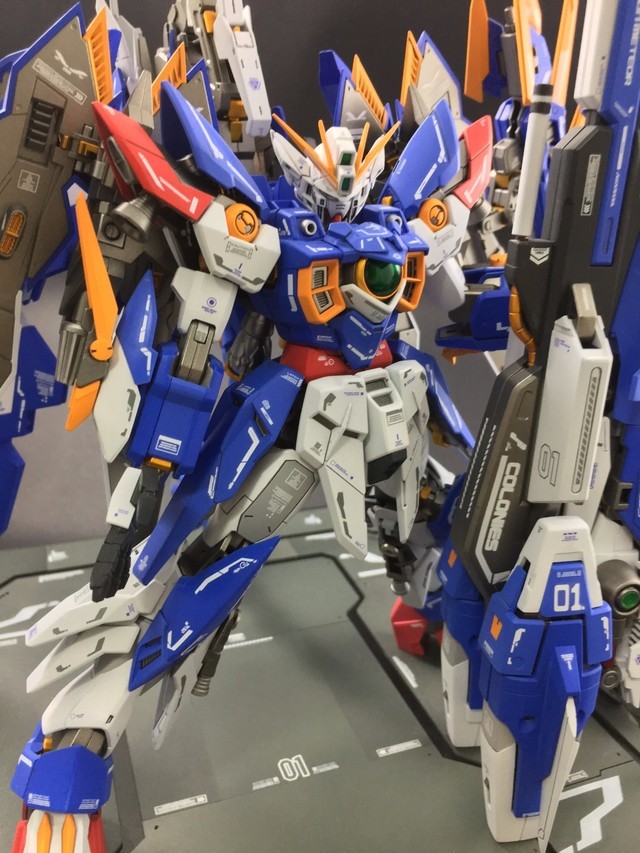
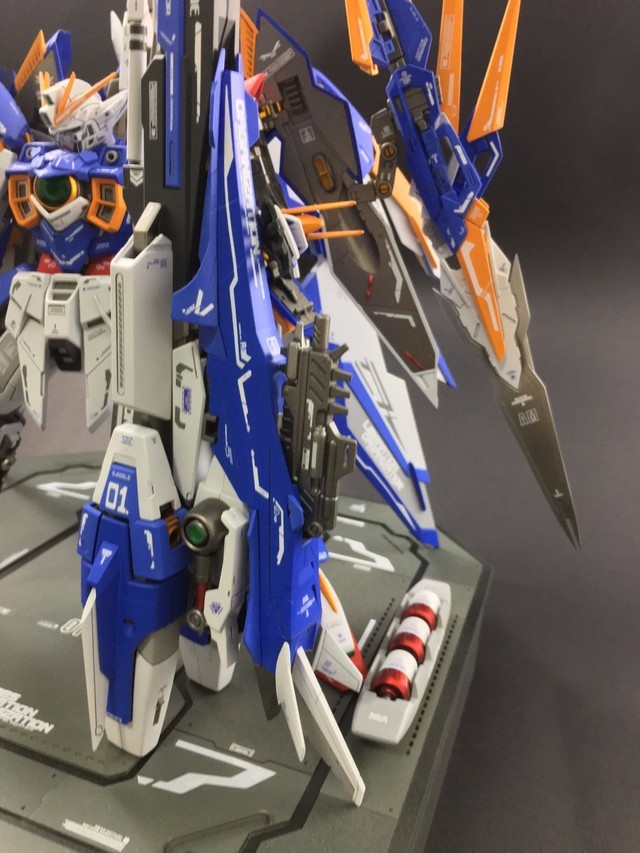
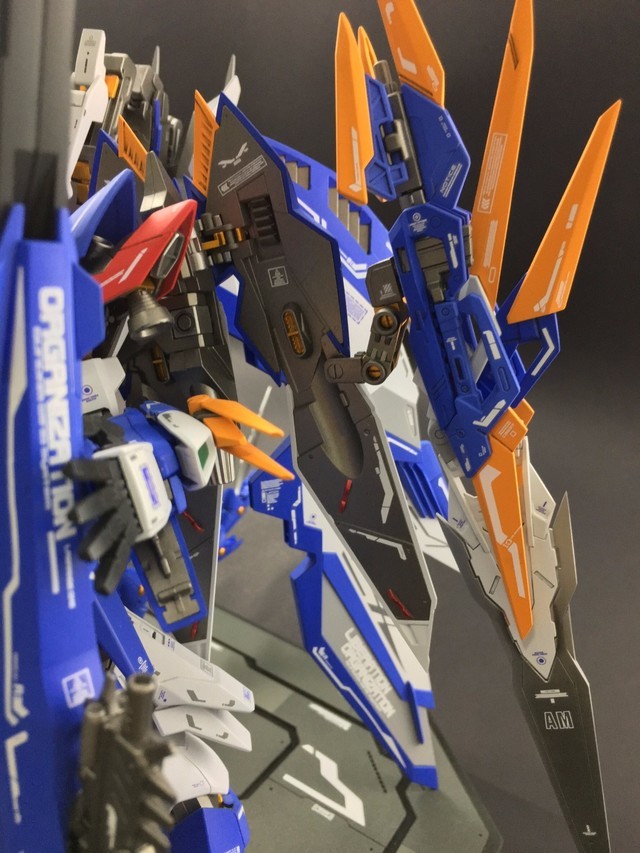
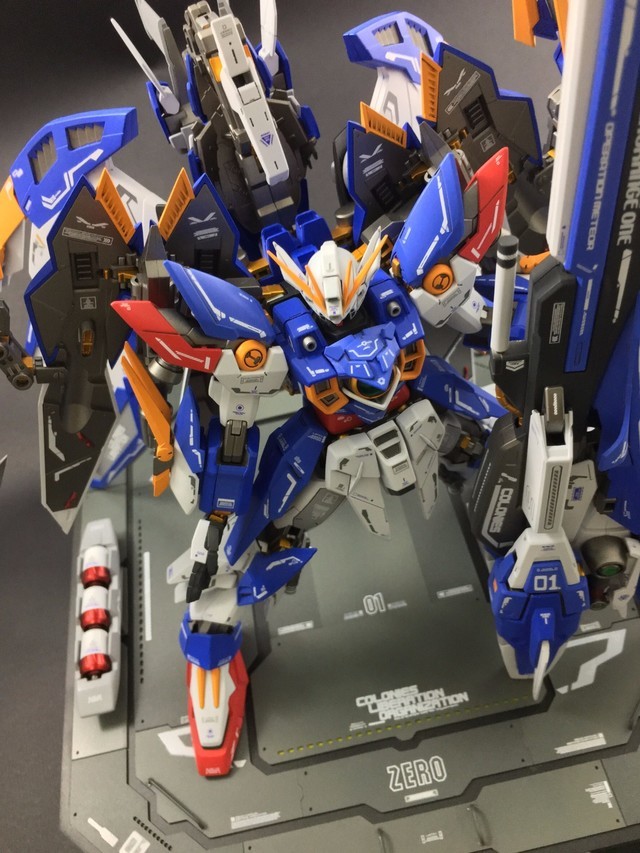
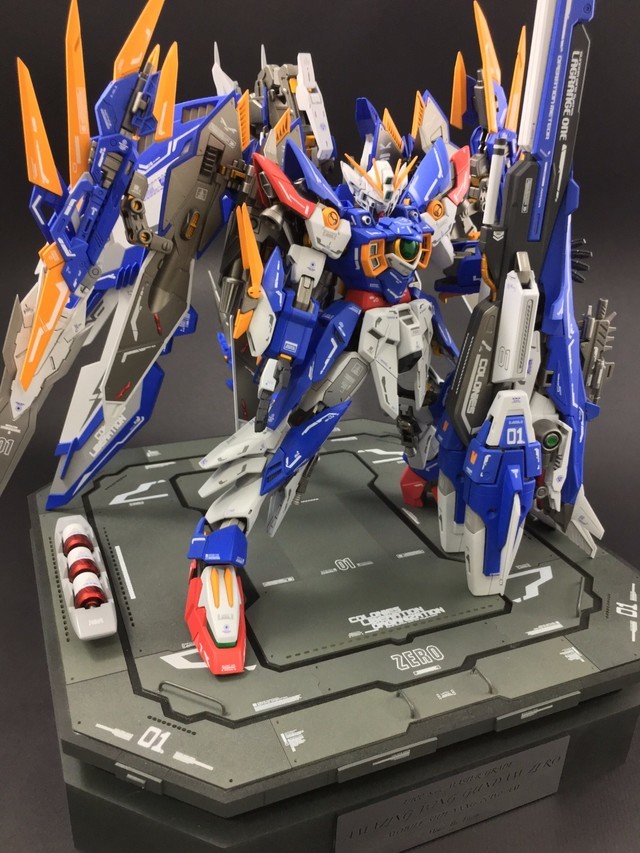
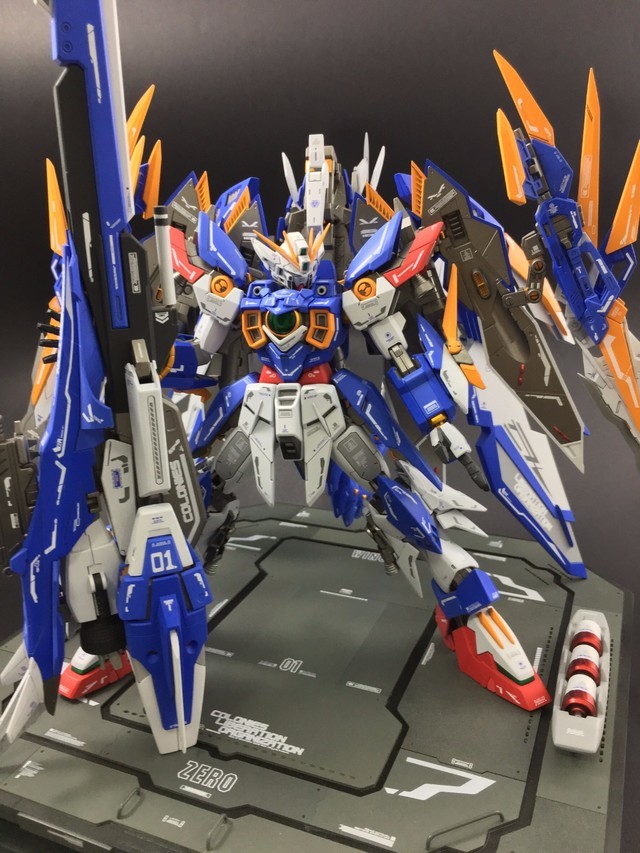
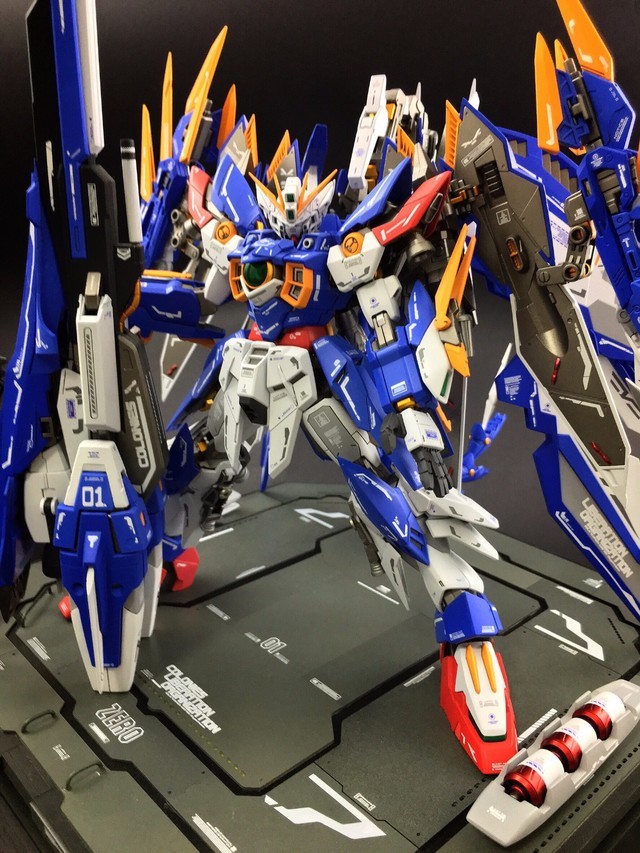
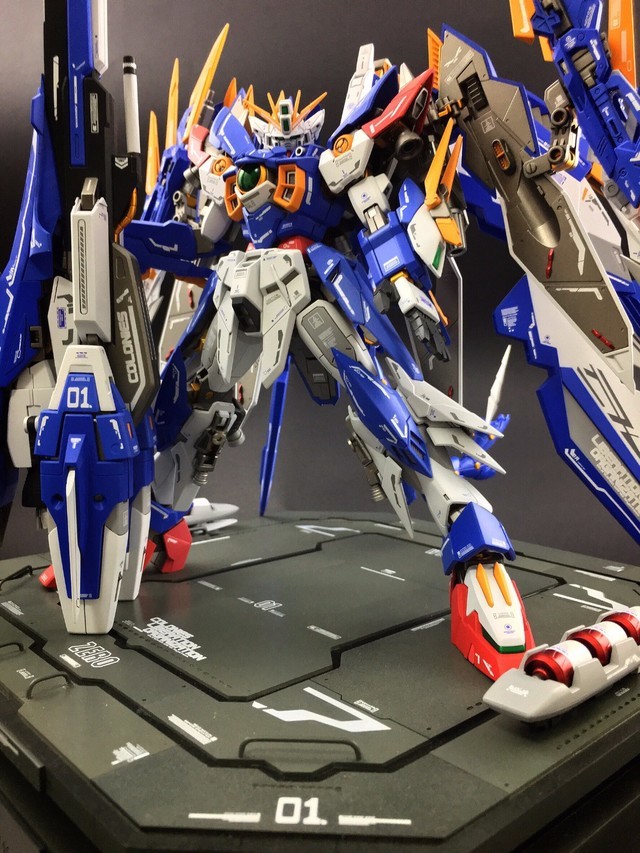
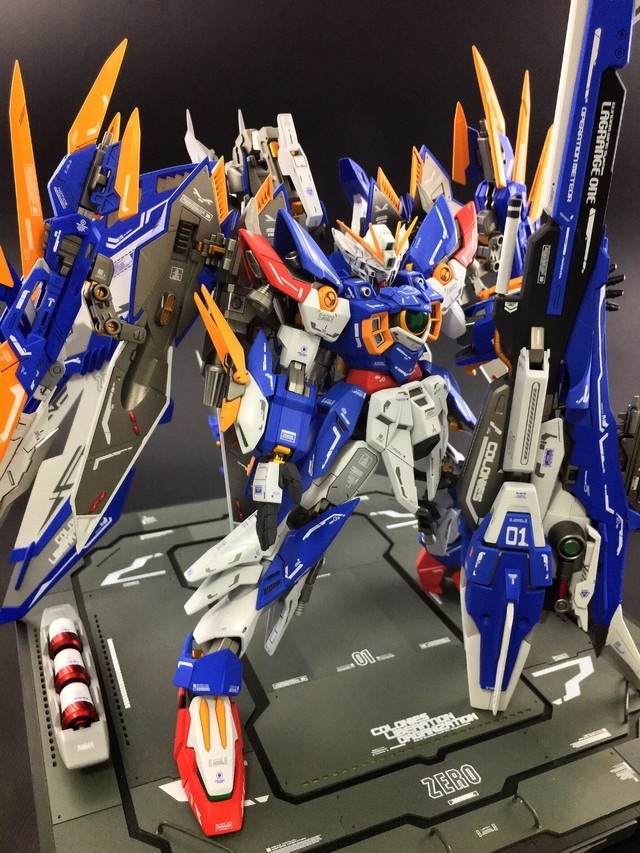
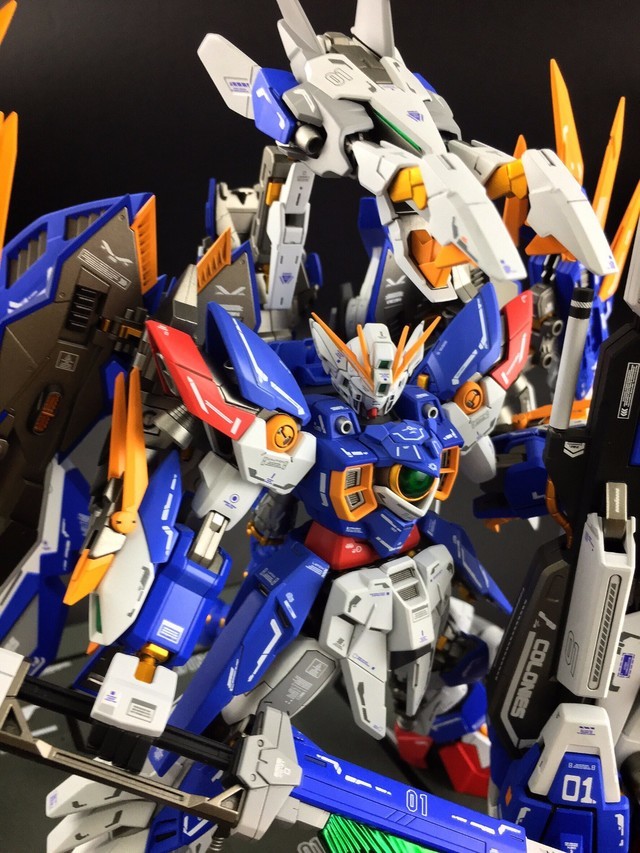
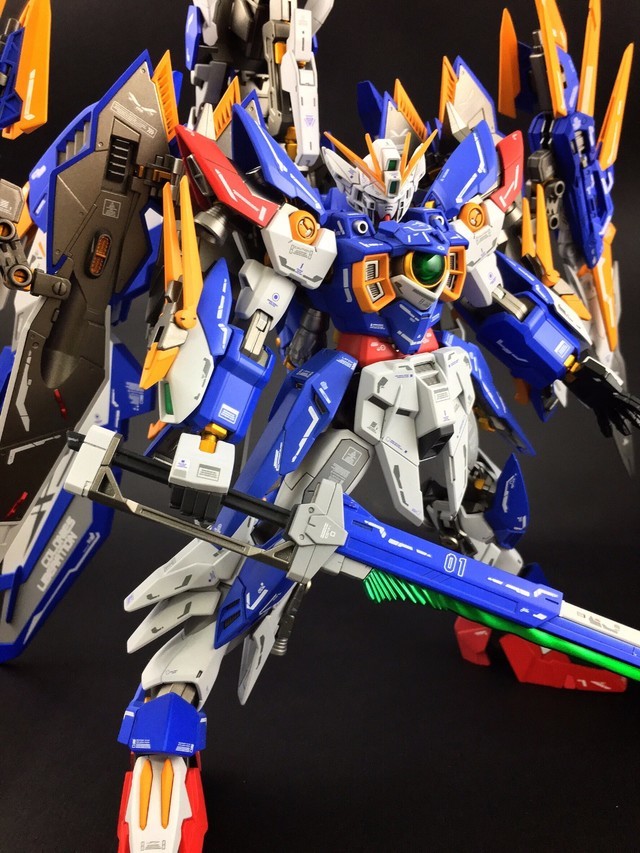
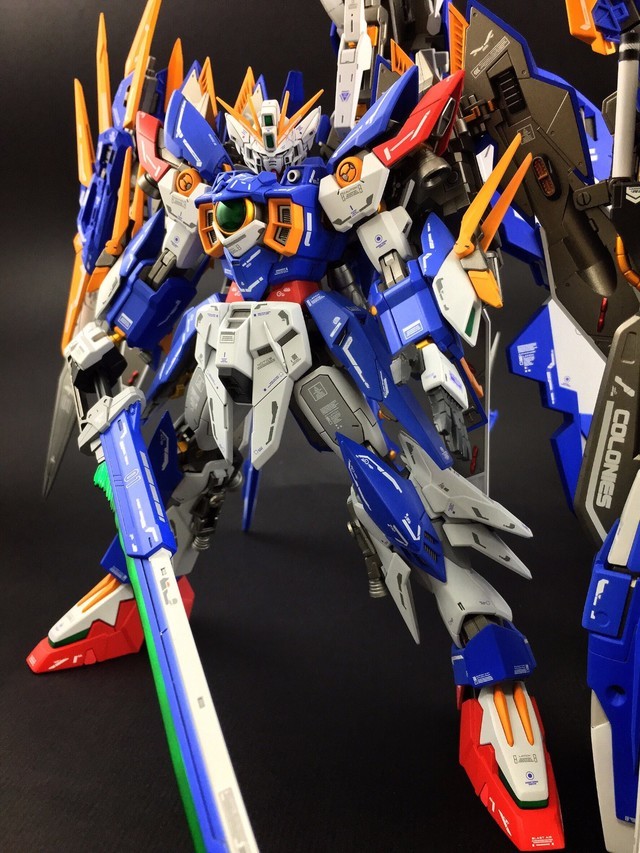
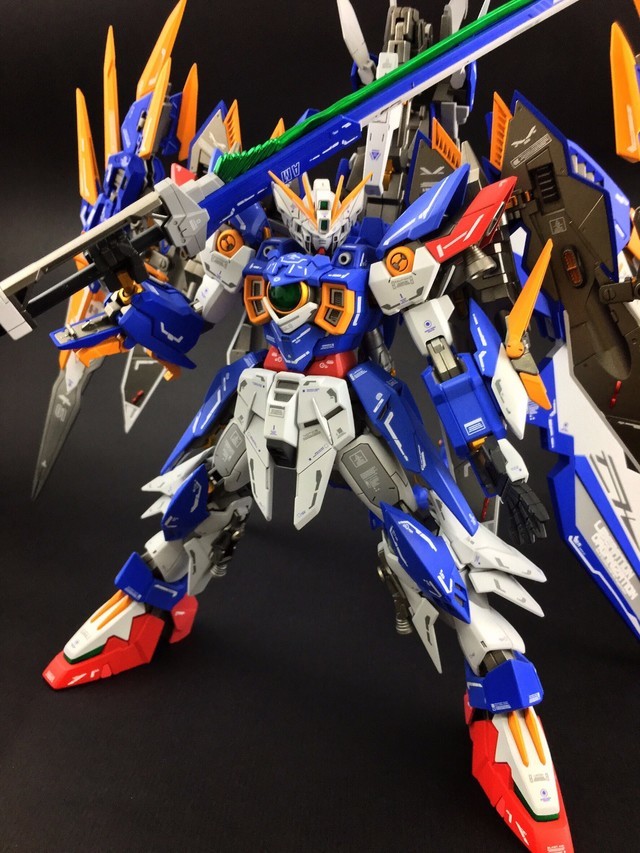
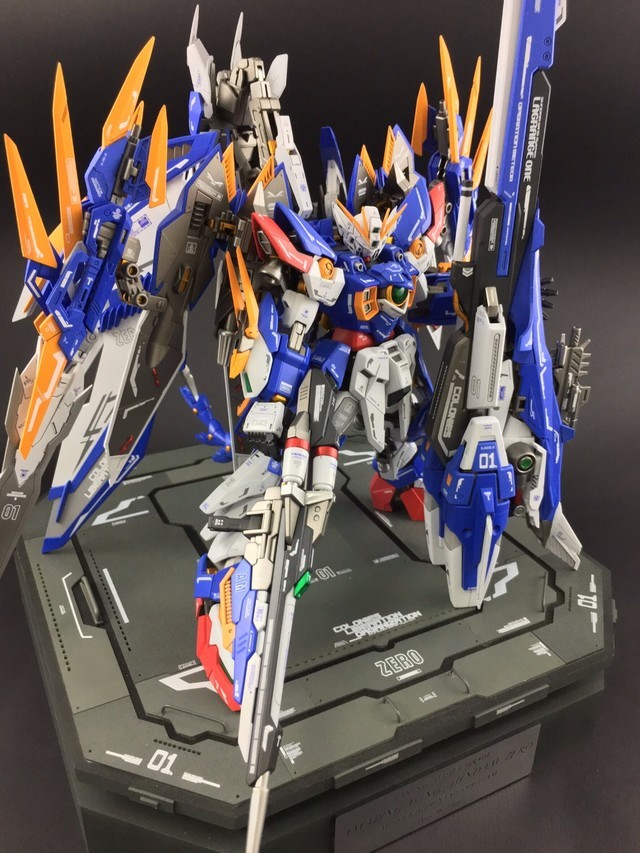
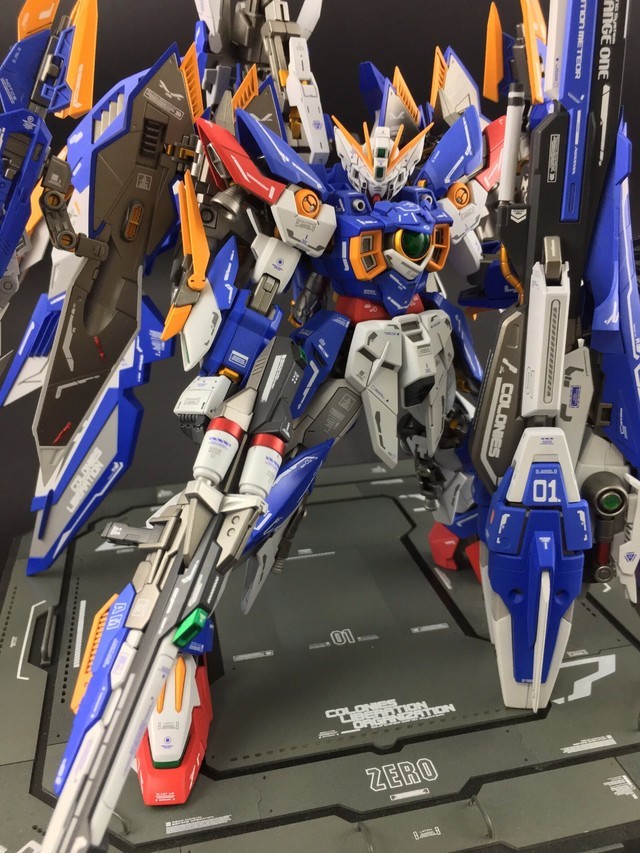
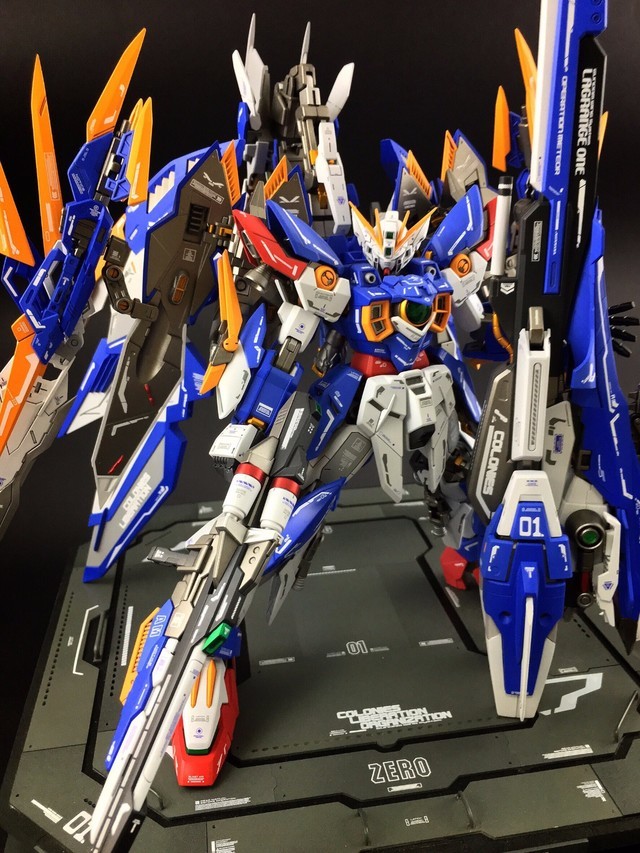
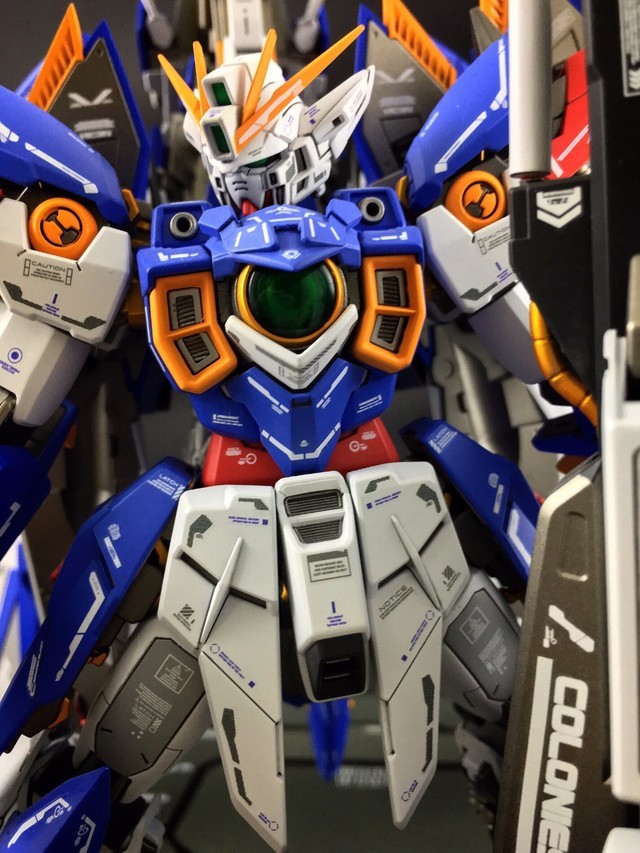
MG 1/100 Amazing Wing Gundam Zero (驚奇飛翼鋼彈零式)
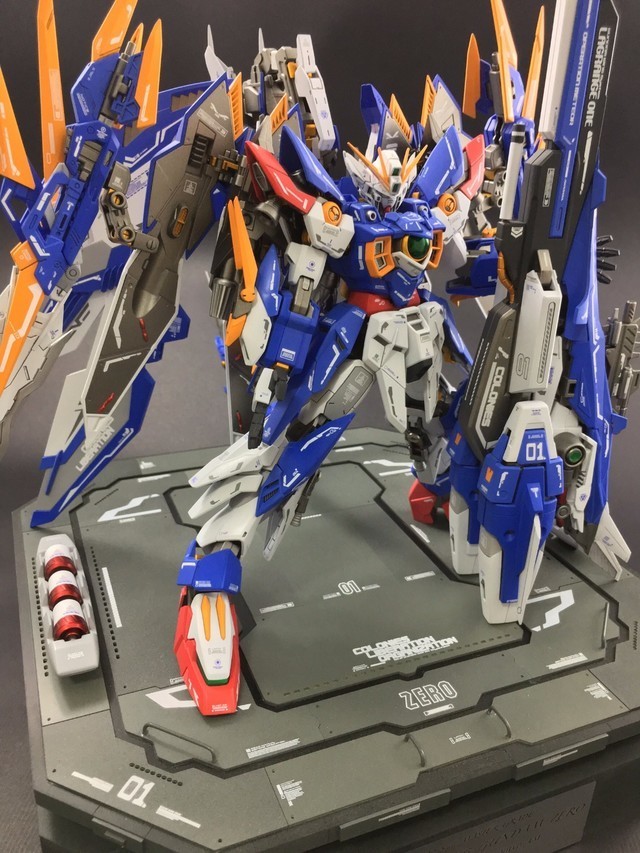
I started shooting from the light armament and gradually added the equipment piece by piece.
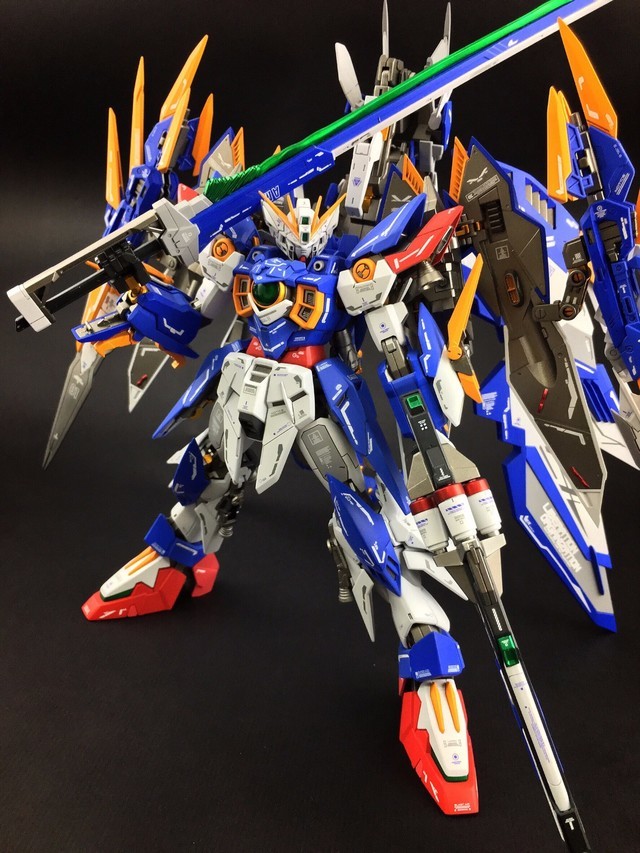
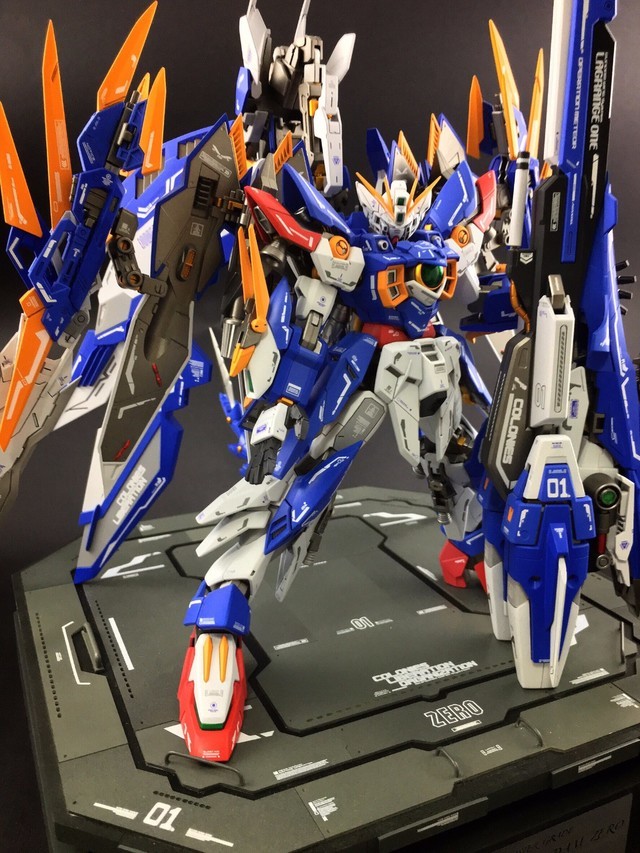
Afterword:
Thank you all very much for patiently reading through my lengthy build article once again. The 2016 GBWC, although I only managed to get a participation award, was still a very important memory for me. I also saw many fellow enthusiasts' meticulously crafted works, and the feeling of exchanging ideas was truly wonderful =w=/
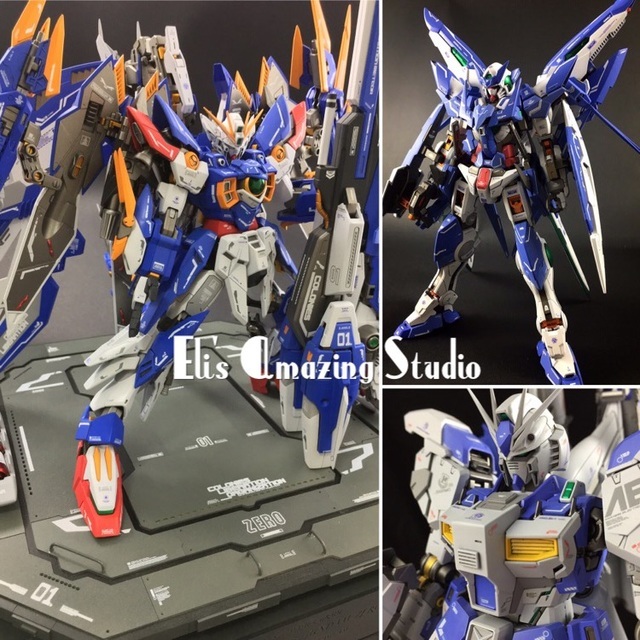
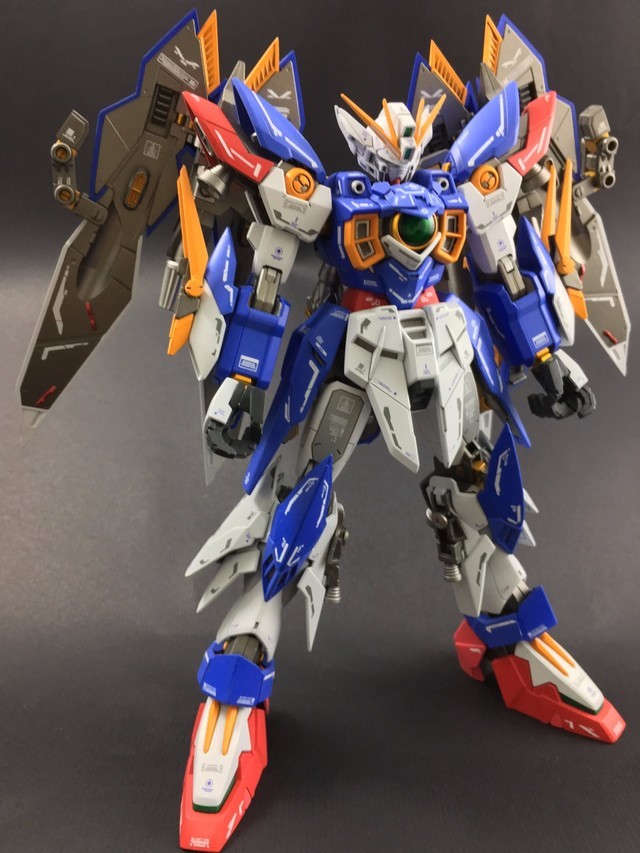
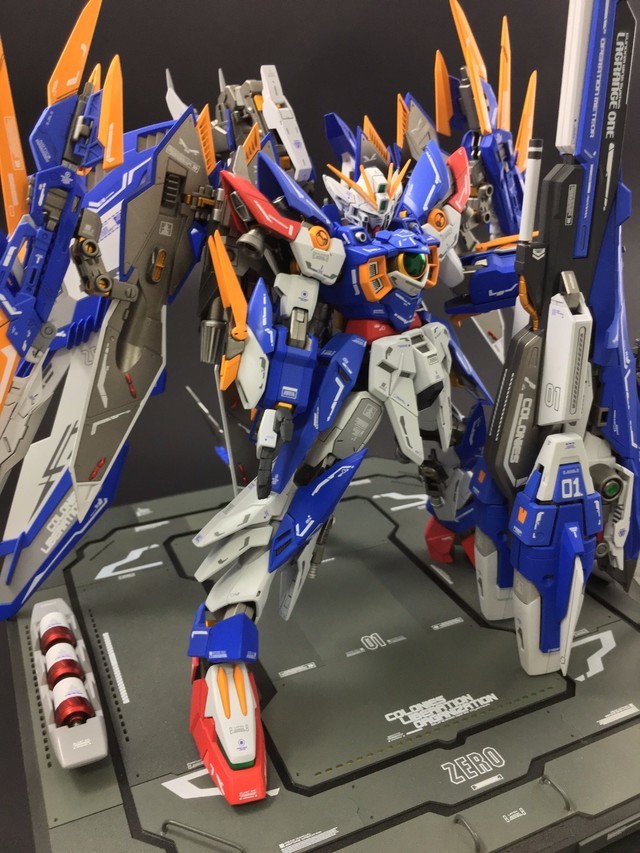
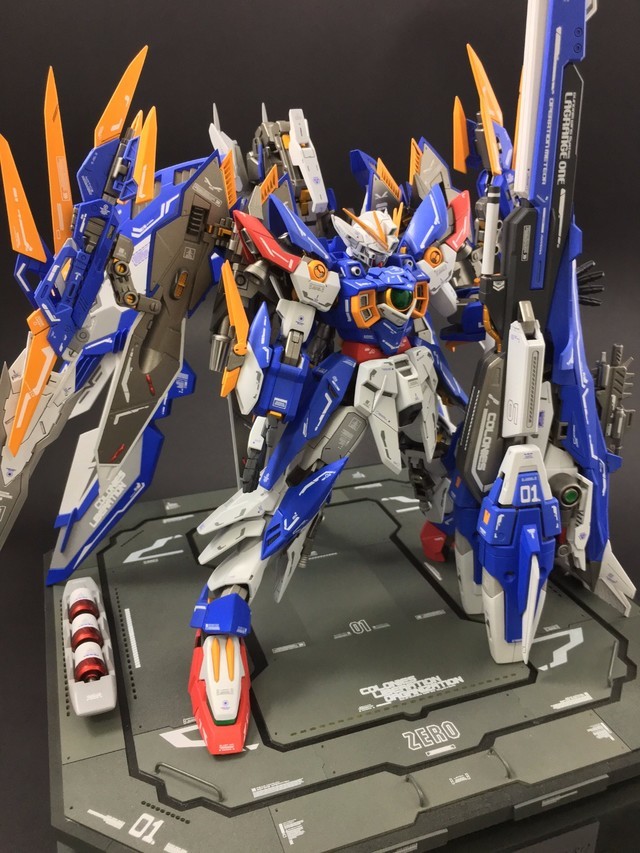
Finally, I'll conclude with two poses featuring the full armament. Thank you all for watching ^^
-END-