

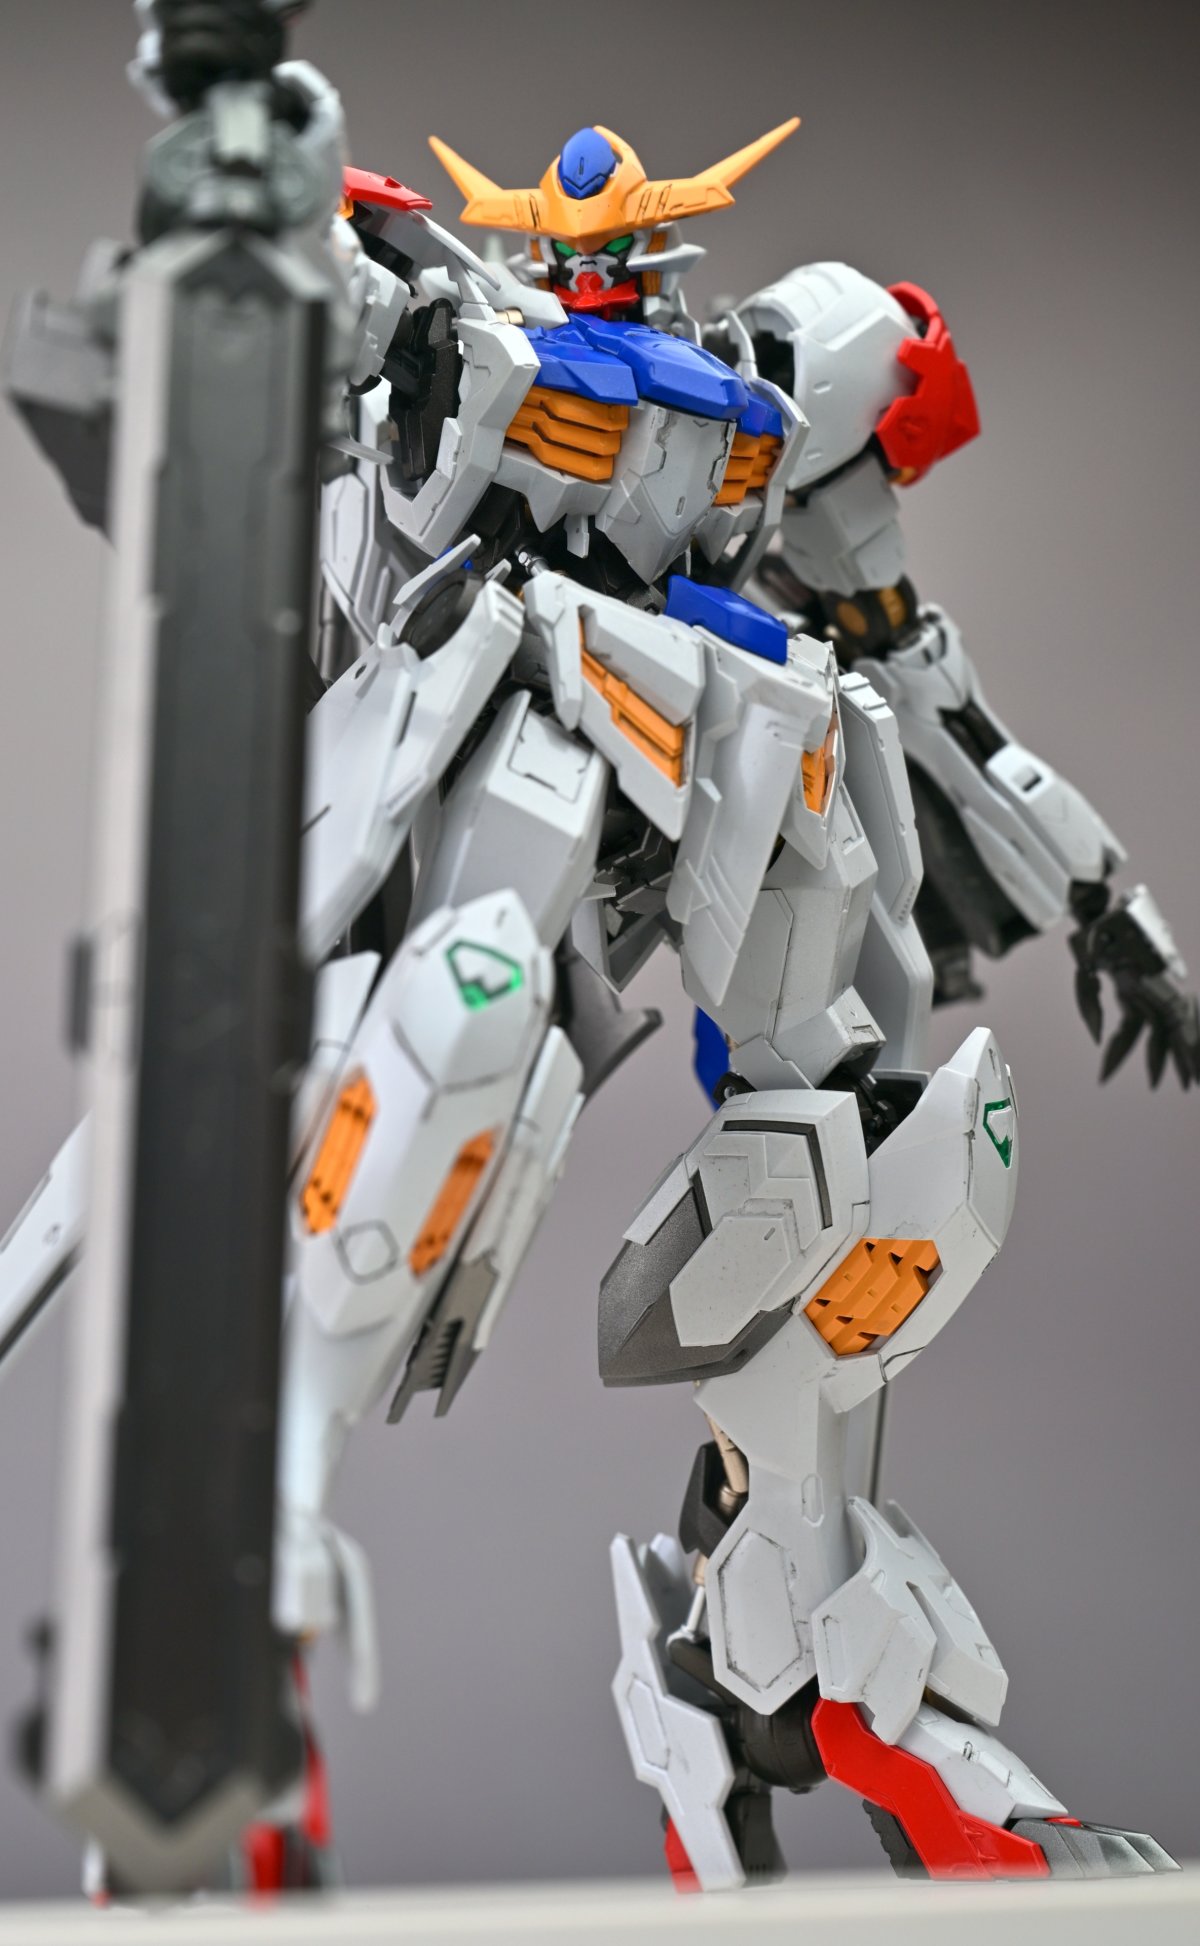
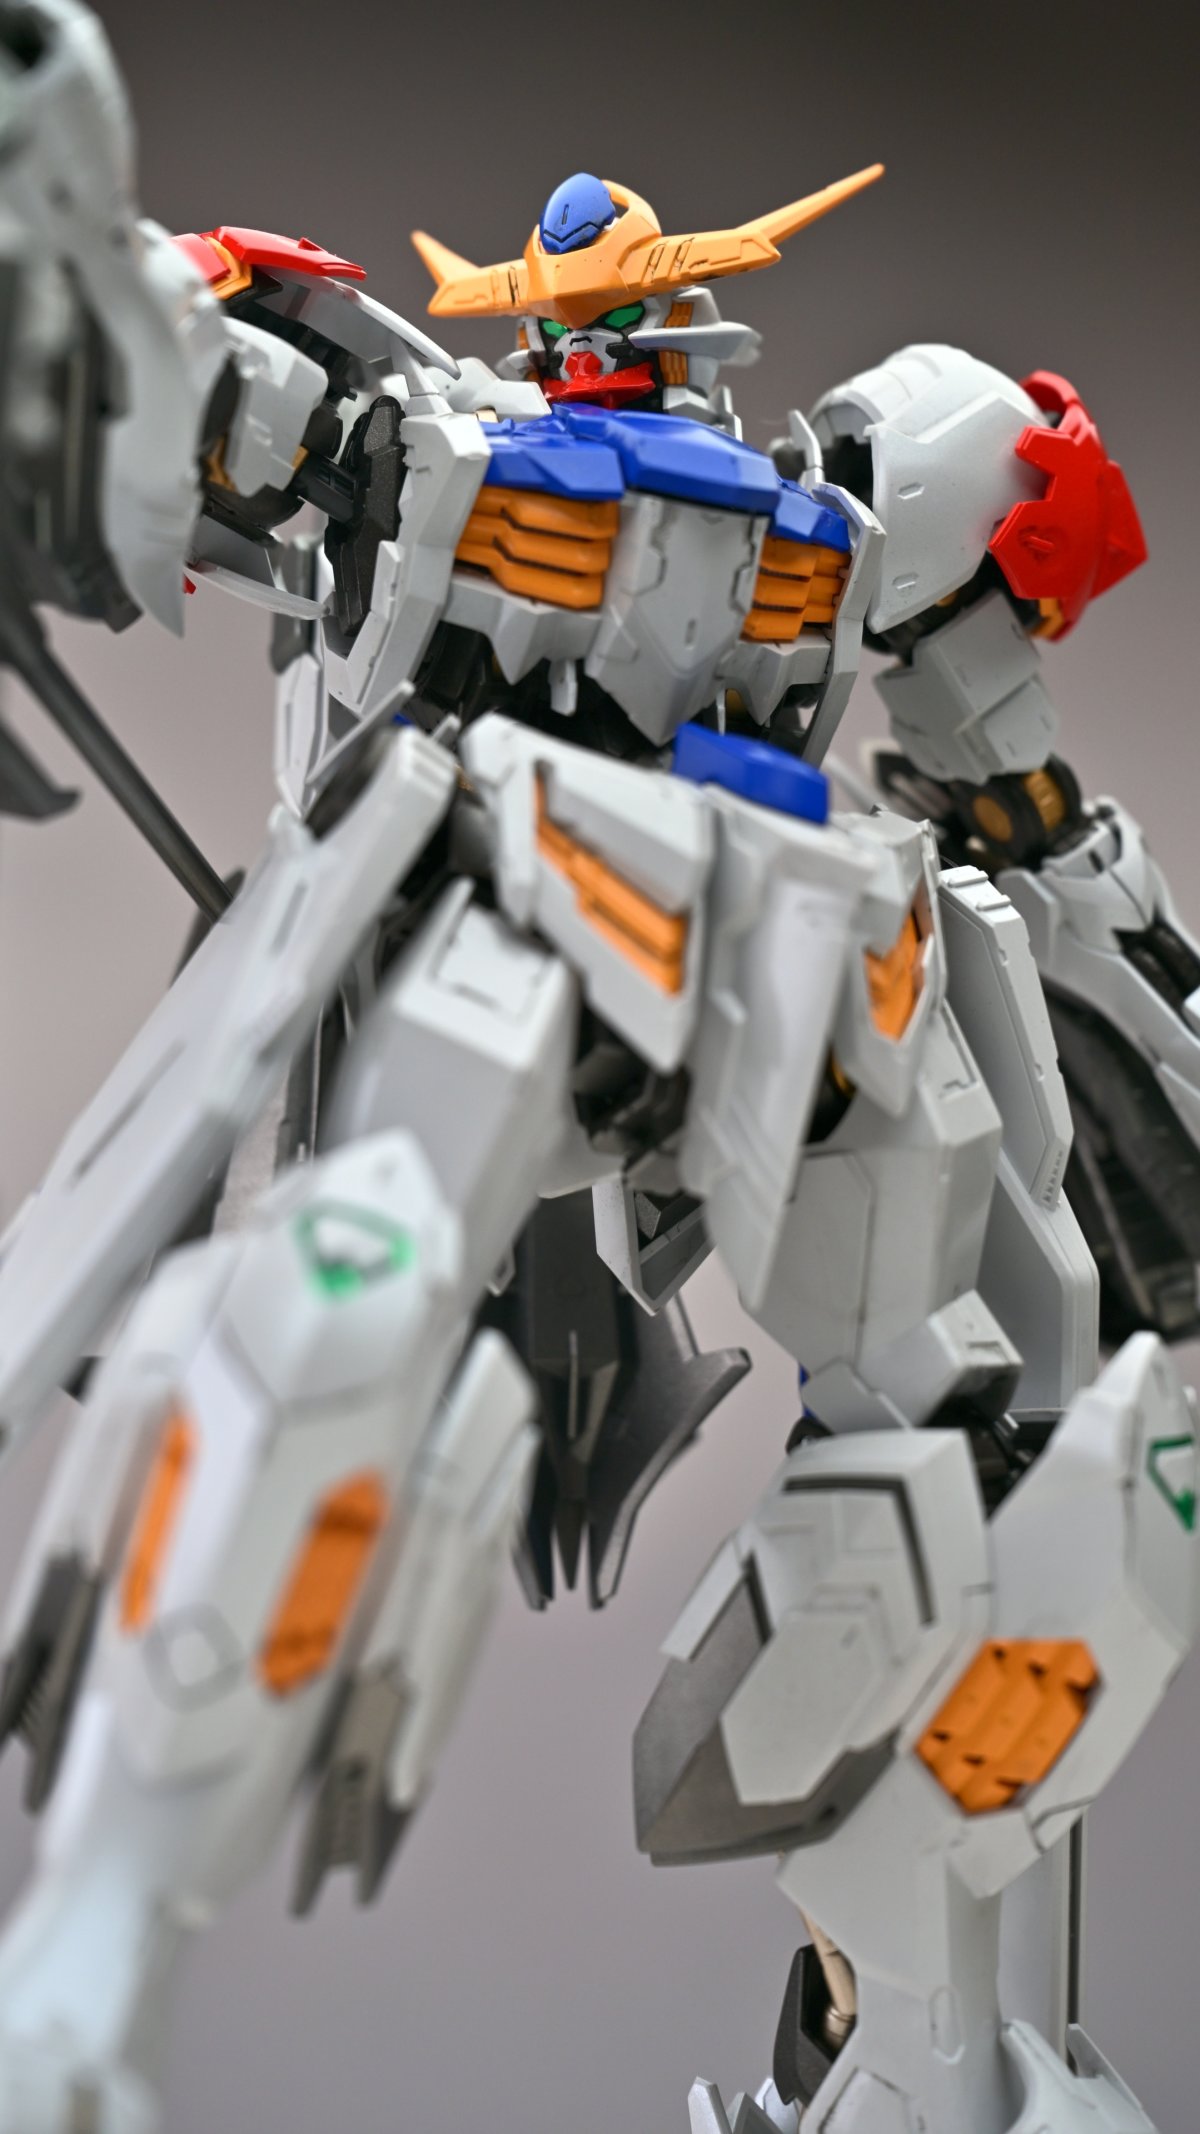
This is Bandai's MG 1/100 Gundam Barbatos Lupus from "Mobile Suit Gundam: Iron-Blooded Orphans."
While building the kit, a fellow forum member applied the paint too heavily and forgot to clean up the joint tolerances both before and after assembly. Once everything was put together, the thick paint left too little clearance around the joints. Trying to rotate them put all the stress on the thin pivot points, snapping both arms clean off.
After examining the wreckage, I figured there were only two options: track down donor parts or pin the broken joints and permanently glue the arms in place. The second approach would eliminate articulation in both arms, but the owner agreed to it. Since the finished kit was only going on display and would not be handled, the loss of movement would not be a major issue.
For the price of one extra-large bottle of Chai Li Won, I agreed to rescue this broken-armed Gundam Barbatos Lupus. The owner supplied all the model paints, so my contribution was the airbrushing and repair work needed to finish the build.
▼【MG 1/100】Saving Two Broken Arms! Bandai "Mobile Suit Gundam: Iron-Blooded Orphans" Gundam Barbatos Lupus
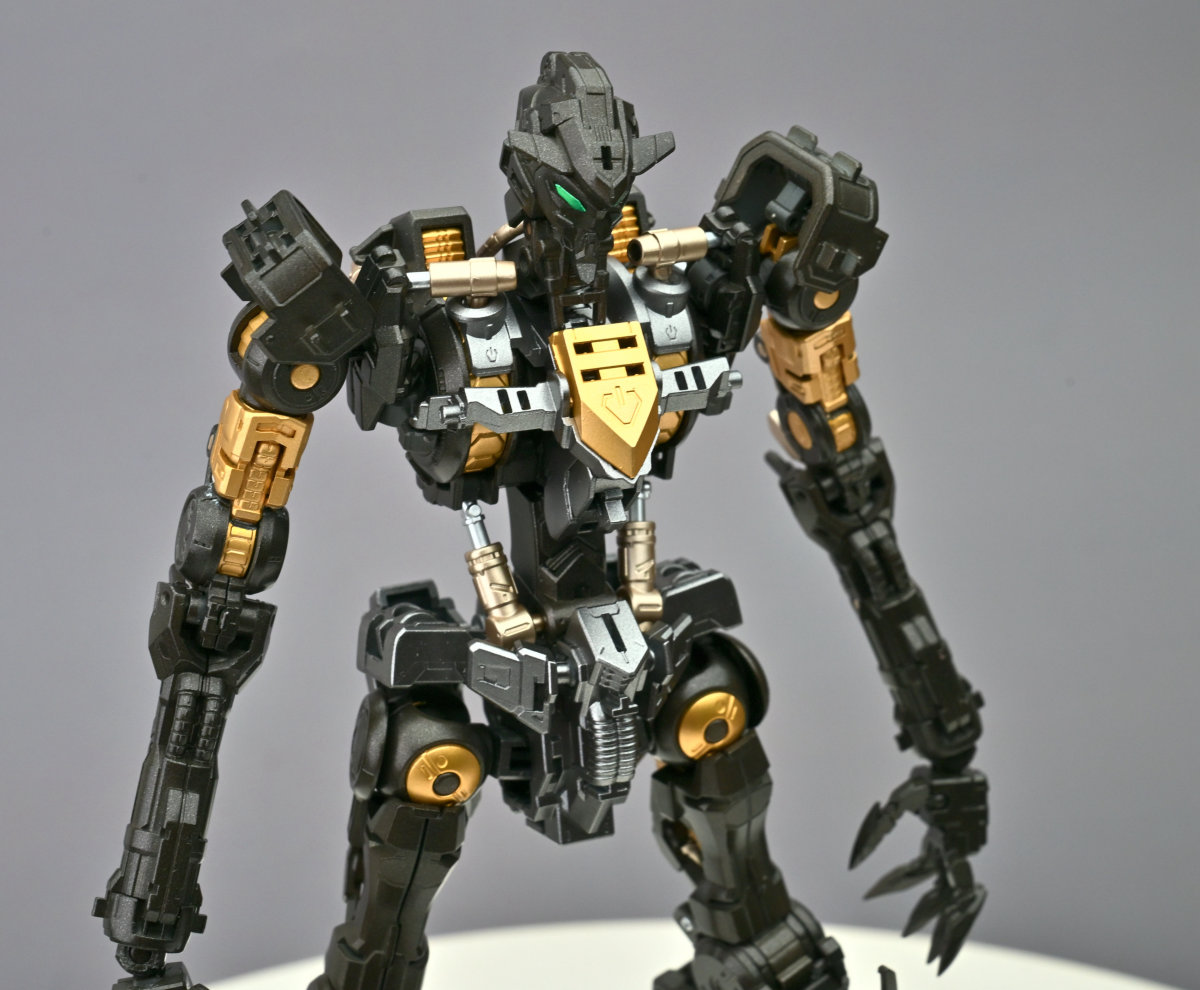
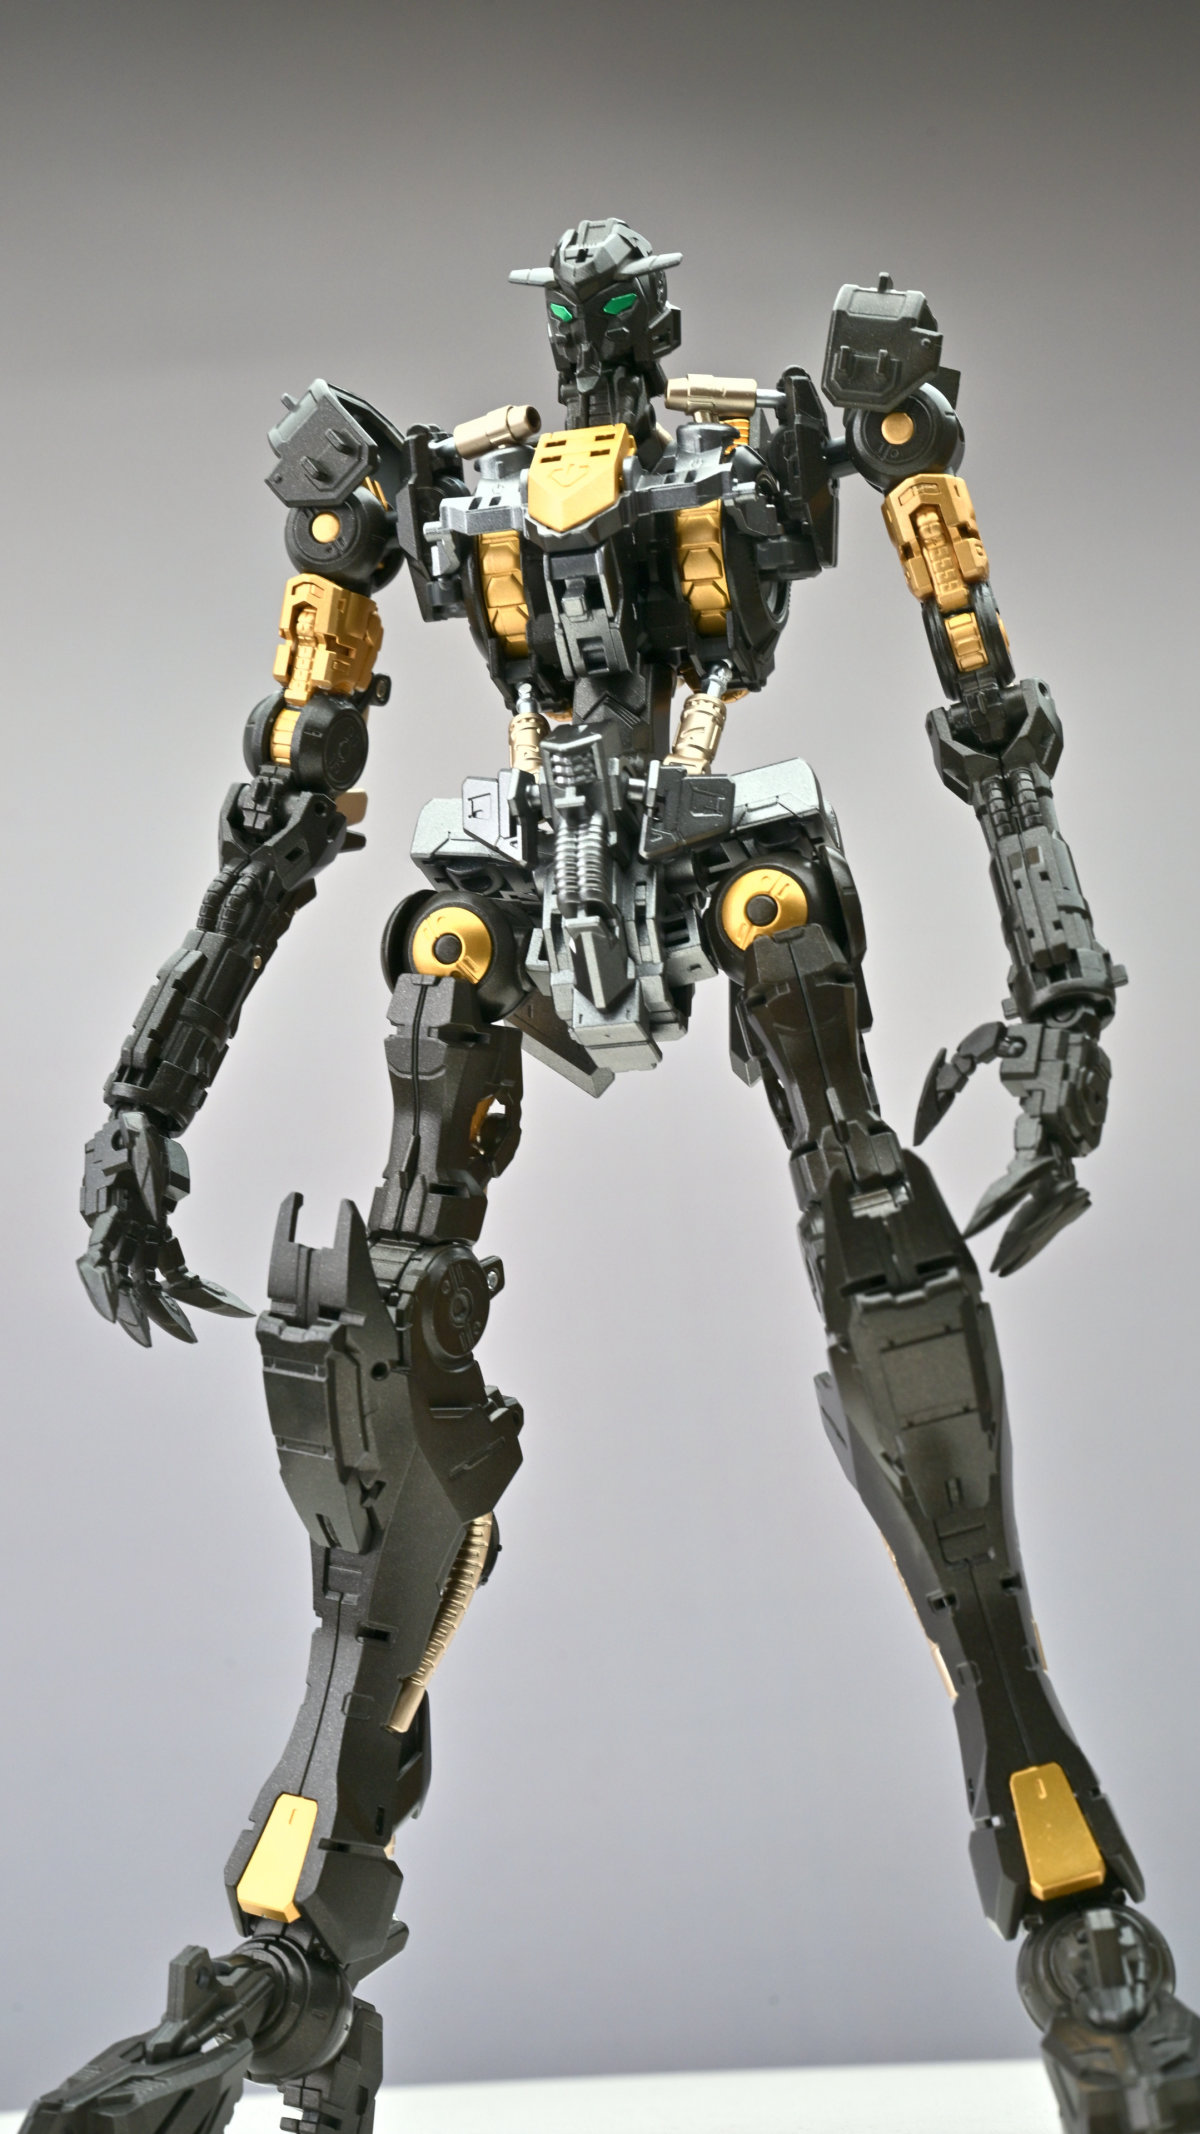
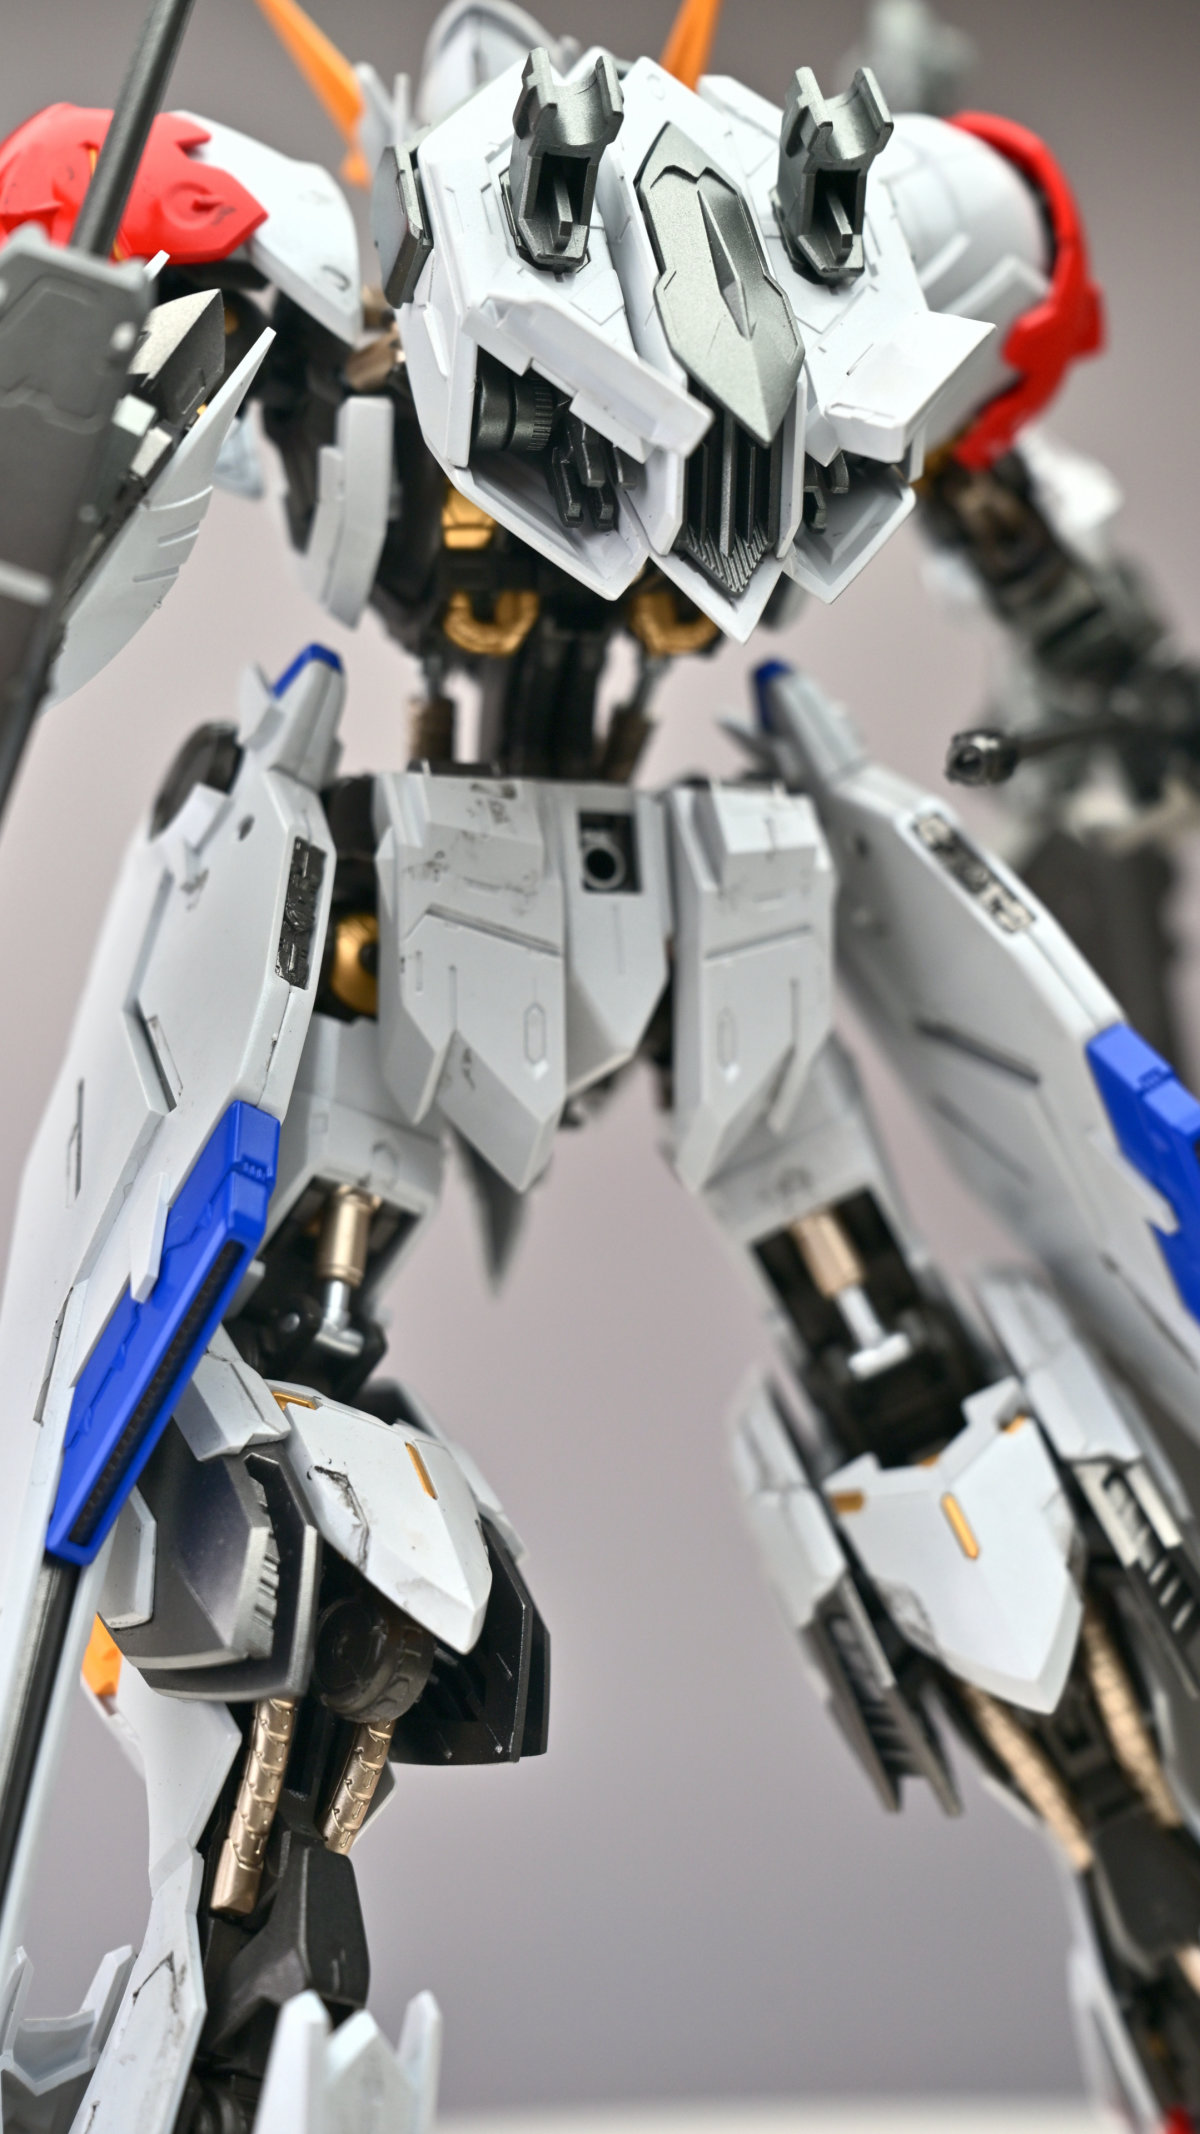
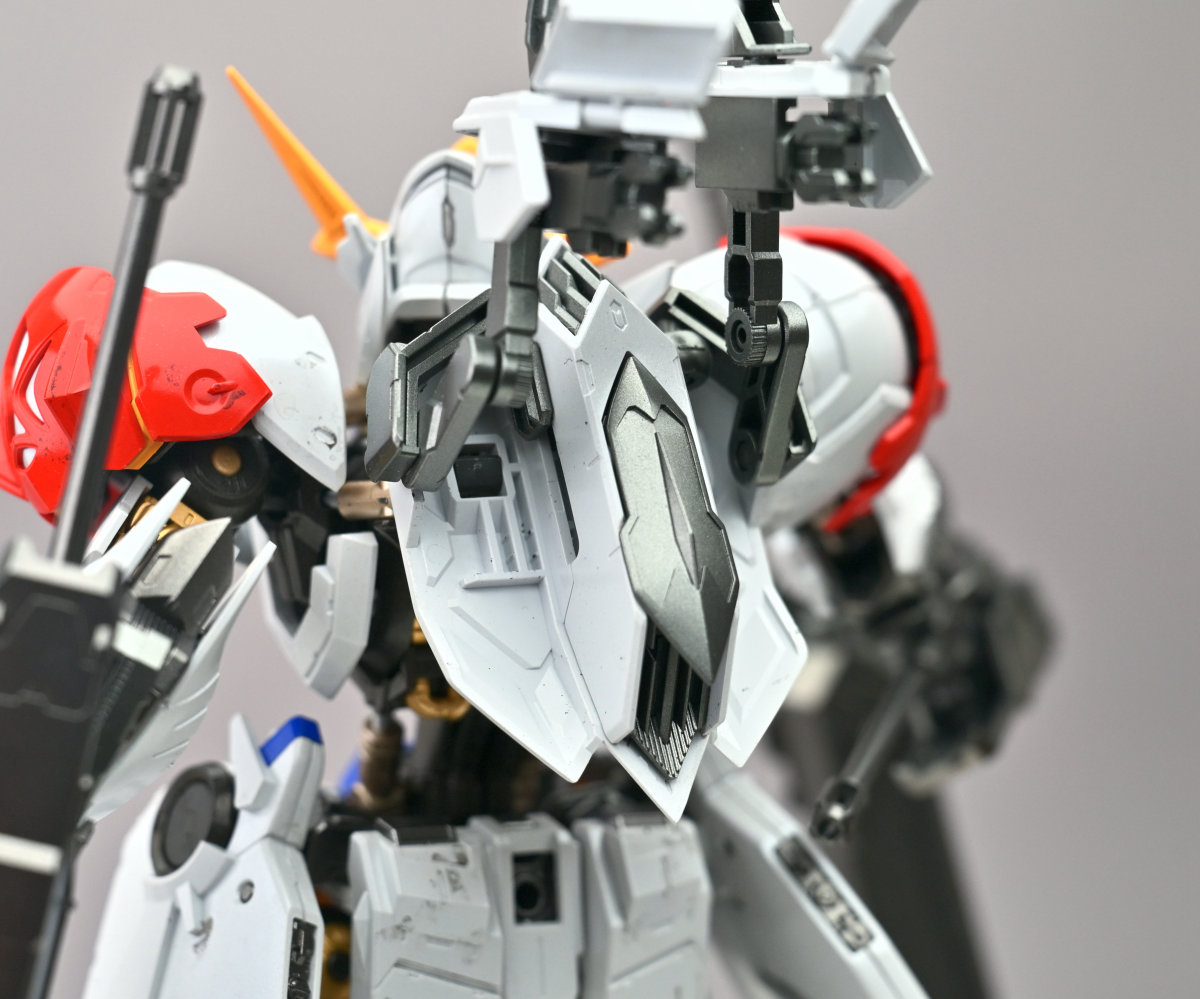
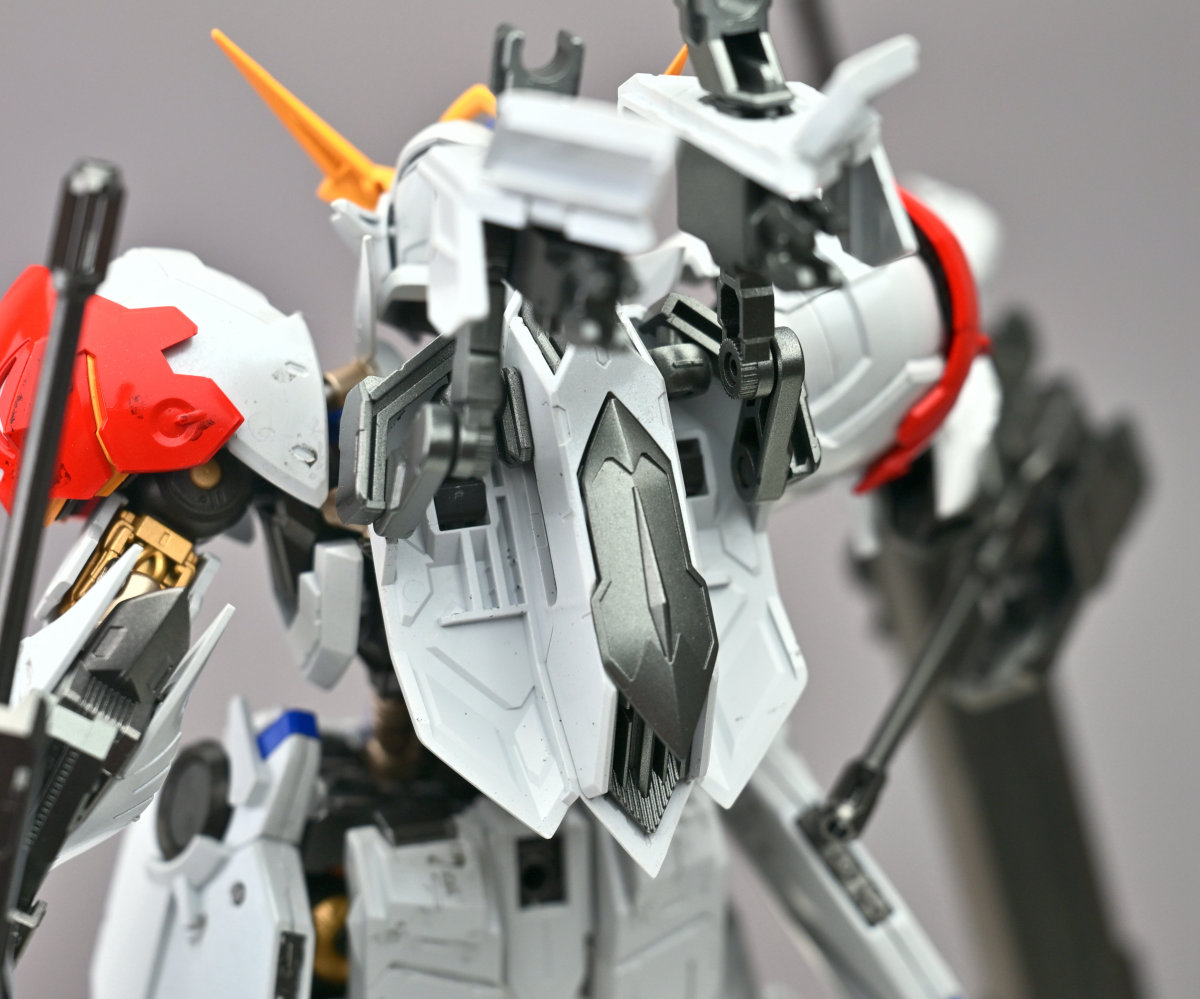
▼The exposed inner frame is one of Gundam Barbatos' defining features. Once you start airbrushing it, you will want to paint every last section.
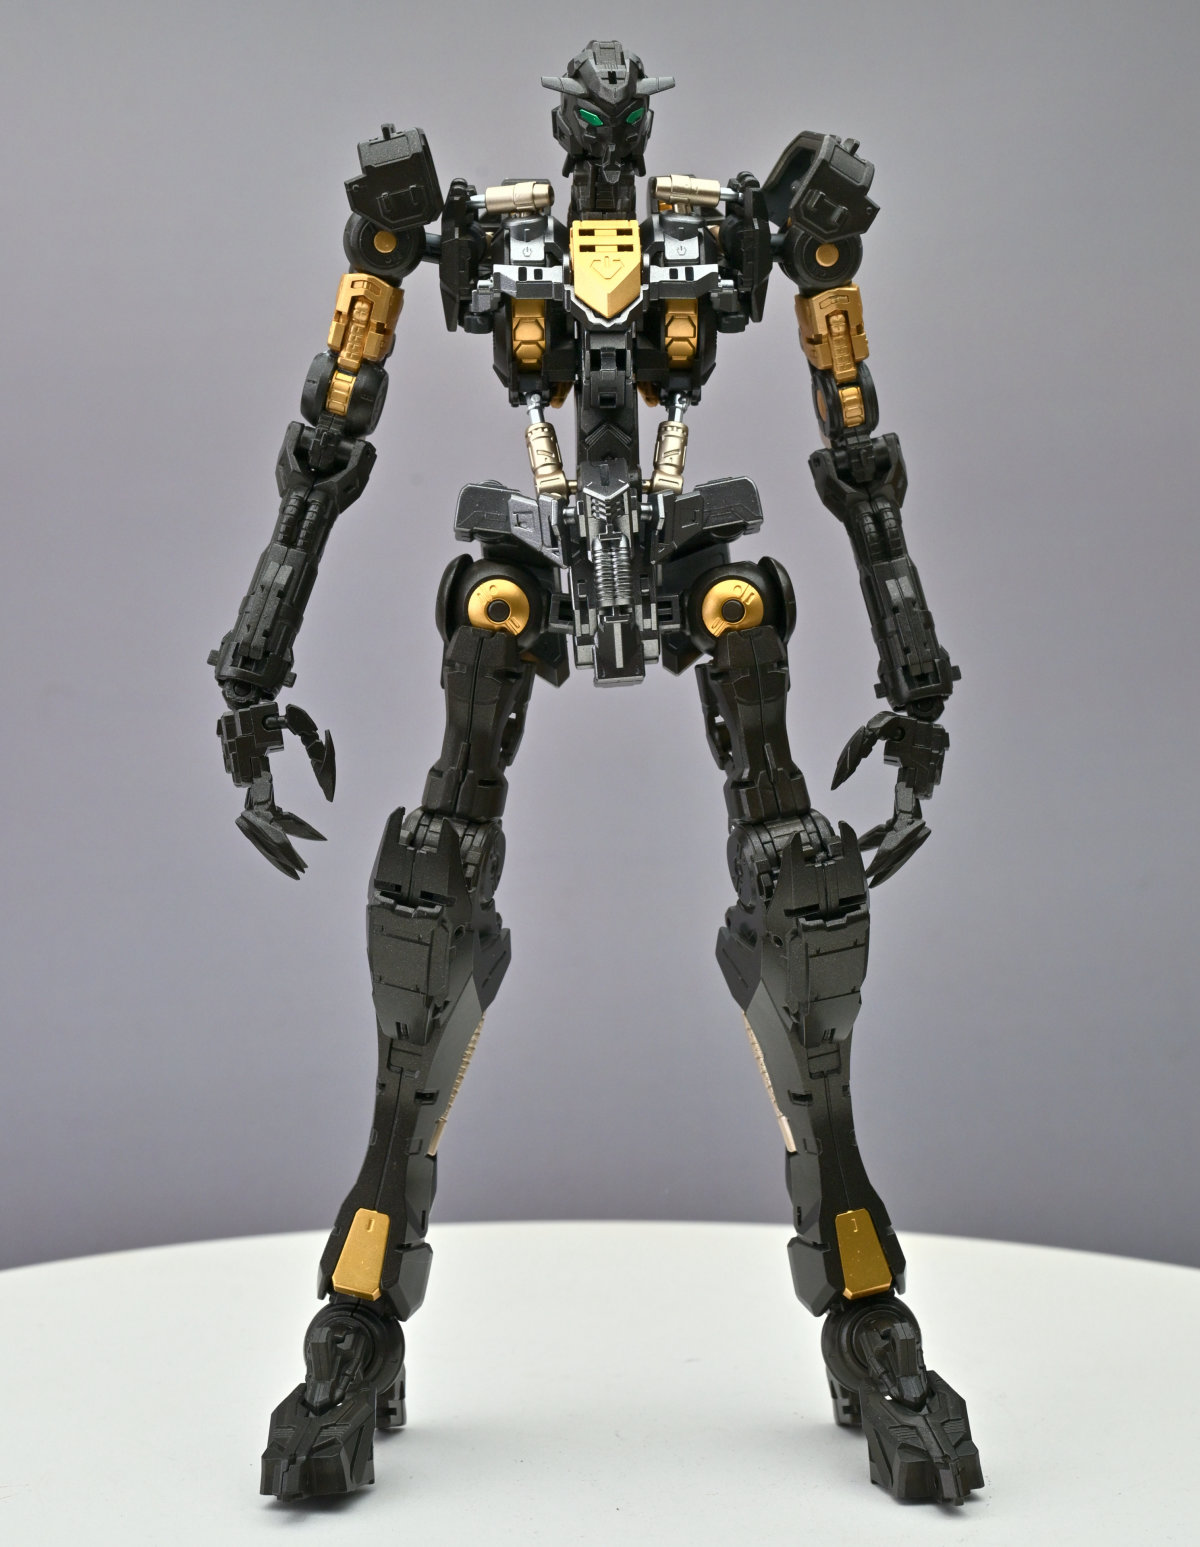
▼The frame's primary color is GSI Creos Steel, supplied by the owner.
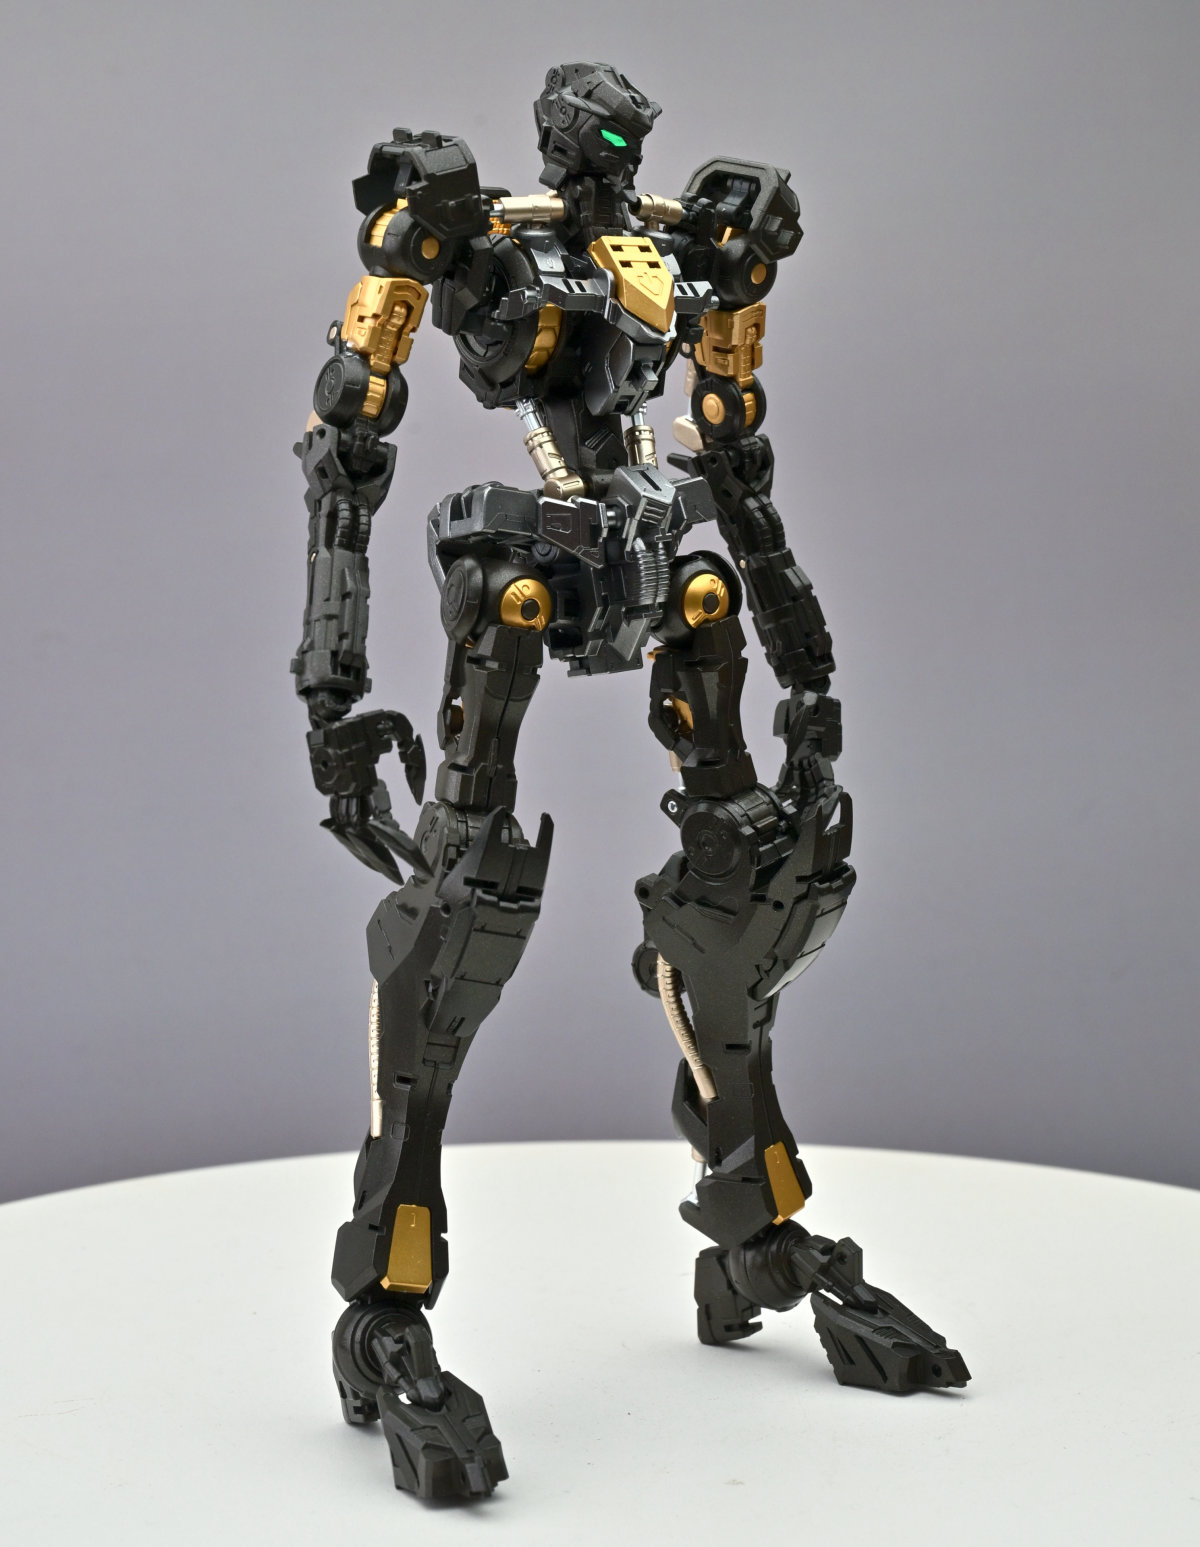
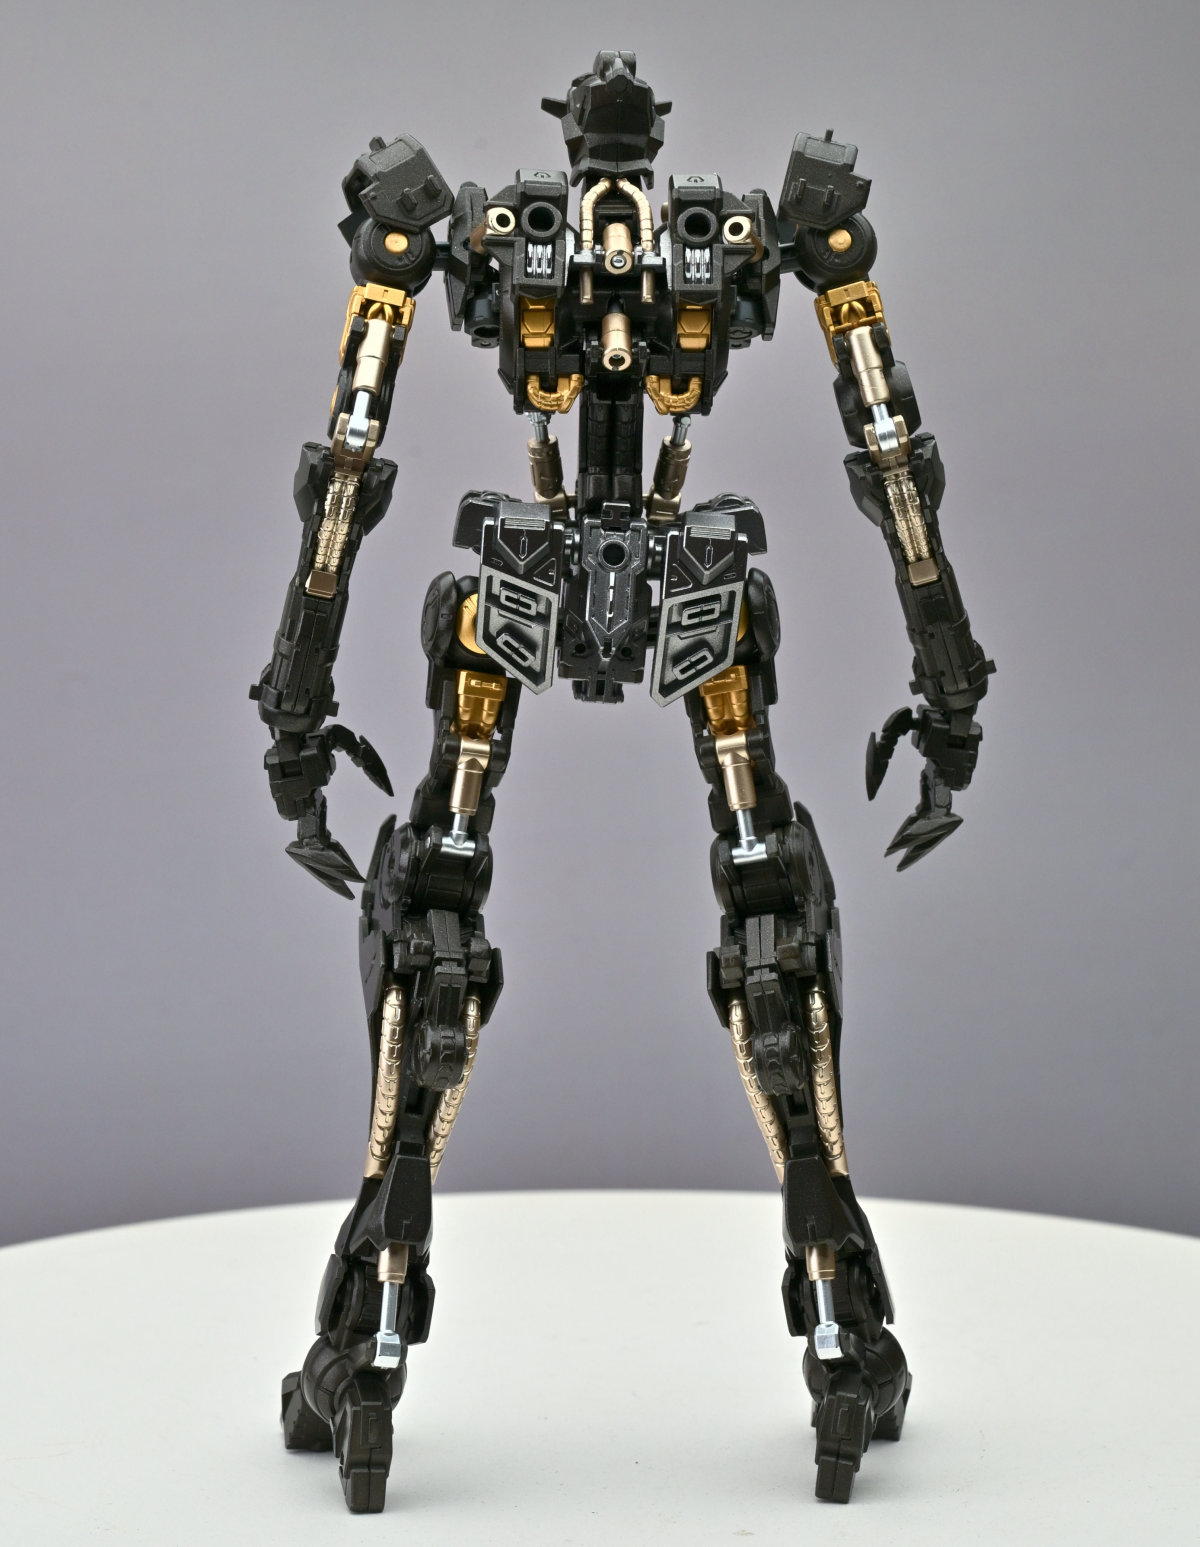
▼Rear view
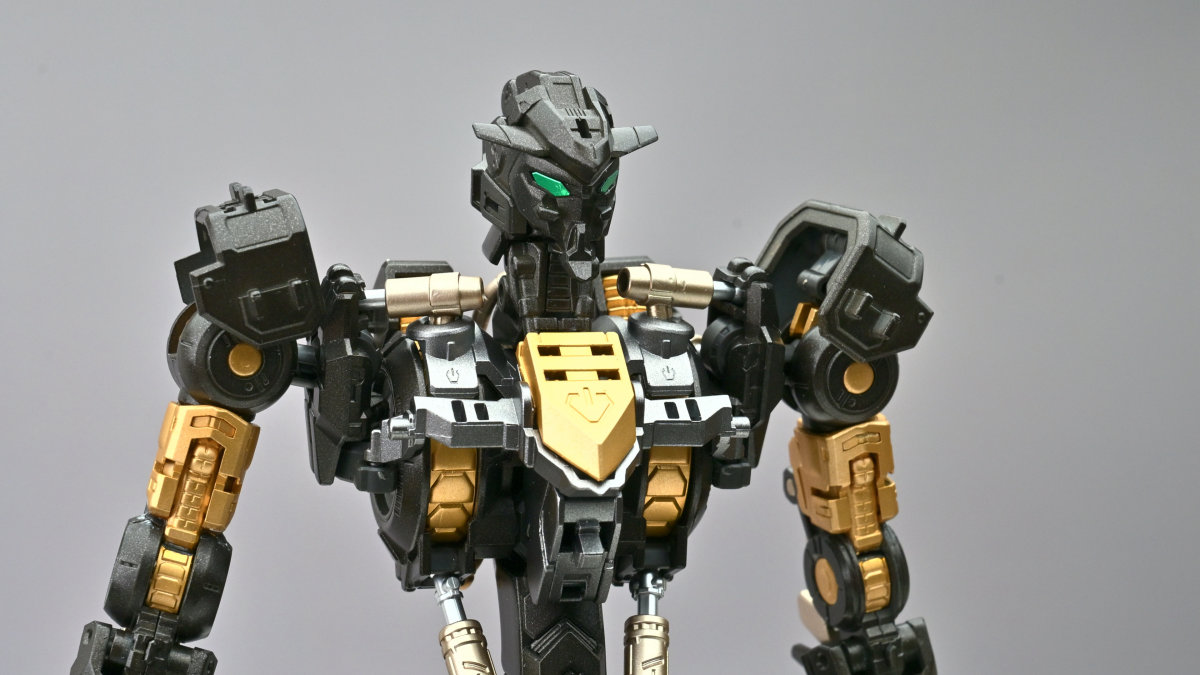
▼The eyes use the stickers included with the kit.
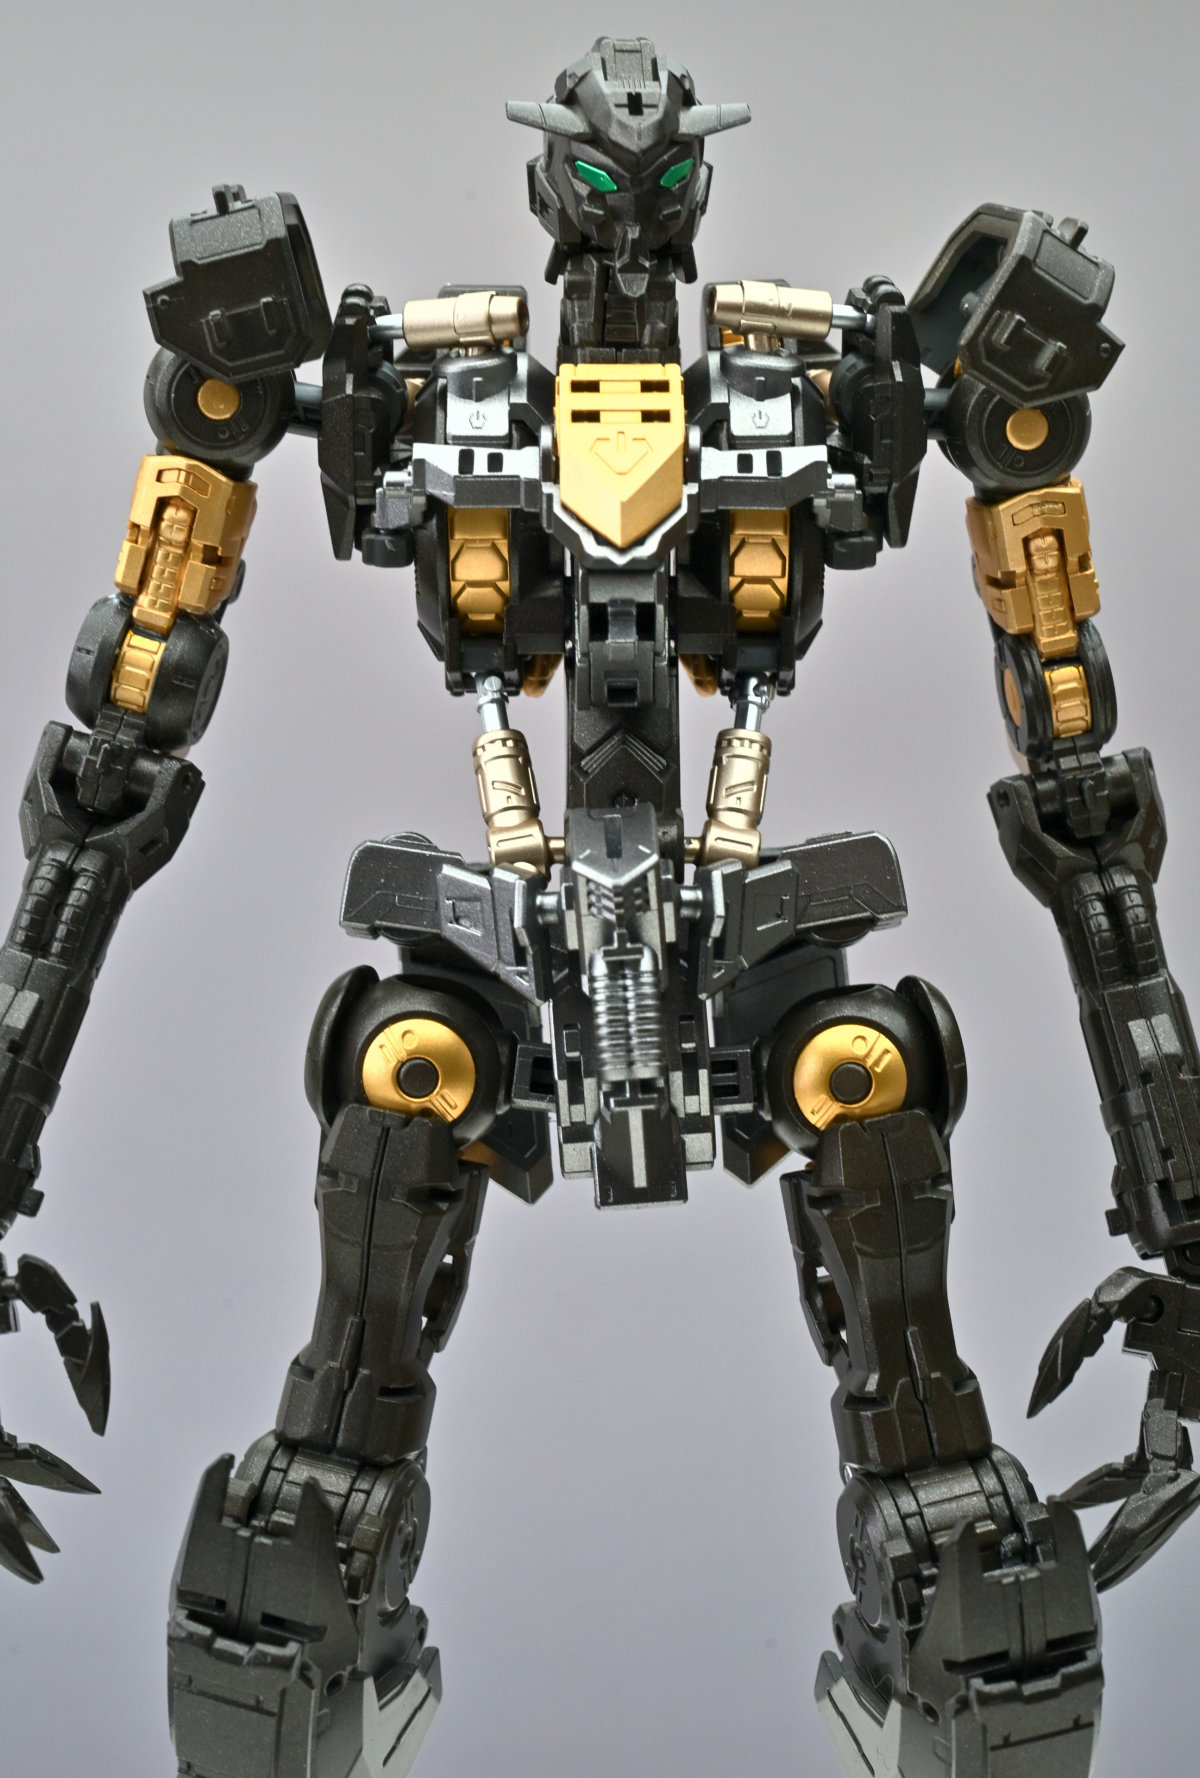
▼Several different gold tones were used to separate the details. The owner originally supplied only Gaia Color 122 Star Bright Gold, so I added Gaia Color 010 Bright Gold from my own collection. This shade was used mainly on the hydraulic sleeves and power cables.
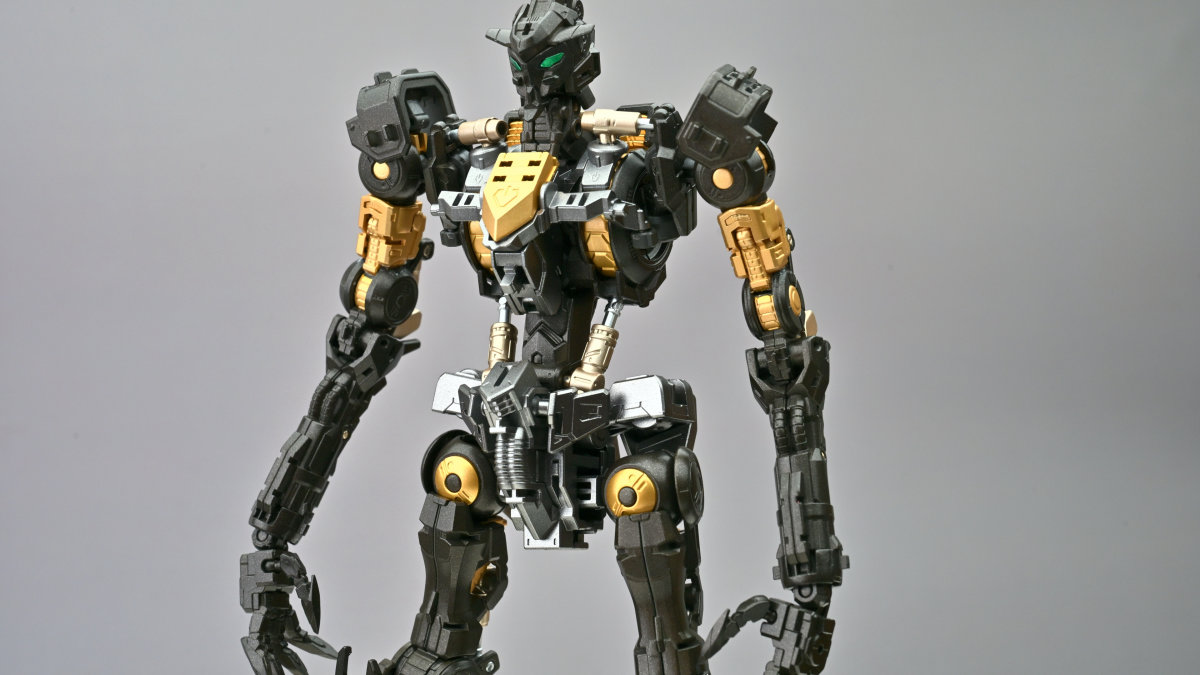
▼Different colors help separate the details around the waist and chest.
▼The color separation is even more noticeable from the rear.
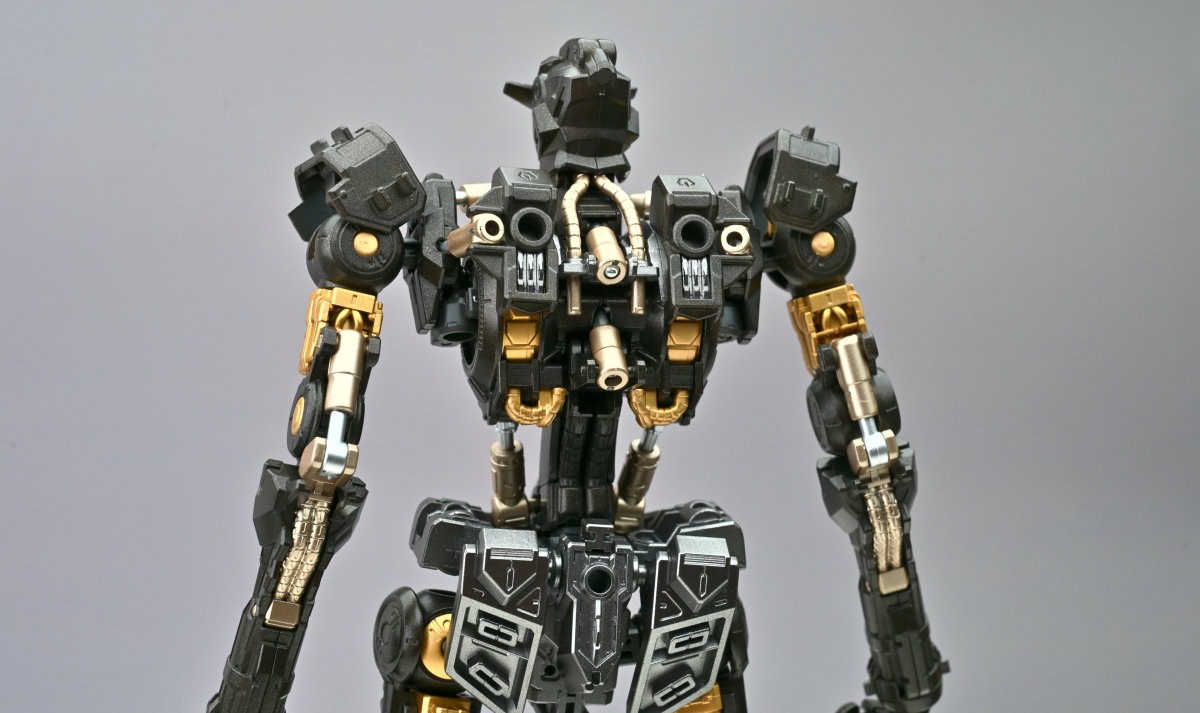
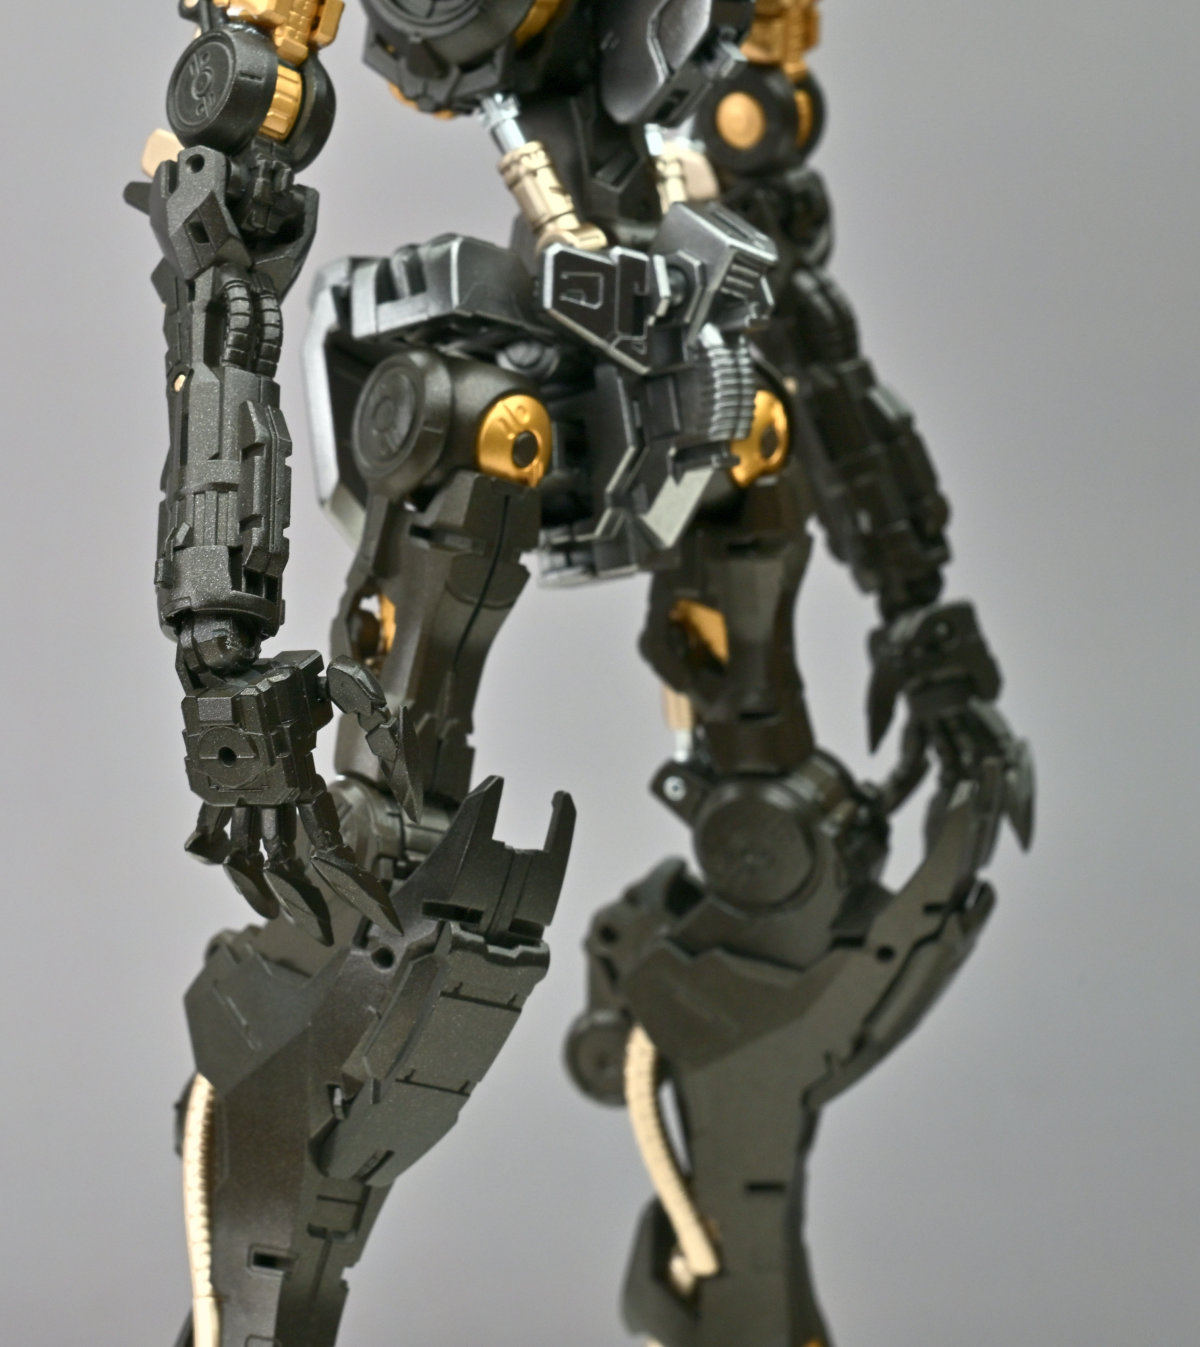
▼Both arms had snapped at the elbow pivot parts. I salvaged them as best I could with metal pins and cyanoacrylate glue.
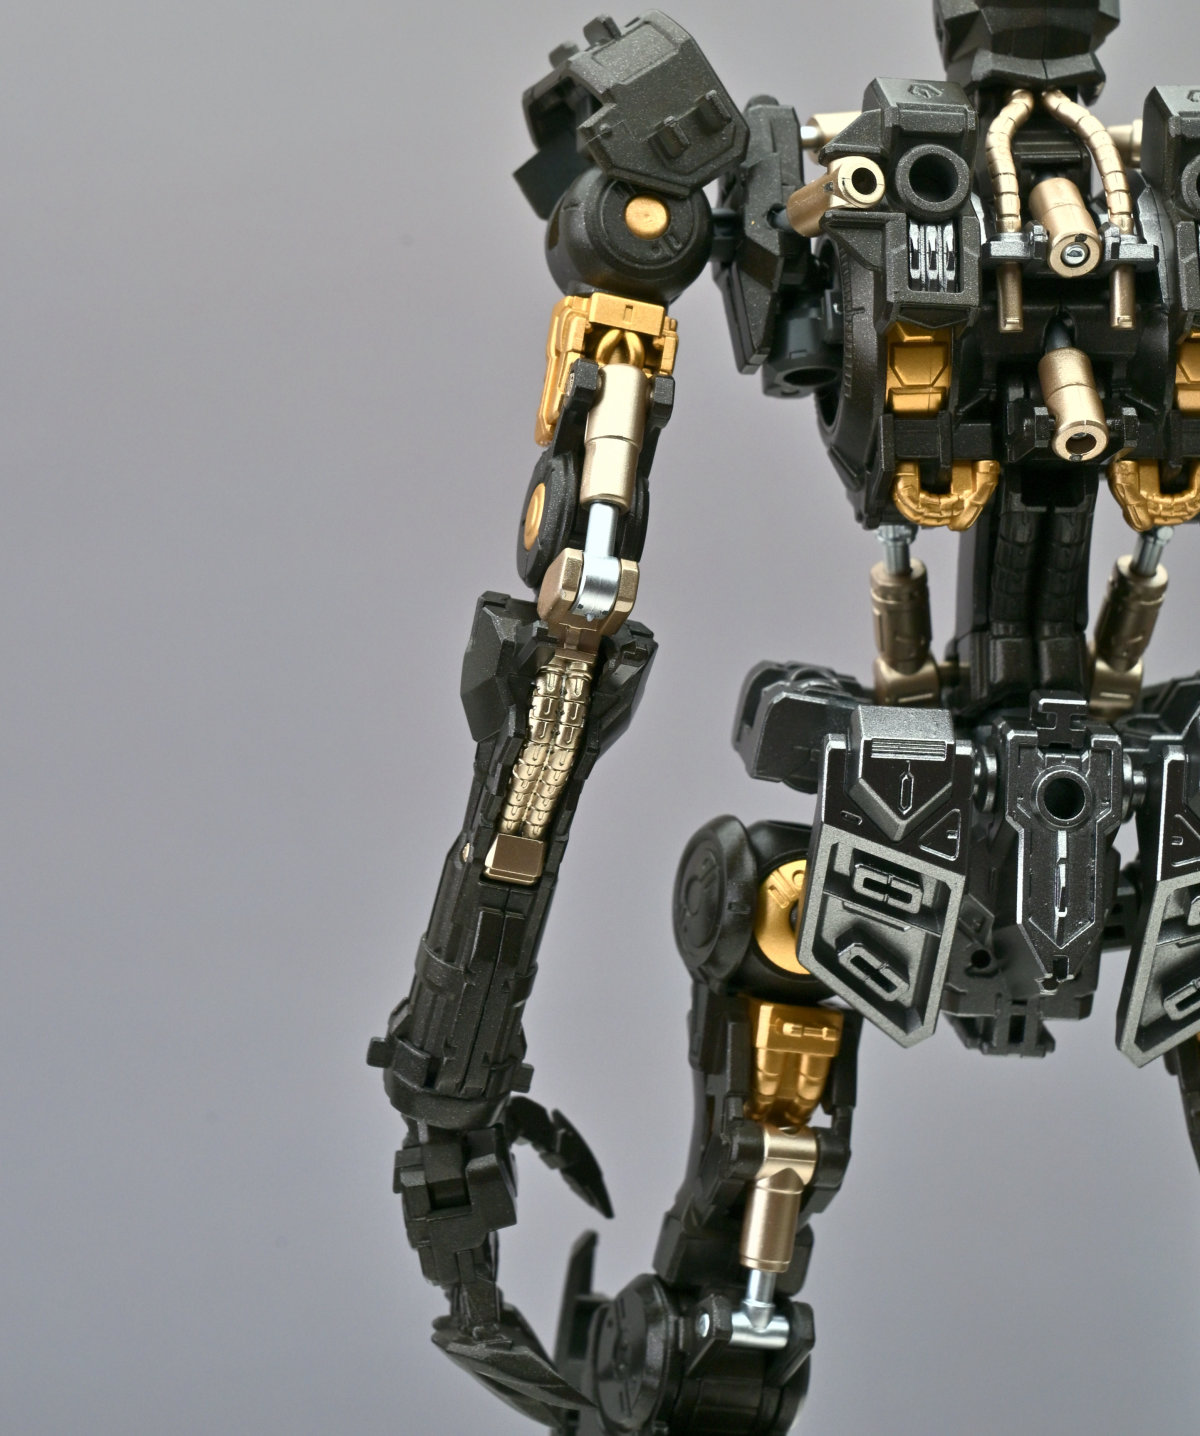
▼The hydraulic sleeves were painted with Gaia Color 010 Bright Gold, while the silver sections were left in the kit's original molded color.
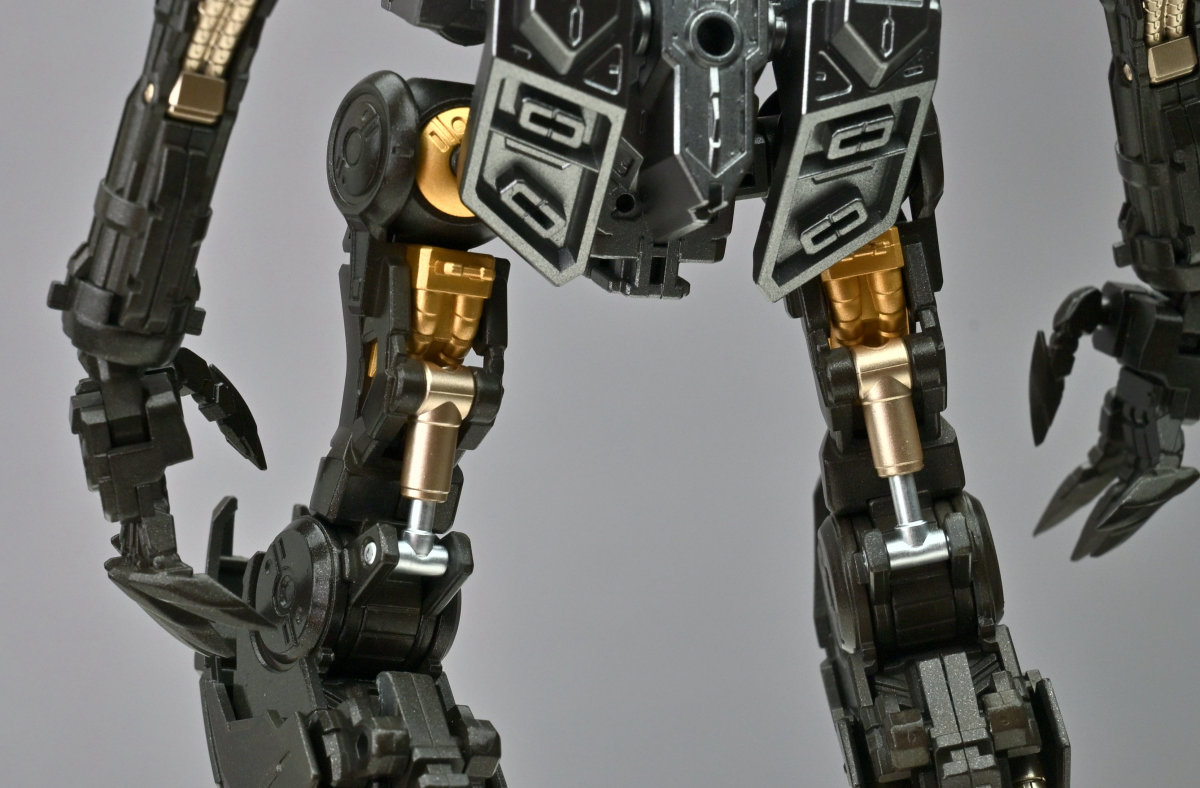
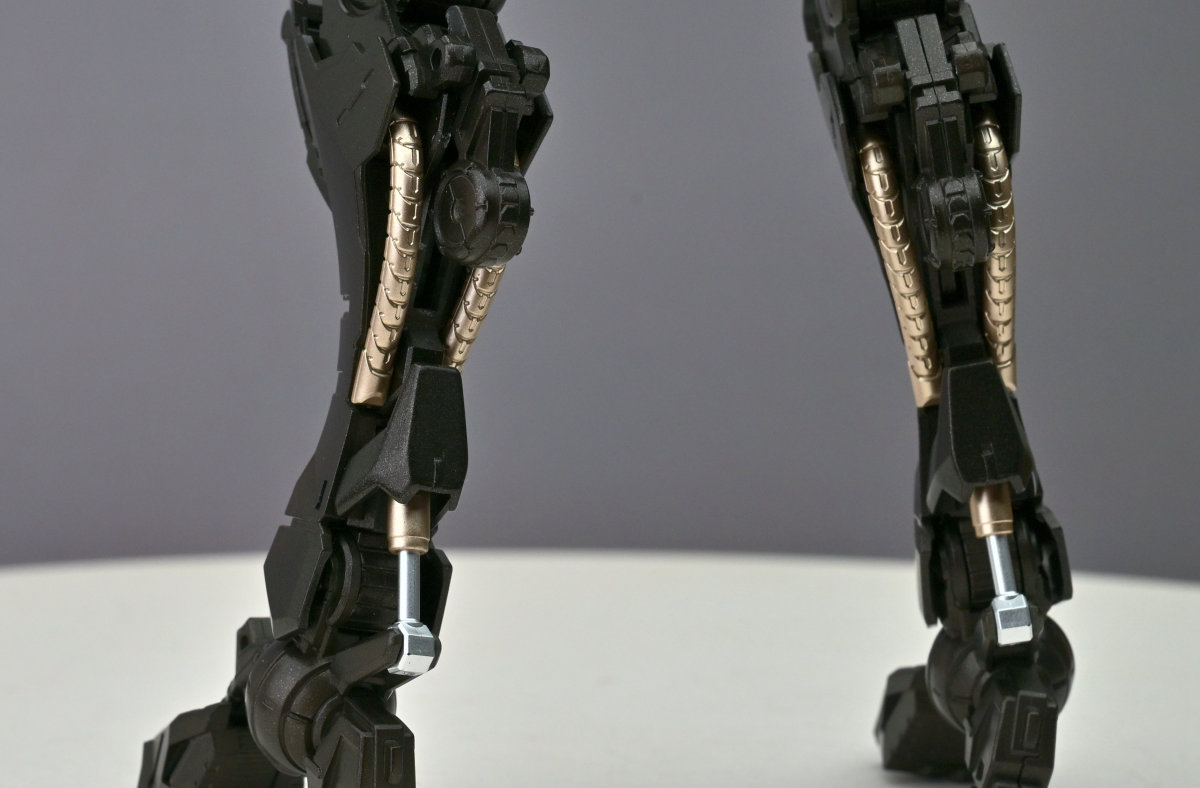
▼The power cables on the legs were also sprayed with Gaia Color 010 Bright Gold.
▼Despite the broken elbow joints, both arms can still be raised out to the sides.
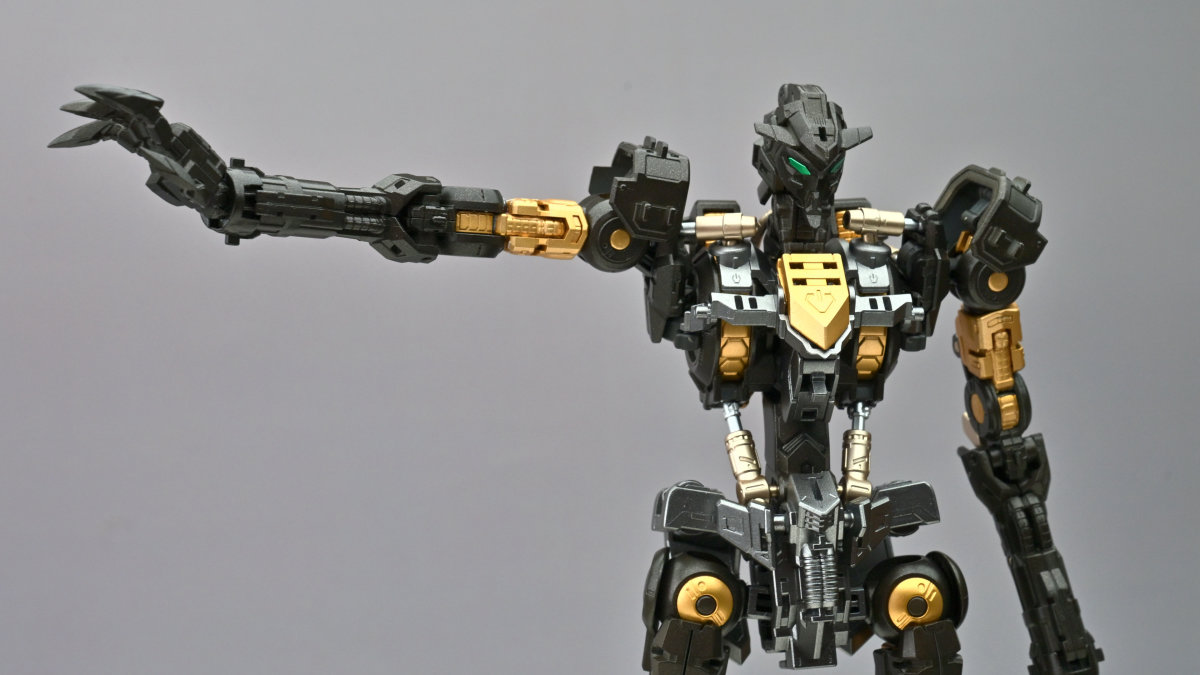
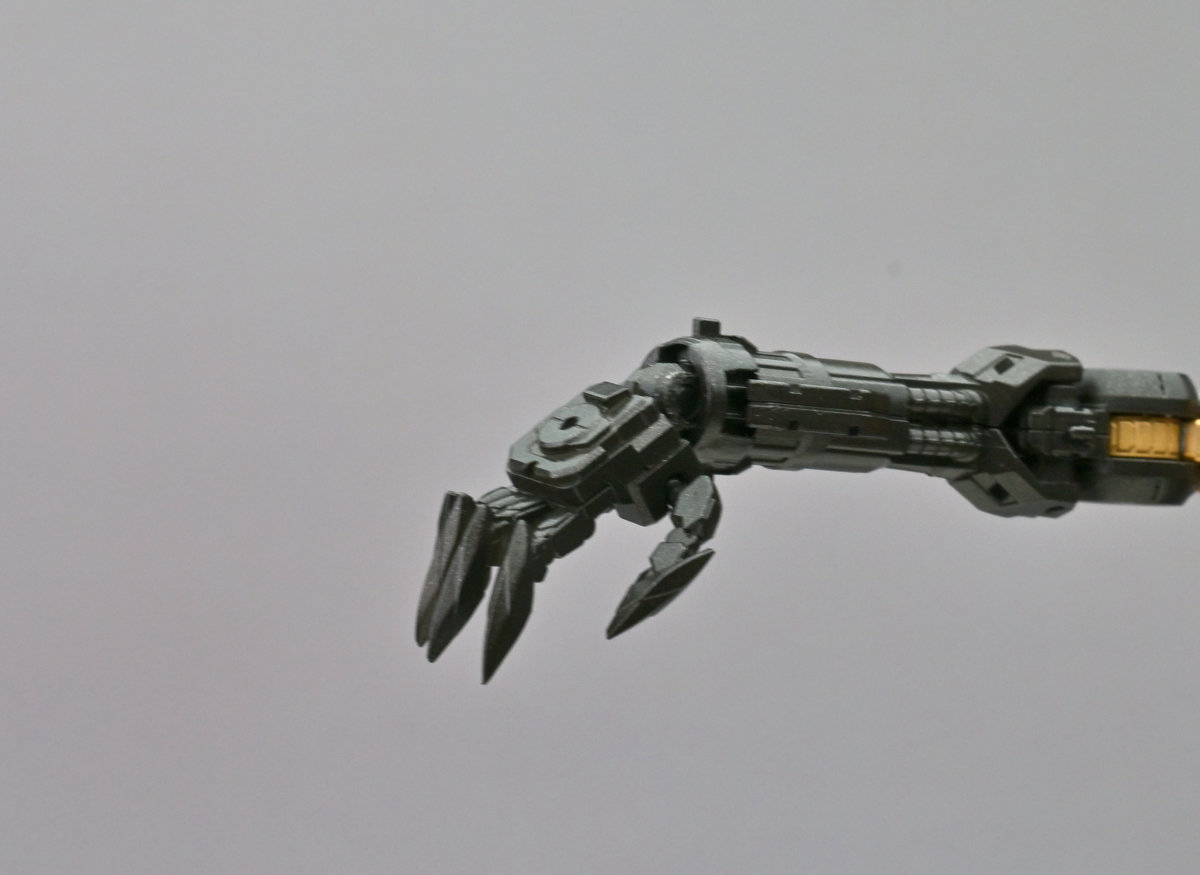
▼I originally planned to hand-paint the white details on the hands to match the standard color scheme, but the owner said not to bother and requested a single-color finish instead.
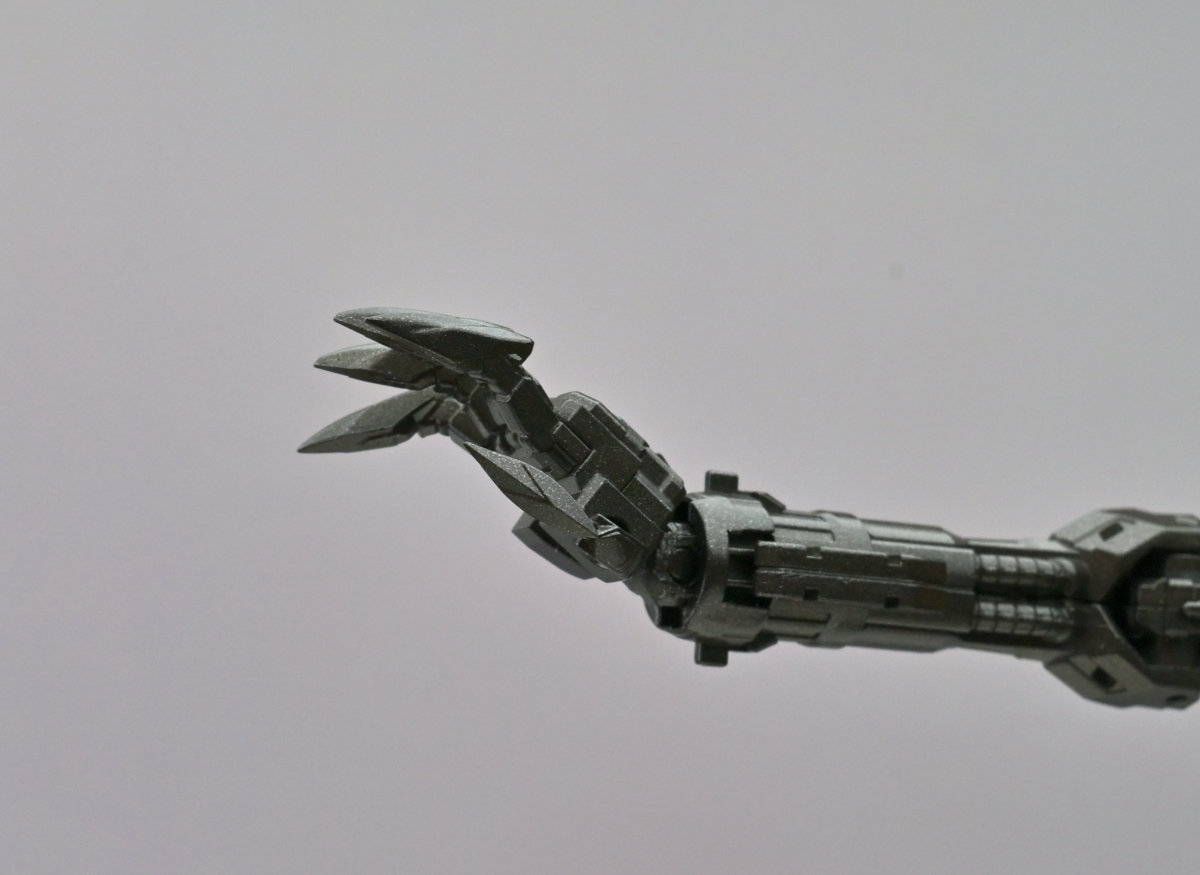
▼When painting the parts that connect the hands to the arms, remember to clean up the fit before assembly. Otherwise, twisting them into place can snap the joints. Seriously, they can break!
▼There is not much more to say about the MG kit's articulation. It can handle all the essential poses with ease.
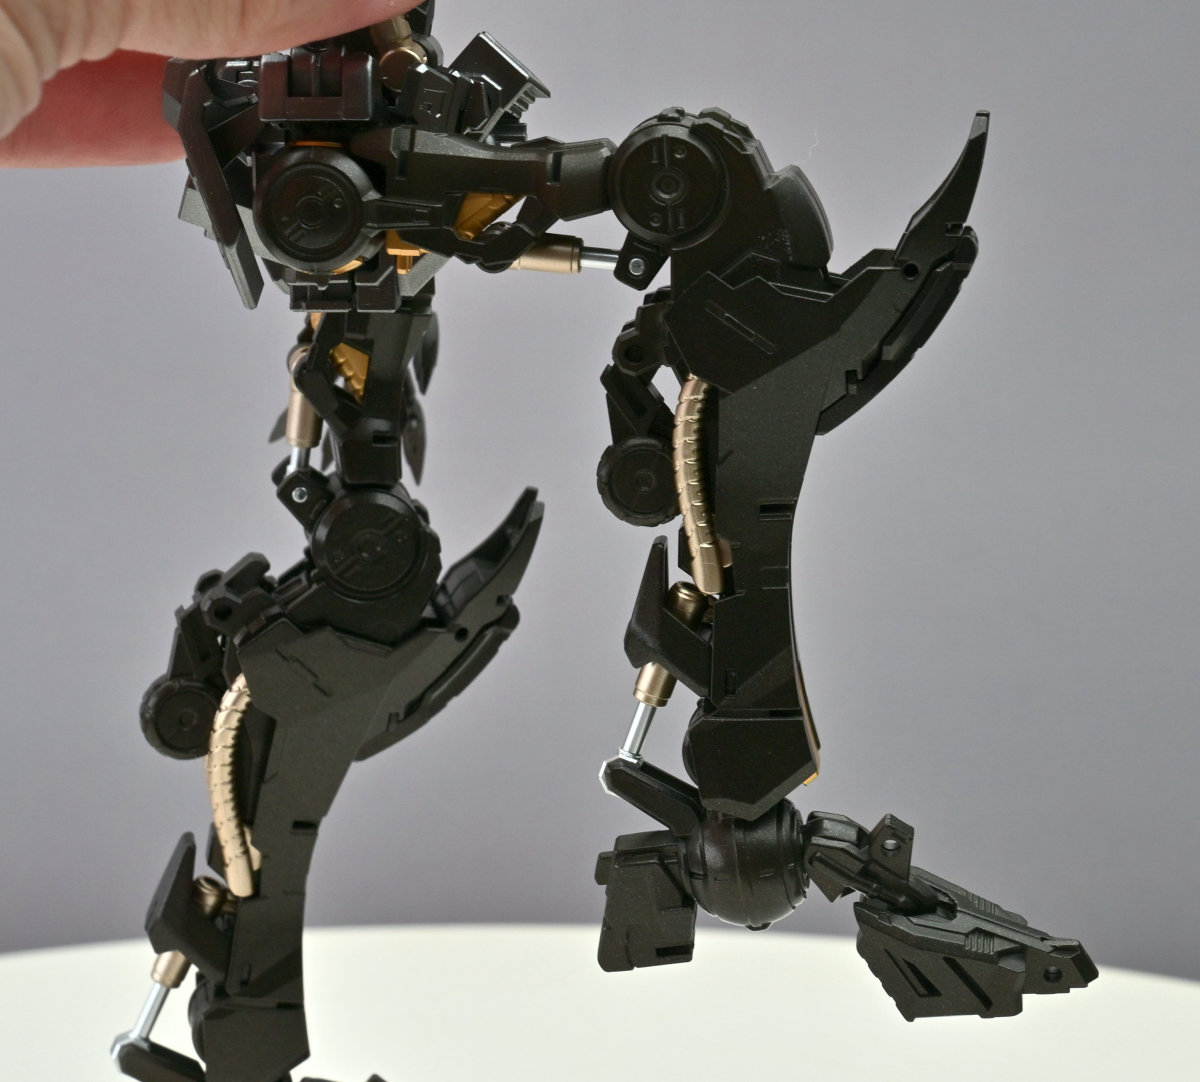
▼High kicks are no problem, either.
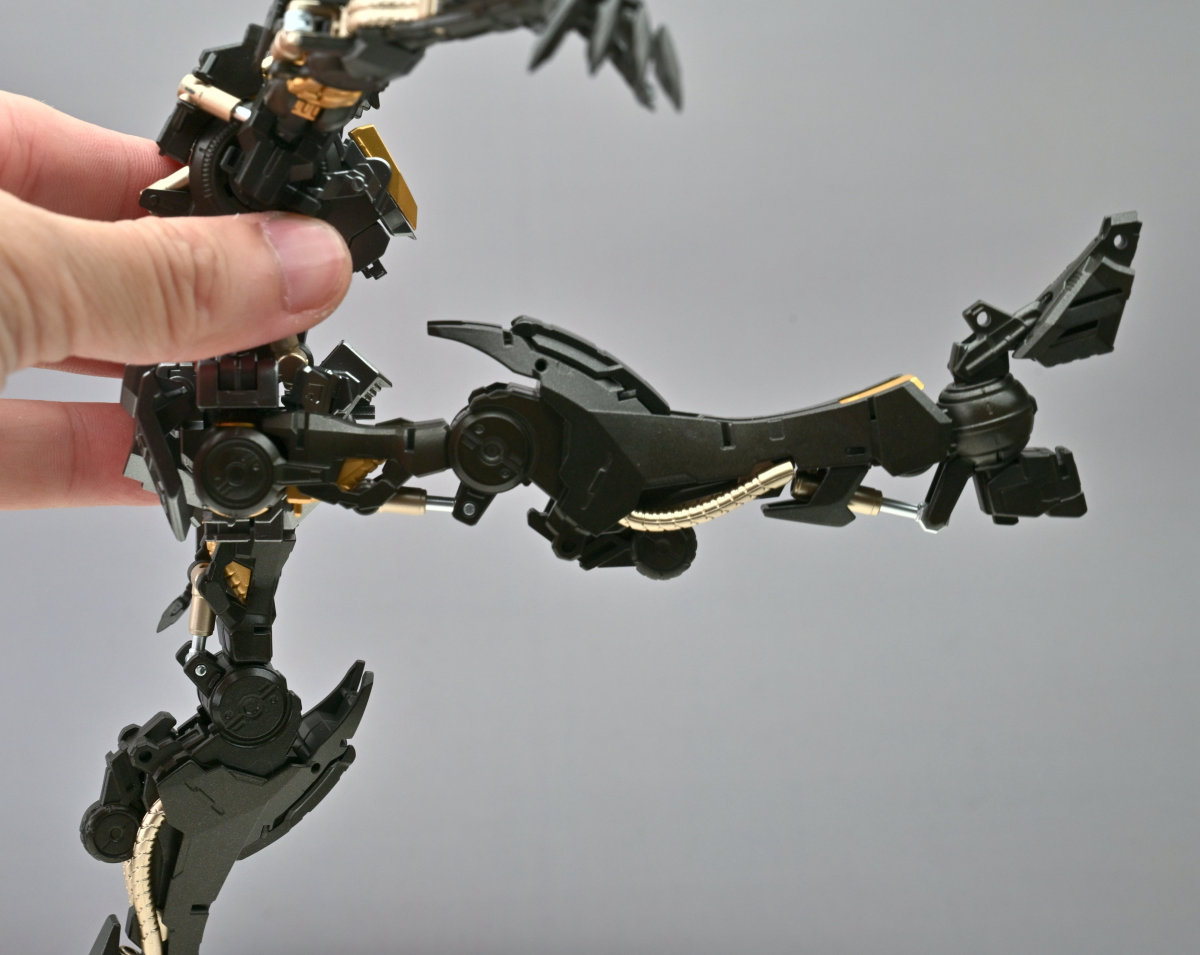
▼The head's side-to-side range is not as wide as you might expect.
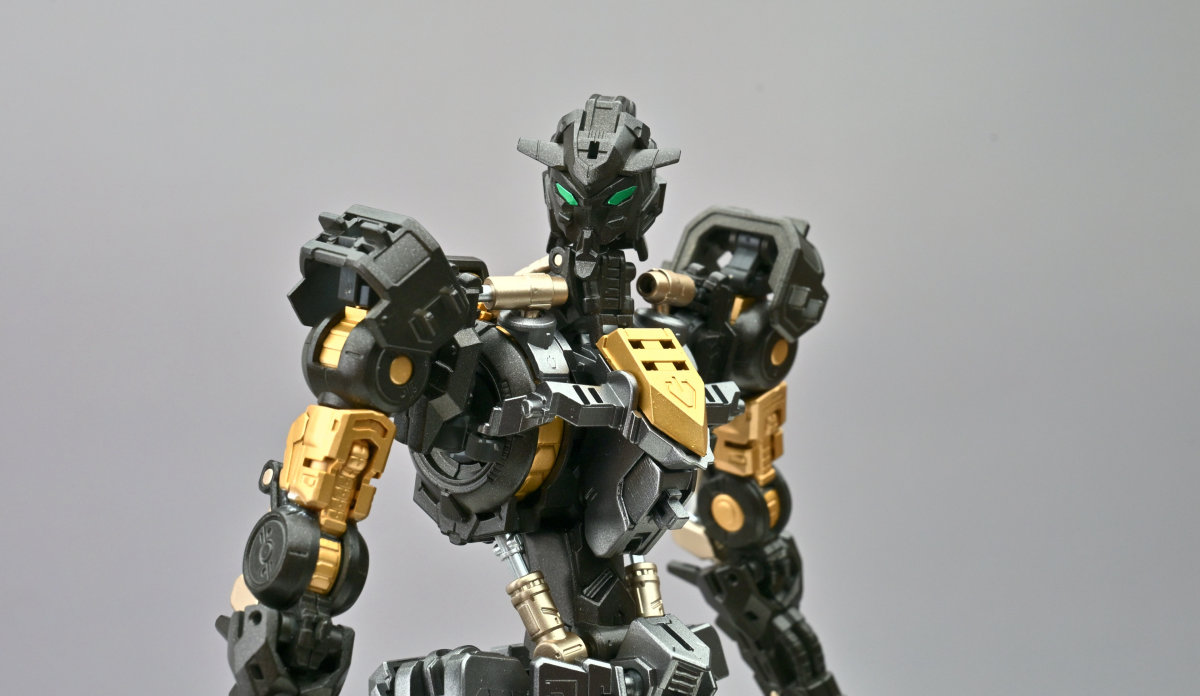
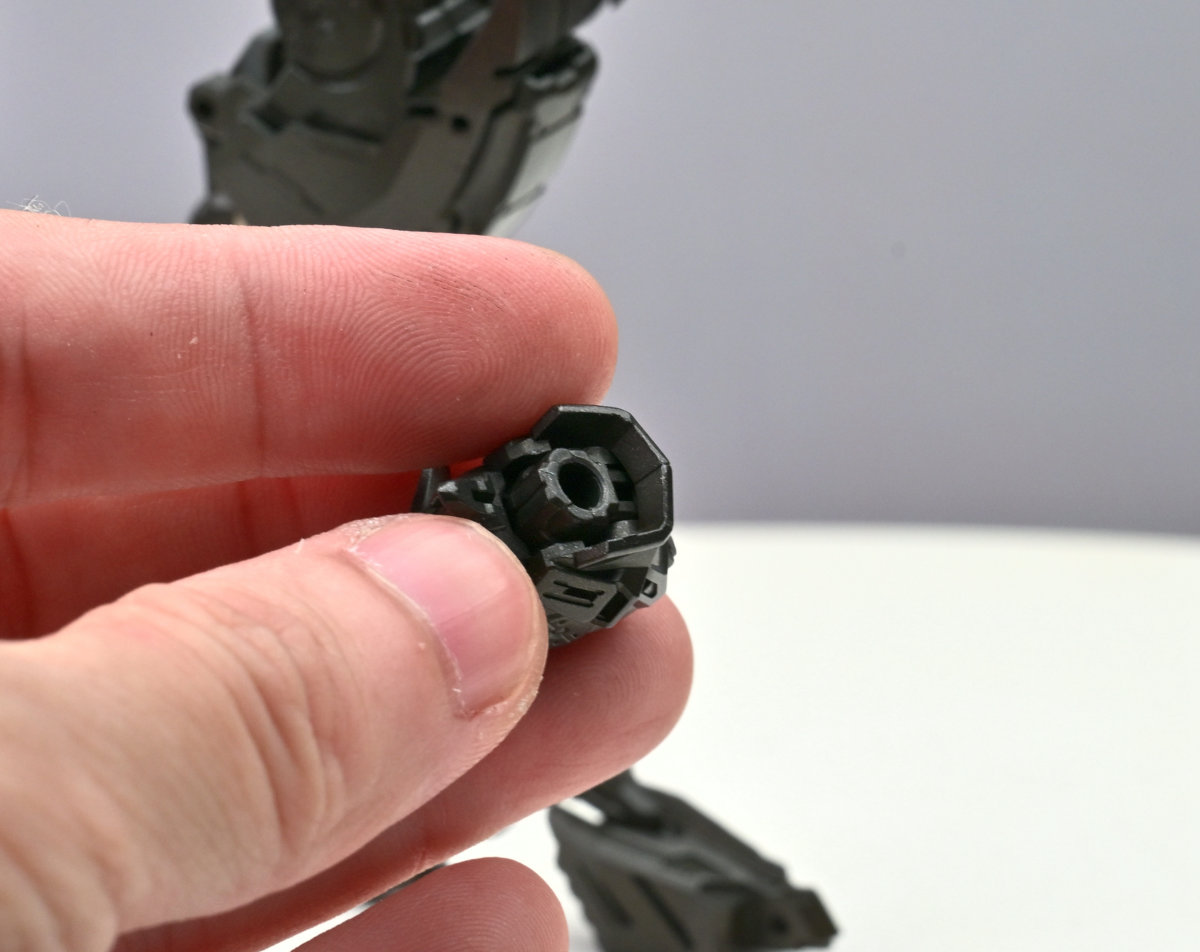
▼The head is connected by a small ball joint.
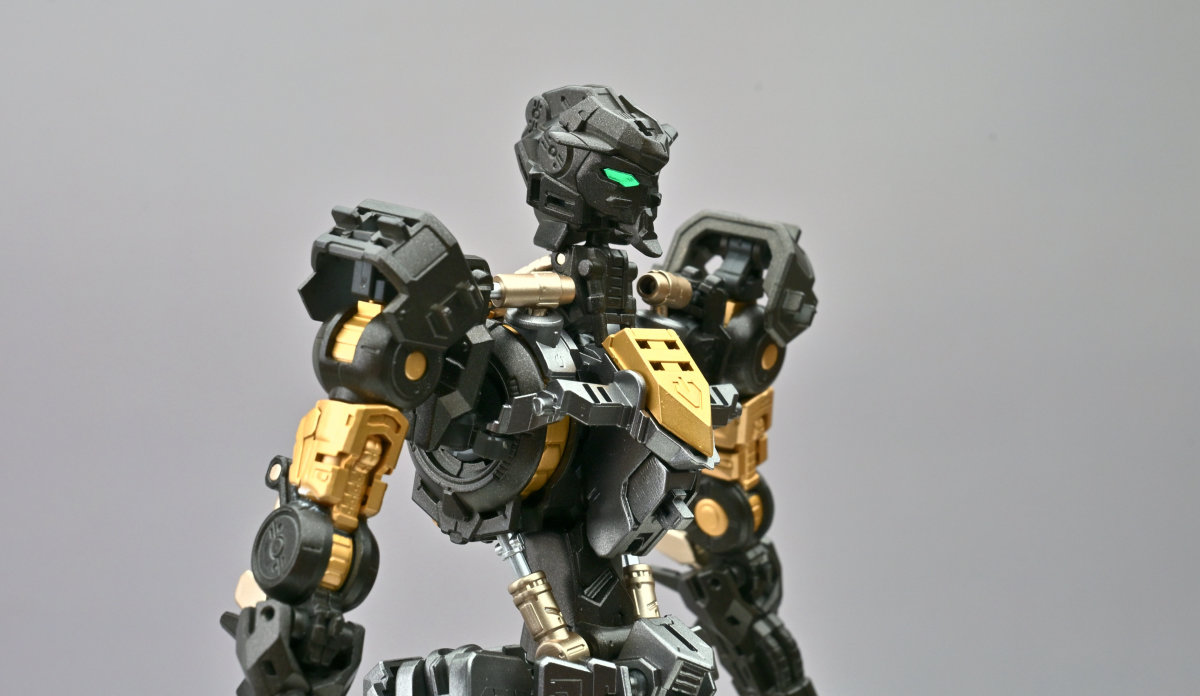
▼I recommend leaving joints like this unpainted. If you absolutely must paint one, mask the ball so no paint reaches the contact surface. Whenever I encounter this type of joint on my own builds, I leave it in the original molded plastic.
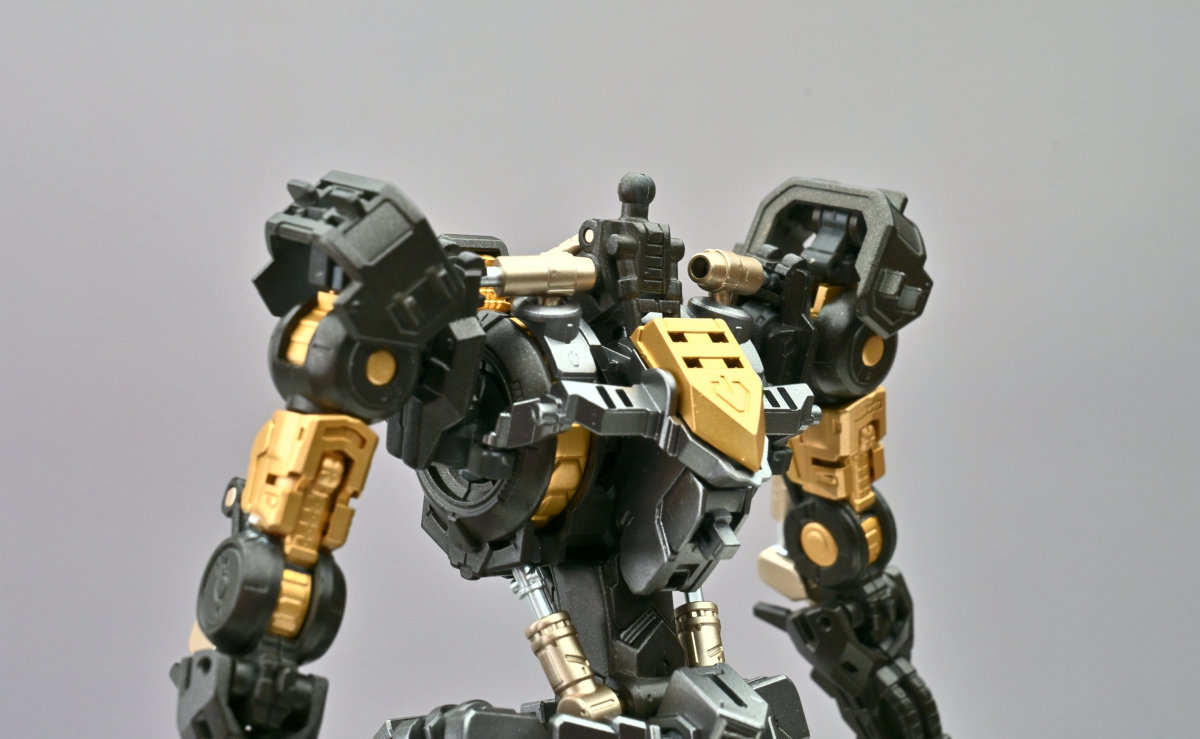
▼A moment of carelessness and an overly thick paint layer can make assembly extremely tight. Twist the joint, and the added friction may snap the part. Do not overestimate how much stress Bandai's parts can take.
▼Looking down
▼Gundam Barbatos has one of my favorite waist designs.
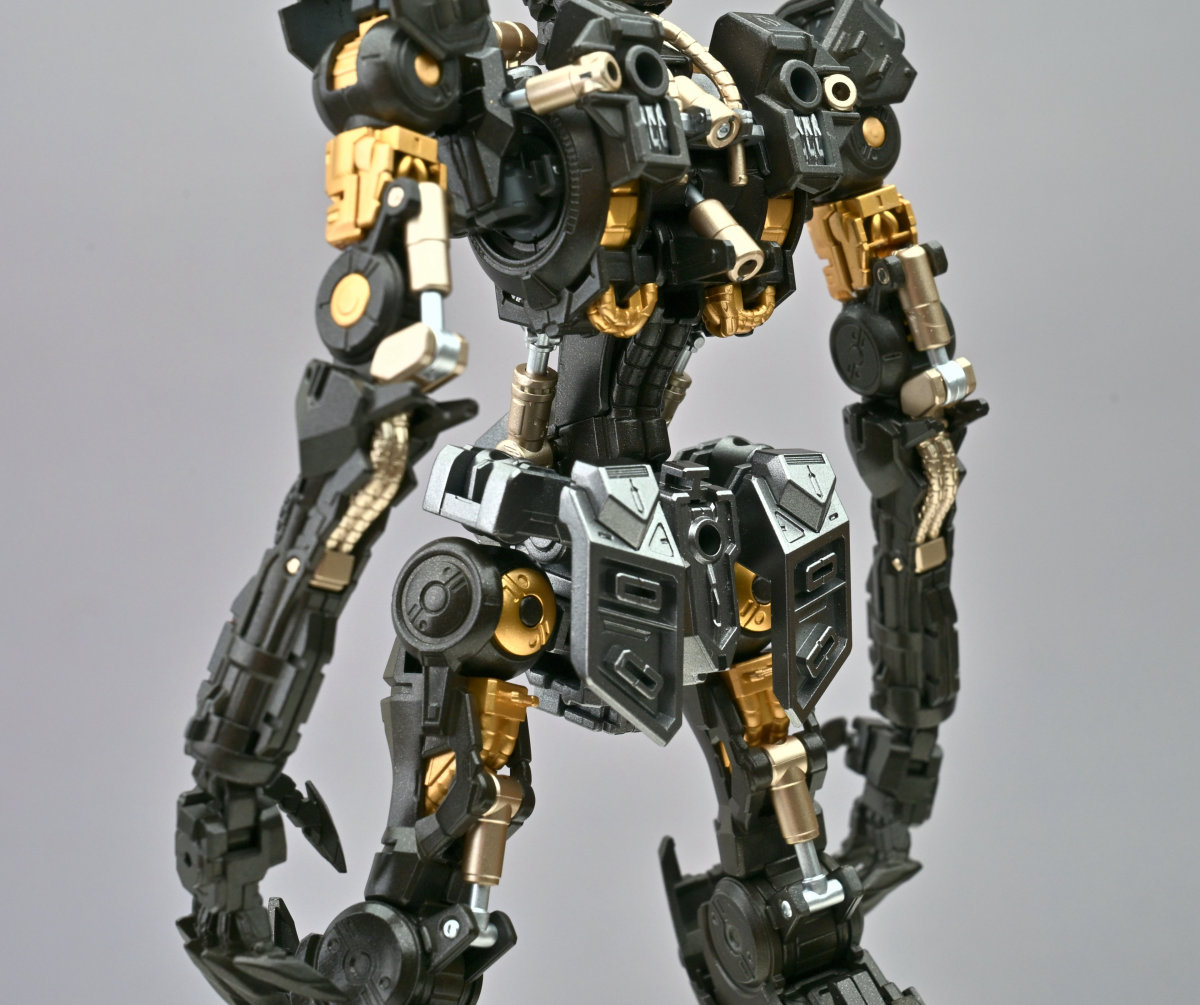
▼The narrow waist still allows plenty of side-to-side rotation.
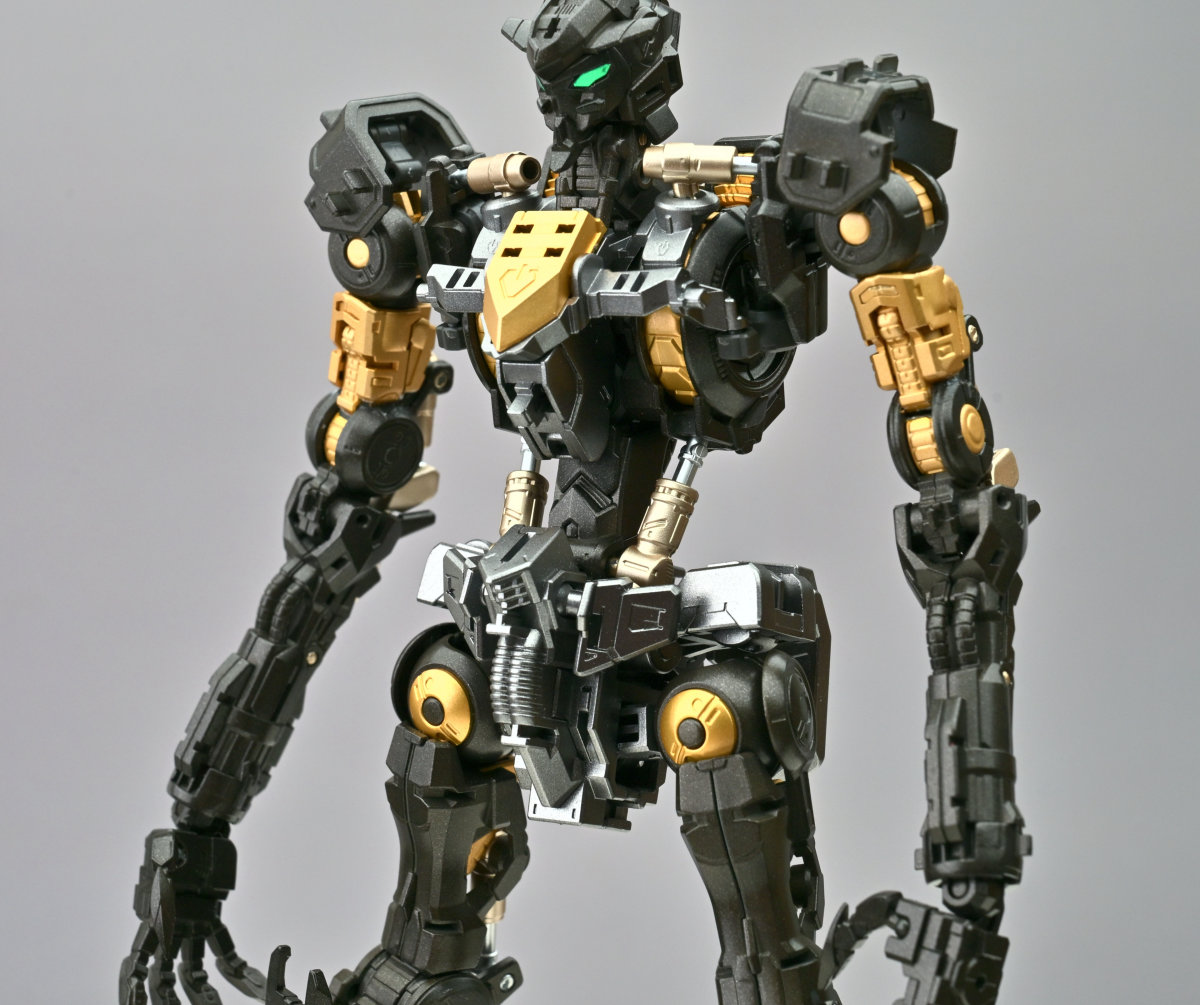
▼A shot from a low angle
▼I did everything I could to repair and conceal the broken elbow joints, but some cyanoacrylate residue is still visible.
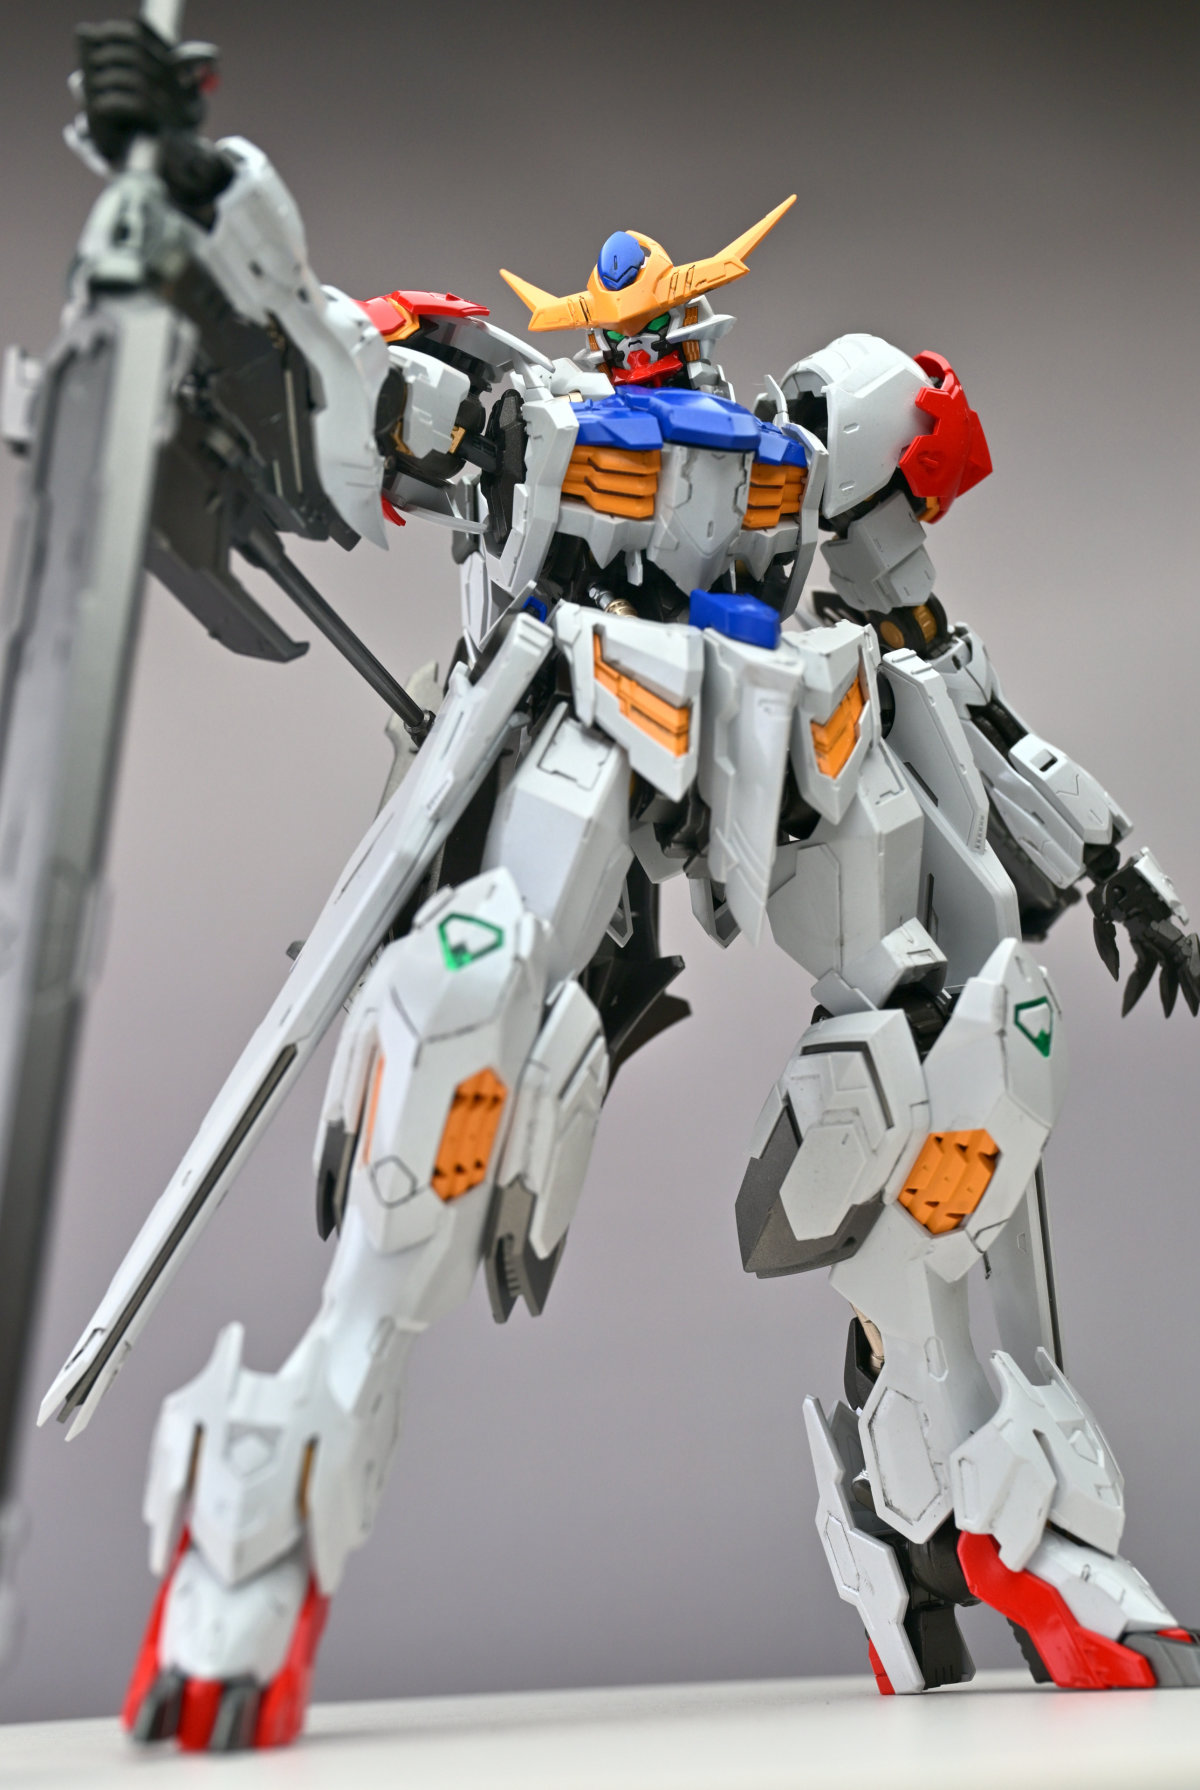
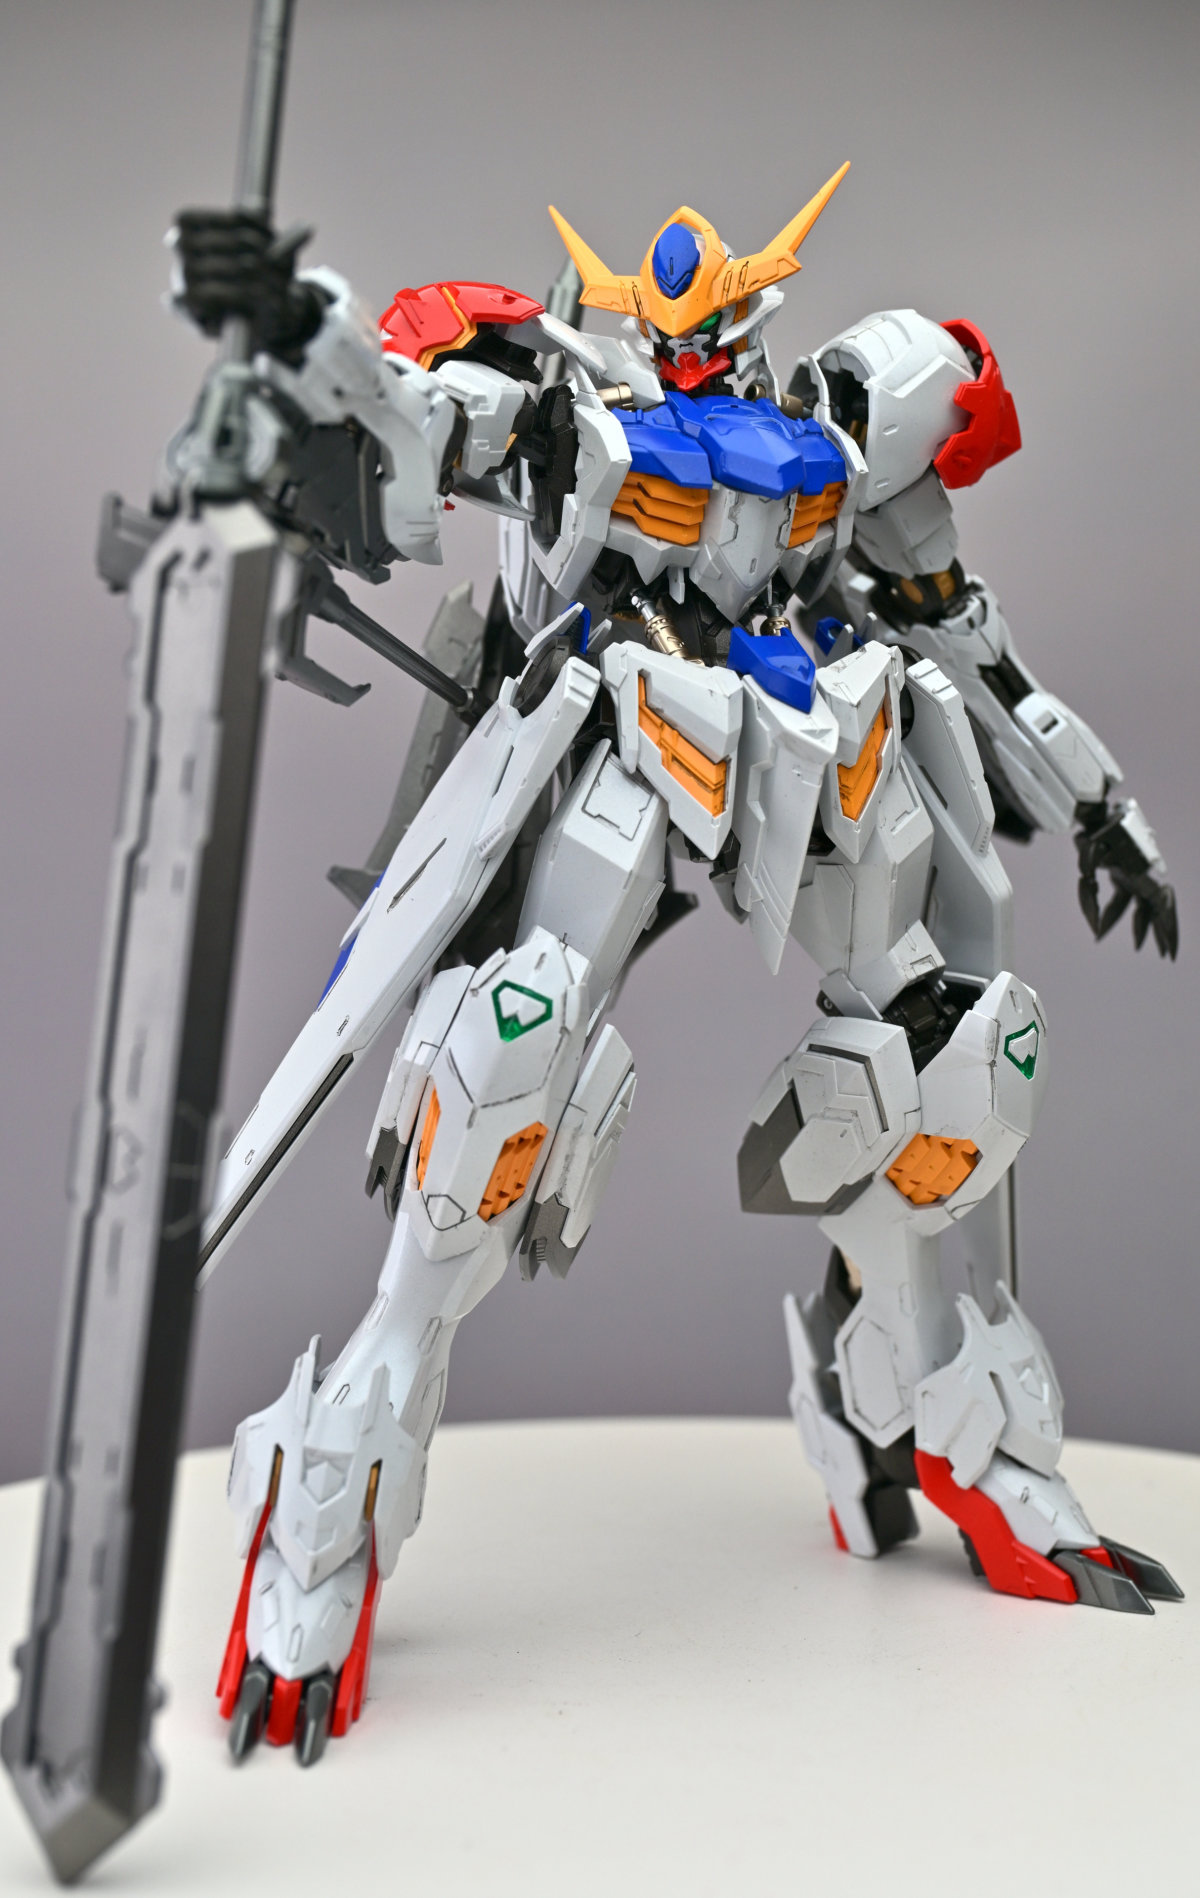
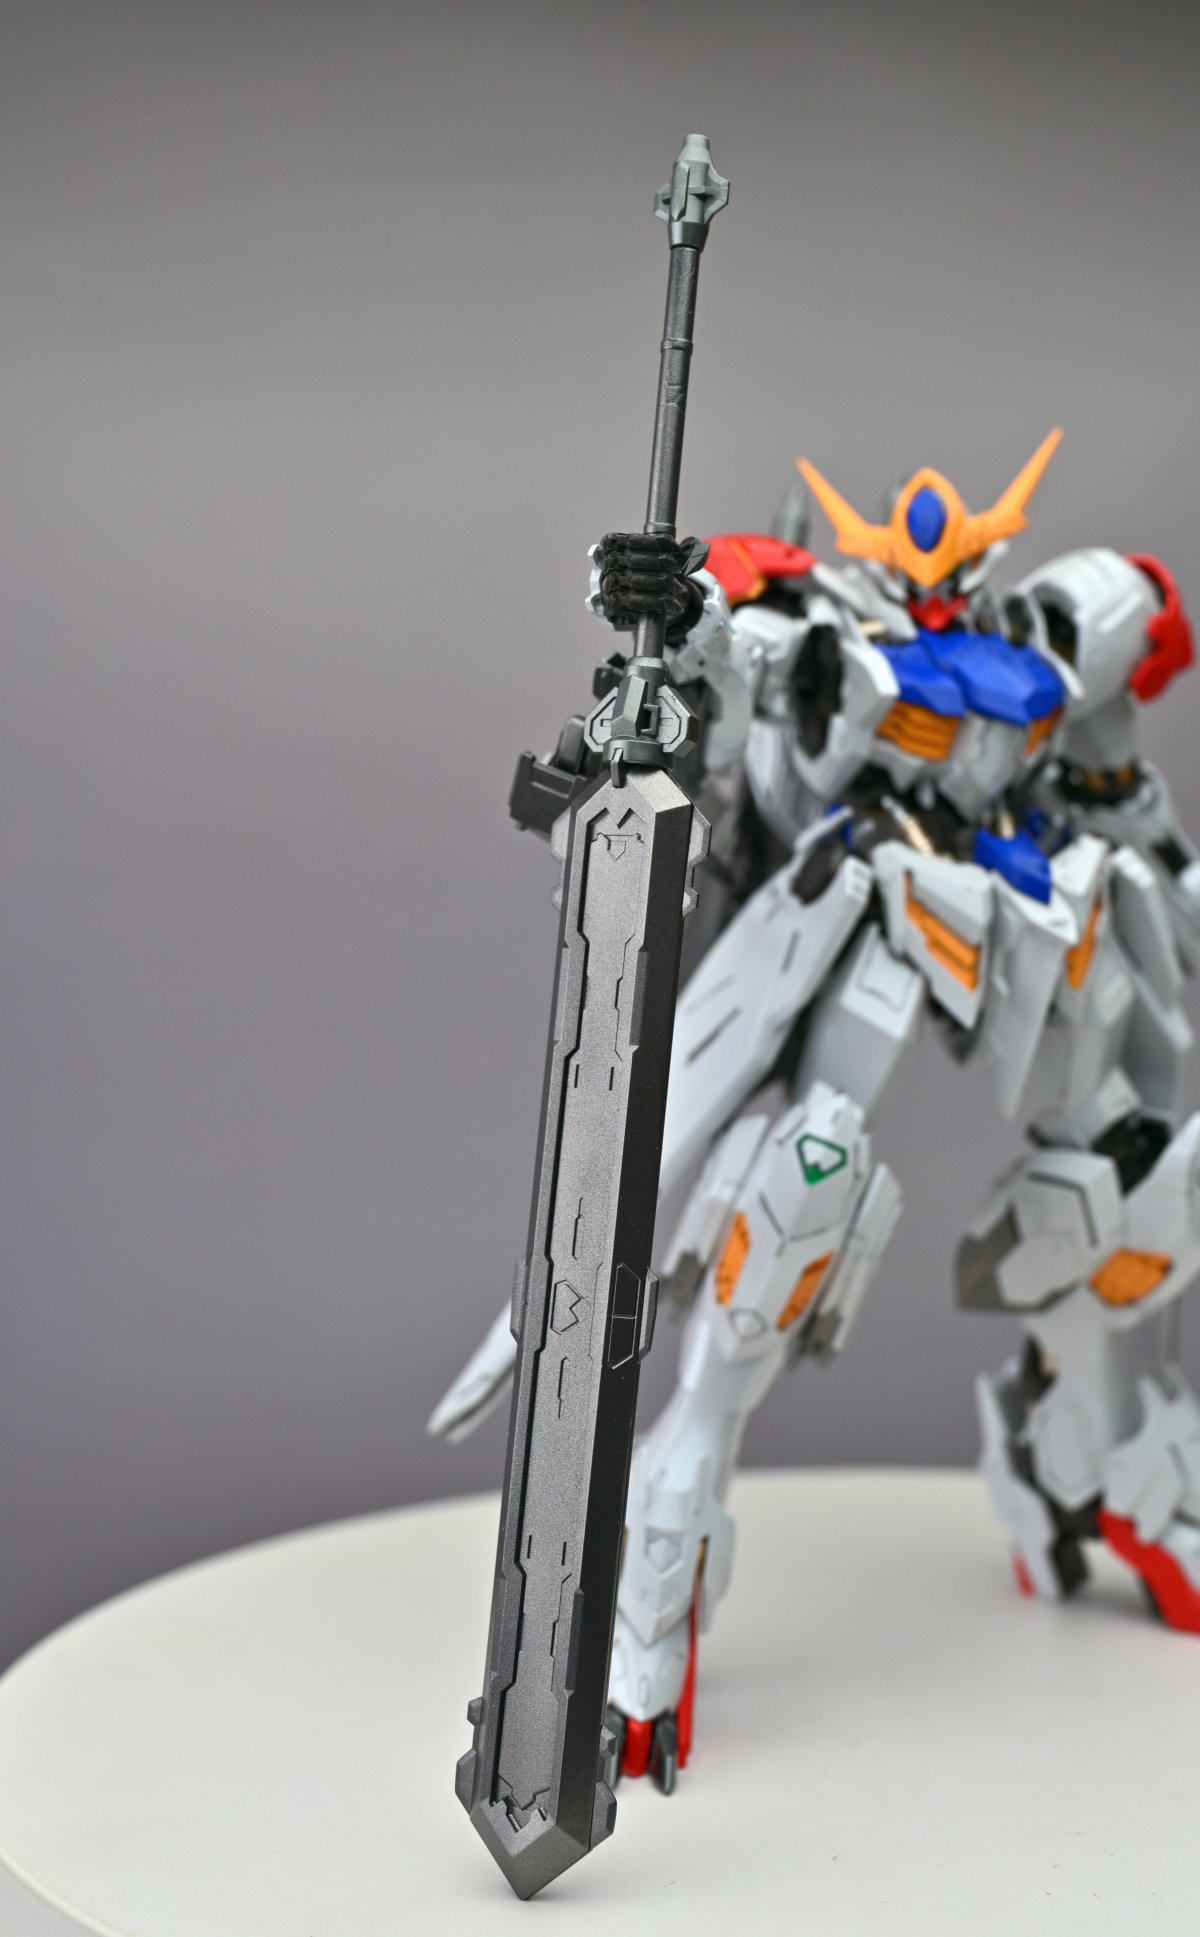
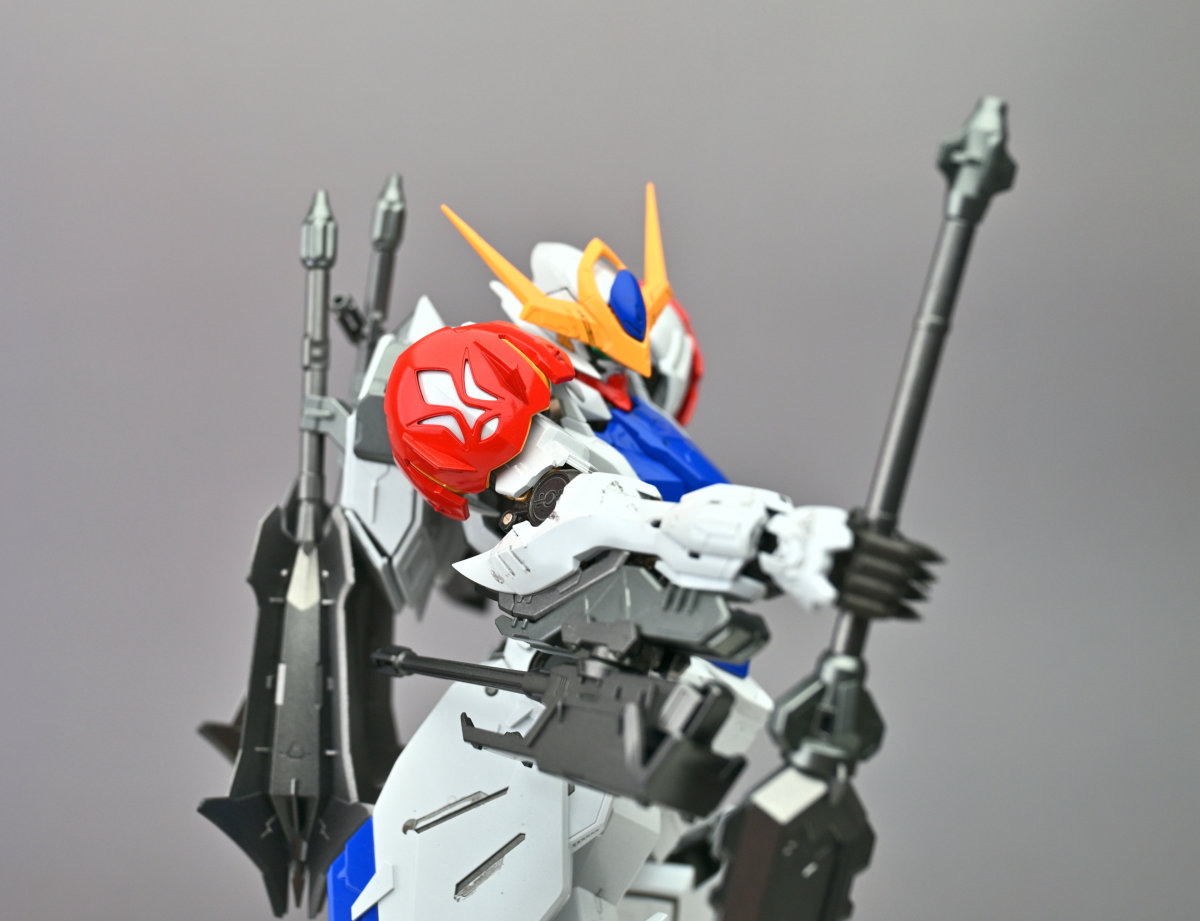
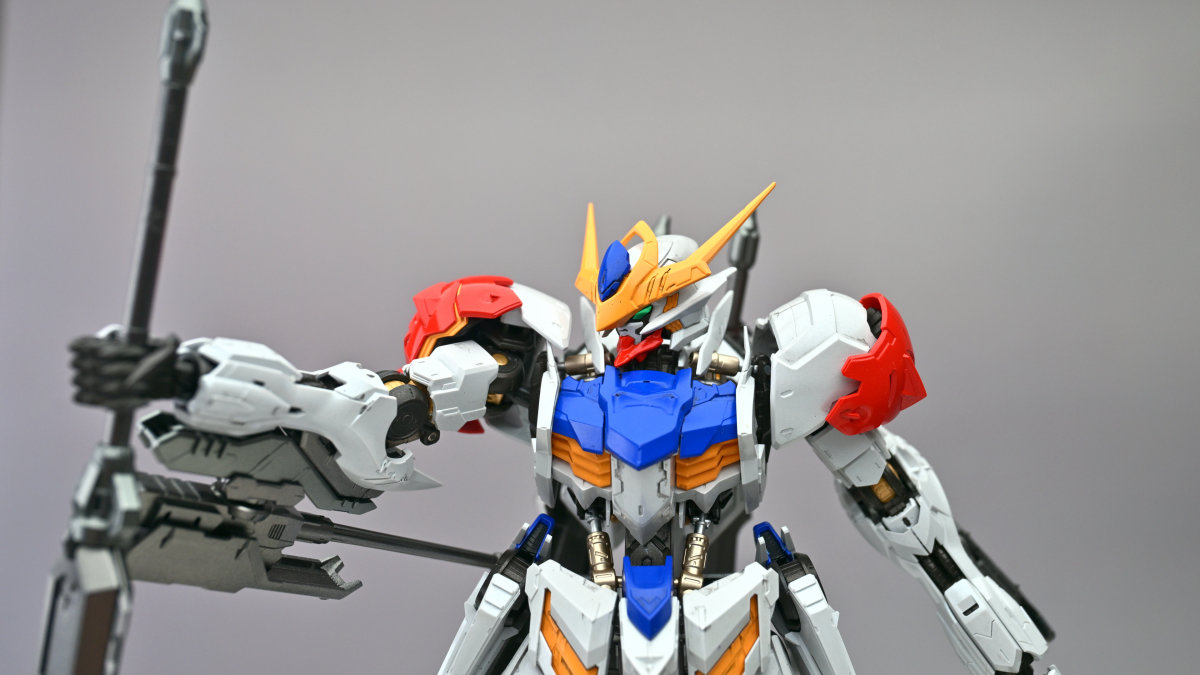
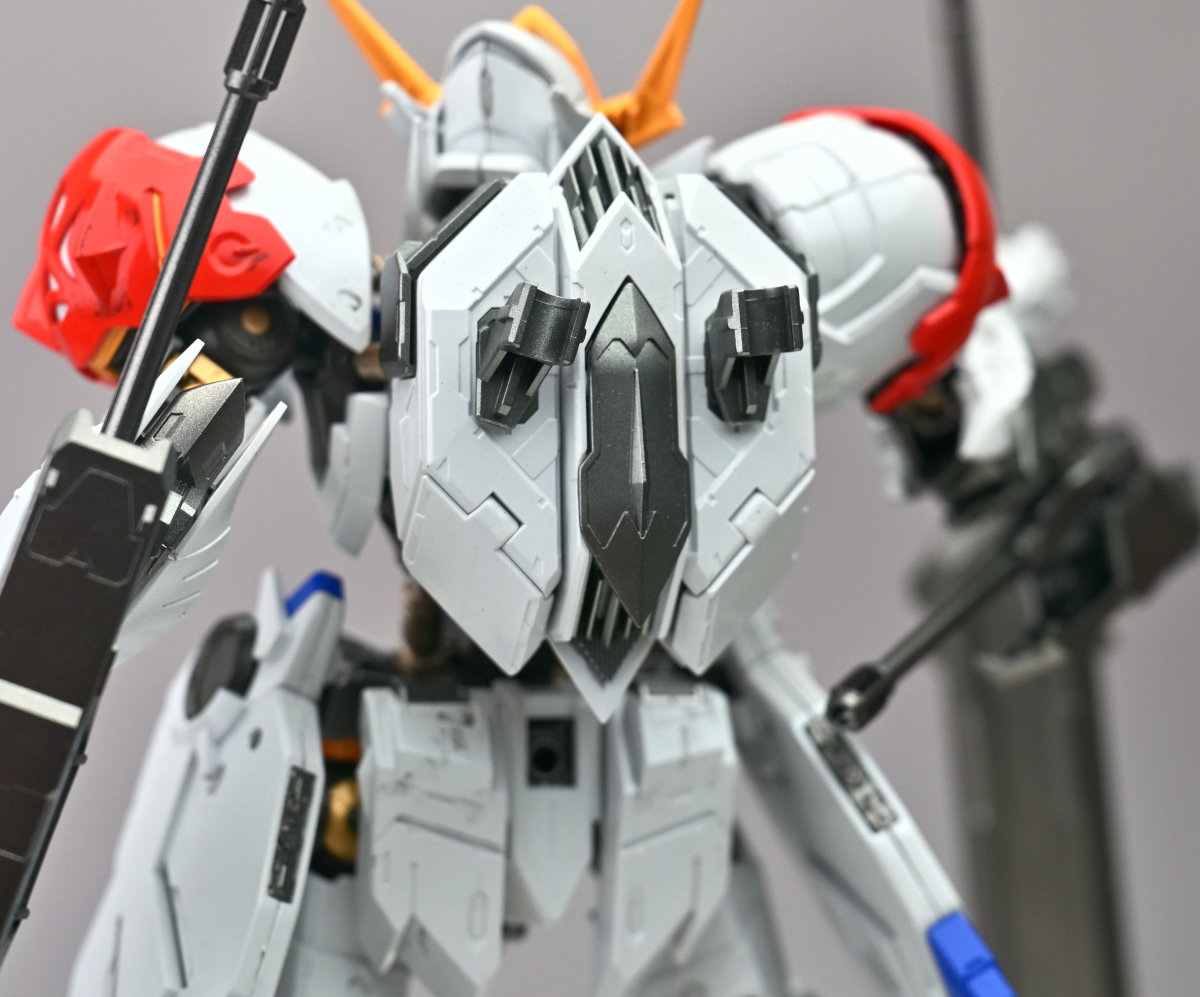
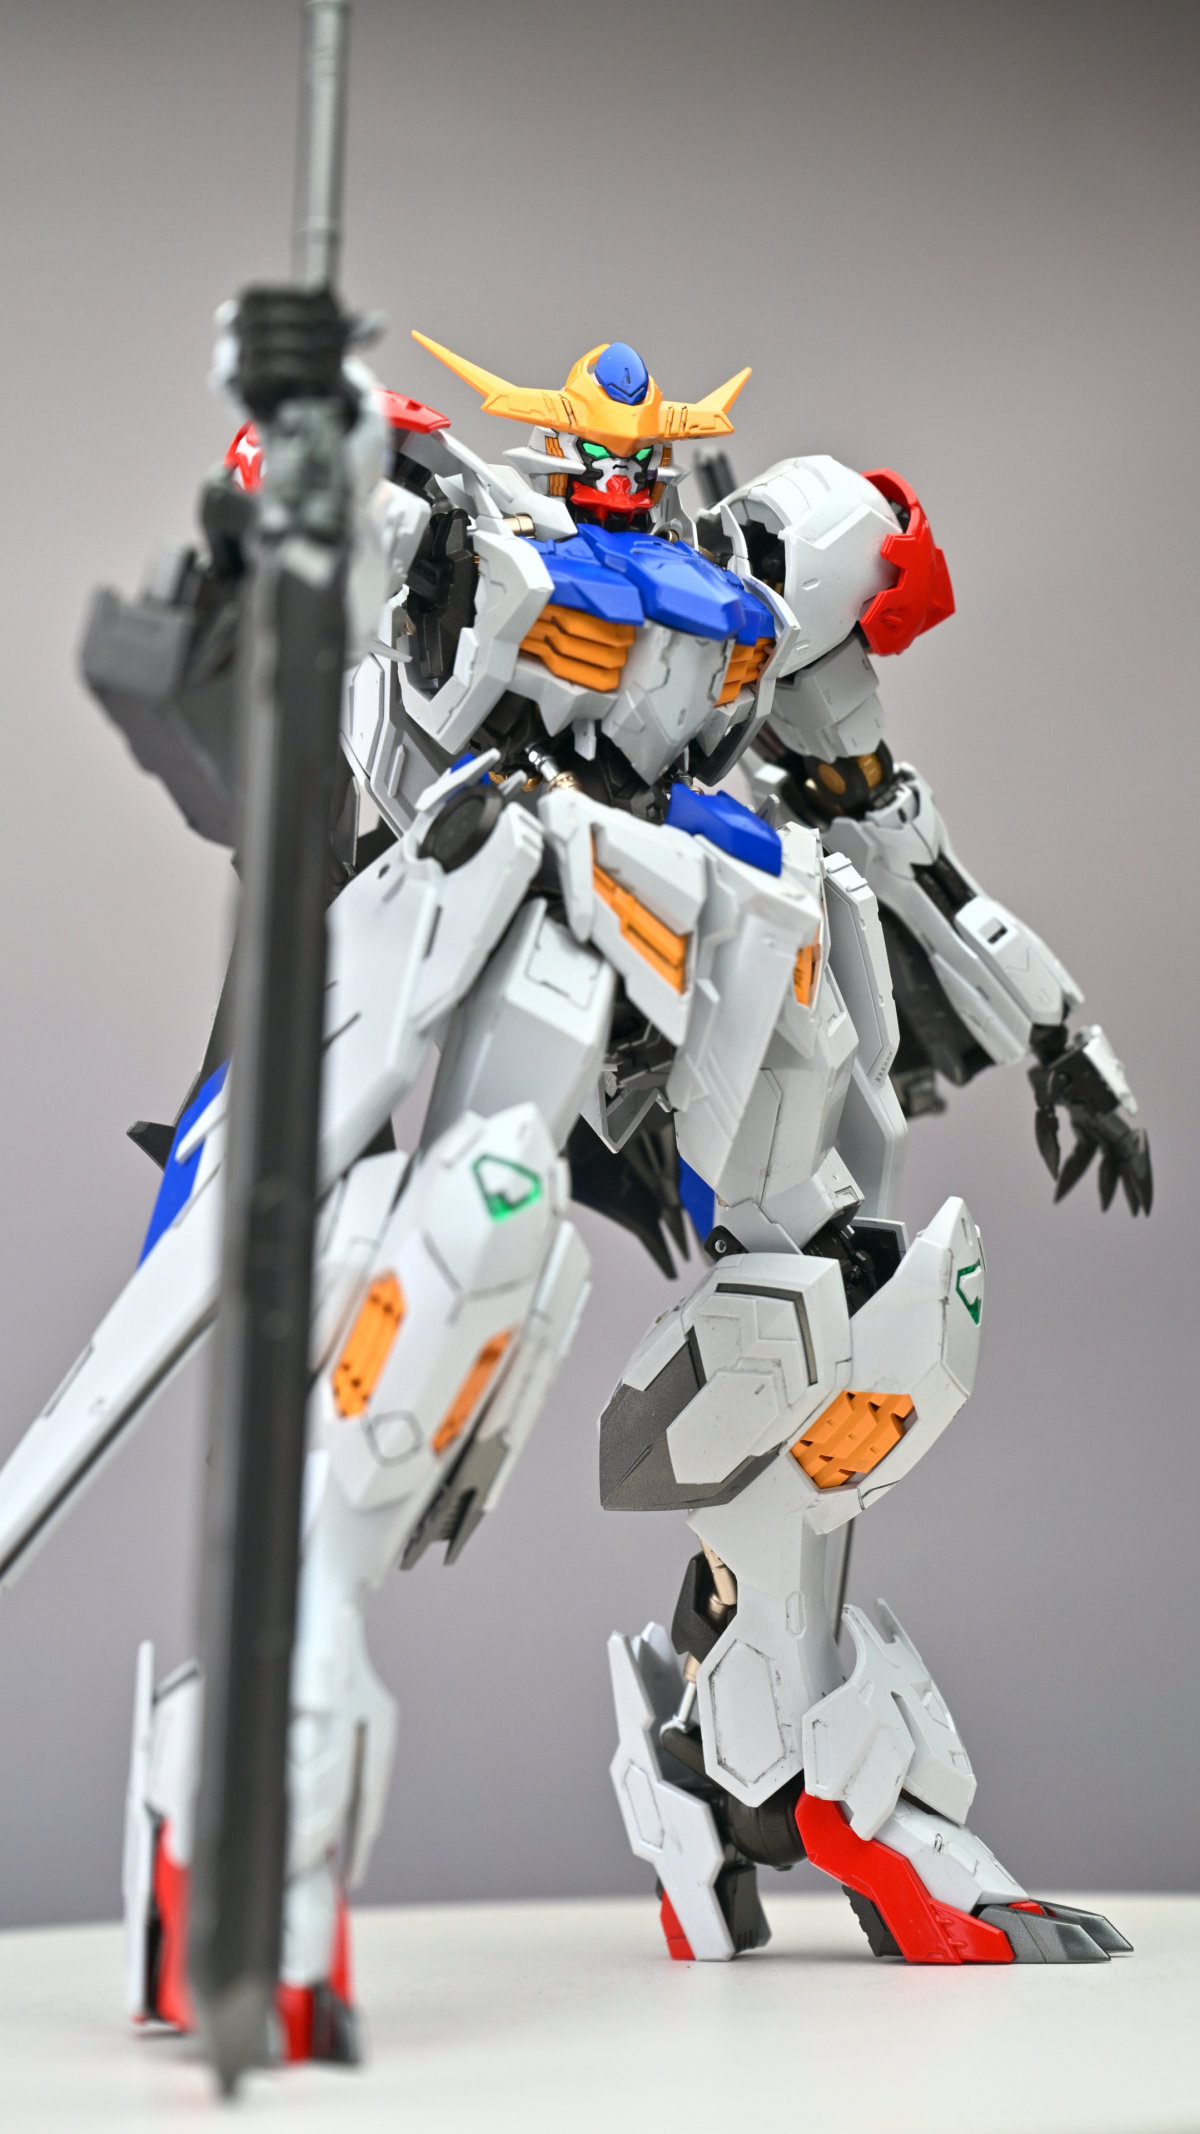
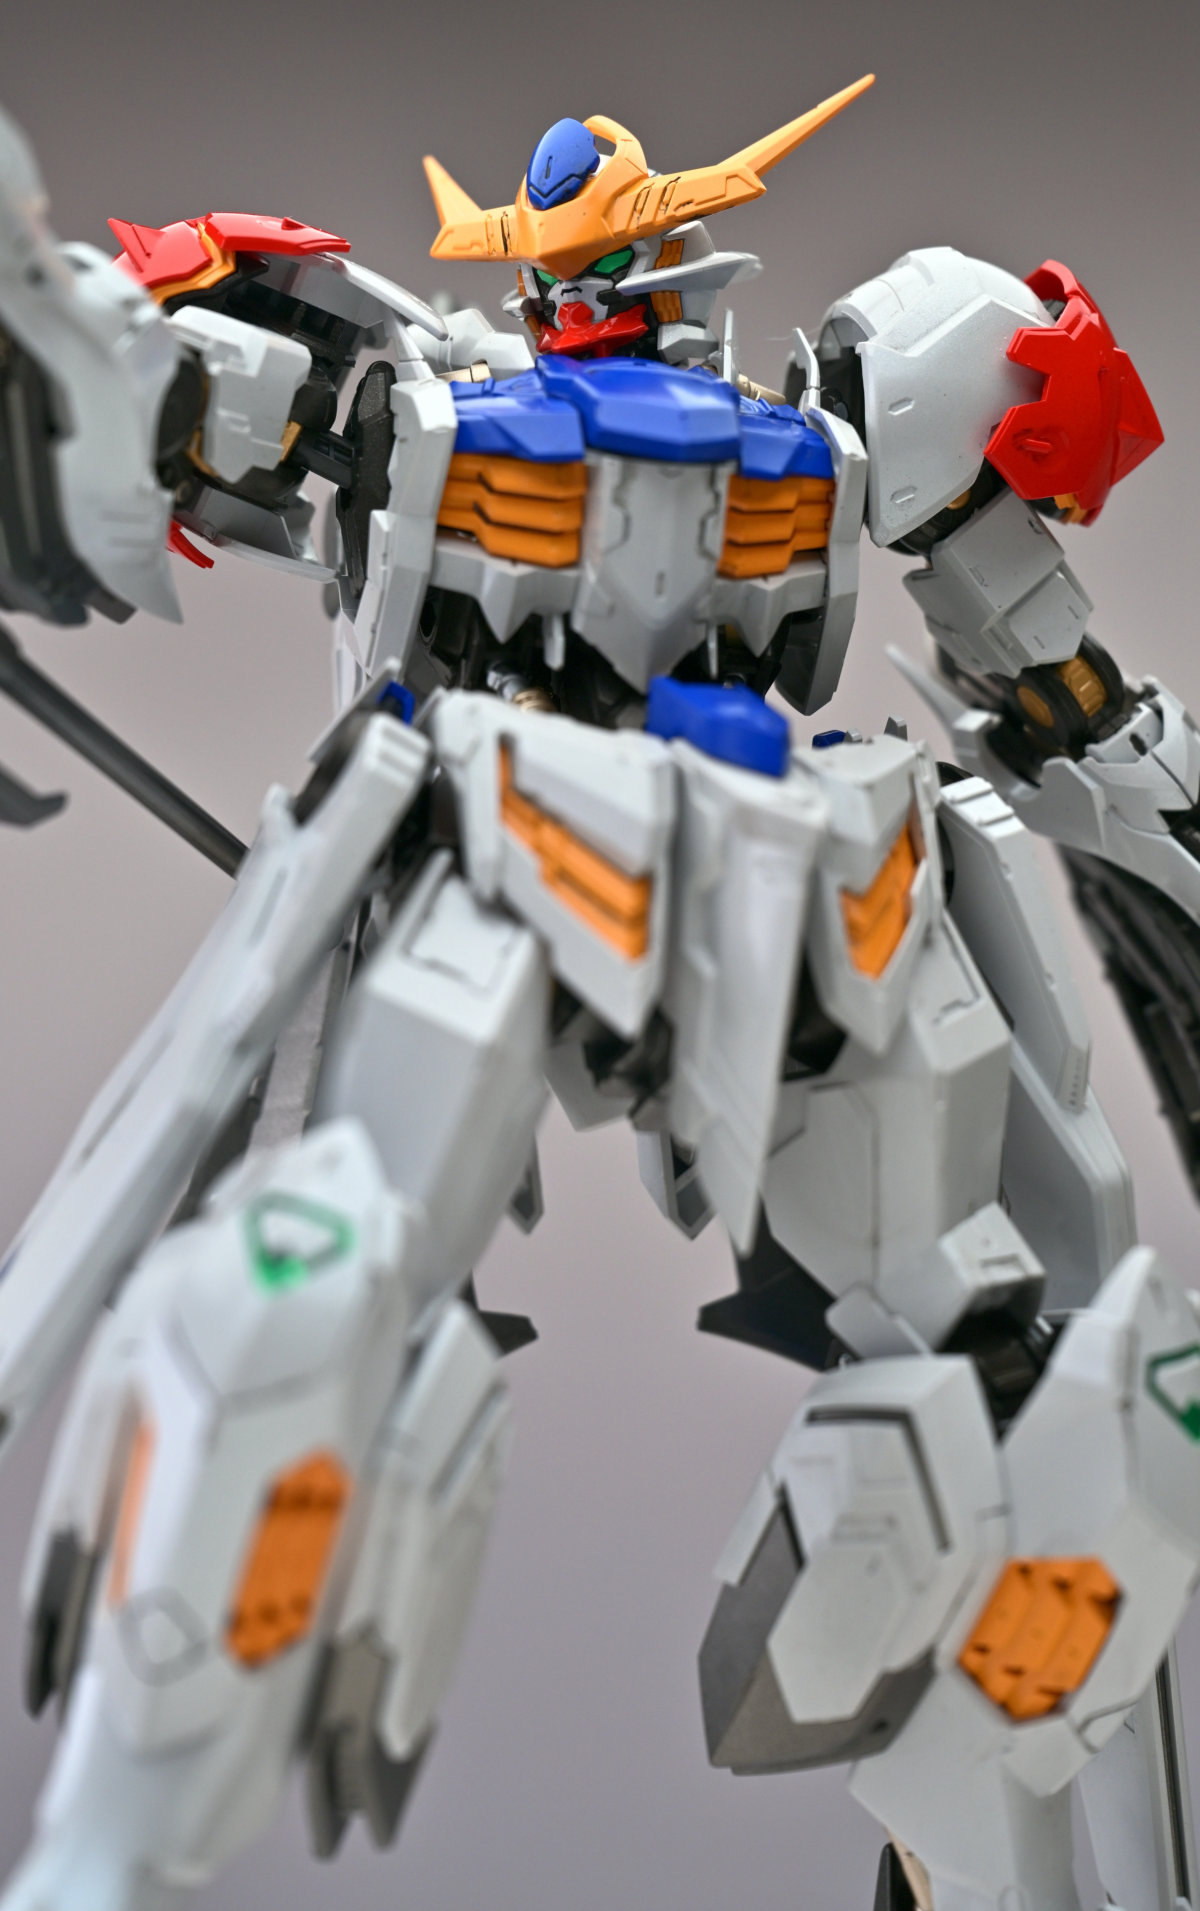
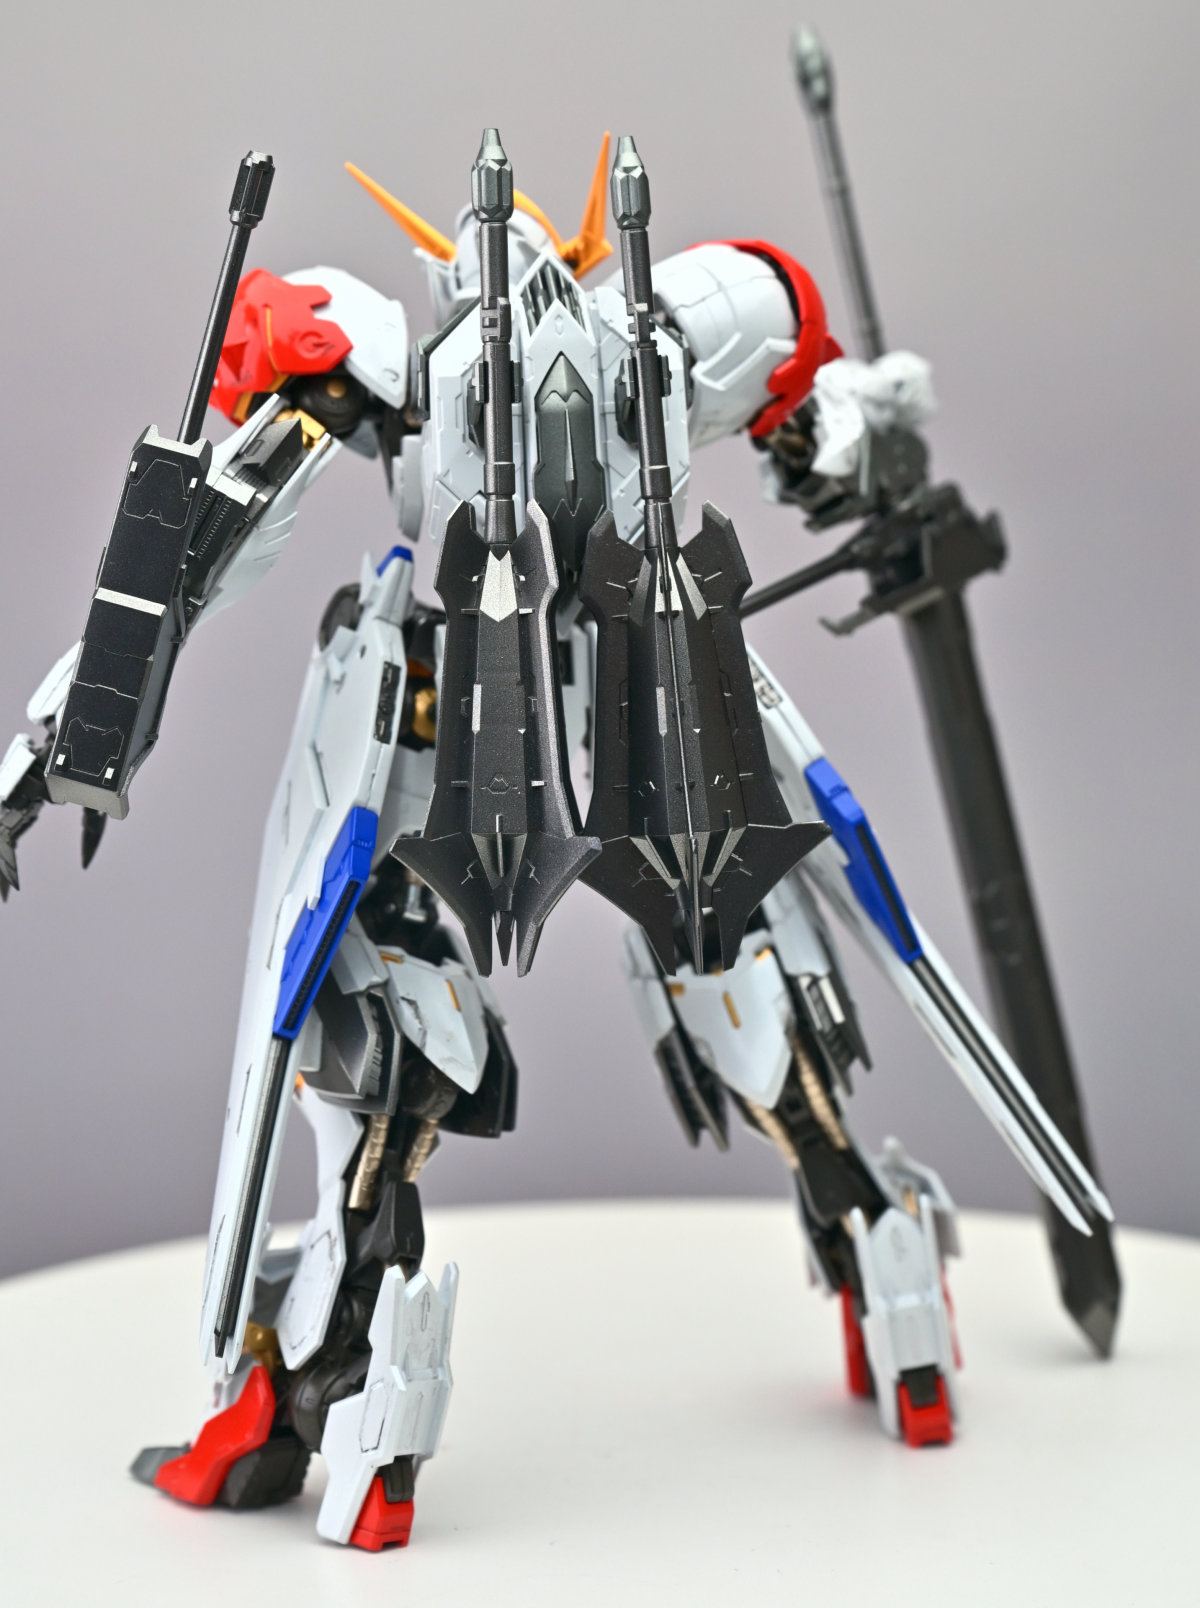
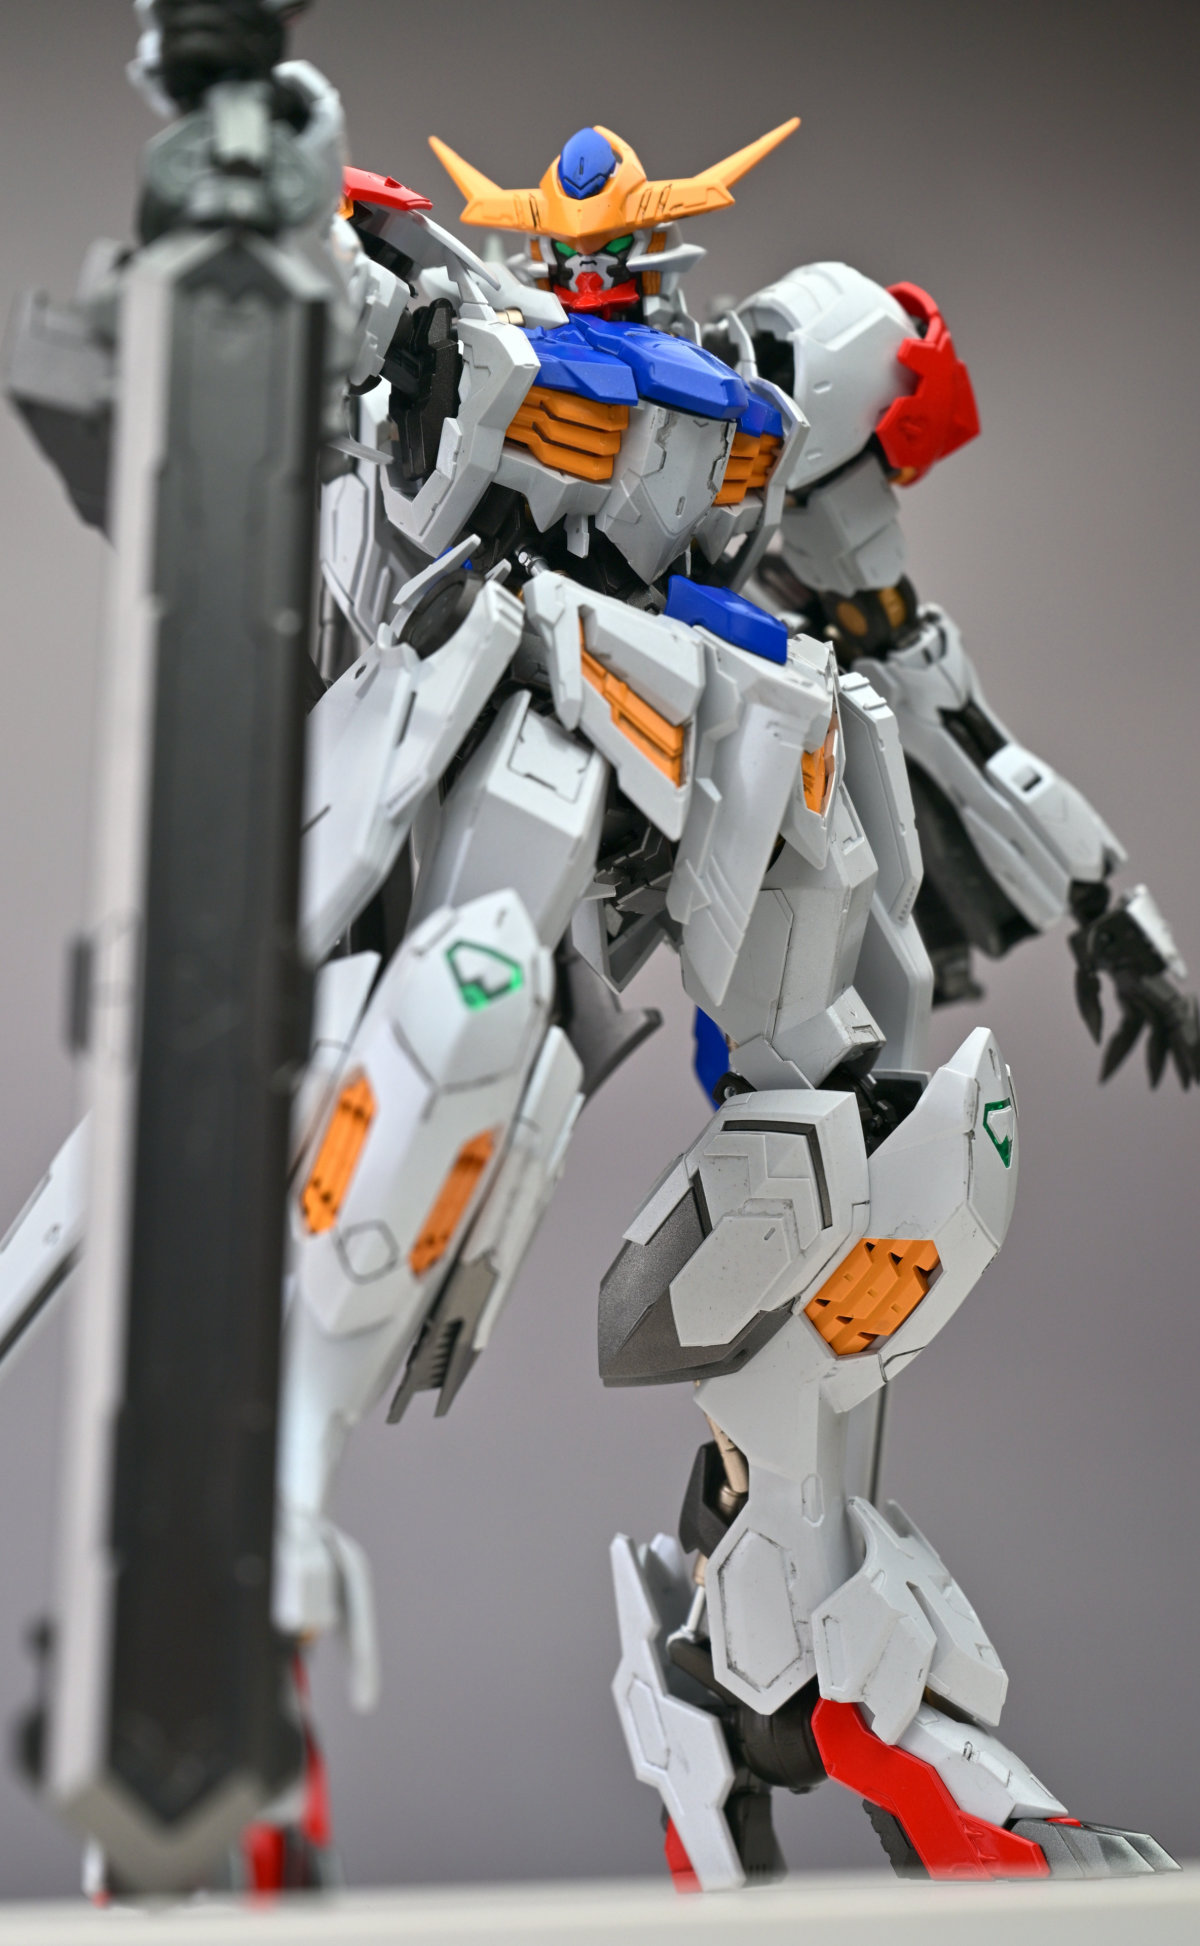
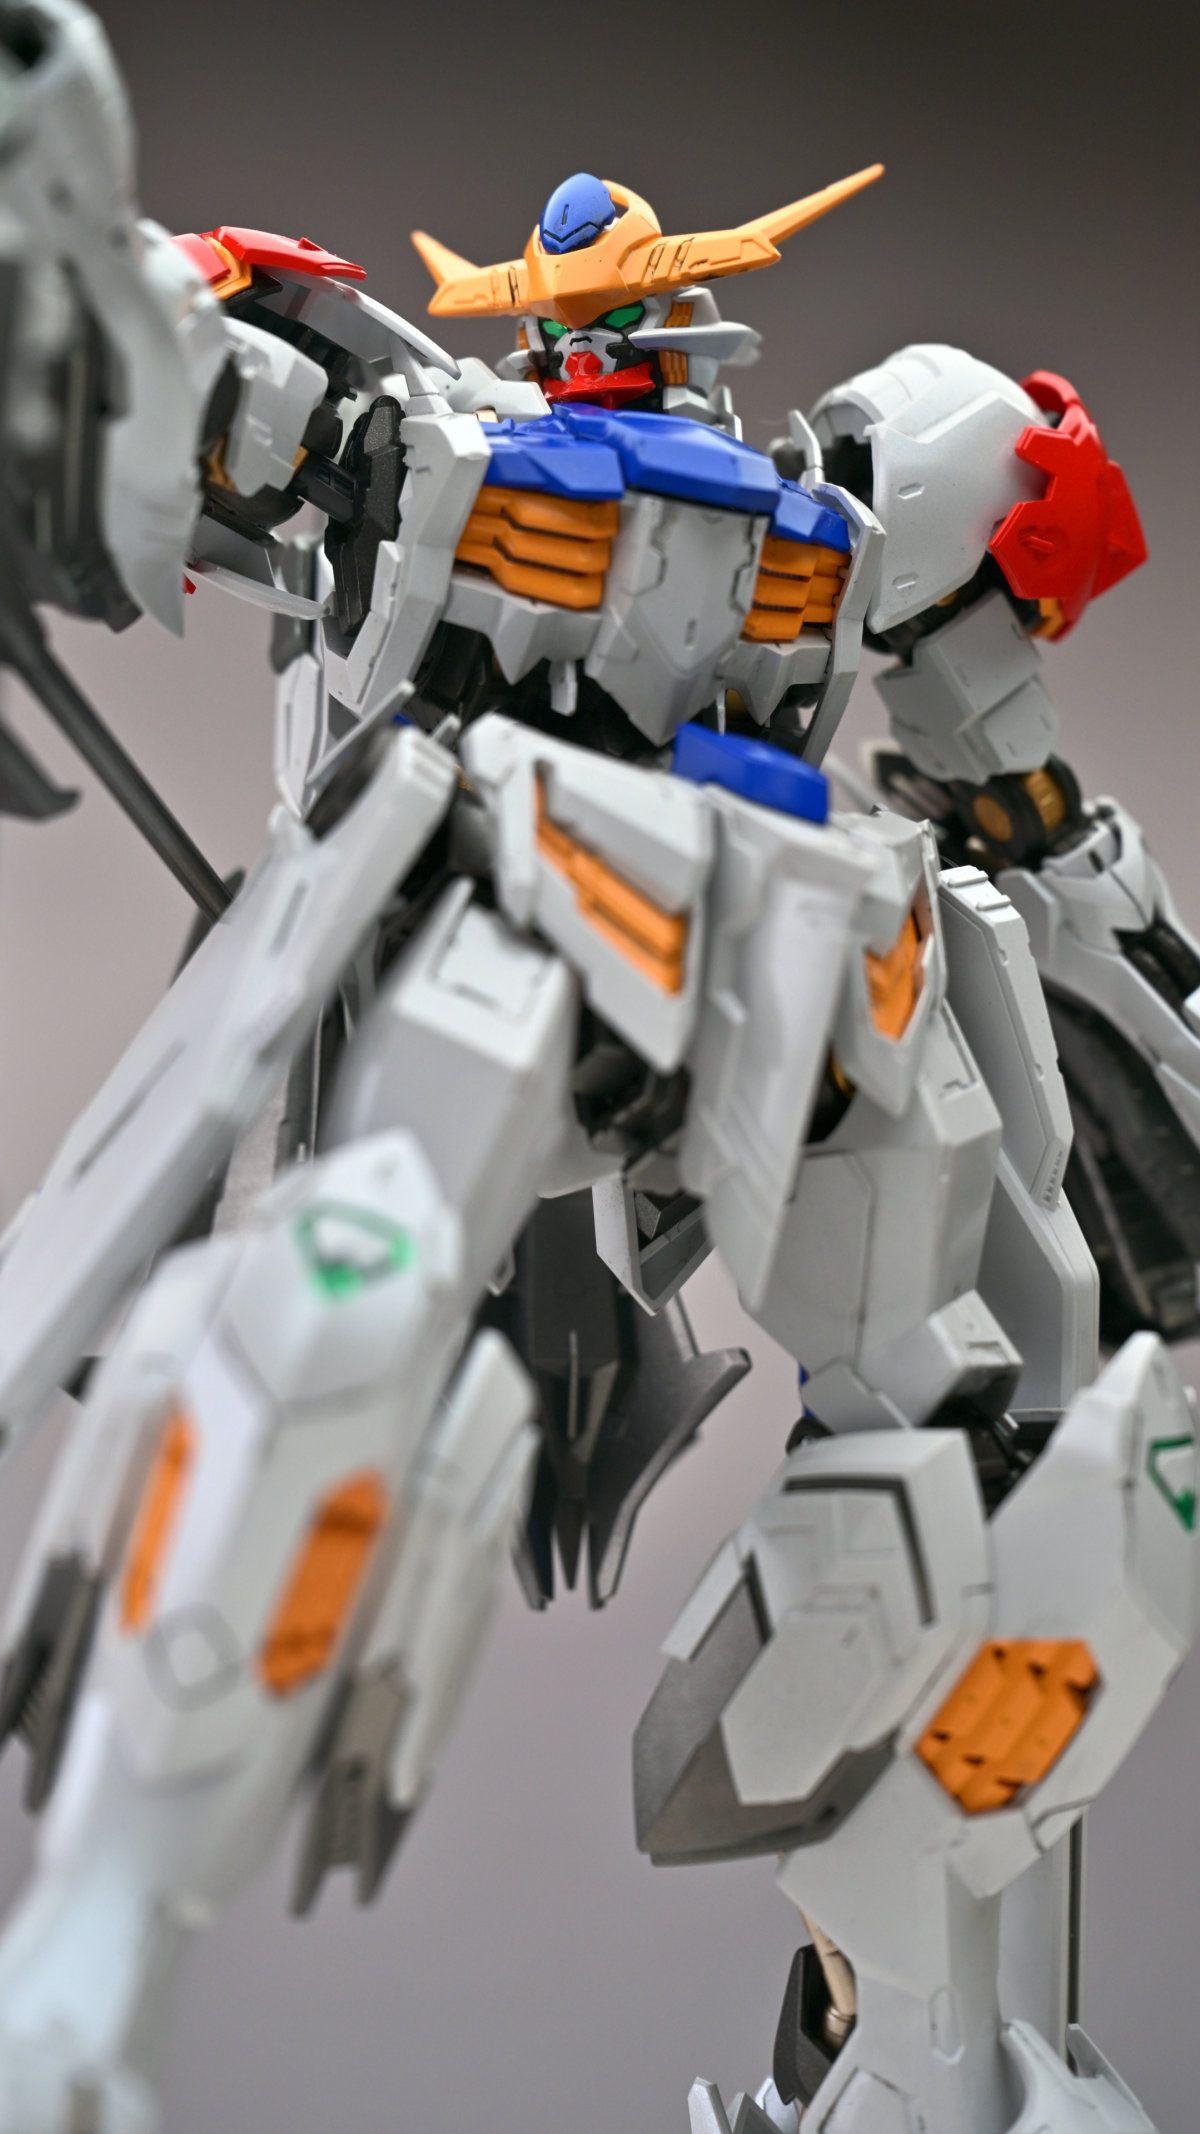
That wraps up the inner-frame showcase. Next up are a few simple studio shots. The red, yellow, and blue areas were not painted with metallic colors, as the owner requested straightforward solid finishes and supplied three GSI Creos lacquer paints. After painting, I applied a gloss clear coat to protect the finish. Since the broken elbow joints could no longer bend, I kept the arm poses simple during the photo shoot. The kit was not mine, either, so I did not want to risk handling it too aggressively. Here are a few studio shots featuring basic standing poses.
▼Studio shots in a standing pose
Visit my video channel