
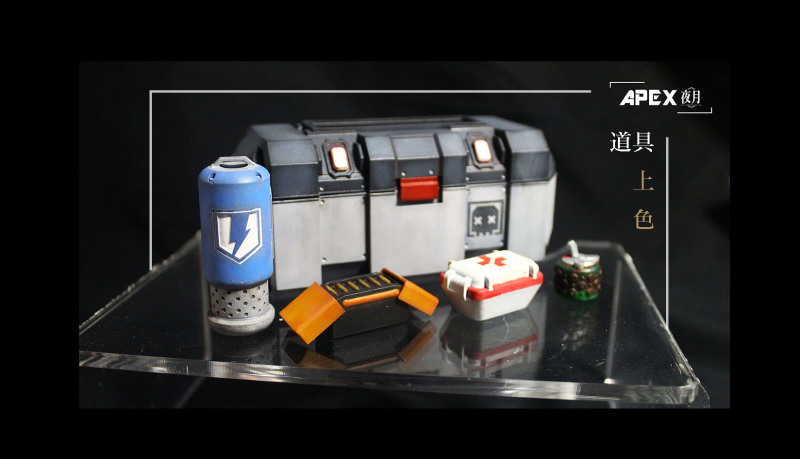
Good morning, fellow toy enthusiasts! This time, I'm sharing a painting project I worked on previously. The main material is resin 3D printing. About two or three years ago, whenever I received an inquiry about 3D prints, my default response was to decline. Dealing with those layer lines was a nightmare I'd rather send to the incinerator. Recently, however, most prints have come with these smooth surfaces. While they aren't completely free of the need for sanding and processing, they've reached a level that is comfortably workable.
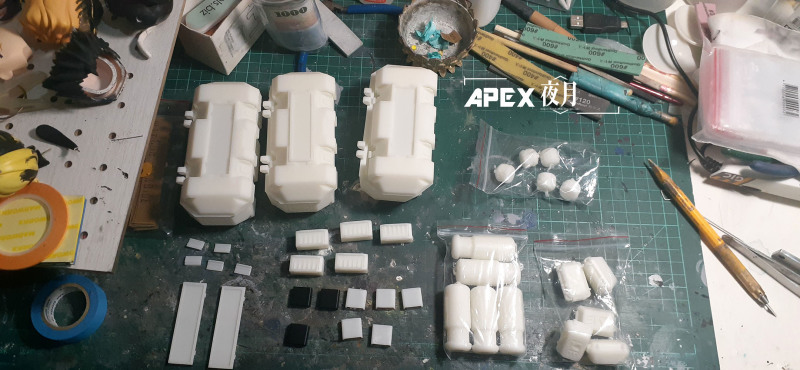
First up is the creation process. Photos of the finished products are at the end of the article.
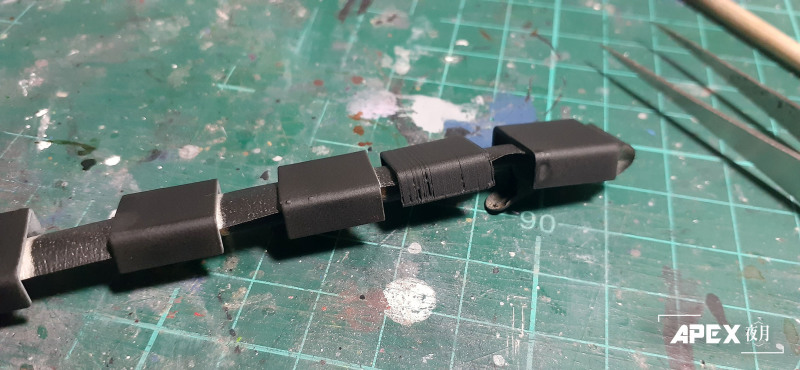 Before painting, the surfaces must be prepped. Although the commission was undertaken with the understanding that the layer lines would require minimal treatment, some of the more fractured surfaces still needed putty and sanding. Severe damage in these areas would compromise the final look even after painting and weathering, so it was worth dedicating some extra effort here.
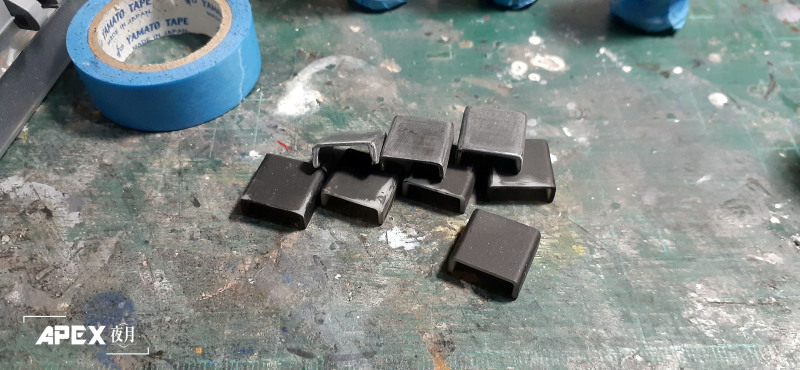 Sanding in progress.
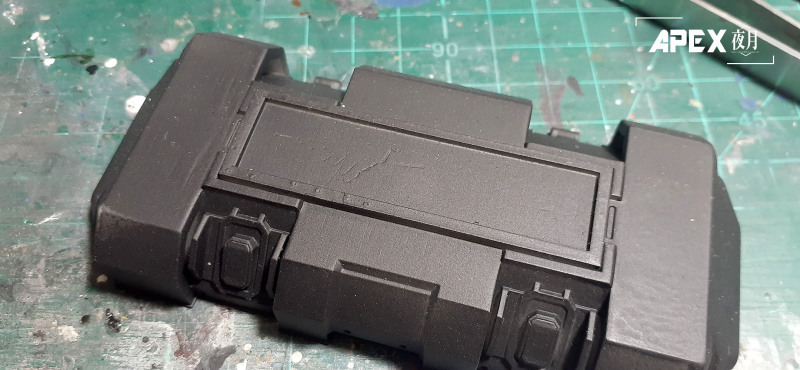
The pieces had various break points from where the supports were removed. I used a carving knife to smooth them out. Any mechanical damage marks had to be meticulously filled in.
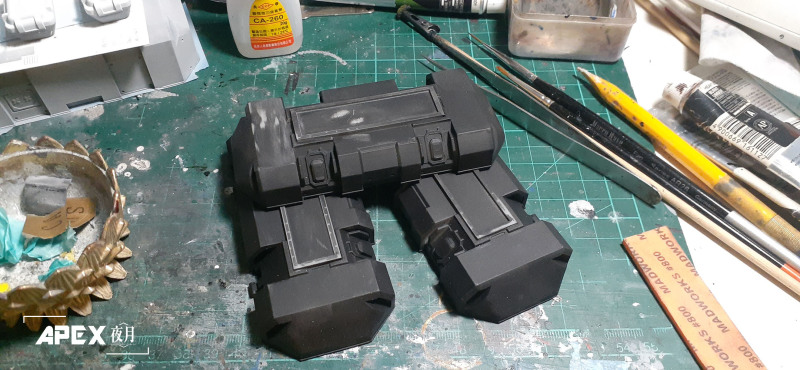 More sanding. In total, there were five types of props, with 3-5 pieces of each to process. While not a difficult task, the repetition of working on so many identical items can become a bit tedious.
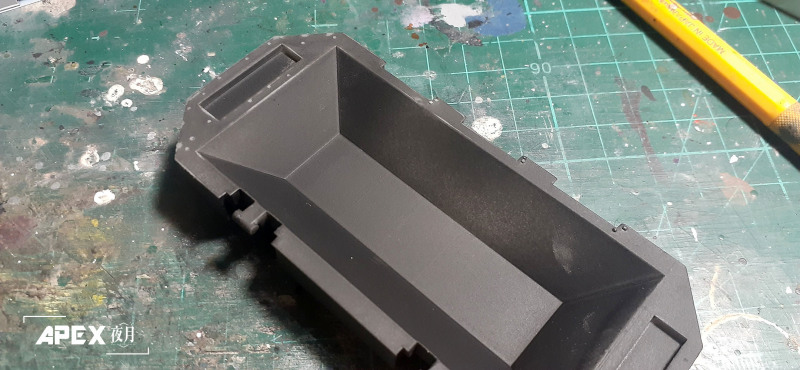 Pushing out the supports. The lid on this part is functional, so it had to be cleaned up perfectly, otherwise opening it would ruin the effect.
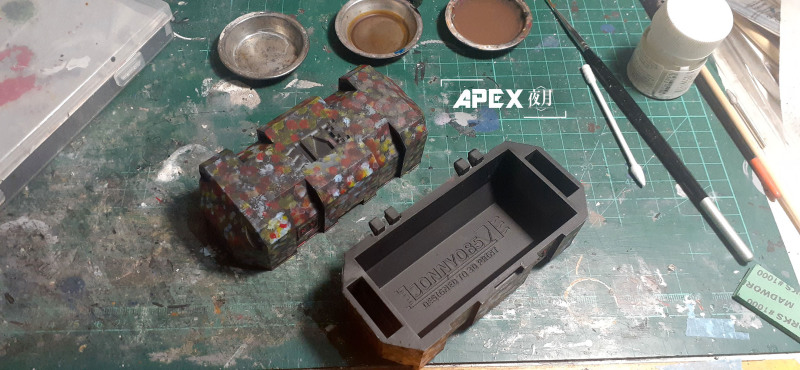
Preparation before the final painting is complete. Here, I applied some muted base tones before the main colors. This prevents the final product from looking flat and gives it the appearance of authentic weathering on a real object.
 The first prop is an item resembling an energy cell. I don't play the game myself, so I can only guess its function based on its design. I'm not even what you'd call a "cloud gamer."
 The design of this canister is seriously cool. I'm tempted to model it as a fuel rod for my next Gundam build.

In addition to the blue, the canister body was also weathered. For this, I opted not to create a paint-chipped, rusted effect, but rather to represent a blackened finish in areas that would be frequently handled.
 For the base, I took inspiration from gas canisters. The part that makes contact with the ground would naturally be the dirtiest, so I used brown and yellow tones to create the look of paint beginning to chip and rust.
 I applied ink to the heat vents to create a sense of depth and recession.

The second item is a grenade. This one was a real headache. It's small, packed with fine details, and has no good place to hold it. I had to mount it on a paint jar and carefully hand-paint everything.


All the surrounding nuts were hand-painted. After painting the black base, I had to add the silver details. The application had to be precise, otherwise it would be rejected and I'd have to repaint it.


Beyond the base color, the screws also required weathering. The entire outer ring needed a rust effect. Painting these five took nearly two days. Thankfully my eyesight is still sharp; using a magnifying glass would have surely given me a headache.


The key for the bottom was scraped paint effects. It's only natural for an iron object on the ground to rust, so it was all about dabbing and stippling.
 The third item is the medkit. This part was relatively straightforward—just clean painting. The symbol on top was the most troublesome part. Masking it proved difficult, so I resolved it by hand-painting.


The medkit's material is plastic, so its finish is different from metal. I used blue pastels to create the shadows.
I smudged gray along the bottom edges to give it a used look, but not the kind of dirty, aged feel you get from sun-yellowing.
 The fourth prop is an ammo box. I found the coloring for this one a bit puzzling, as I couldn't quite discern the material. The client explained that it has special effects in the game, so I just had to paint it according to the colors I saw.
 Four of them have lids, while the remaining one is open. Perhaps they are different styles in the game?

For the bullets, I painted them gold and then dry-brushed with black to create the tarnished look of brass after impact.
 The fifth item is a coffin or perhaps a supply crate of some kind. If it's really a coffin, this game is seriously cool.
 This panel on top appears to be a screen. As requested by the client, I left it black.

For the clasps on both sides, I applied a stain color to the recessed areas. I used acrylic paint for the silver parts. Its brightness is lower than model paint, but this characteristic allows it to blend seamlessly with the model without additional weathering.
 The small nuts were also painted with acrylics.
 This object is quite large, so in addition to standard weathering, I also added white streaks. The technique is the same as creating rust streaks, but using white paint instead to prevent the model from becoming too dark after the weathering process.

For the gray area at the bottom, I used a mix of dark gray, blue, and brown for weathering. After creating the streaks, I smudged them by hand to create a subtle, faint effect.


Finally, a group photo to mark the completion of the project.
As always, here's a quick plug for my pages. Your support is greatly appreciated!
Follow on IG>https://www.instagram.com/lewd_yagaya/
Follow on FB>https://www.facebook.com/haruhi3936/
Original Blog Post
Custom Prop Painting: Post-Processing Various 3D-Printed Props from "Apex Legends"