
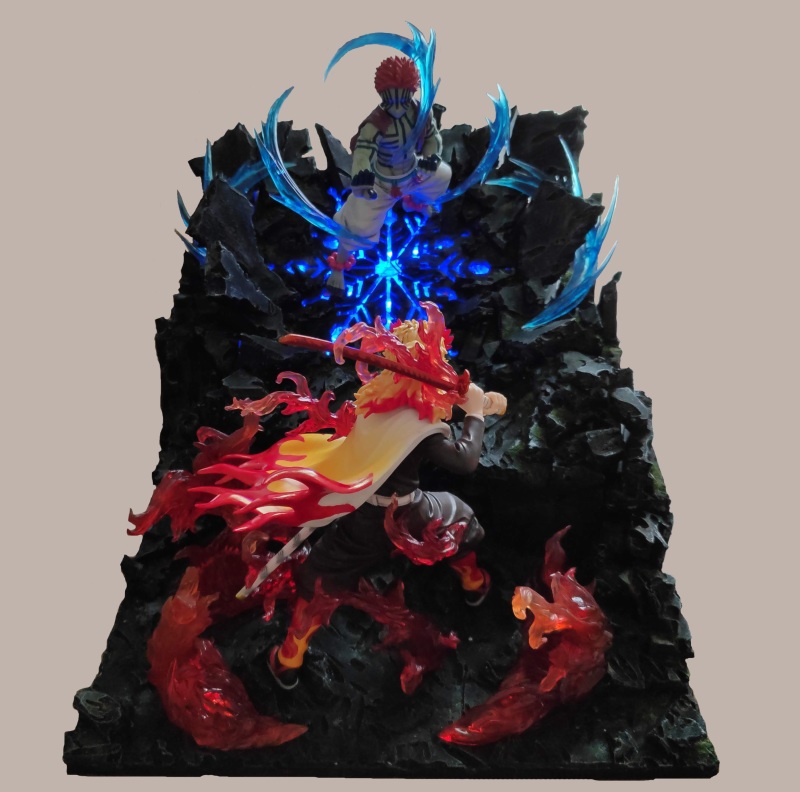
Hello everyone! Today, I'm excited to share a custom diorama I created based on a scene from "Demon Slayer: Mugen Train."
Let's not waste any time. Here's the finished piece, and then we'll dive into the detailed build process.
----------------------------------Work Preview----------------------------------
----------------------------------Crafting Akaza's Technique Development----------------------------------
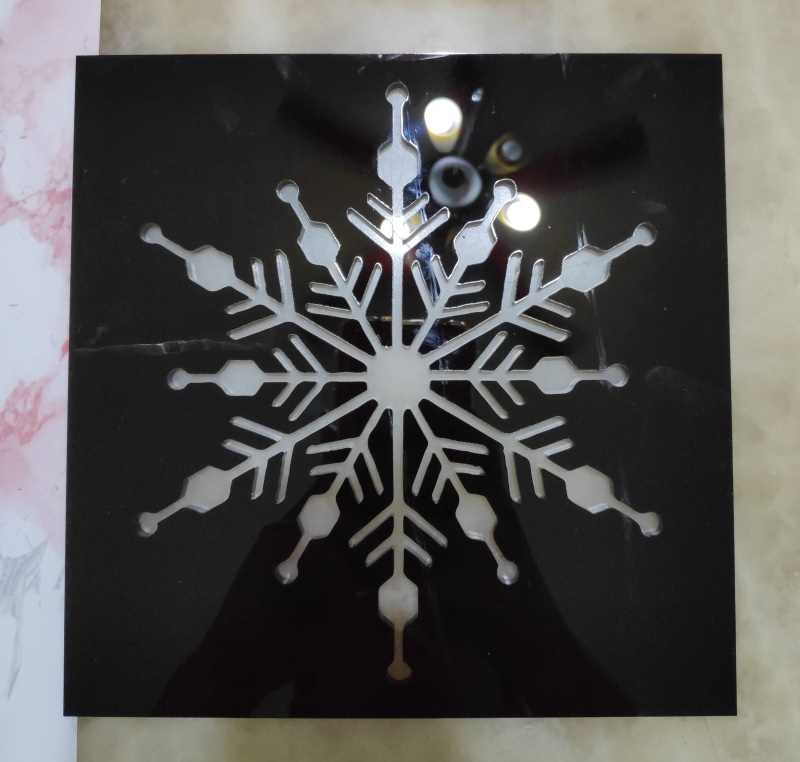
First, I drew the design for the base of Akaza's "Technique Development" and had someone cut it for me from an acrylic sheet.
Next came the LED layout and programming. I laid out the LEDs on a piece of thick cardboard and used an Arduino to control the entire lighting sequence.
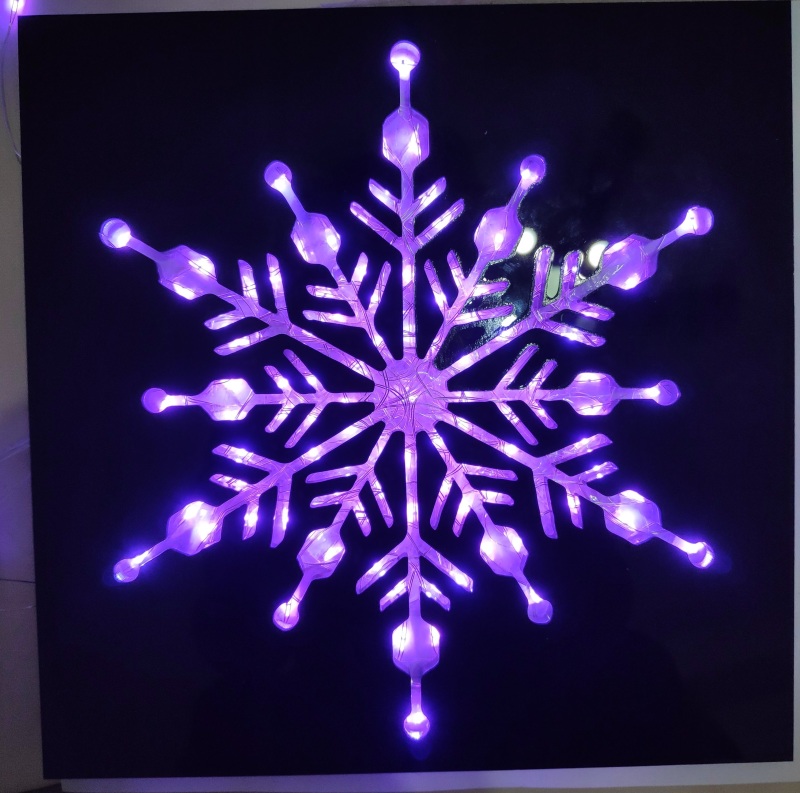
Click for animated GIF =>【Technique Development LED.gif】
----------------------------------Building the Diorama Base----------------------------------
The base was constructed primarily using foam board. I started by cutting a bottom plate to my desired dimensions. Afterwards, I set the base at an angle to better present the final effect.
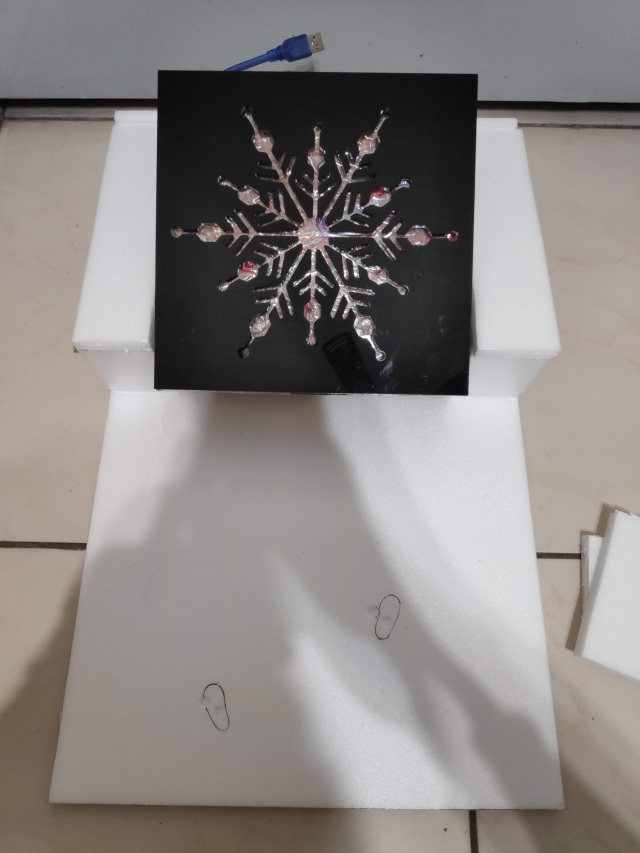
From there, it was all about creative freedom, piecing together foam to create the rocky terrain I envisioned.
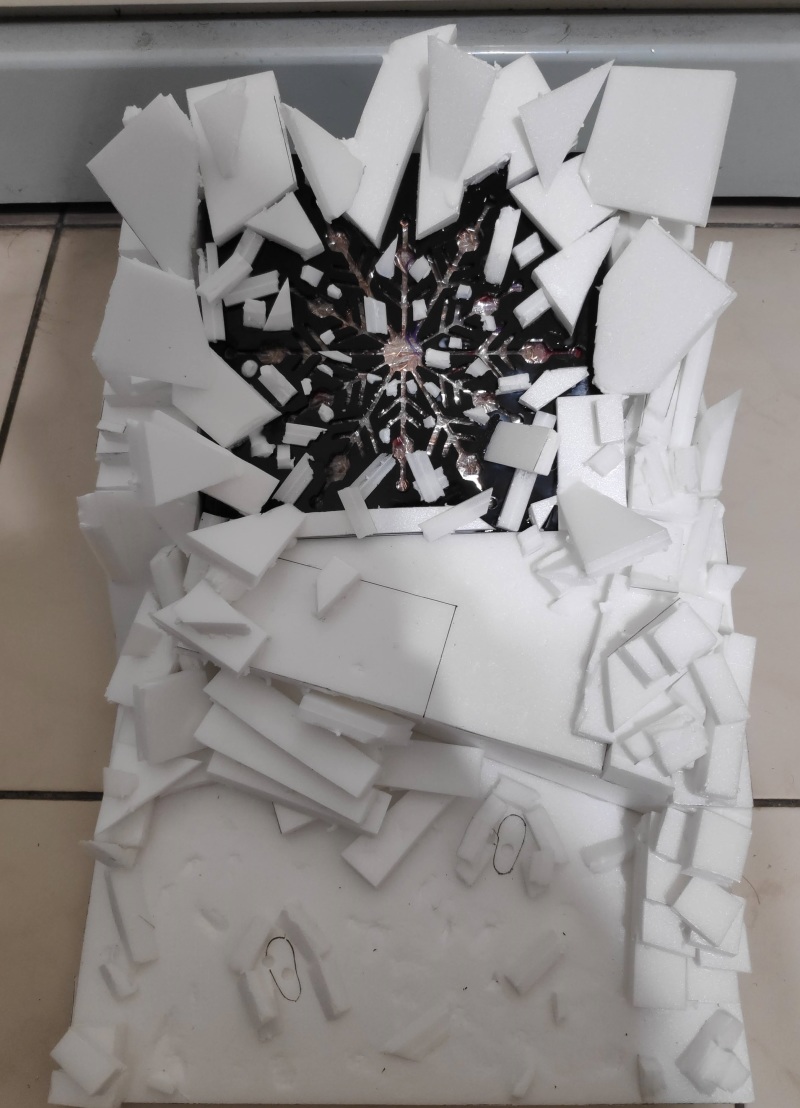
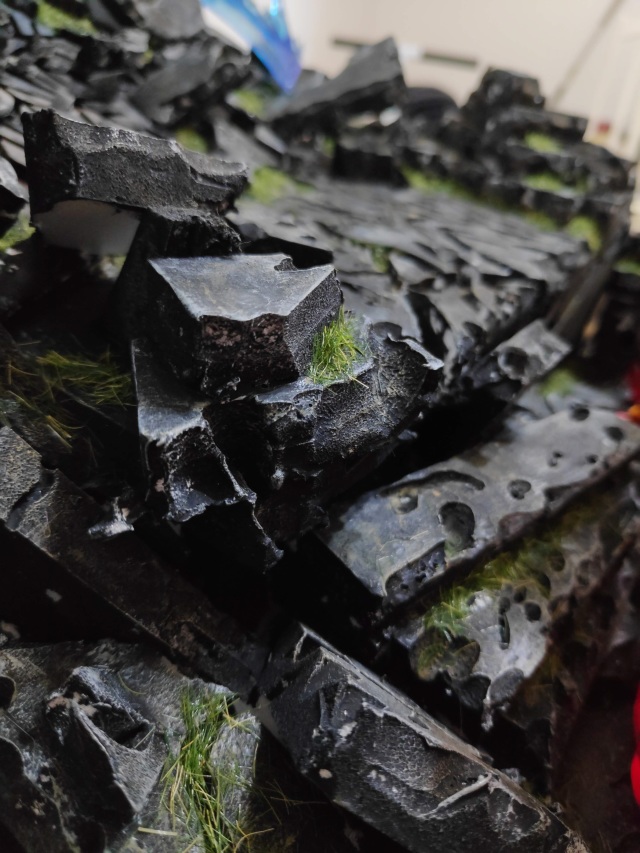
After mapping out the rock formations, the next step was to use a hot tool to burn irregular textures into the foam board.
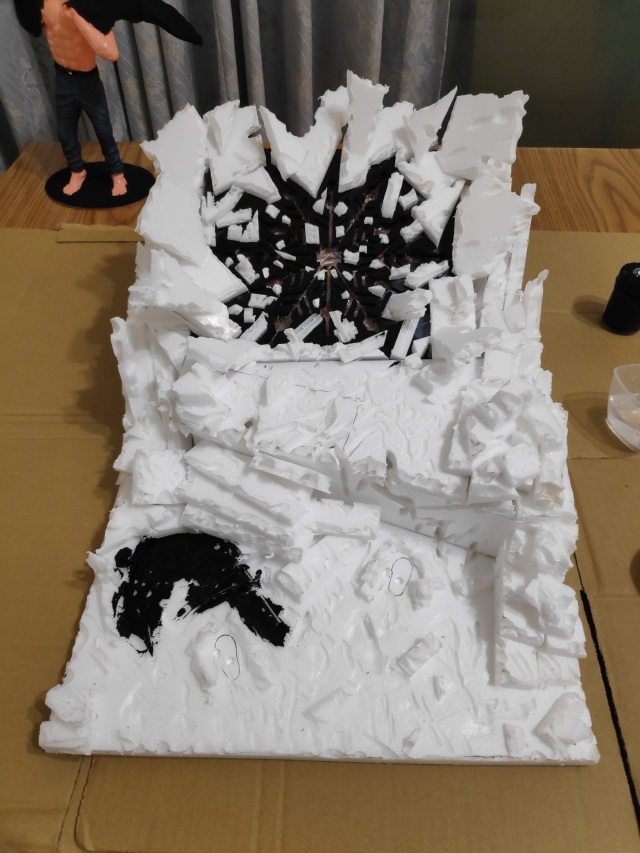
Then it was time for painting. I started by applying a base coat of black poster paint across the entire scene.
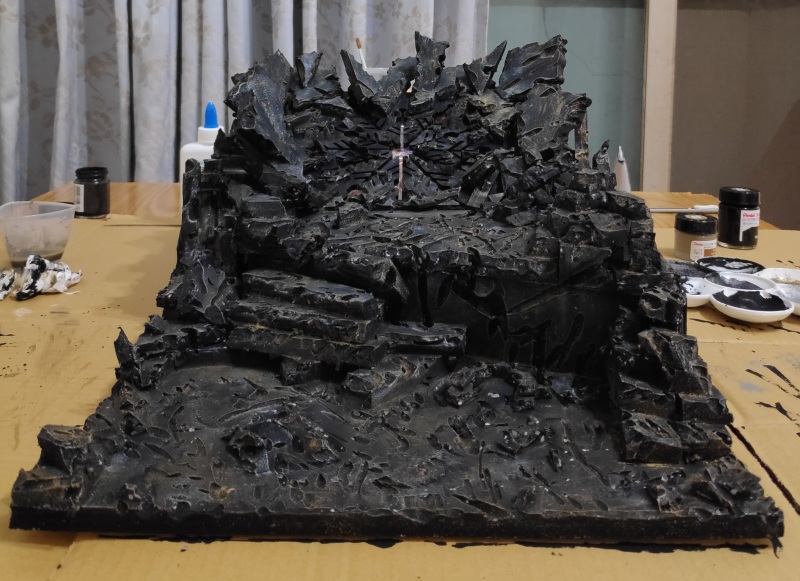
Once the base coat was down, I moved on to adding realism to the rocks. For this, I used a gray acrylic paint to dry brush the surface. (I focused the gray on the edges of the rocks to give them a weathered, wind-beaten look.)
Next, I used a tan/earthy yellow paint to add color to the grooves burned by the soldering iron. (The goal here was to simulate sand and dirt collected in the rock crevices.)
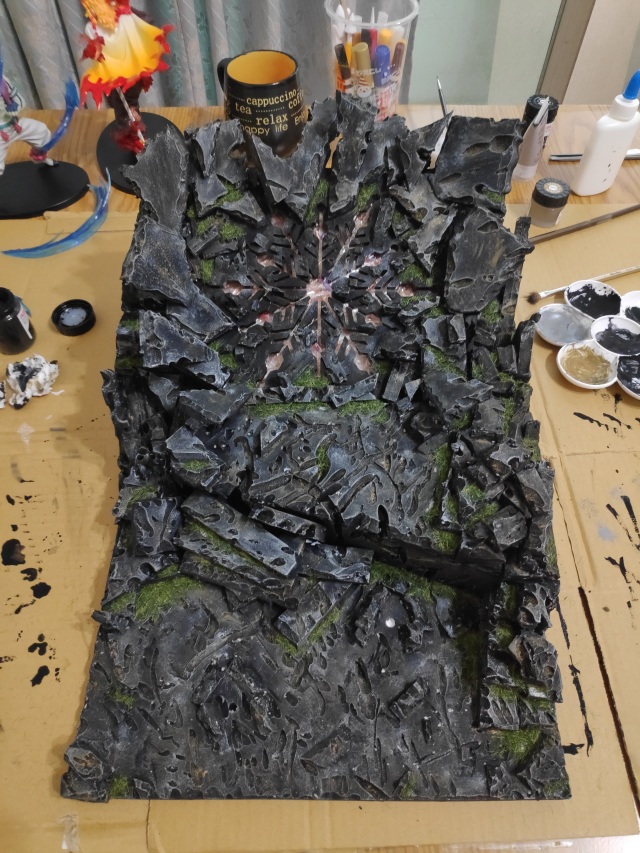
Finally, I added some flocking powder (static grass) around the rocks to add a touch of nature.

----------------------------------Figure Customization----------------------------------
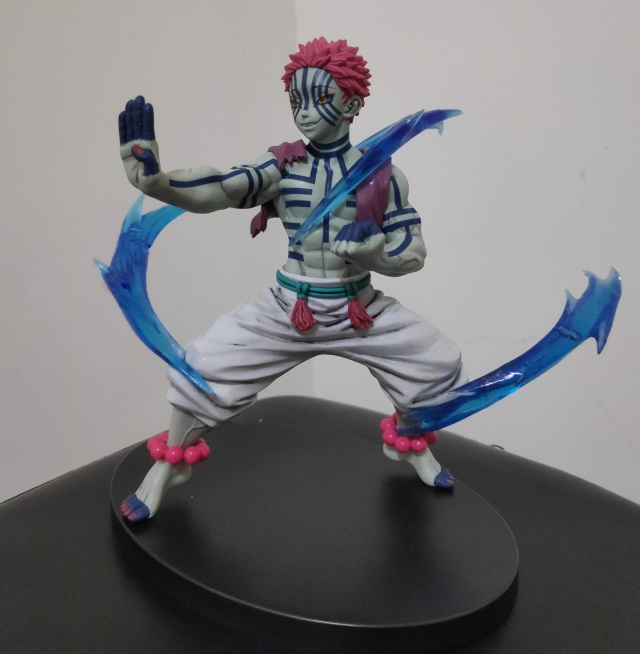
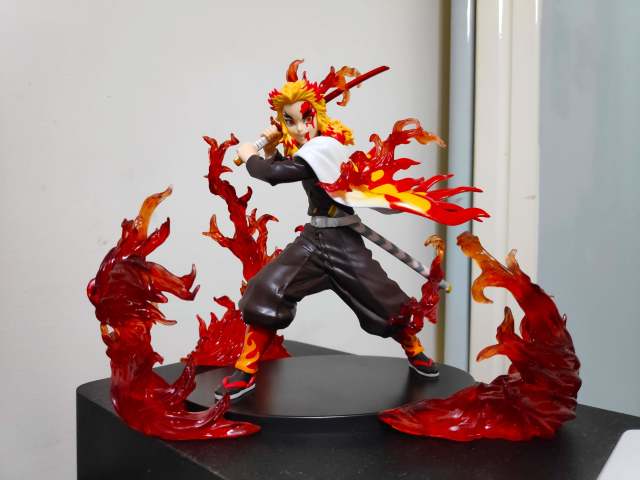
Now we get to the figure modifications for the Flame Hashira and Akaza.
For Akaza, I used panel liner to enhance the definition of his lines and the wrinkles in his pants.
For the Flame Hashira, I used a red pen to brighten the red sections of his uniform and to add bloodstains to his face.
 And of course, the final step was to bring them all together!
----------------------------------The Finished Diorama----------------------------------
【Akaza Showcase】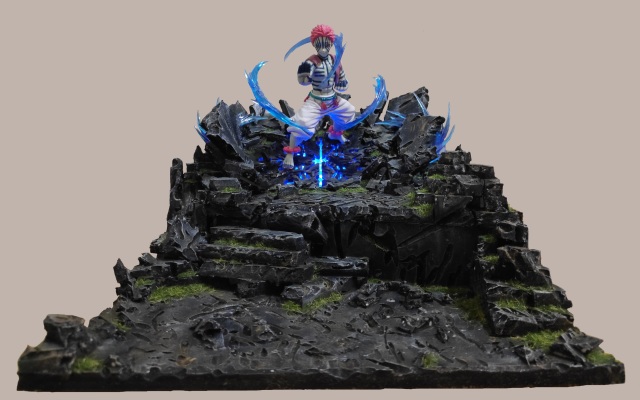
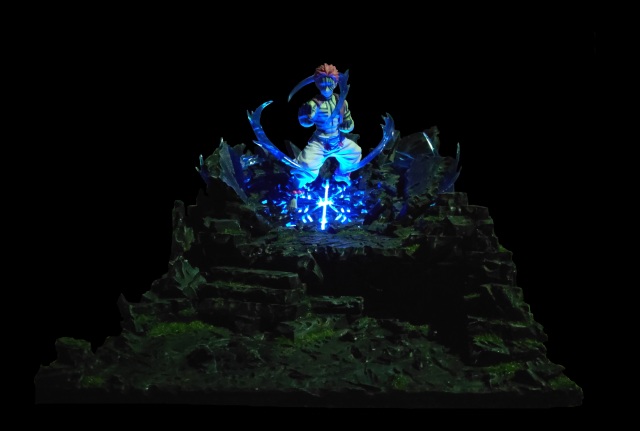
【Scene - Right View】
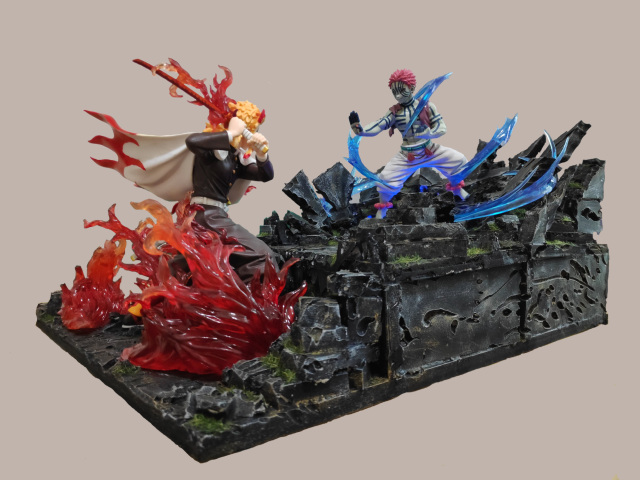 【Scene - Left View】
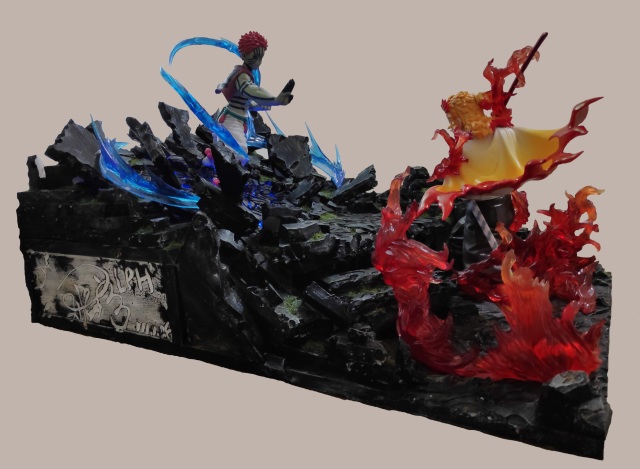
【Scene - Top-Down View】
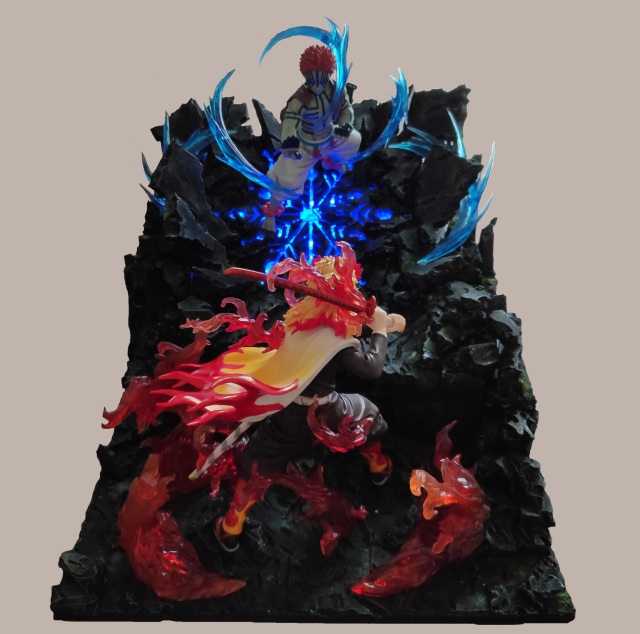
【Scene - Standard Viewing Angle】
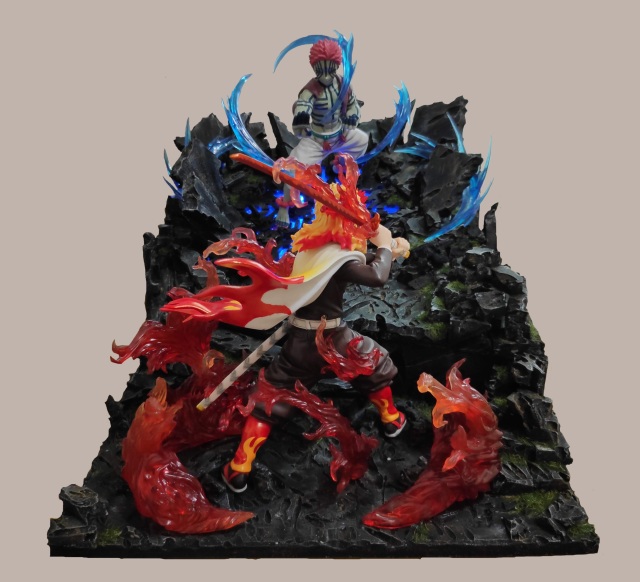
【Scene - Rengoku's Final Stand】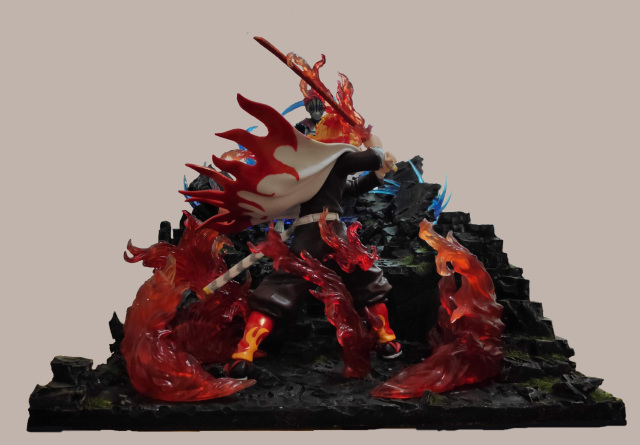 Click for animated GIF =>【Scene - Technique Development.gif】
Thank you for reading this far. It would be my greatest honor if you enjoyed this diorama build.
Until we meet again~~
"Rengoku didn't lose!!"